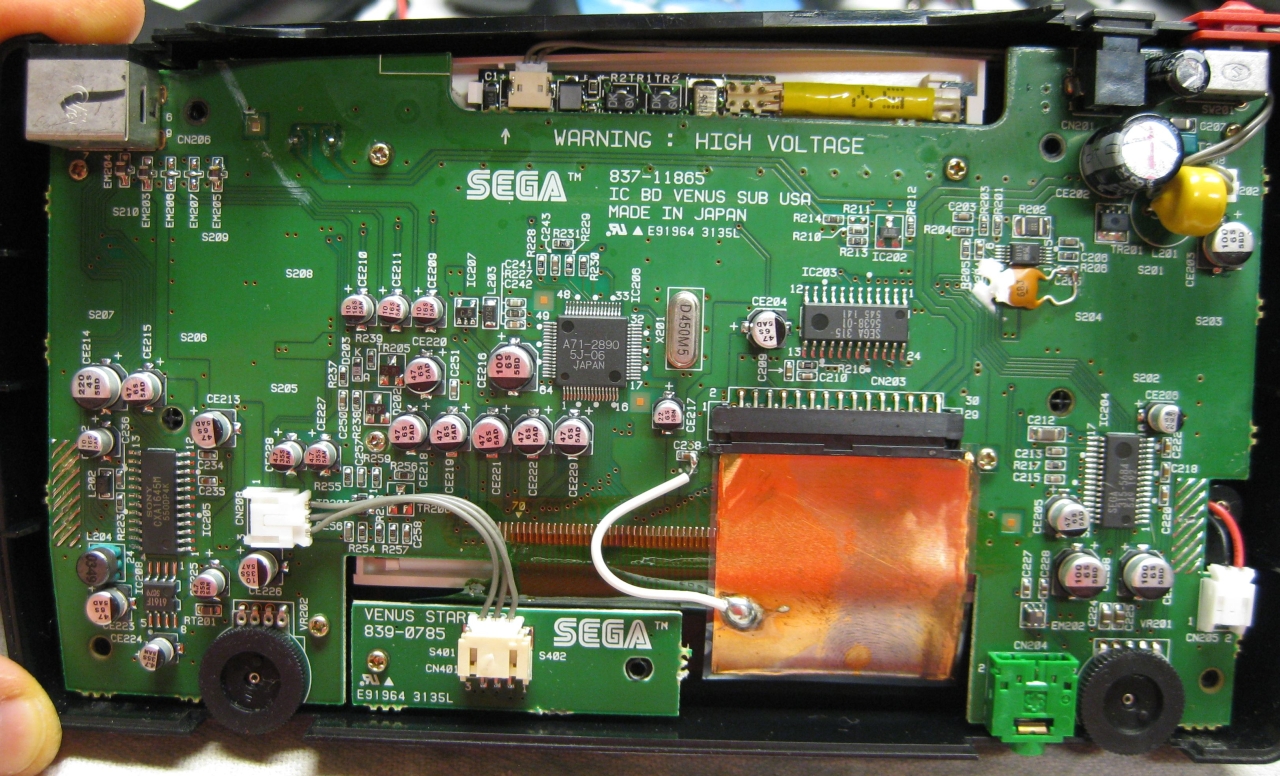
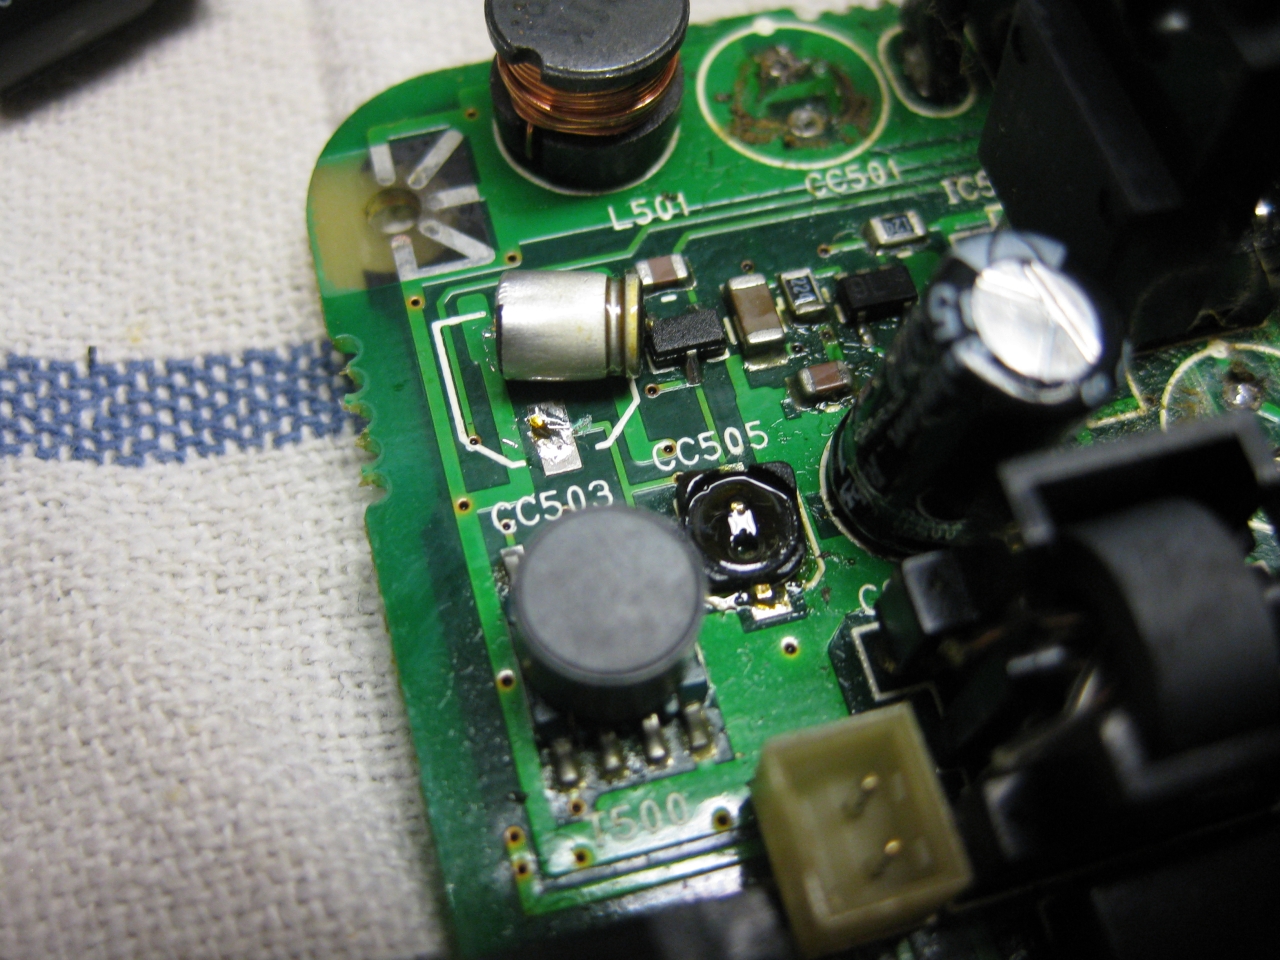
Caps of the Sega Nomad needed to be exchanged. We used ceramics instead
look here before
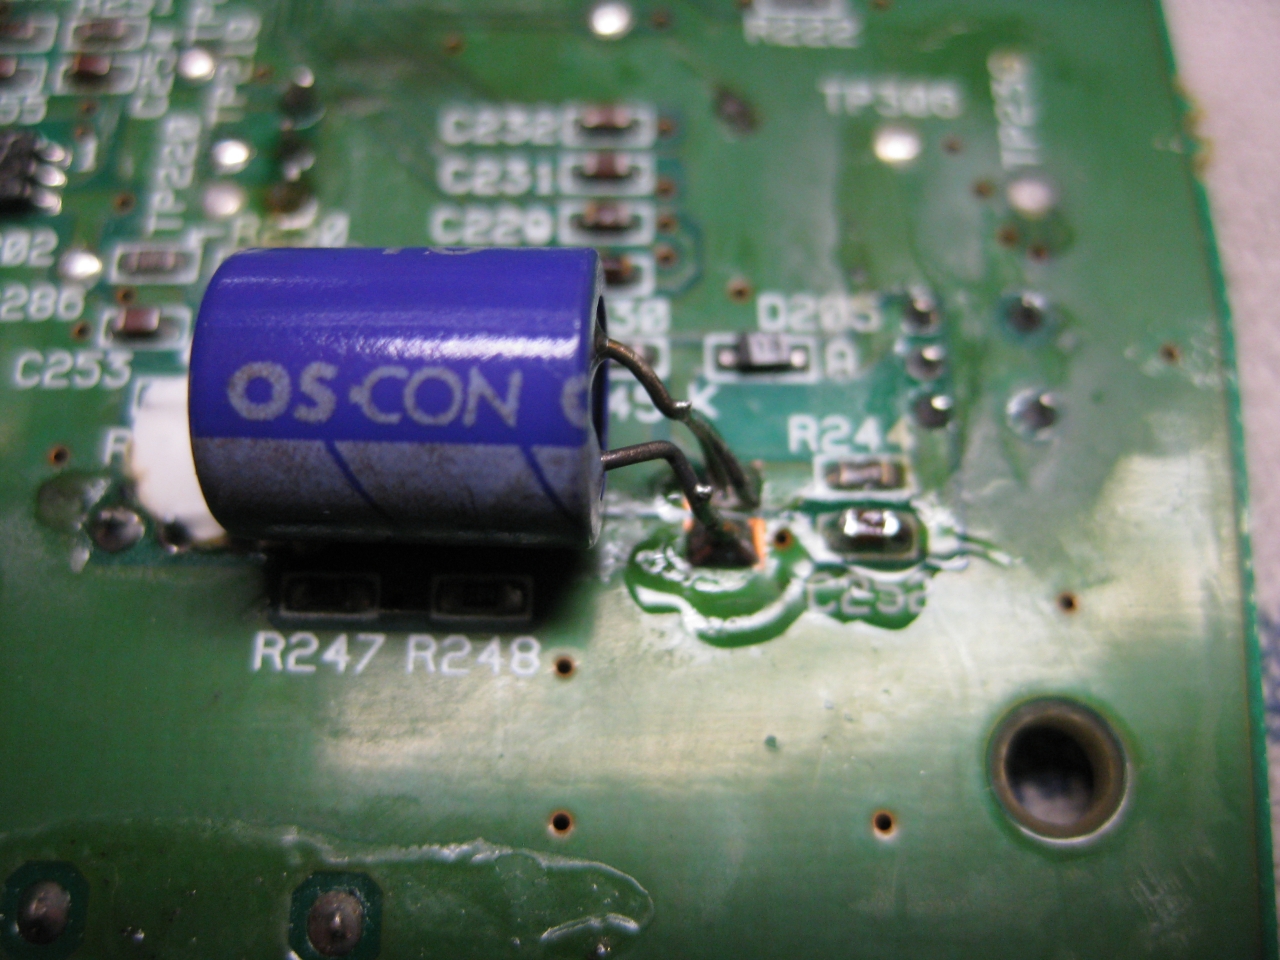
and after
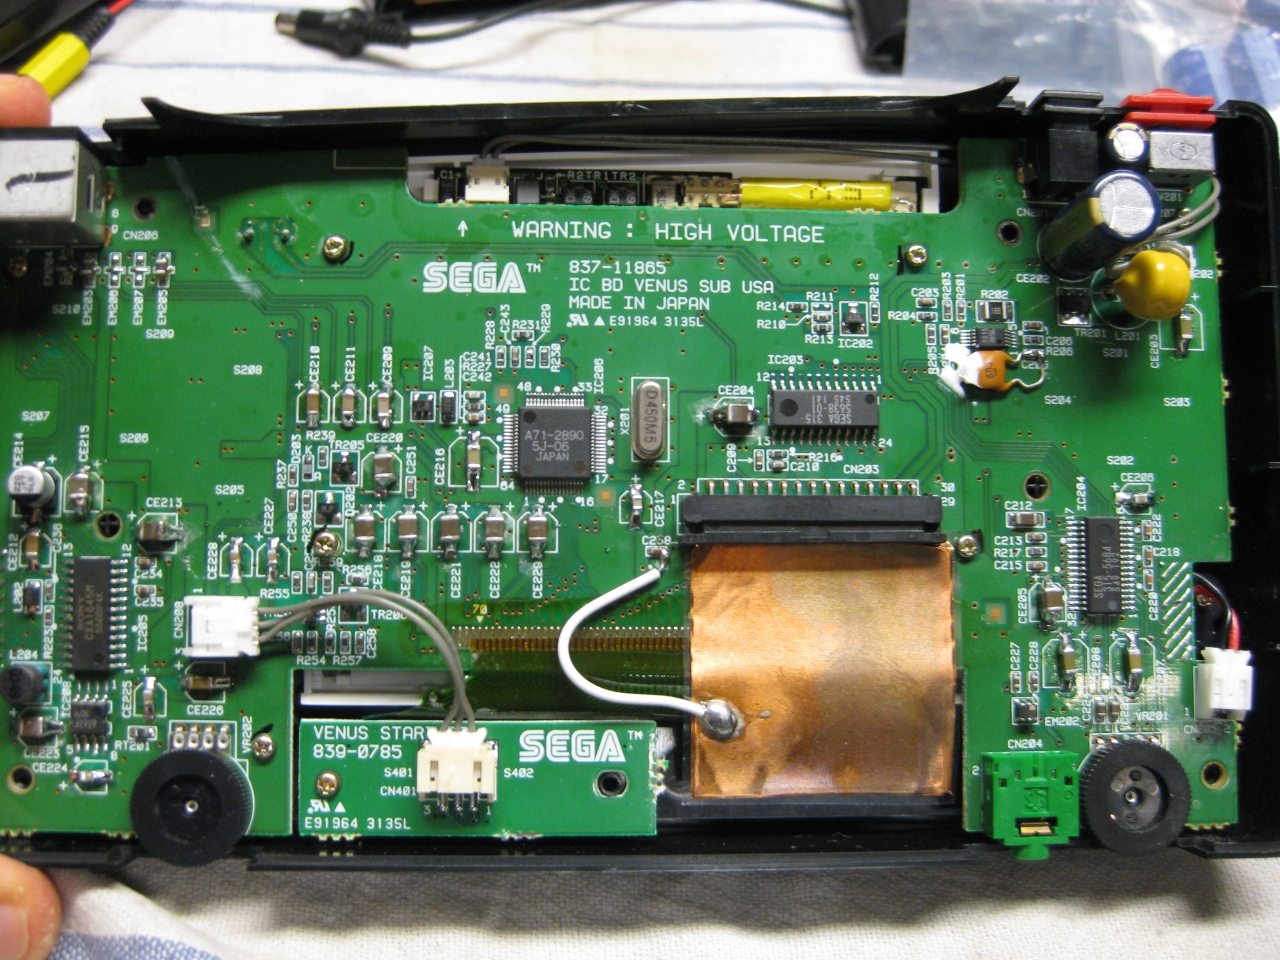
Caps of the Sega Nomad needed to be exchanged. We used ceramics instead
look here before
and after
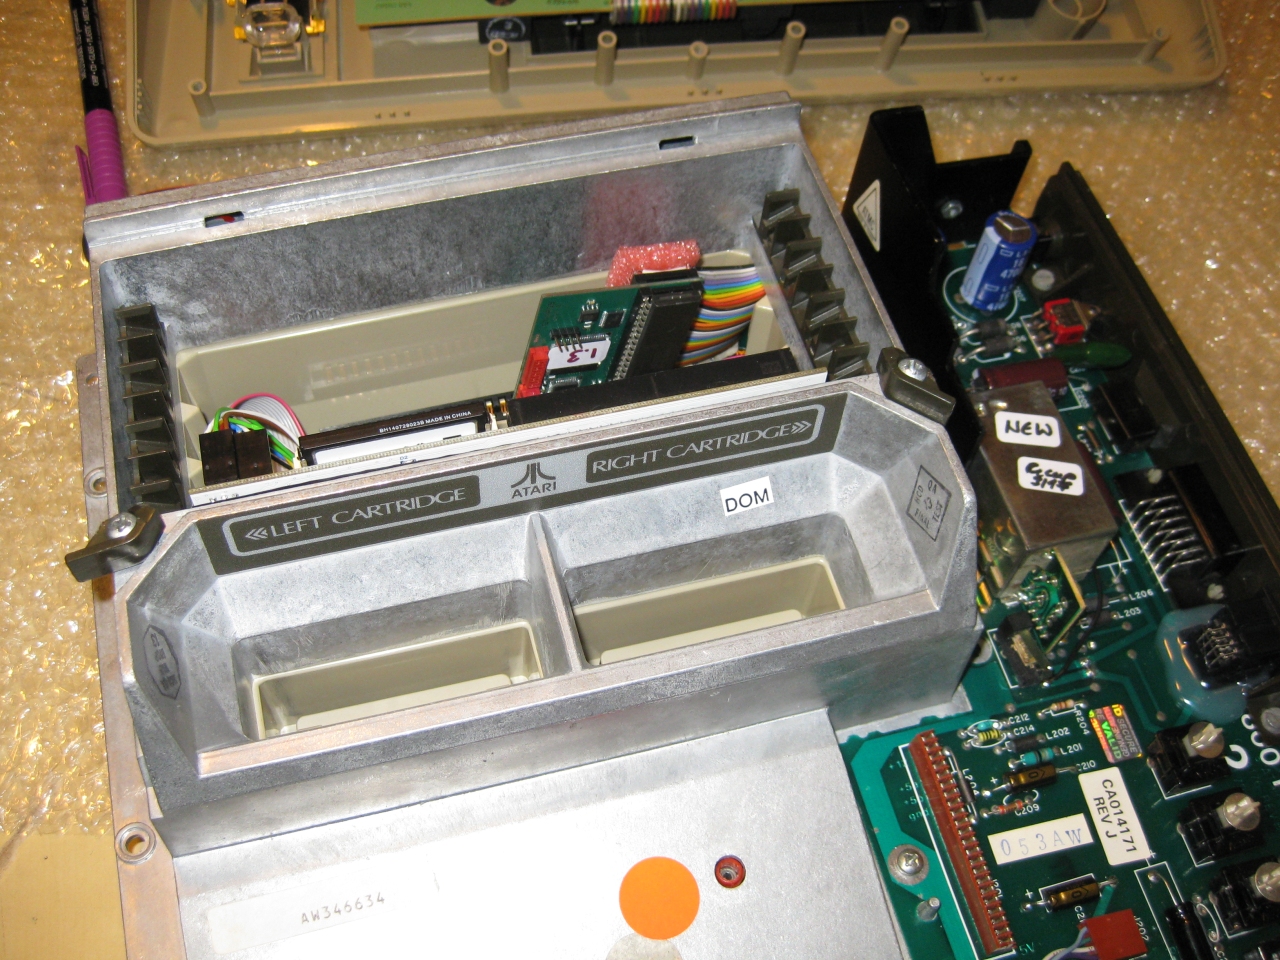
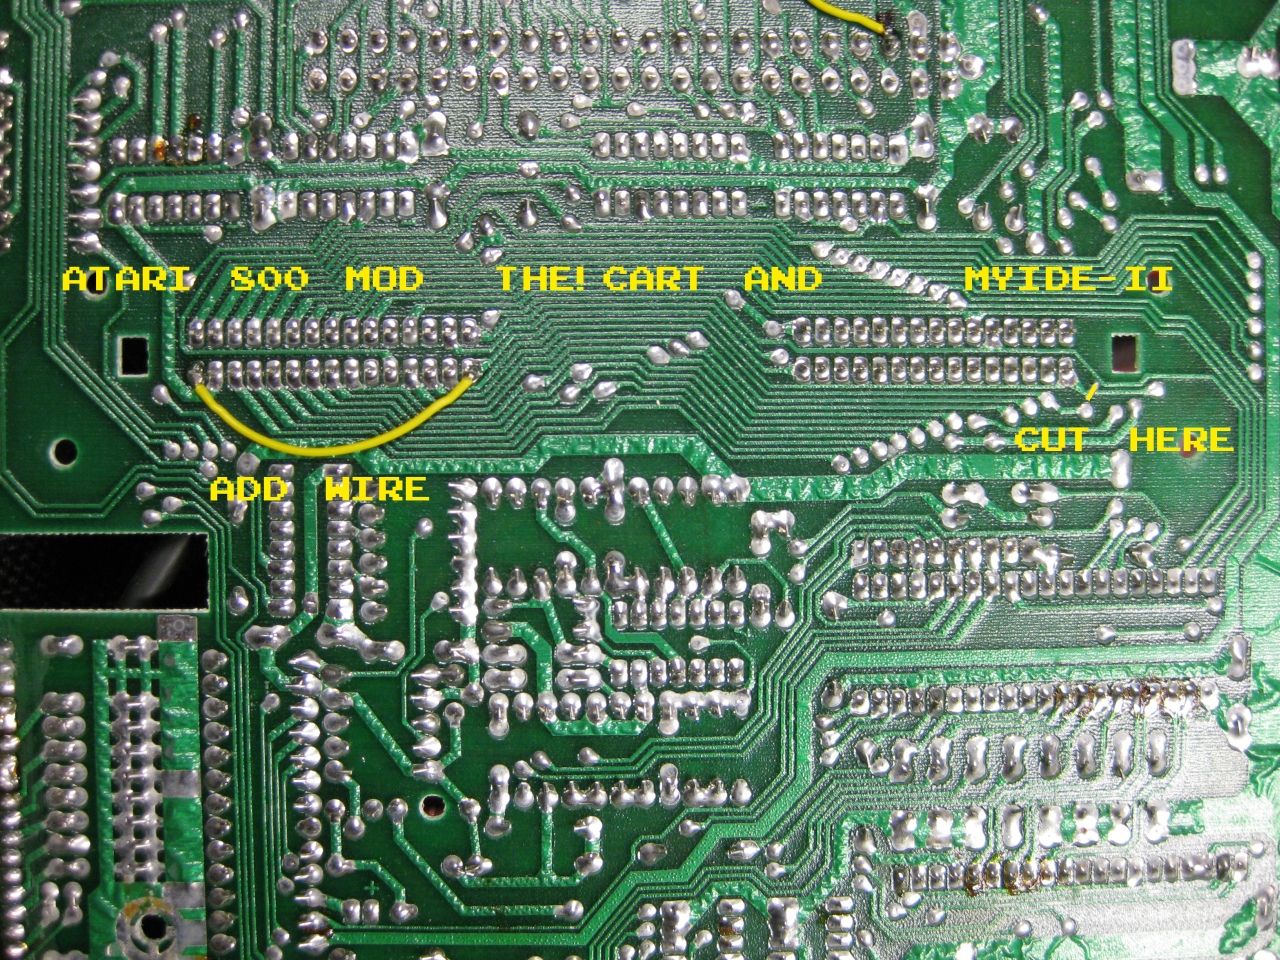
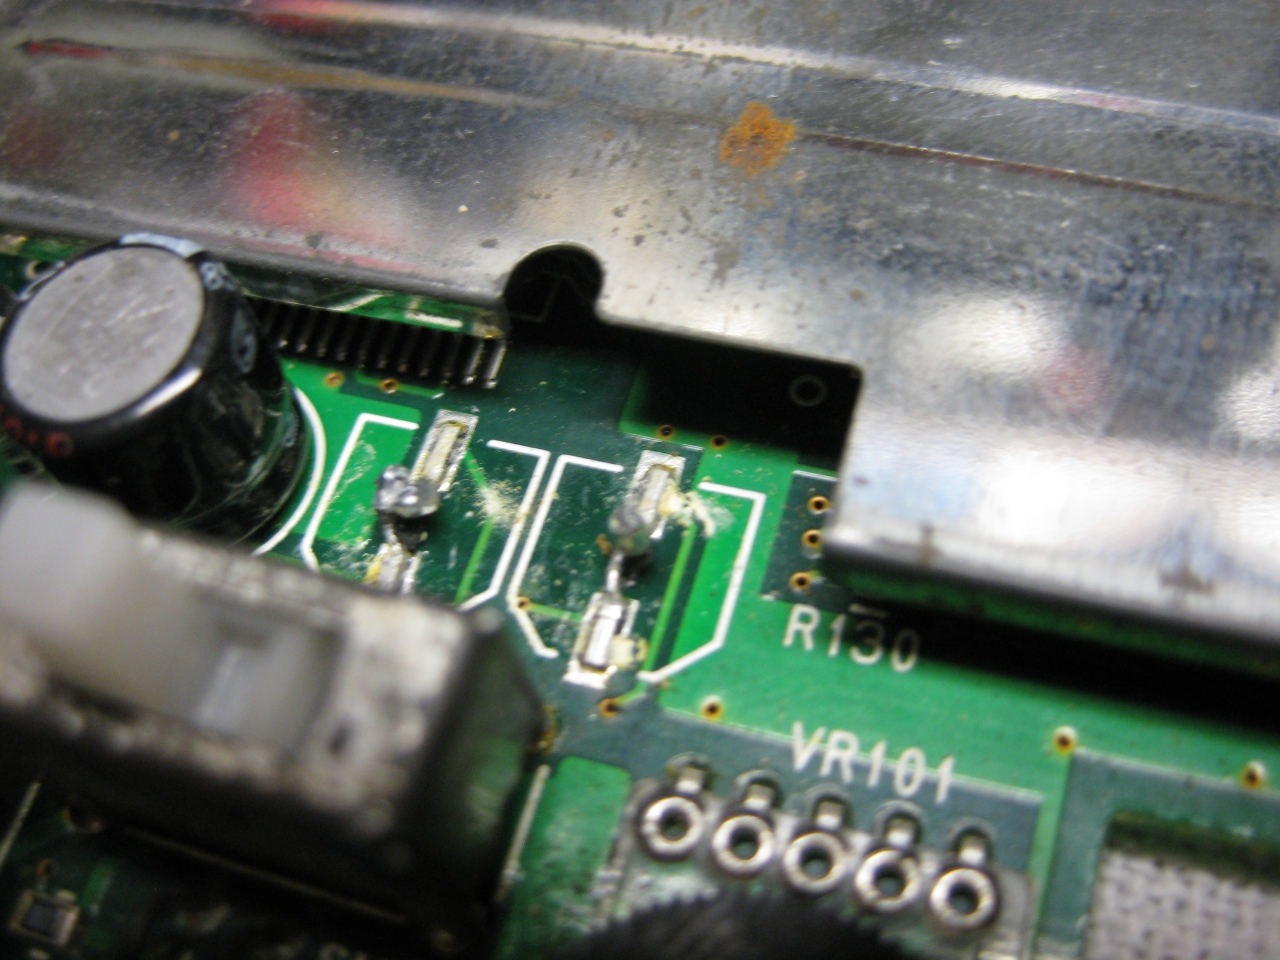
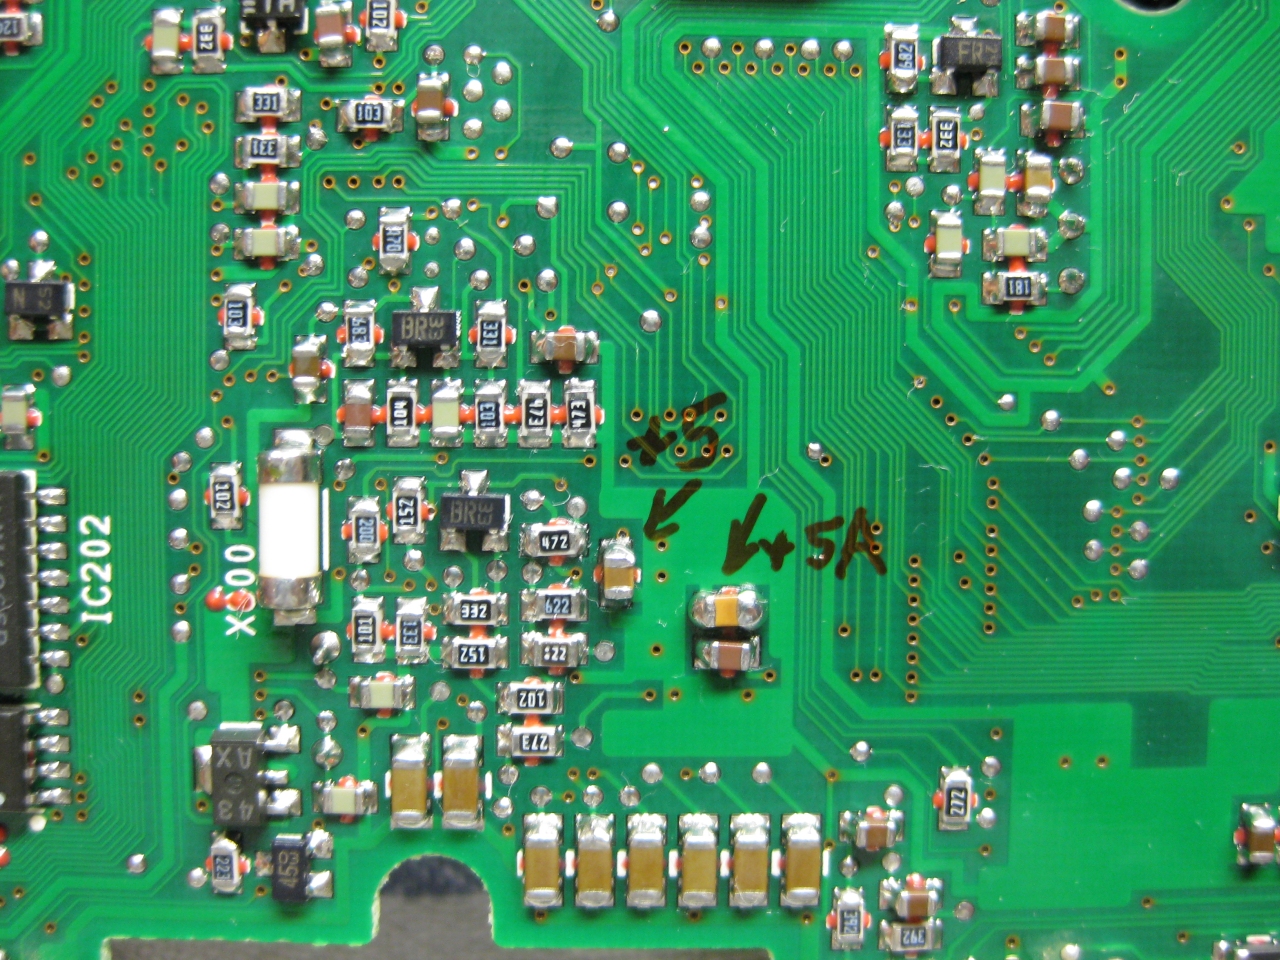
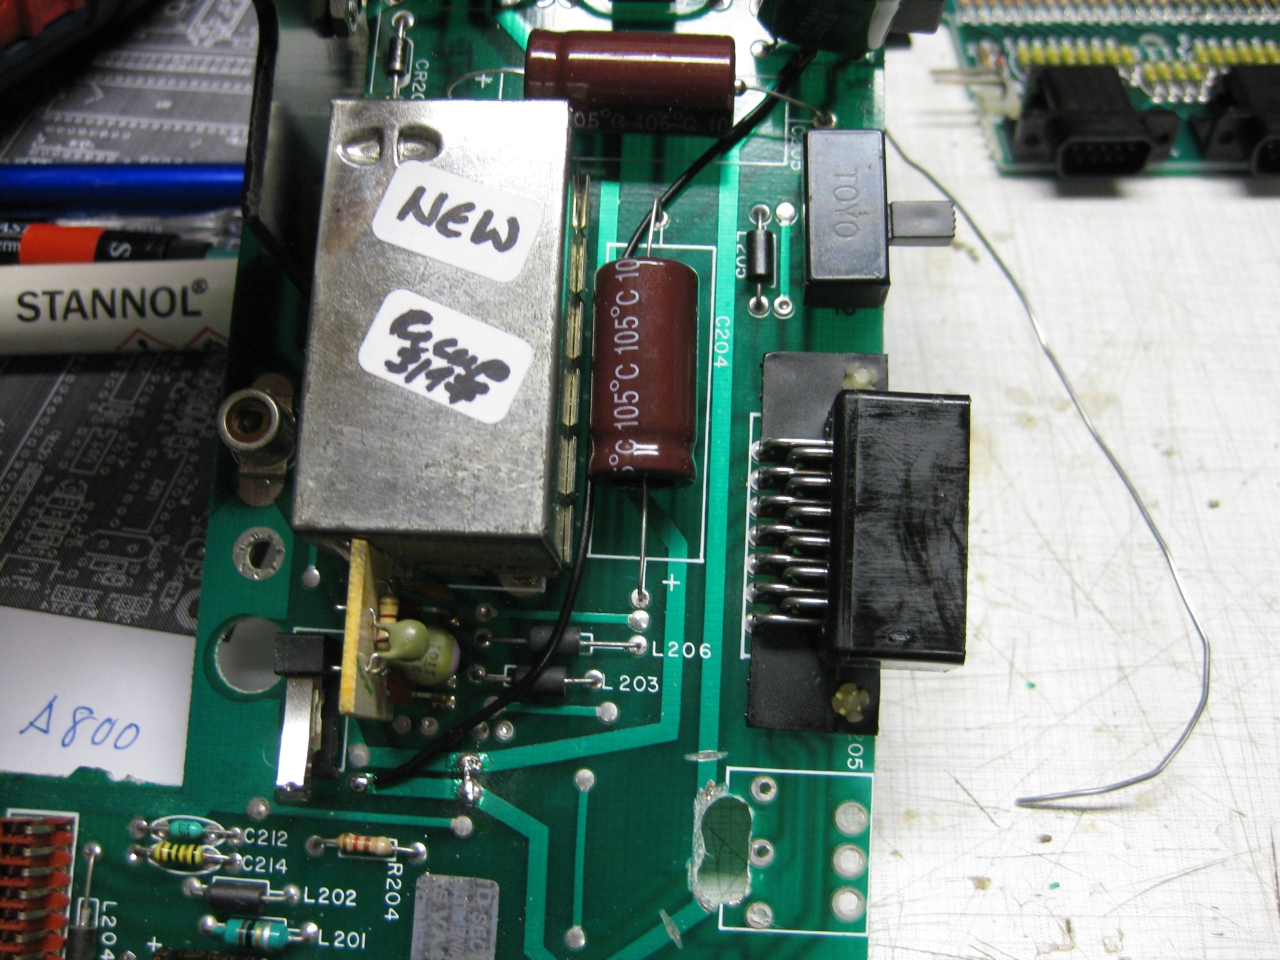
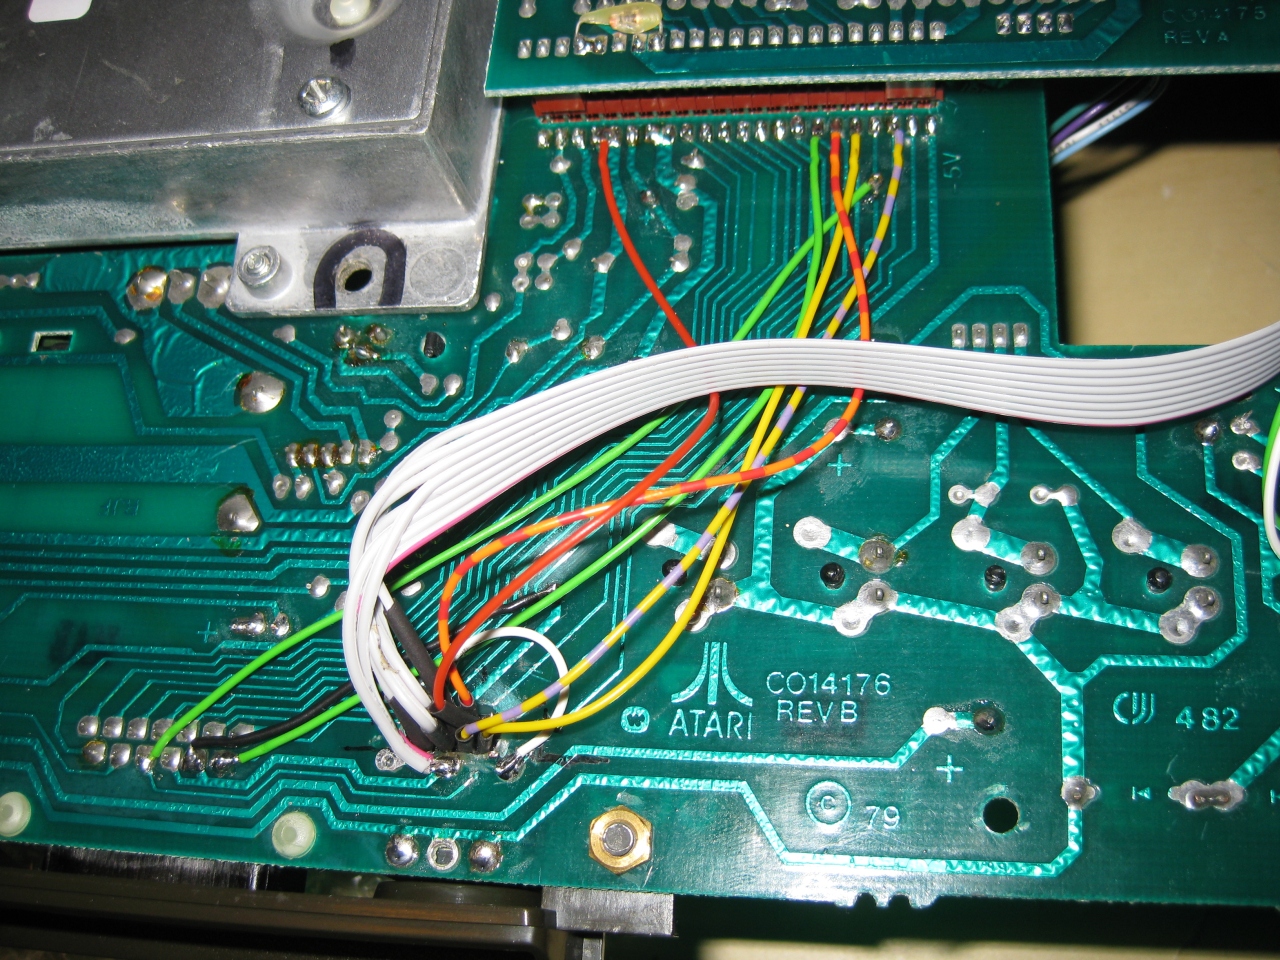
when using The!Cart or MyIDE II with atari you need to do a mod of some signals
Reference: https://www.wudsn.com/index.php/productions-atari800/tools/thecart/atari-800-fix
Only Cut one circuit and add a wire and you are done
Today I tried to upgrade a new NES Mini Controller with the UWRC PCB from micro.
And it works great
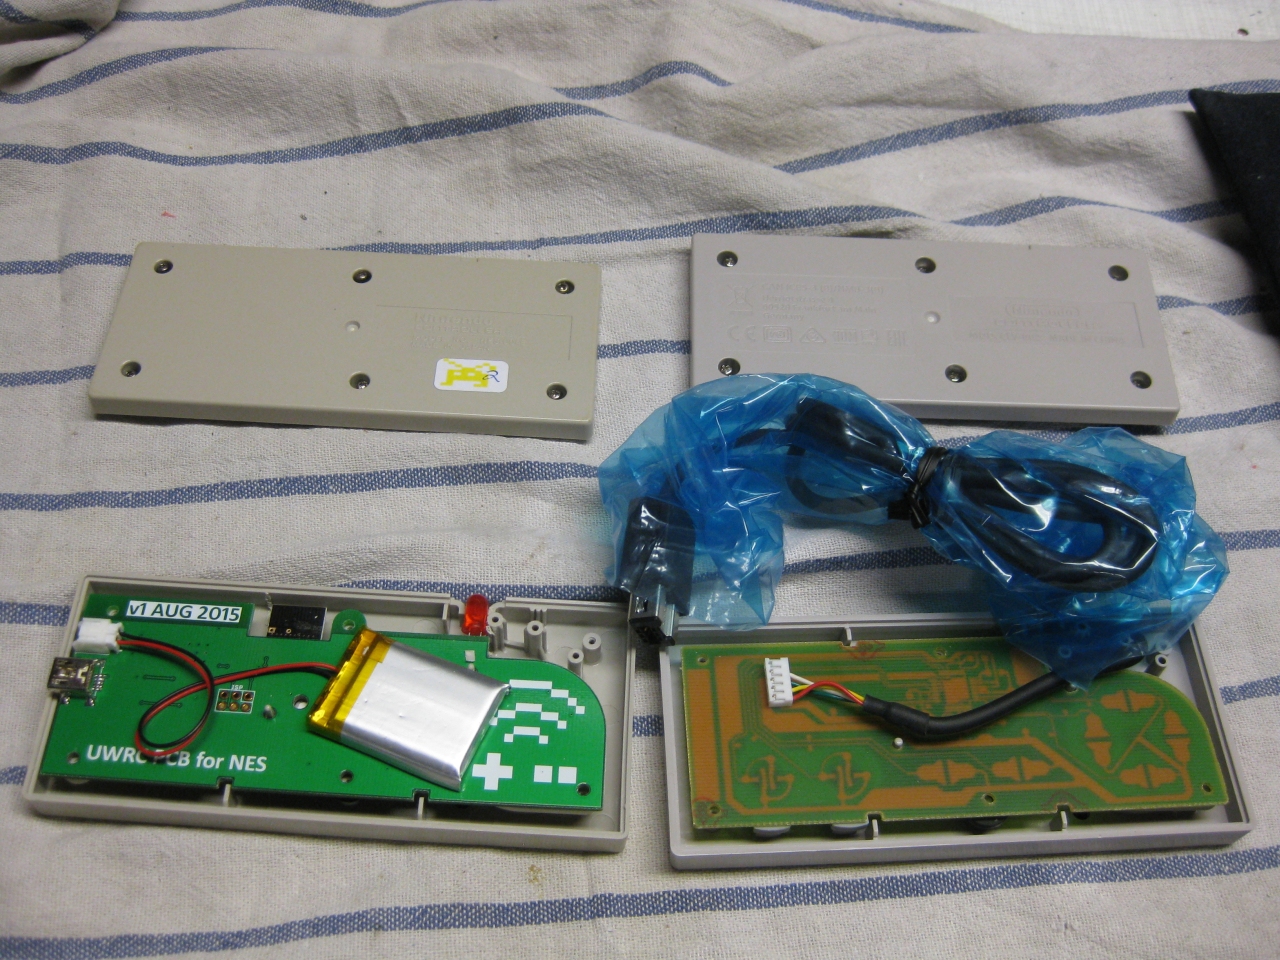
left old uwrc Controller NES, right new NES Mini Controller
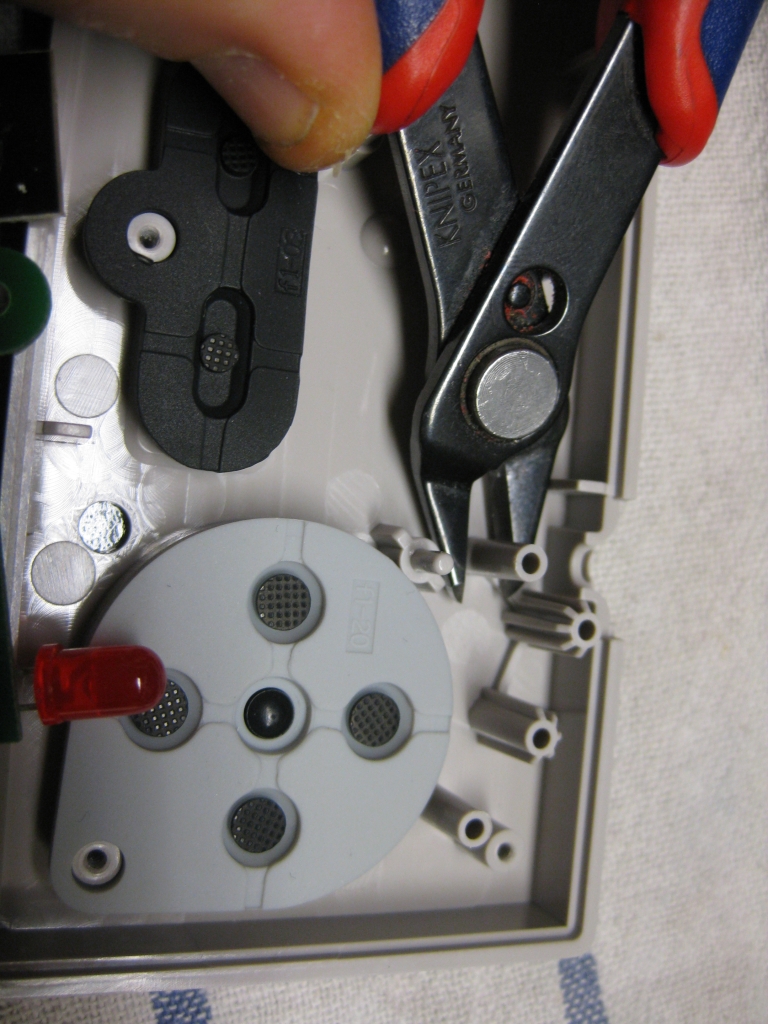
you need to remove this here and make the led hole bigger and as usual the opening for the usb connector for loading
Today I revived a the holy grail of PC Engine Hardware a PC Engine LT.

Only 5 screws and remove 3 ribbons you will get the main PC Engine Board

Because of its age the Caps are brocken and need a replacement.
After some exchange in the power area it works again ![]()
look how bad it looks because of leaking caps

how ugly it looks. Some alkohol for cleaning

exchanging of most caps to kerkos
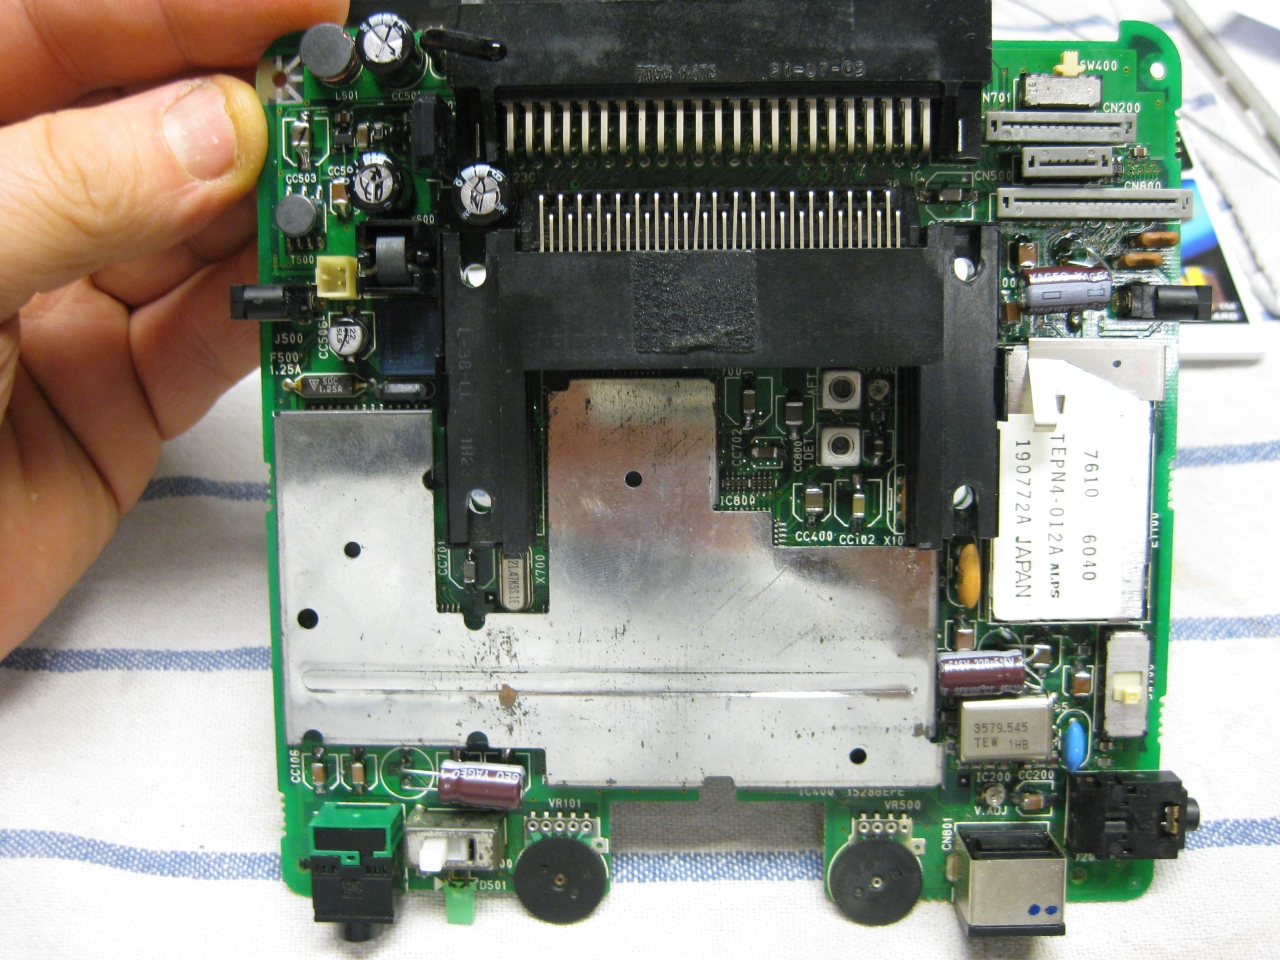
after recap
jailbarfix too with replacement of 2 kerkos into: 4,7uF 16V or 25V
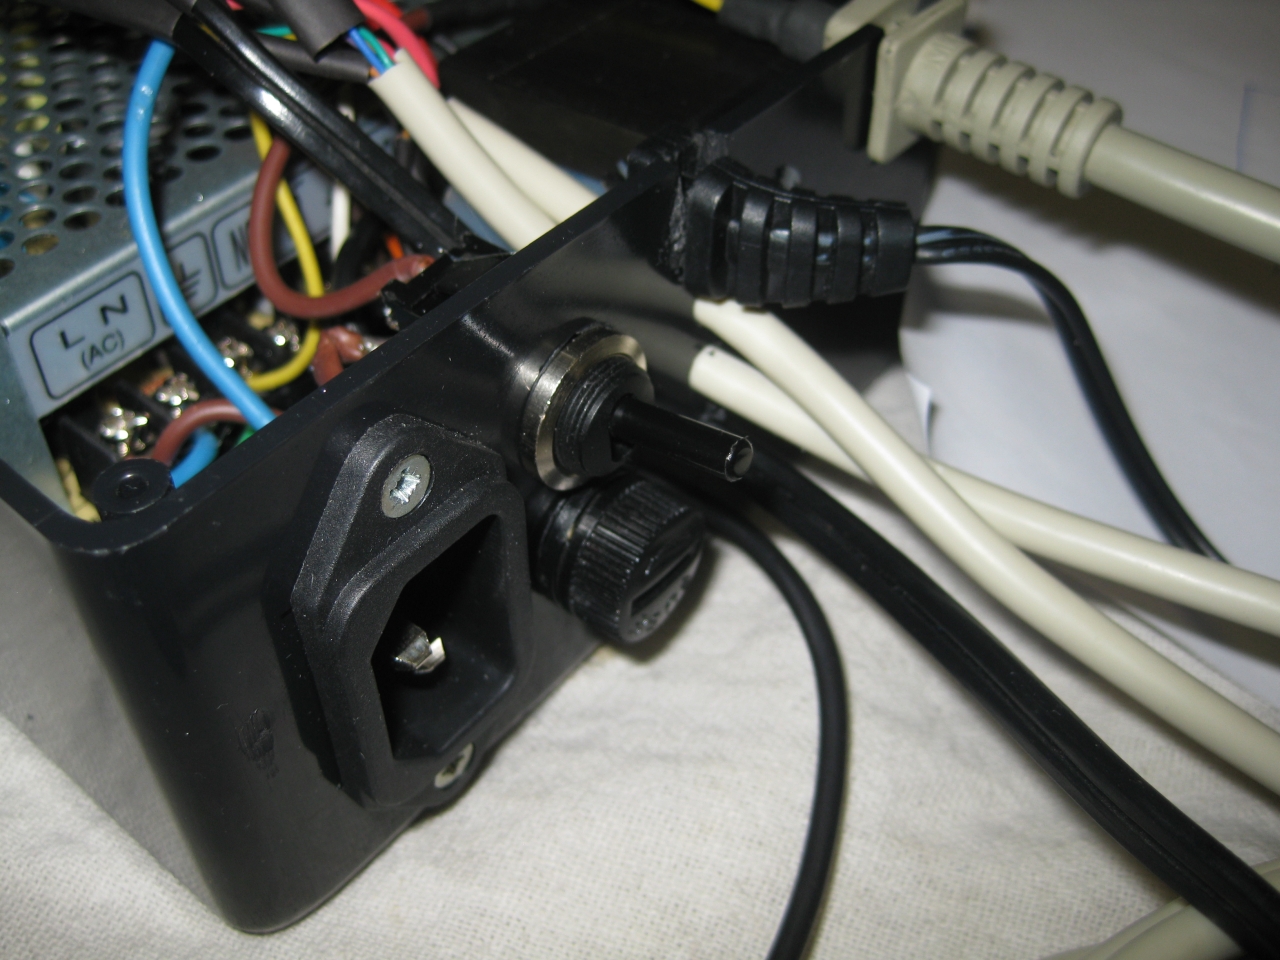
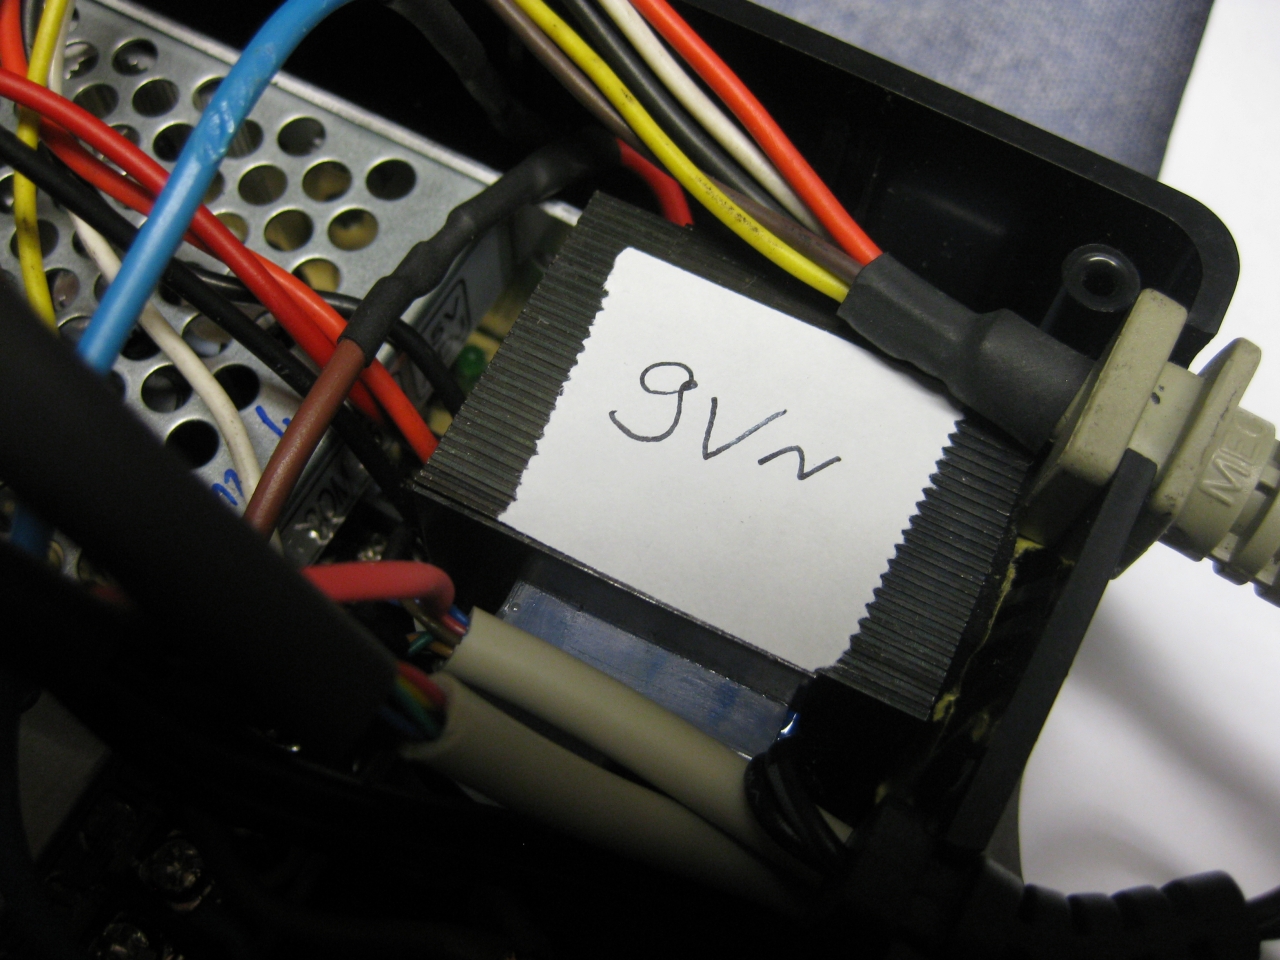
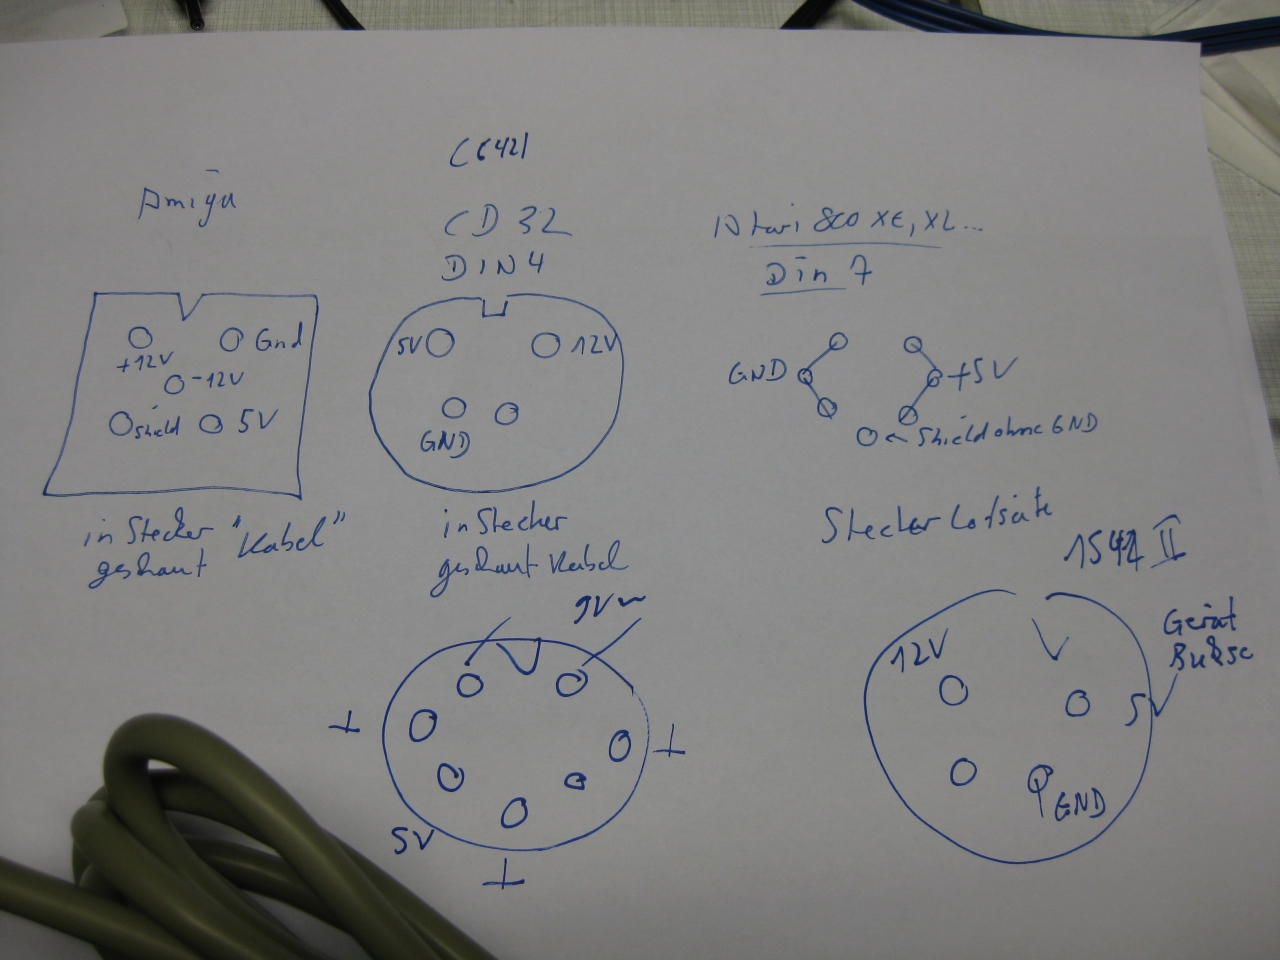
For testing old Computers you will need a lot of different power supplys with AC and DC Voltage.
I put them together and we got one to rule them all ![]()
Meanwell RT-65B and a 9V AC Power Supply
9V /2100mA
5V / 5,0A
12V / 2,8A
-12V /0,5A
So it works @:


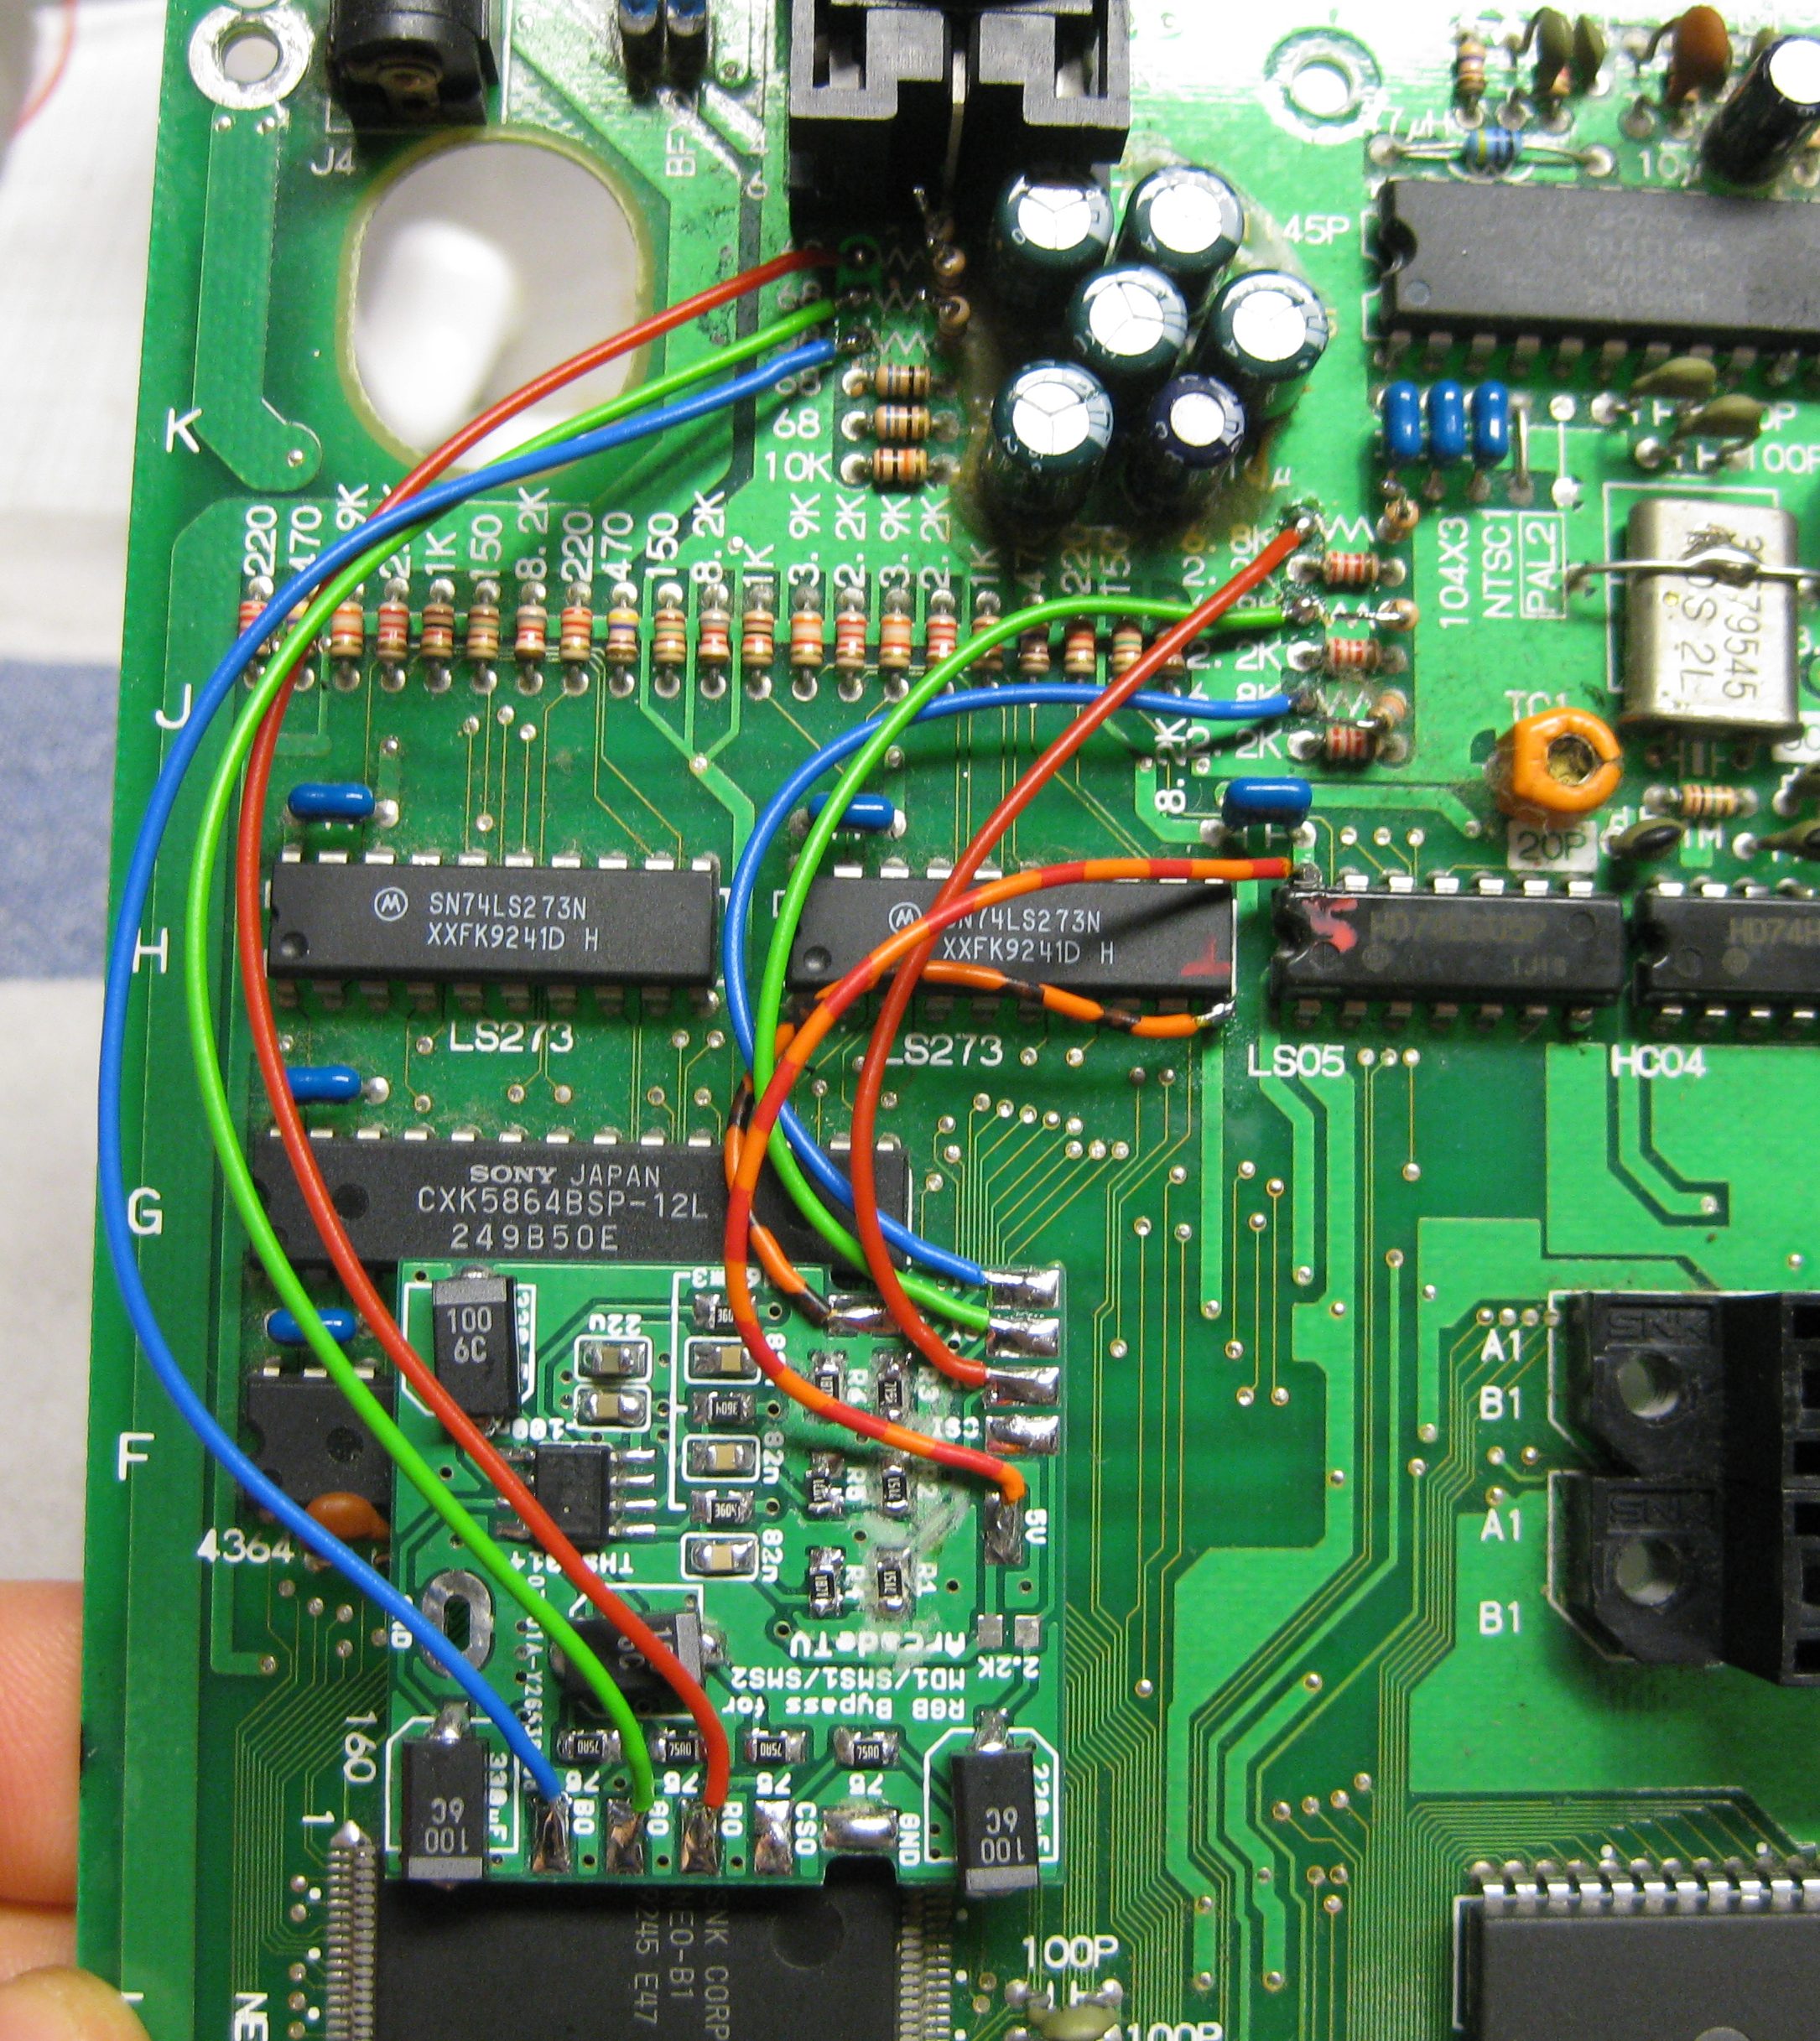
here you find the pics for rgb bypass for a neogeo AES 3-4 PCB with THS 3714 amplifier.
No more bad pictures and no more jailbars with perfect picture level thanks to arcade-tv ![]()
R1-R3 = 7.1k
R4-R6= 1.9k
I was lucky to get a new NeoGeo X Console but the battery was brocken ![]()
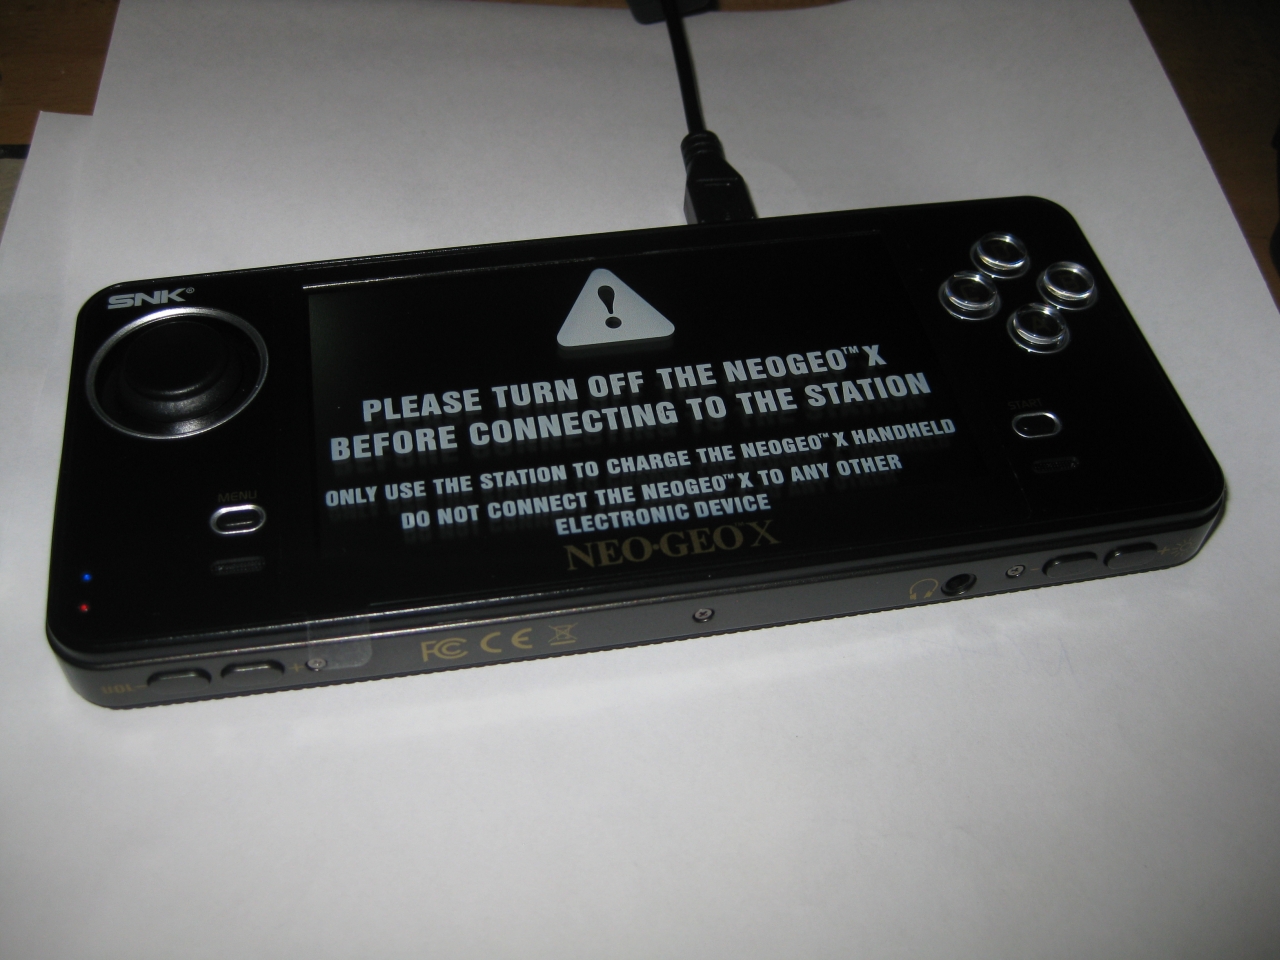
So i ordered a replacement and changed it …
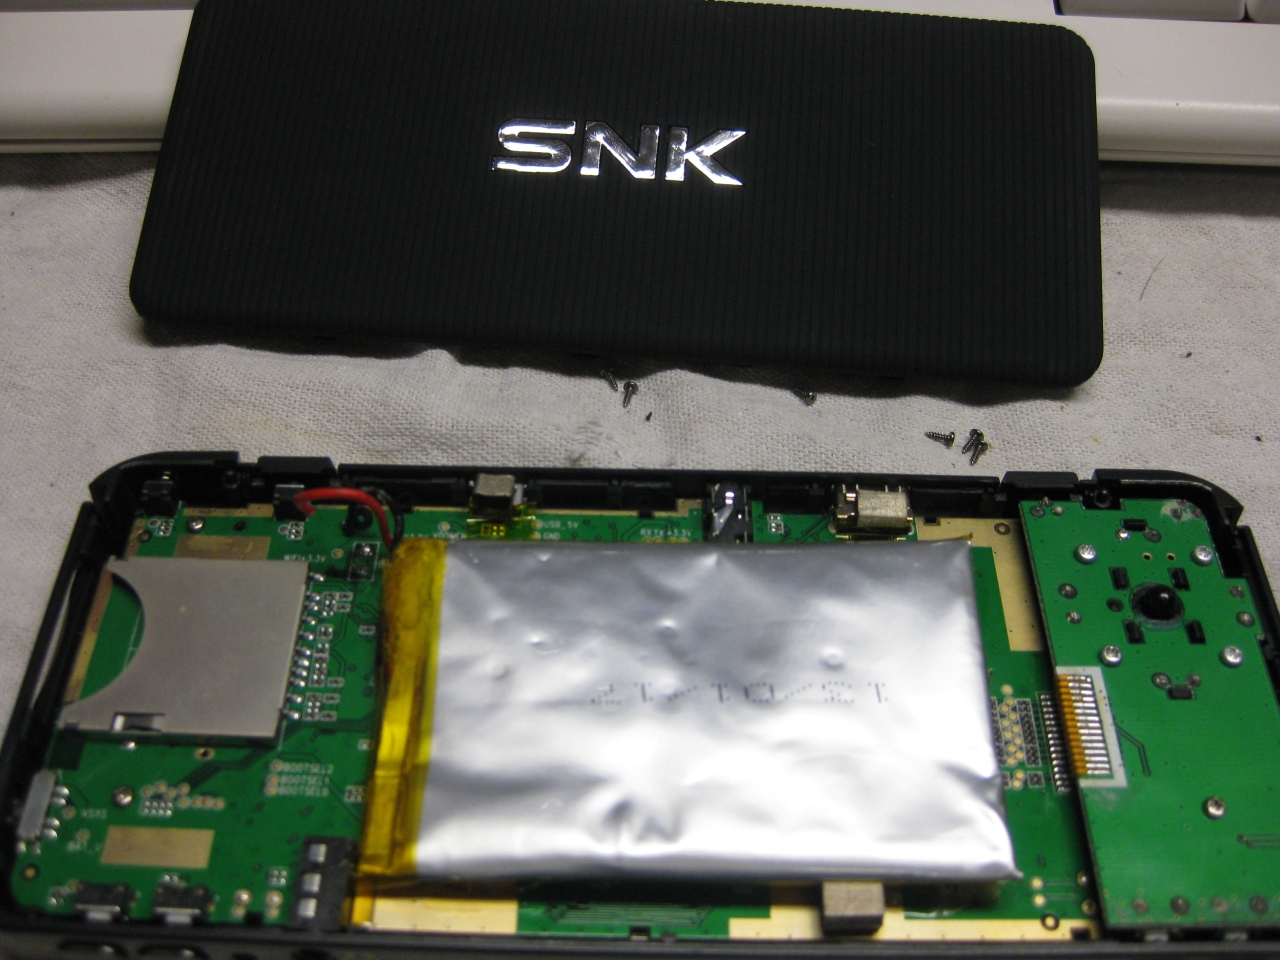
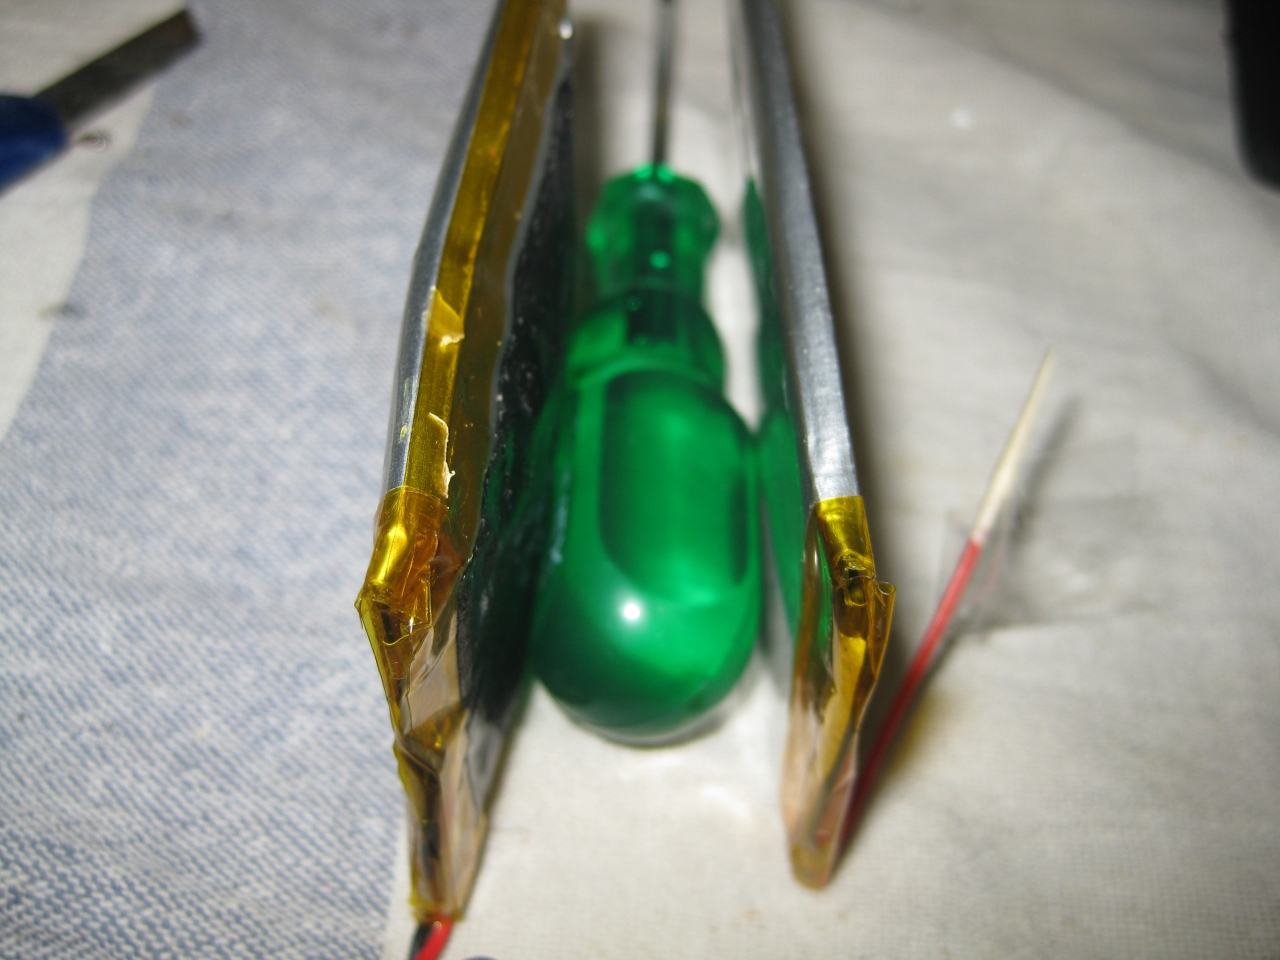
Look at the blown up original battery (never used, brocken, crazy)
done
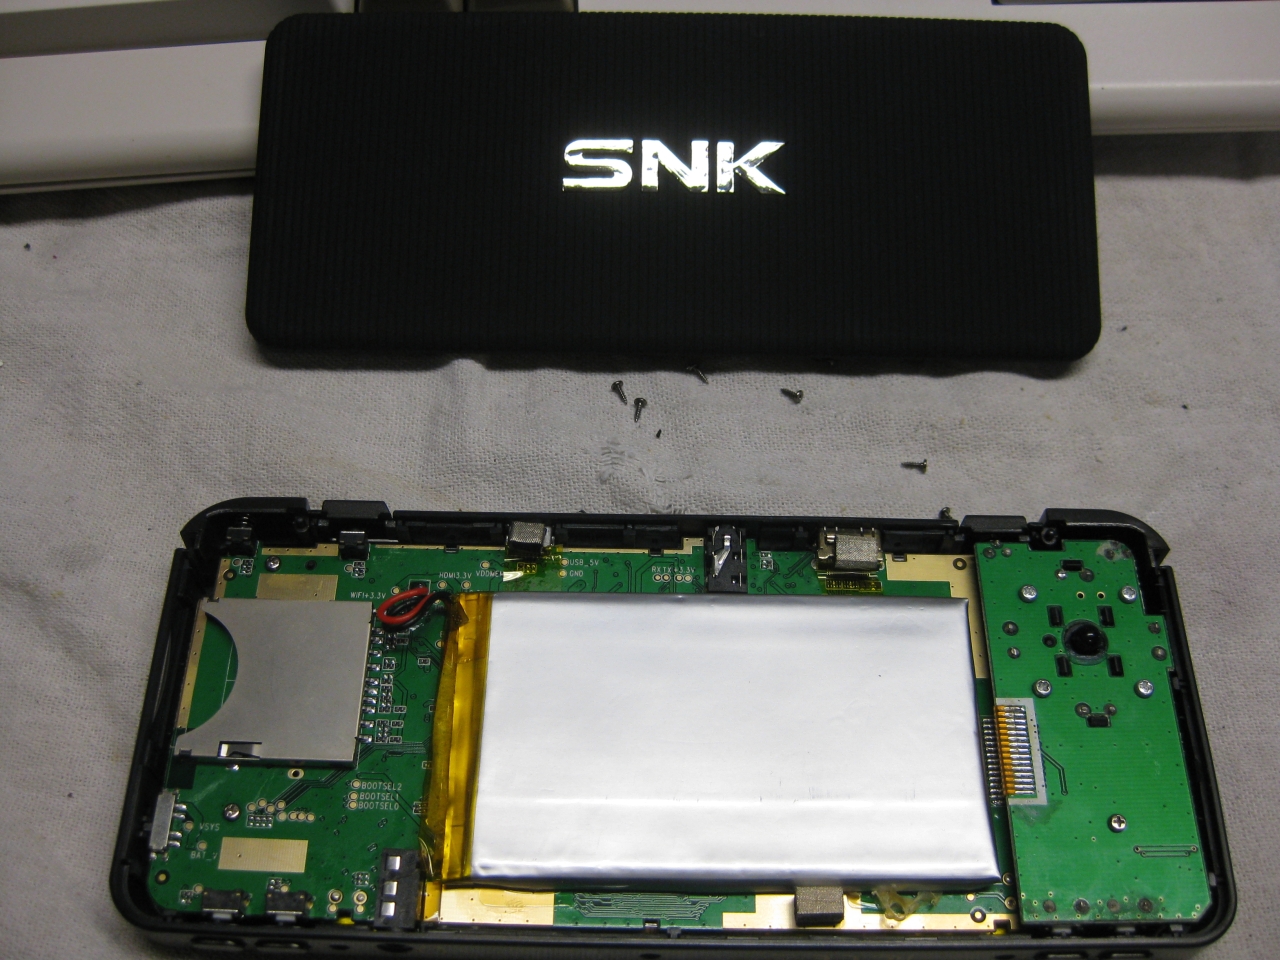
and its working …
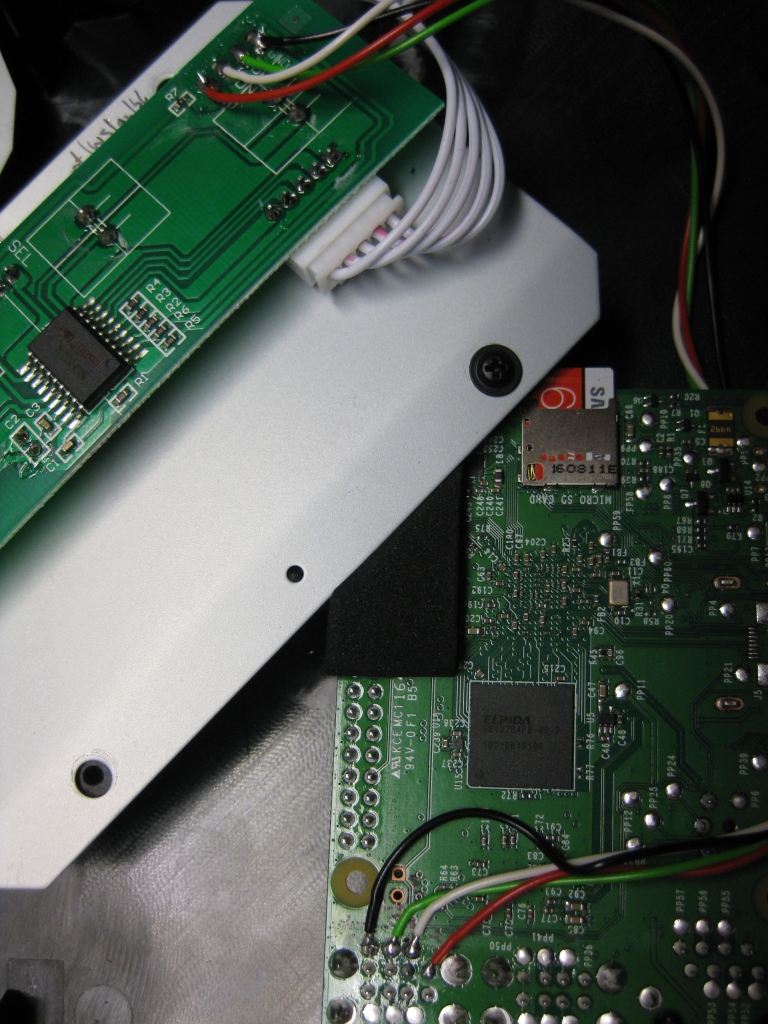
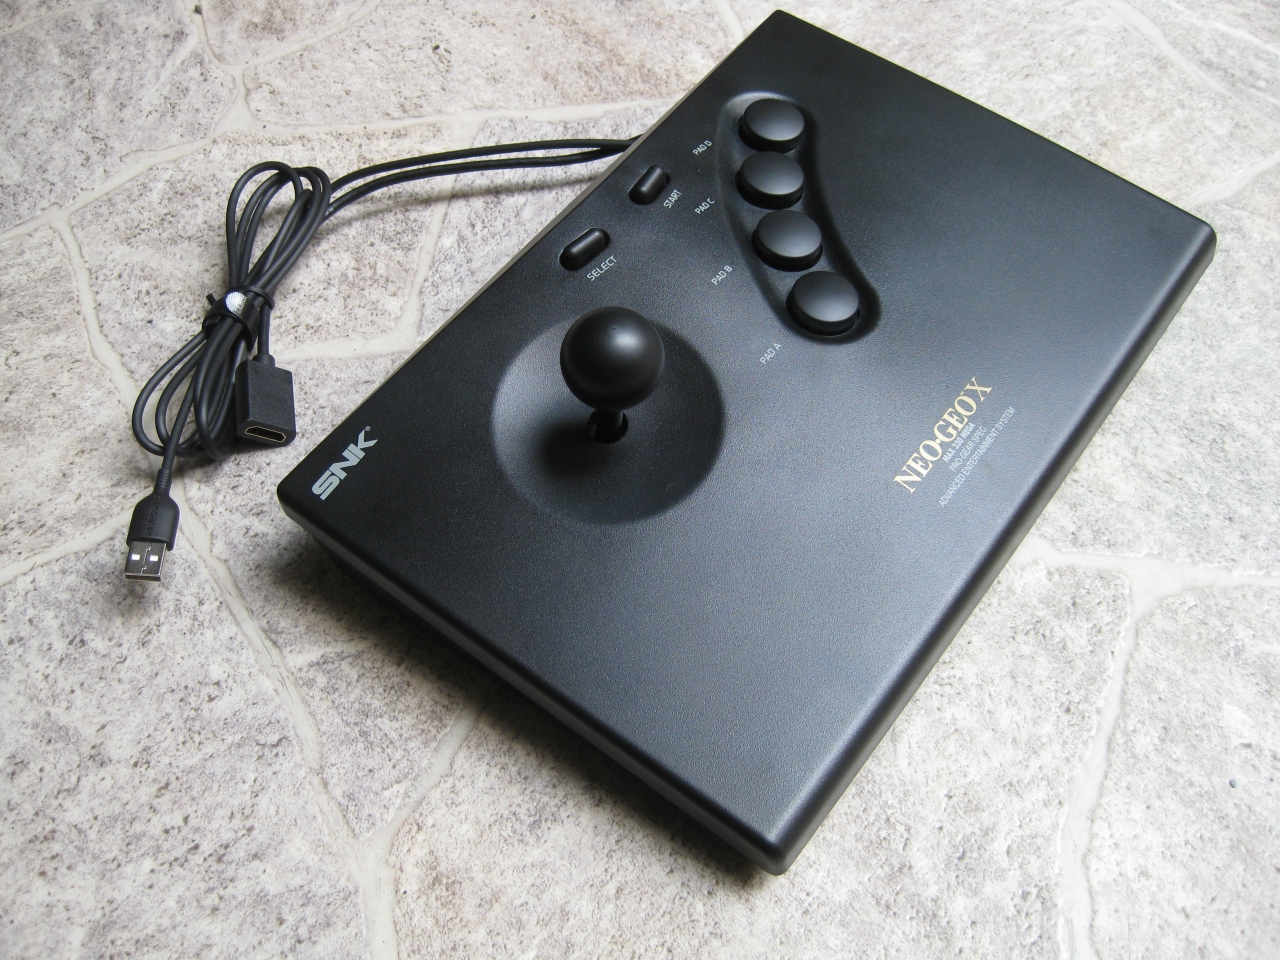
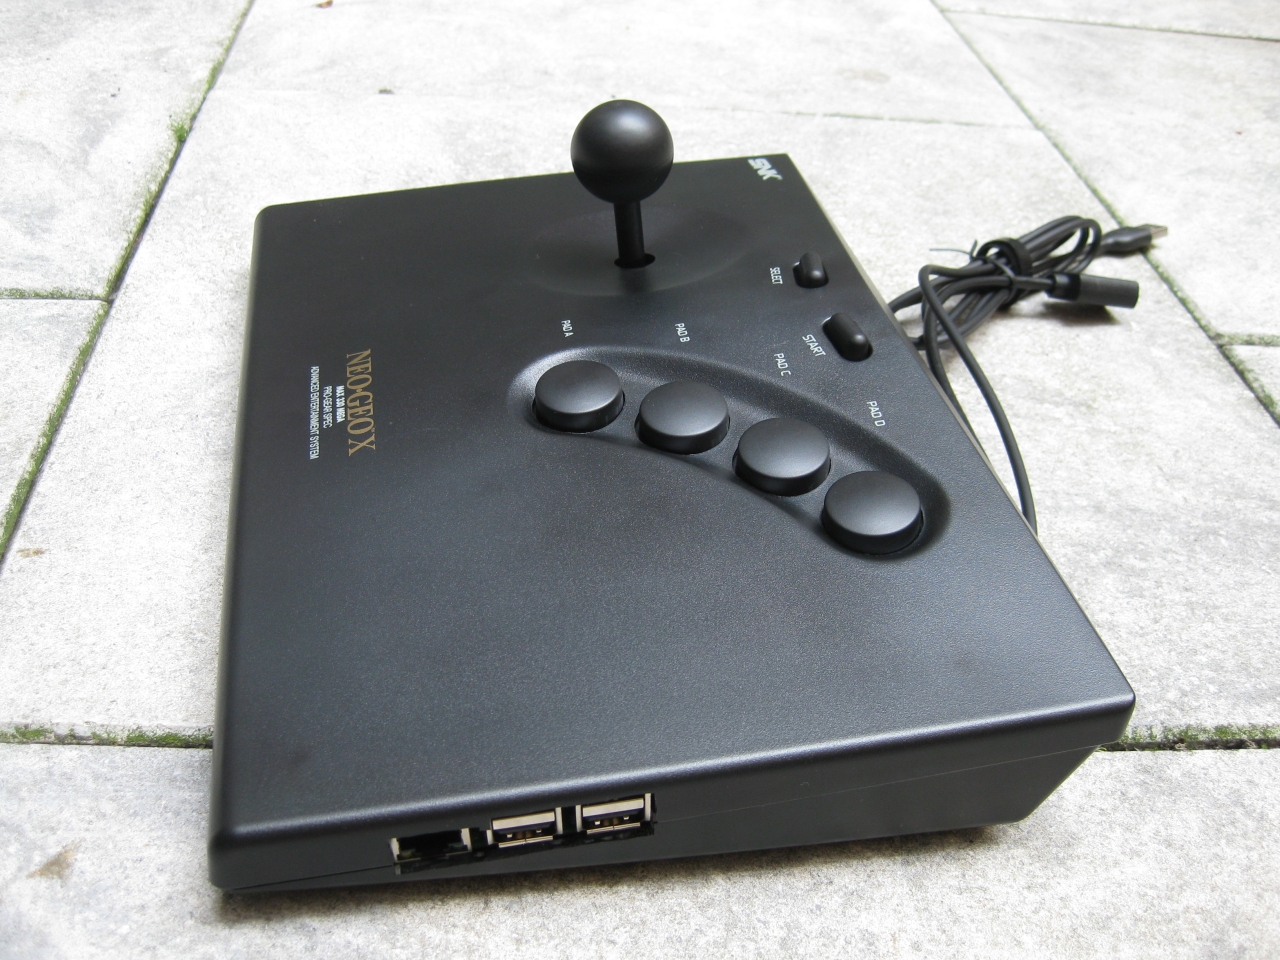
raspberry modding is everywhere. So we put a raspberry in a NeoGeo Oldstyle Arcade Stick for presentation at GamesCom 2017, so the younger games can get in touch with the neo-geo Games and not only with the look. With the right feeling a original NeoGeo Controller
The position makes it possible to use the onboard USB Ports and network connector.
First some dremel work to make it fit into the neogeo arcadestick case
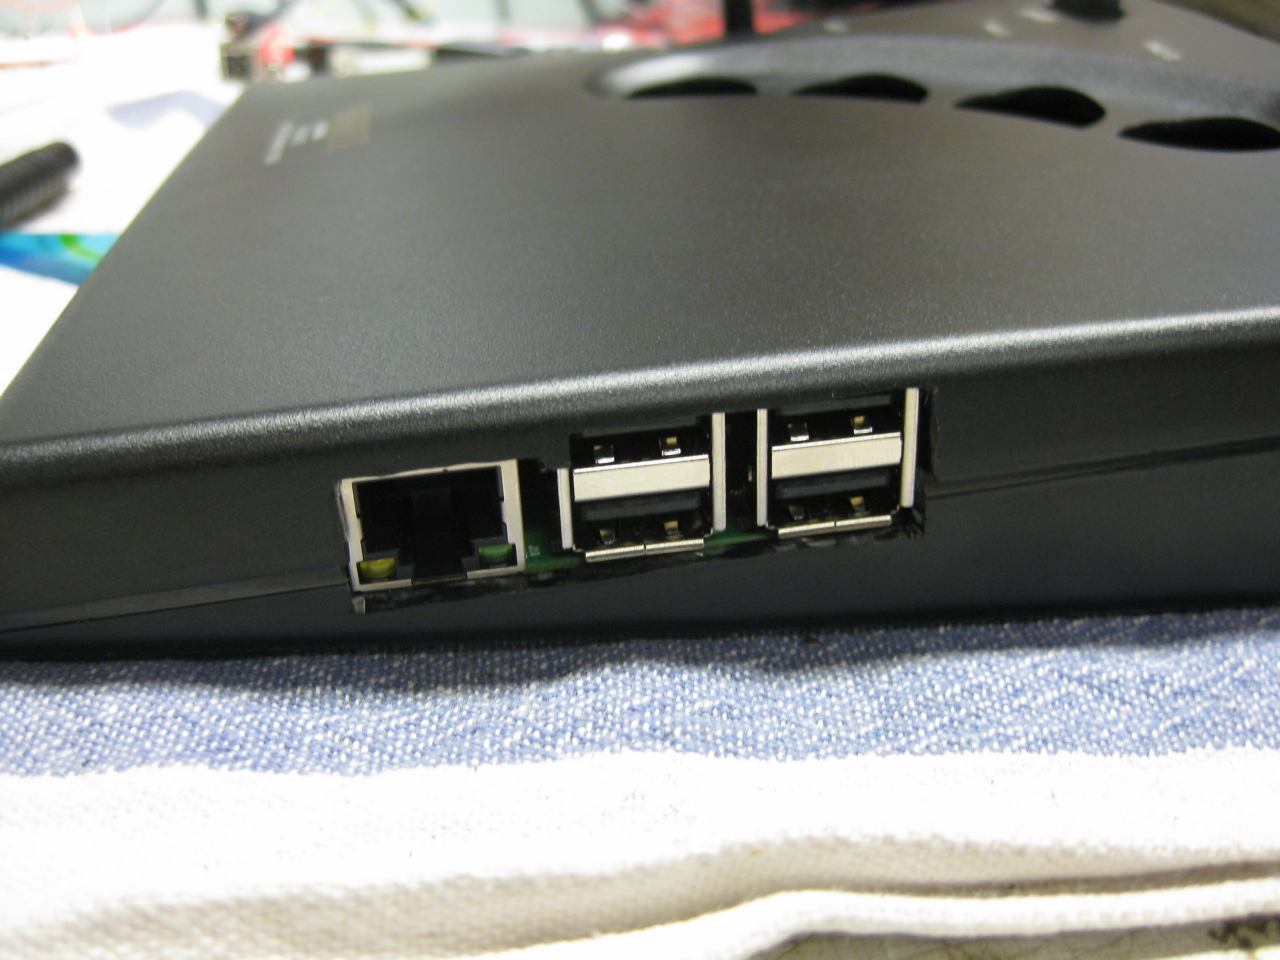
then a hdmi slim extension and a usb cable
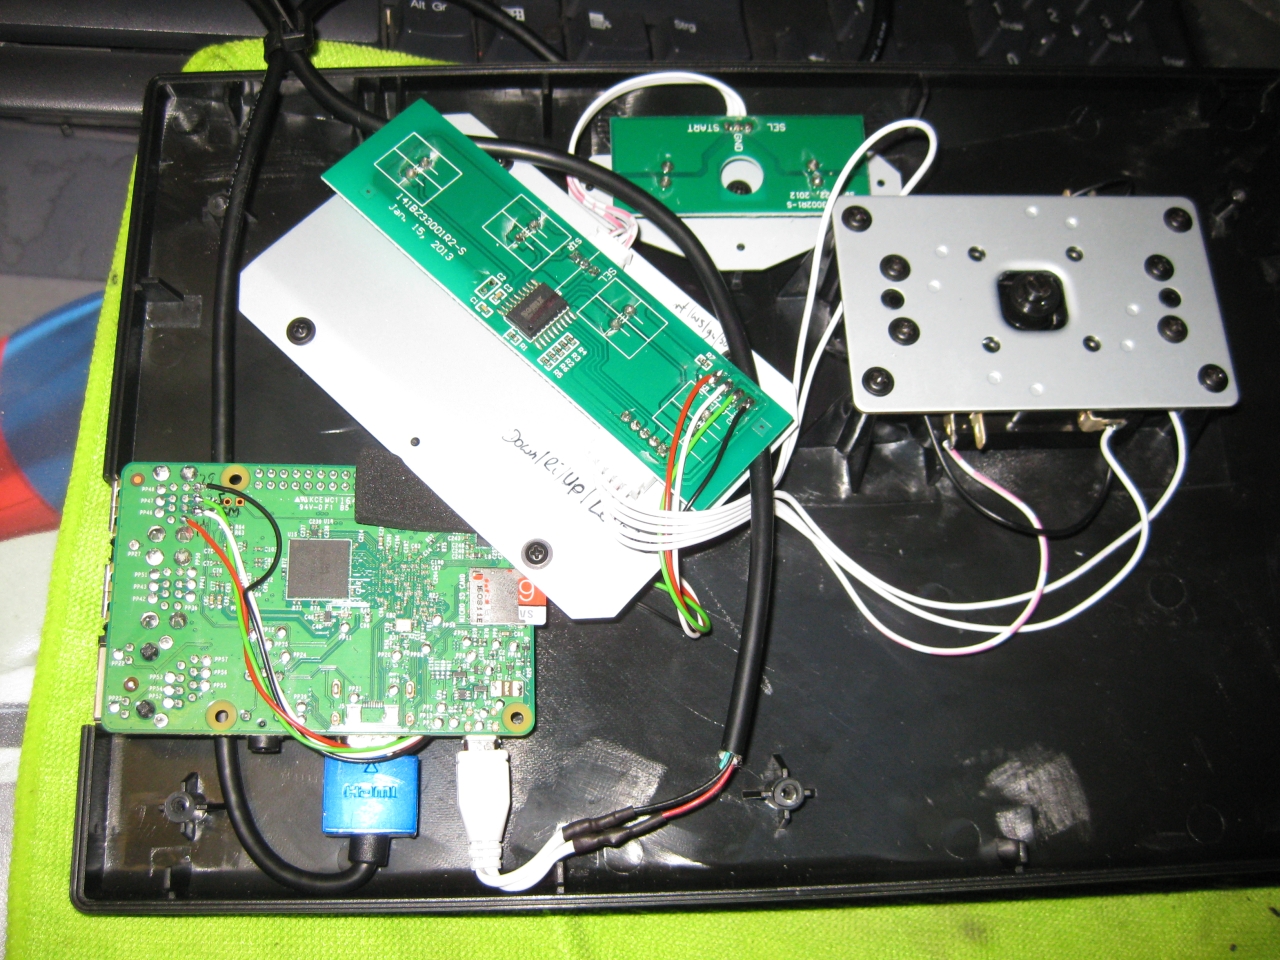
As the NeoGeo X Controller is a standard USB Controller it was possible to connect the usb part directly to one usb connector of the pi
in the future it could be possible to make the buttons directly to GPIO Ports
So it looks great
Its time to bring up this little beauty to the level of a Atari 800XL.
An easy mod, because all parts in a Atari 600XL are socket and you only need to change 2 RAM Chips and do some wiring
Works with Pal and here shown NTSC Version
Remove U11 and U12 (was: TMS 4416-15NL 4bitx16k)
Replace with : MCM41464 AP10 (4bitx64k)
or : NEC D41464C-10 (4bitx64k)
OR : HMS50464P (4bitx64k)
or : any 4464 equialent (4bitx64k)
Wire Lifted DownSide R36 to Lifted U16 Pin 08
Wire Lifted U5 Pin 03 to U9 Pin 21 Dia Nearby
Wire Lifted U6 Pin 10 to U9 Pin 22 Dia nearby
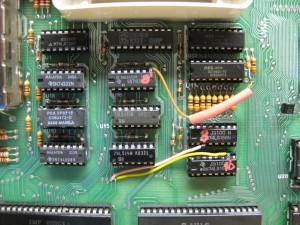
Atari600XL_Ram_Upgrade_to_64MB
Atari 800 was my first computer after Sinclair ZX81 and its time to make the picture better. After checking the A/V Out it contains Video and S-Video in a good qualitiy. So i decided to replace the original DIN Connector and replace it with a DIN 13 like used in Atari 7800 french and Atari ST. I used some not needed pins from the Din 13 to put in Video and S-Video too. So its possible to use RGB-Output via a standard french Atari 7800 RGB Cable and with a special Cable made I can use Video and S-Video too via the same connector.
To put the DIN 13 in the right position i need some plastic and drilled holes downunder to make the Din connectors accessable

replaced DIN 5 to DIN13

downunder chaos
because of no space at the CPU Board I needed to move the Sophia Board to another place. I uses some ribbon extension like this

and here we go. In front you see incognito board too ![]()

after finishing up it looks like this