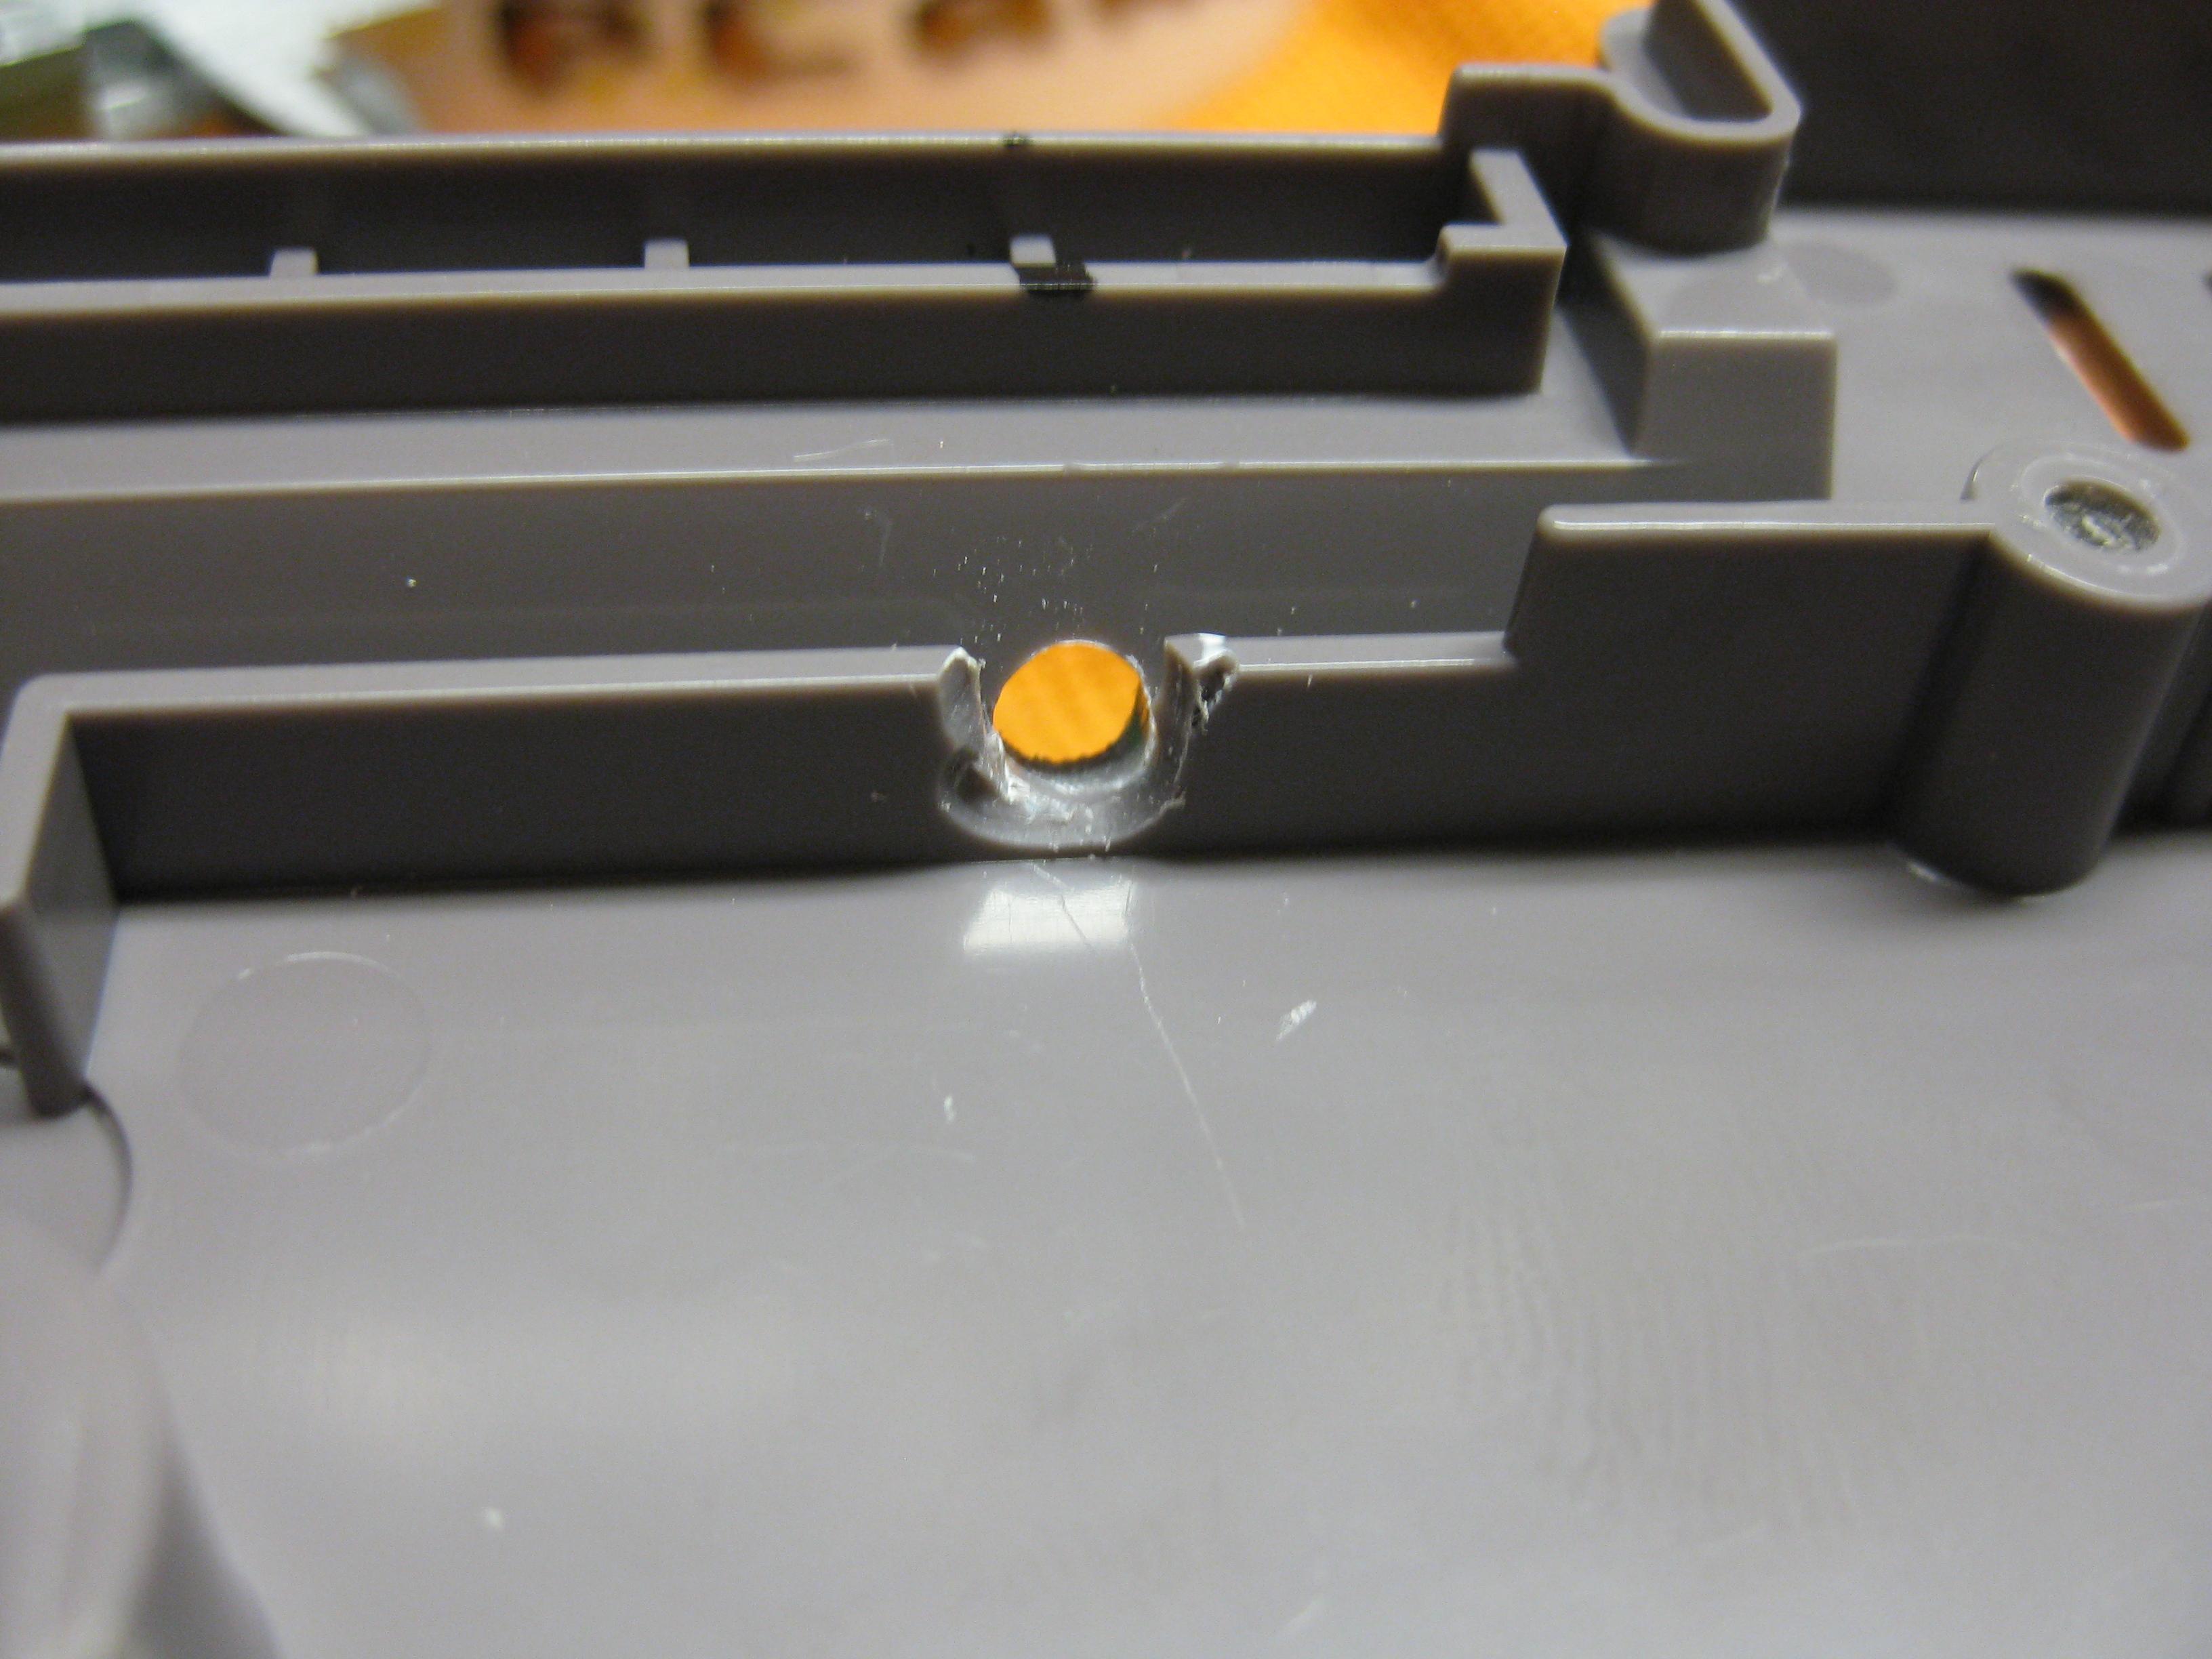
For make it fit into a japanese Famicom Pad you have to cut the PCB at the edges and re add the cutted circuit board.

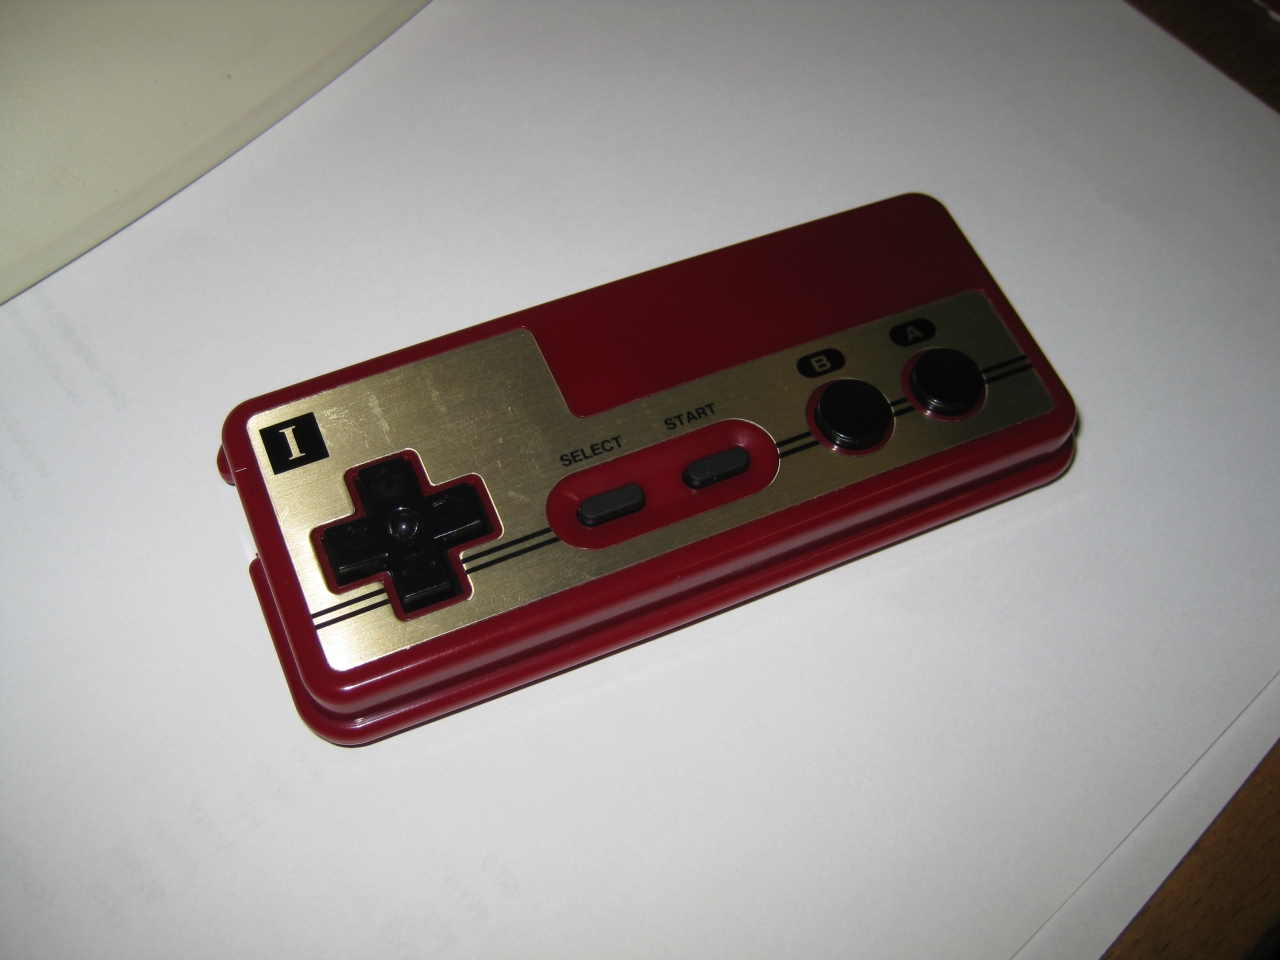
For make it fit into a japanese Famicom Pad you have to cut the PCB at the edges and re add the cutted circuit board.
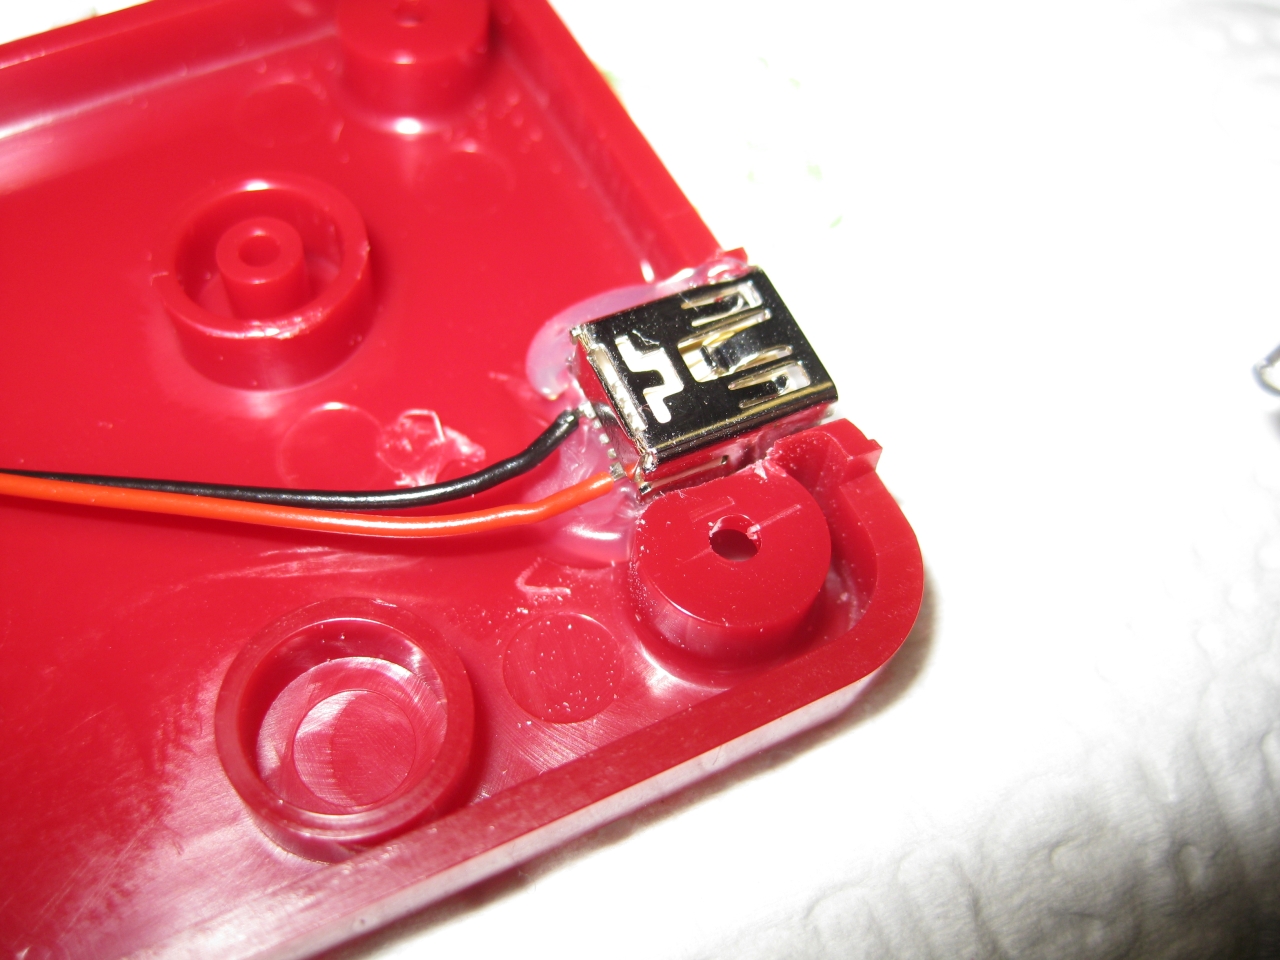
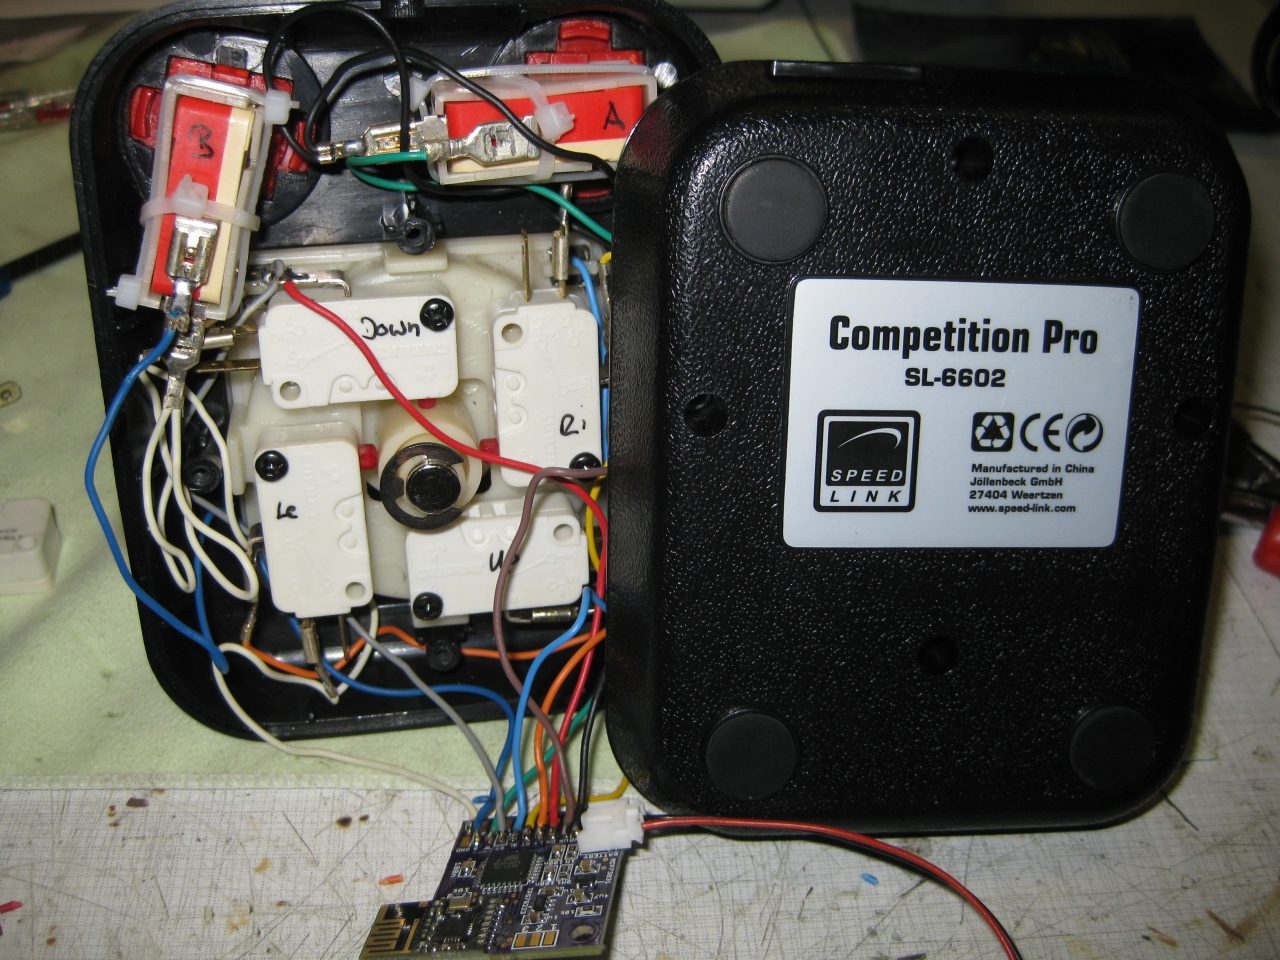
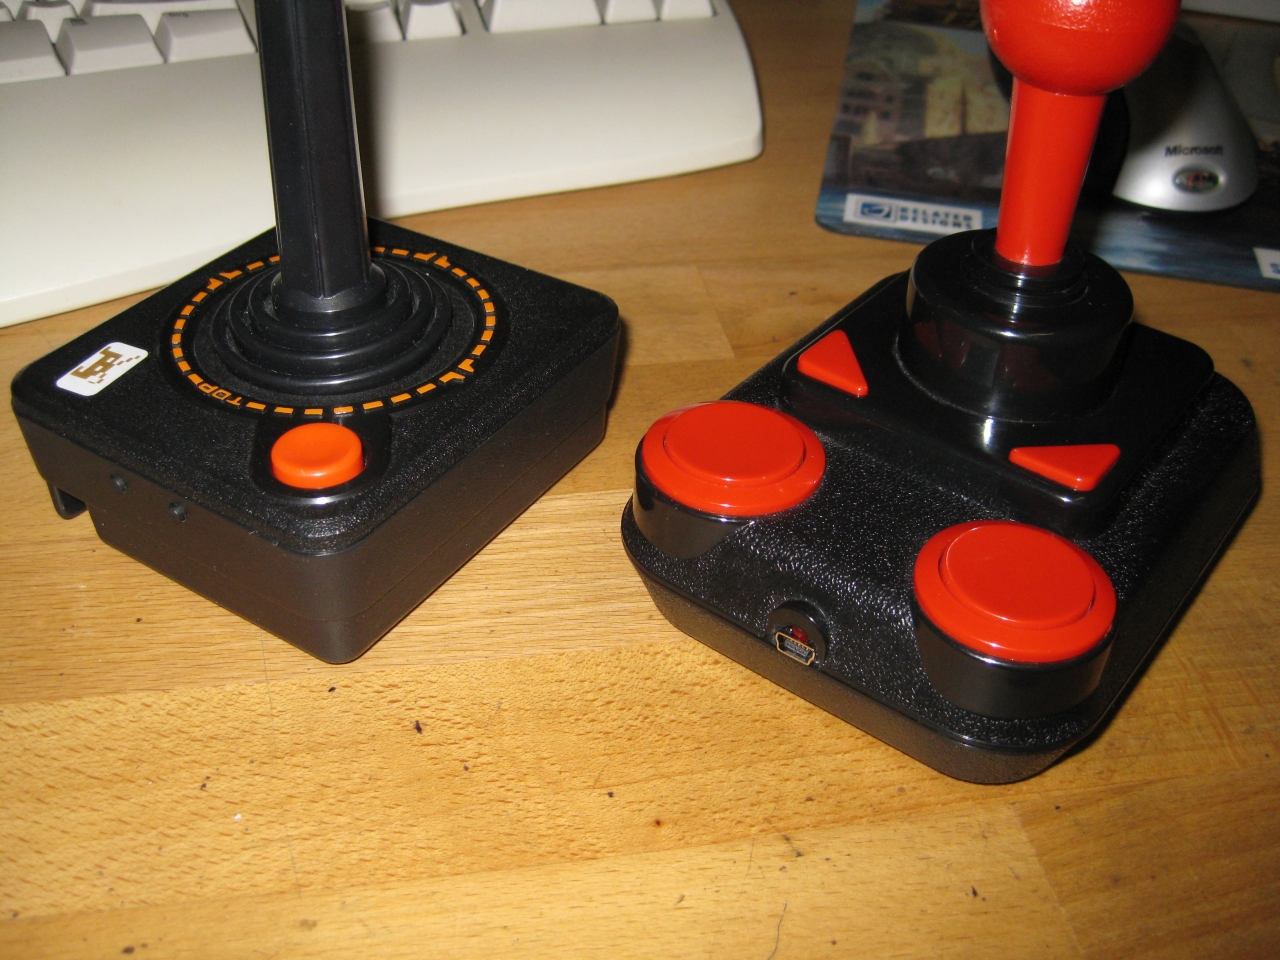
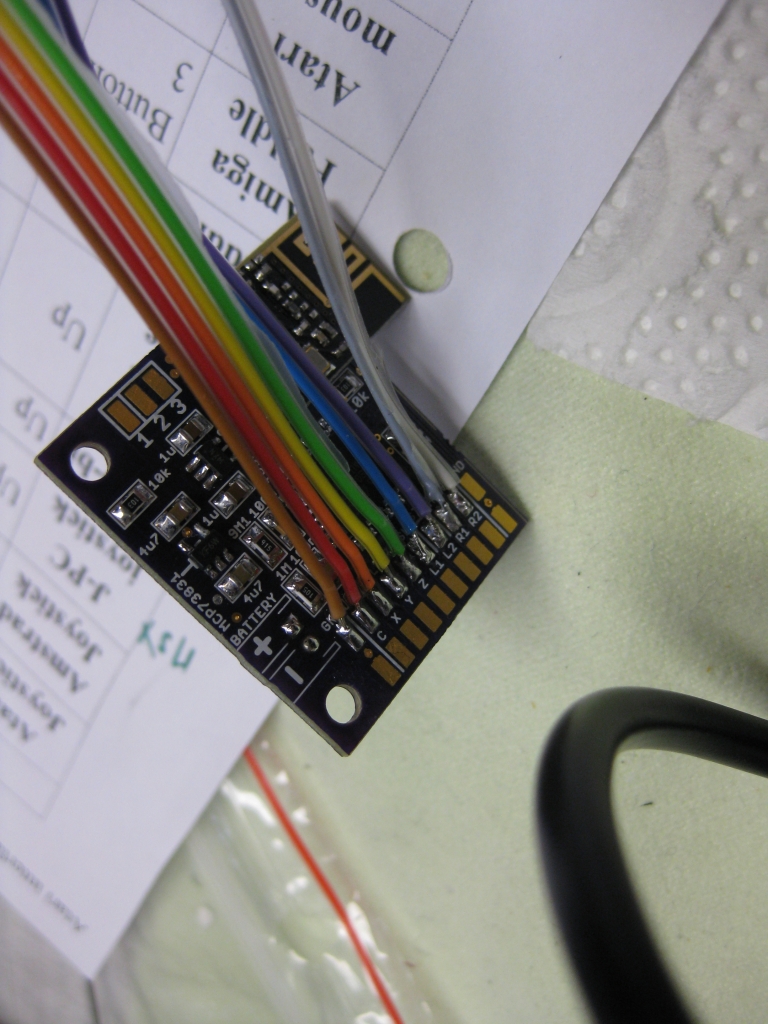
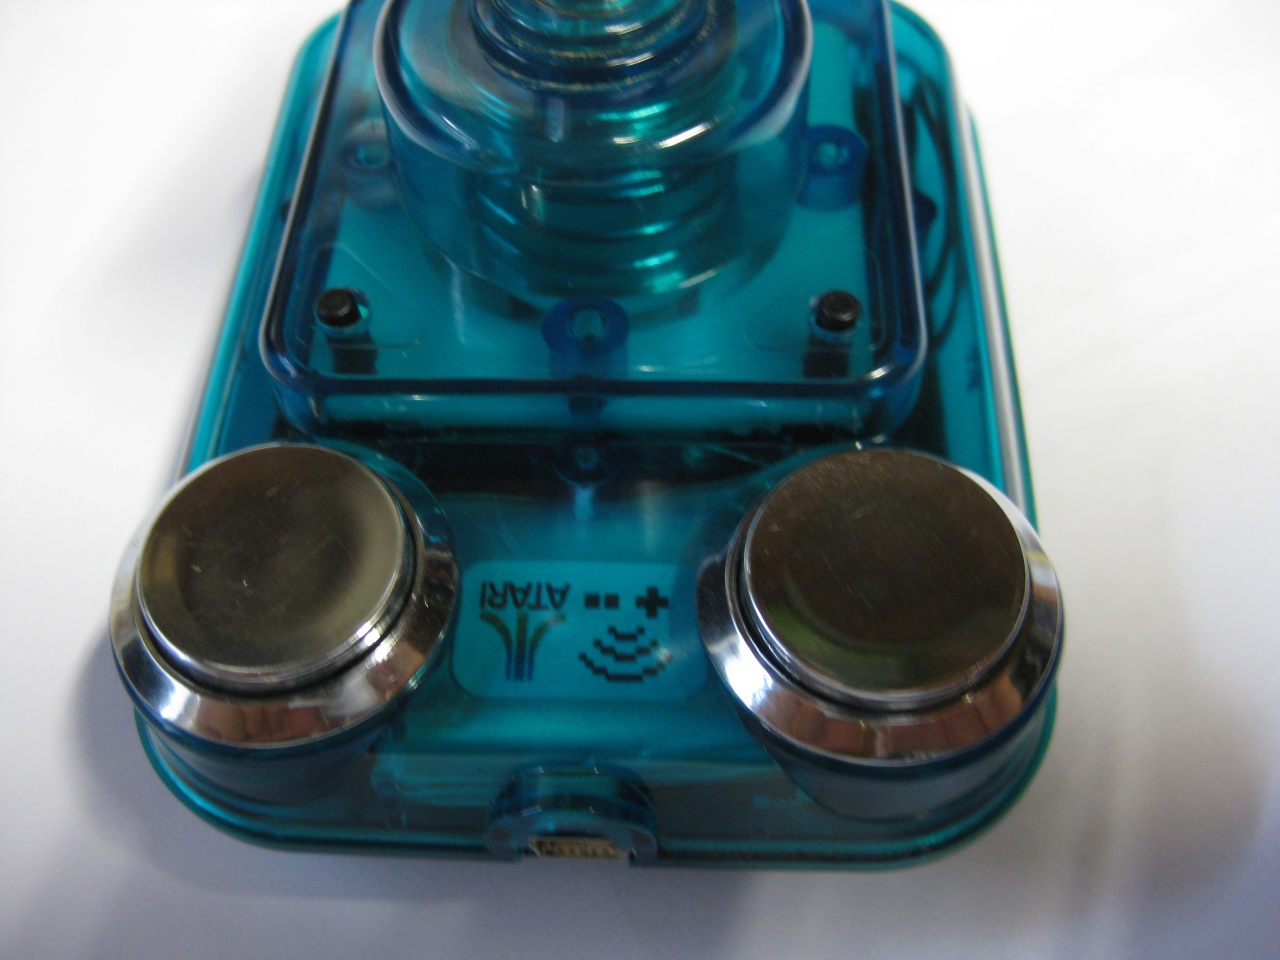
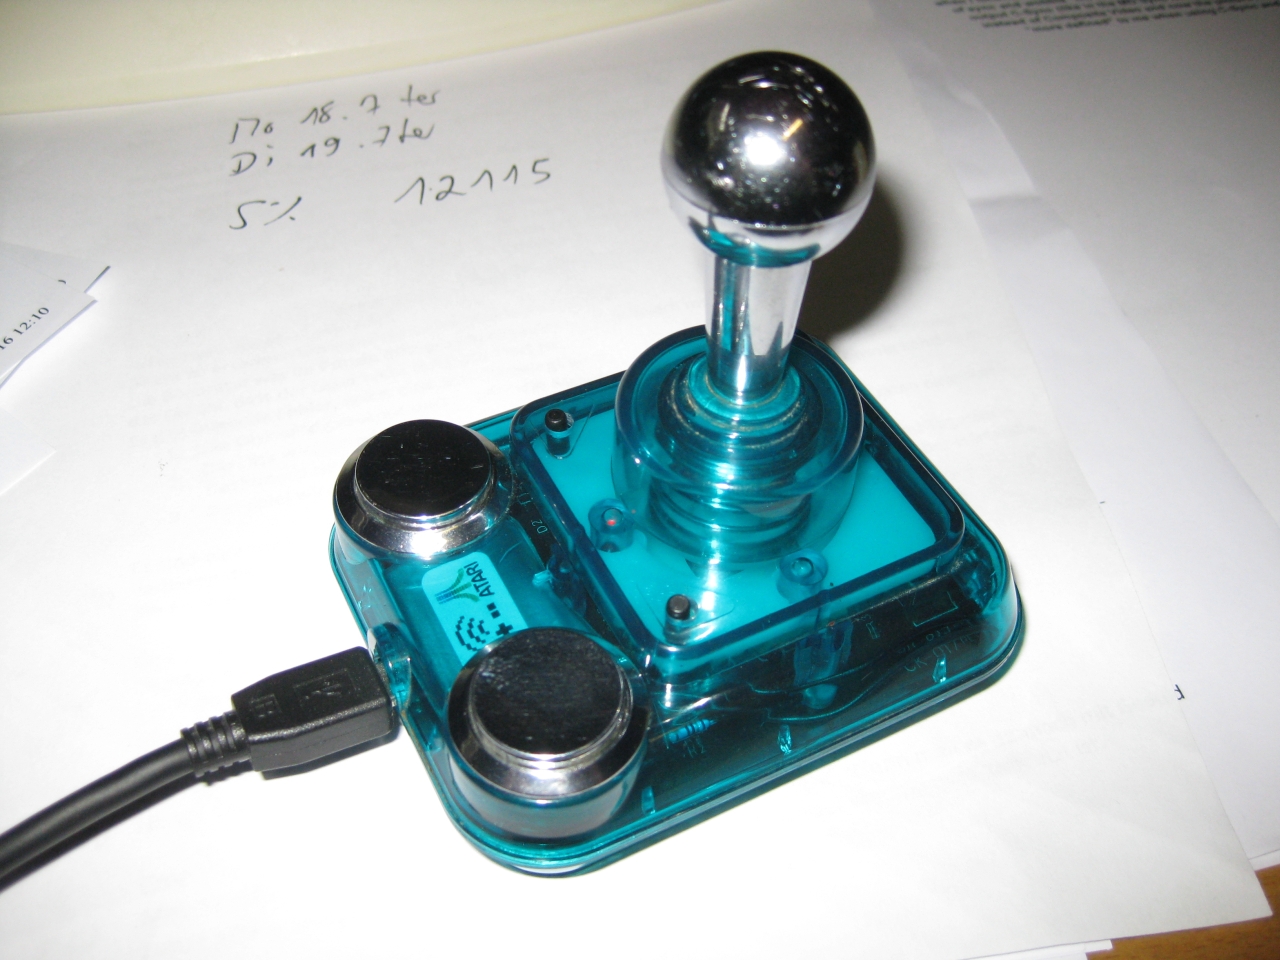
I used a Competition Pro USB (bad USB lag) and changed it into a UWRC Controller.
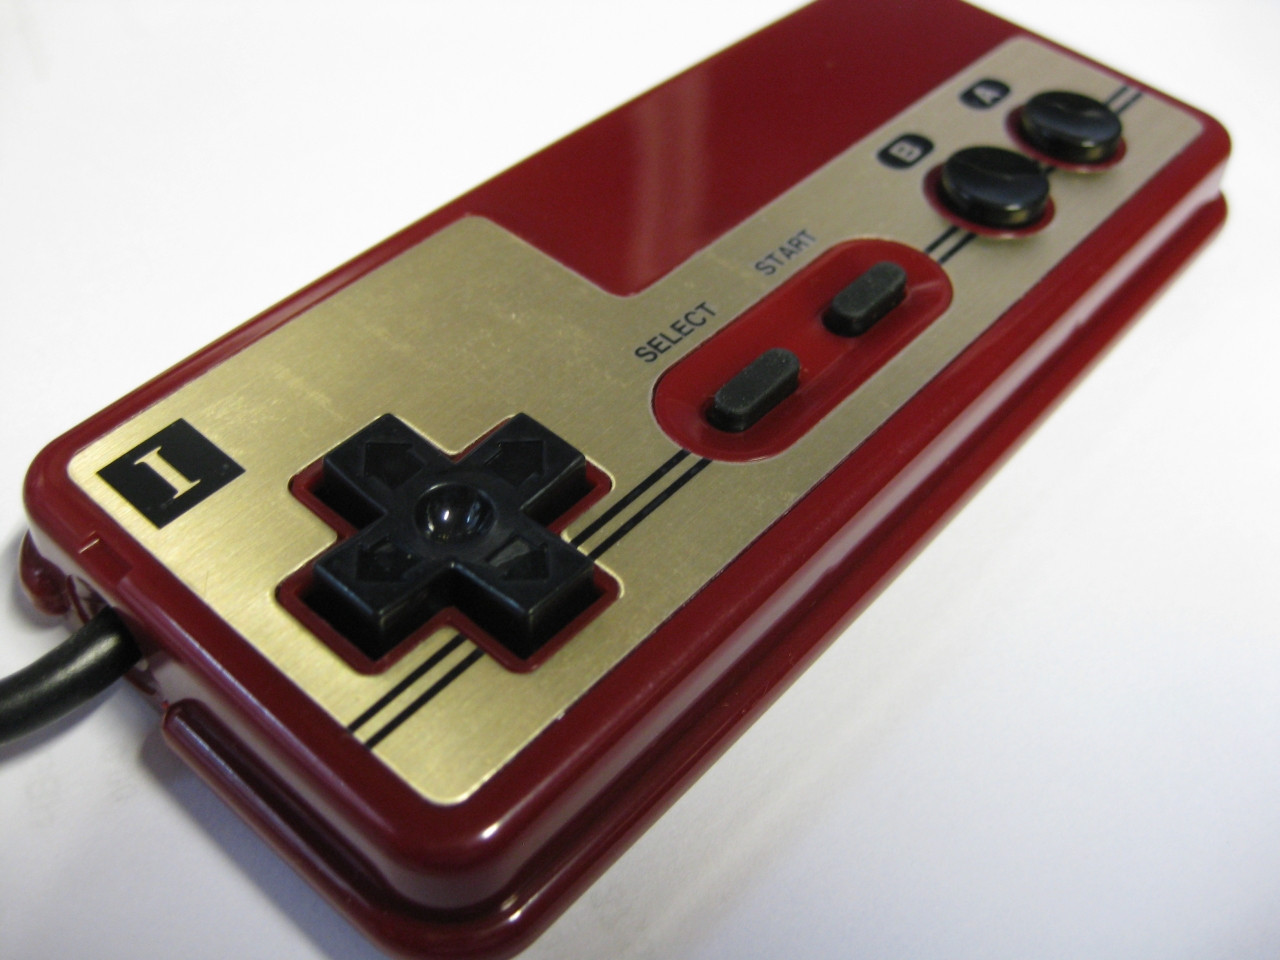
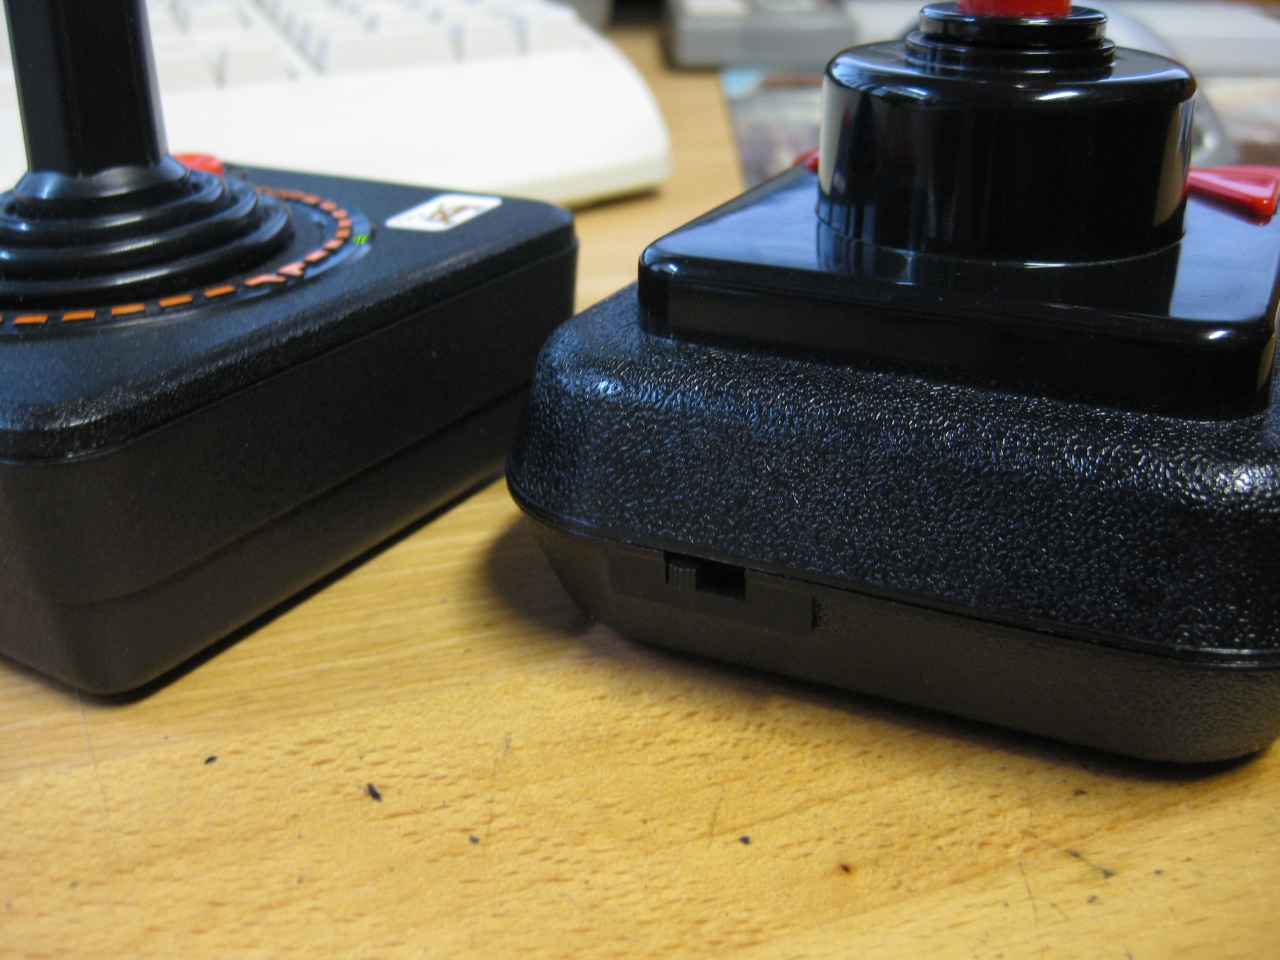
It uses Button, A,B,Select,Start (on the triangle Buttons). With the small black switch you can select the triangle Buttons between Select,Start and Button X,Y.
I bought some Competition Pro Mini and most of them have brocken microswitches ![]()
I found some replacements here:
http://www.voelkner.de/products/43525/Microschalter-Ultraminiatur-5A-250V-Sim.-R.-Hebel.html
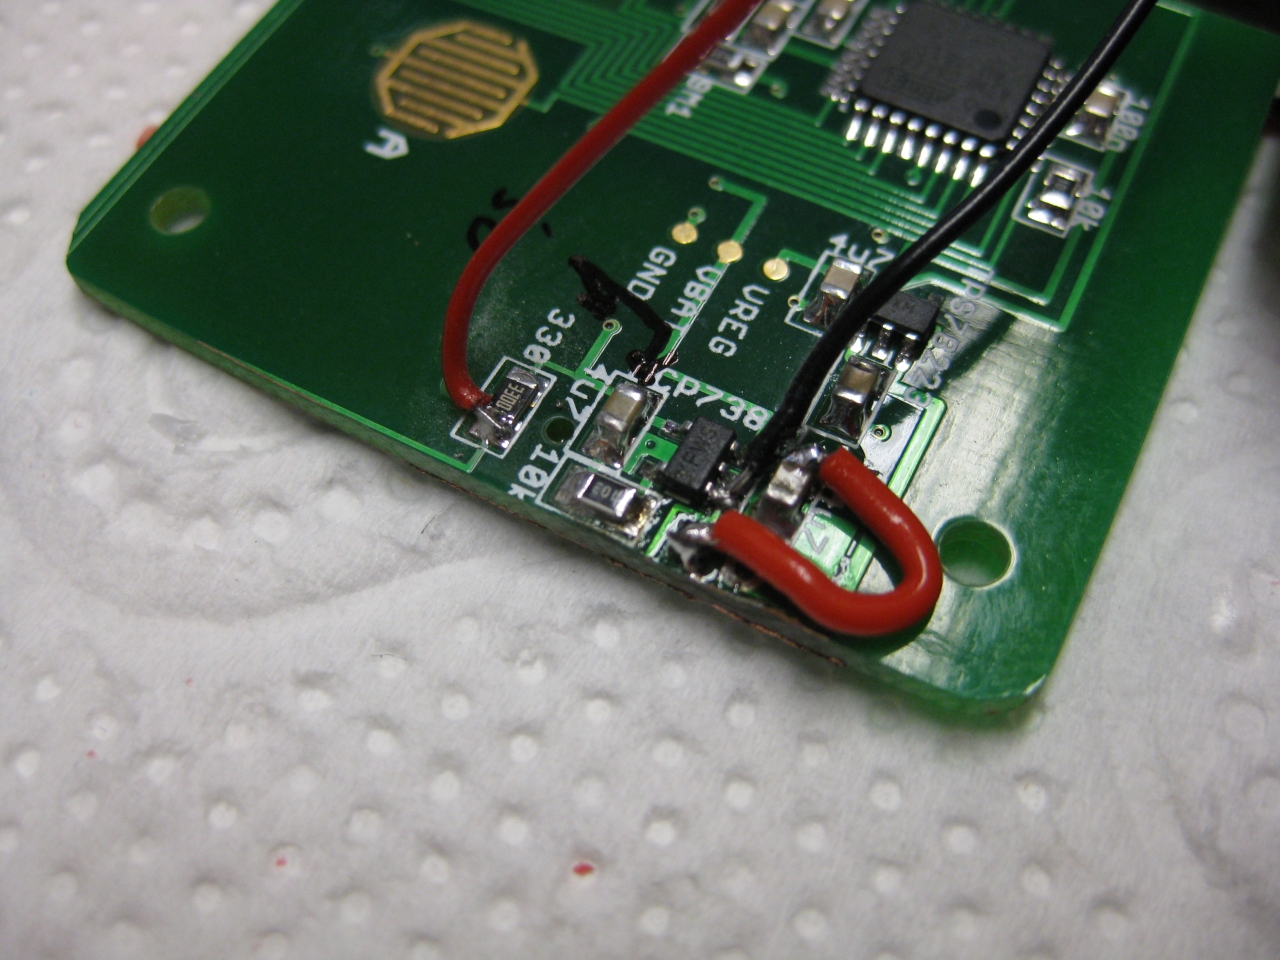
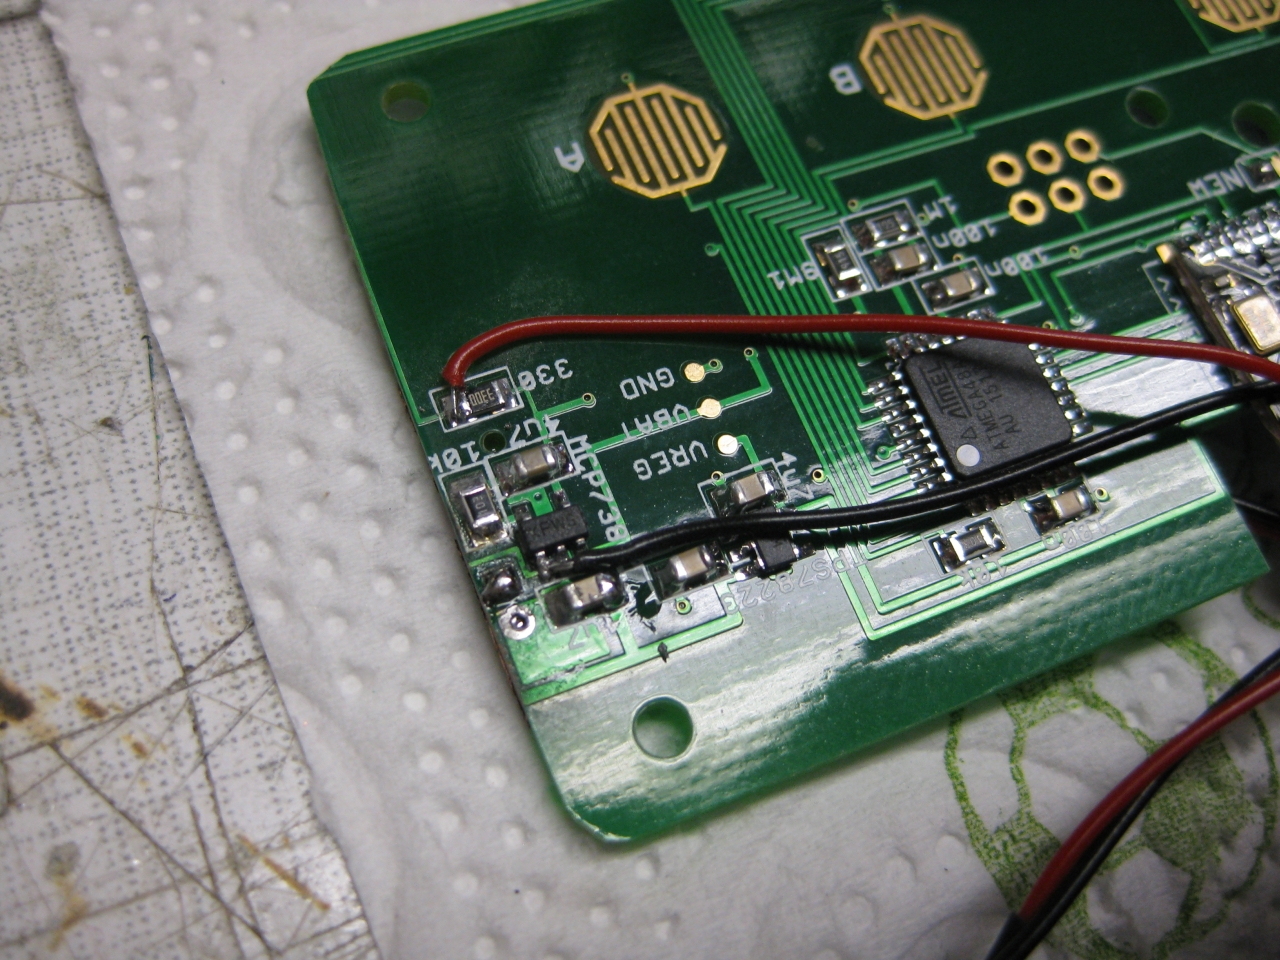
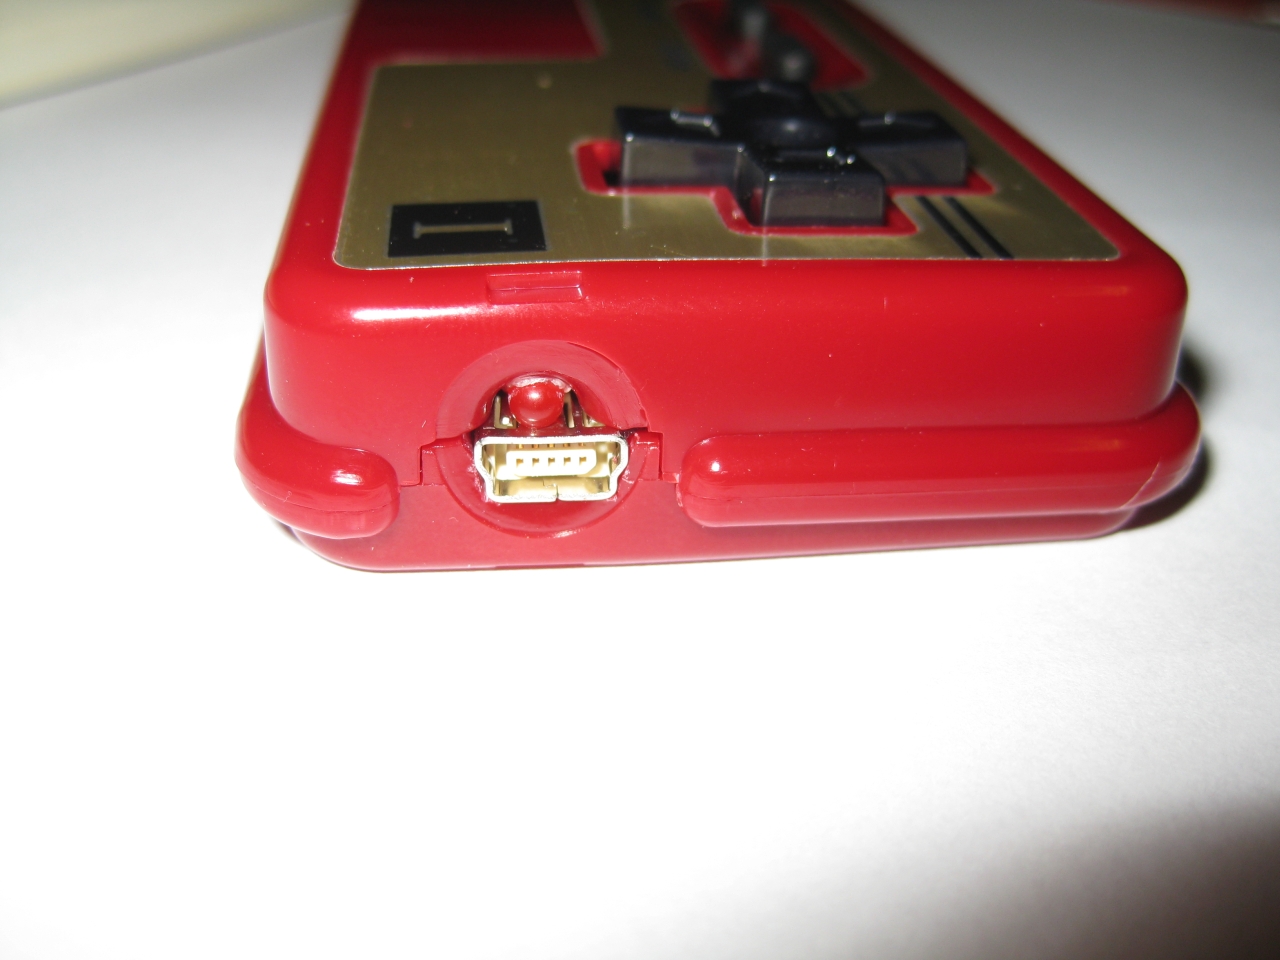
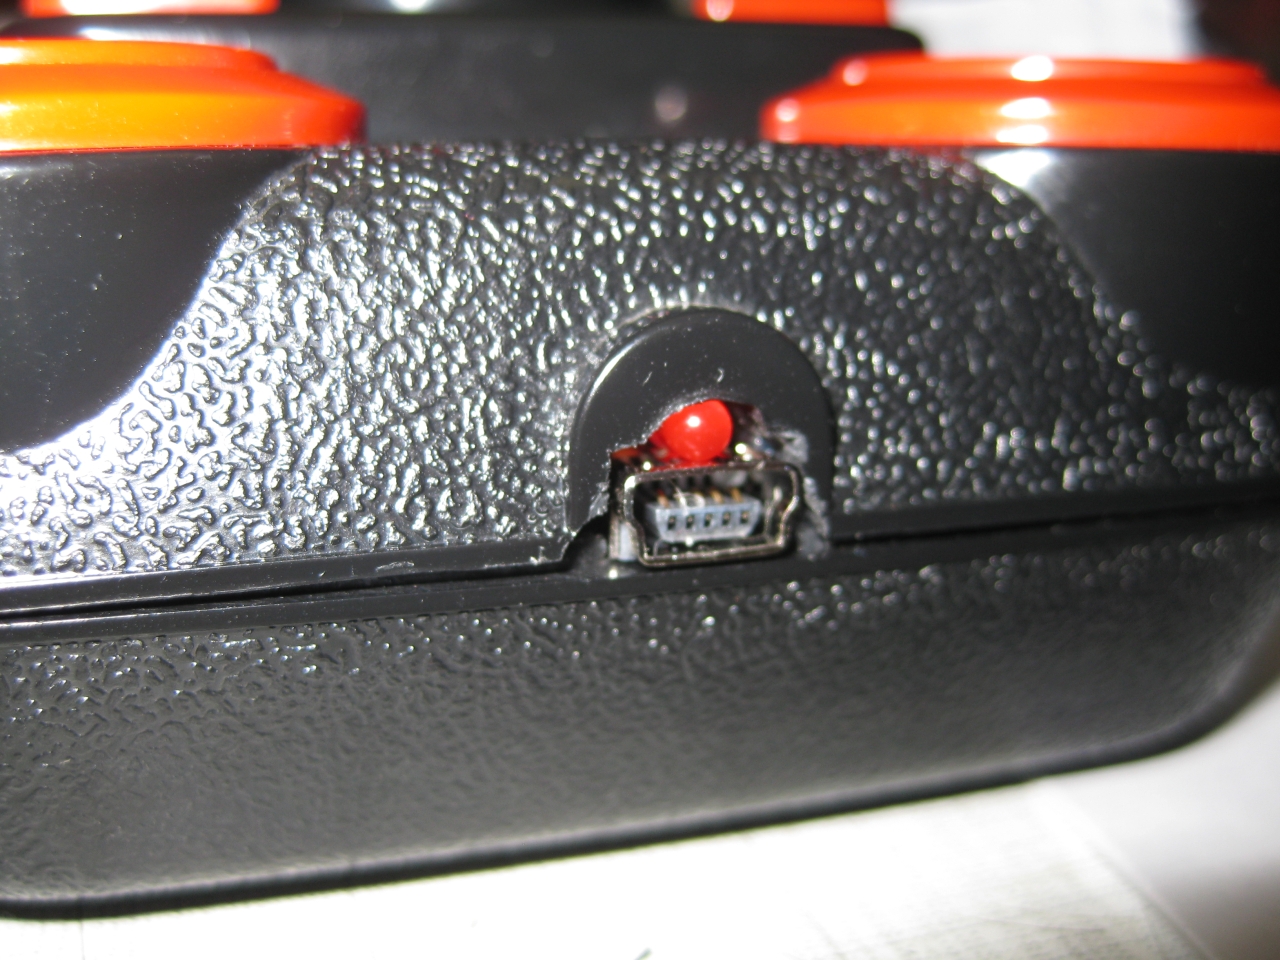
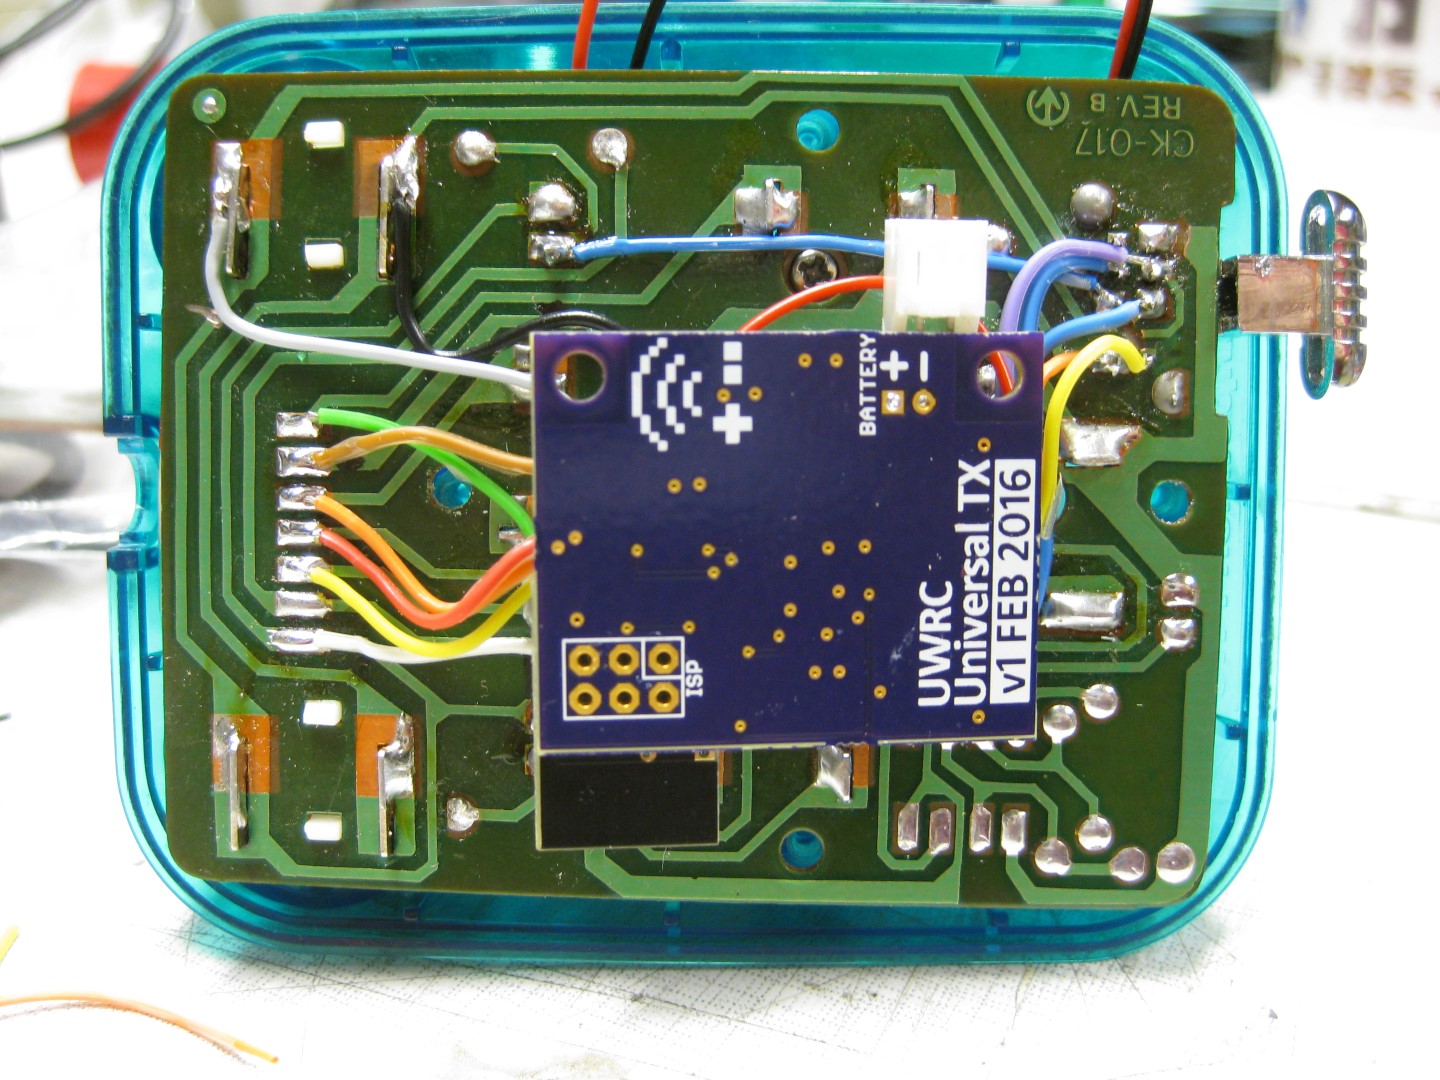
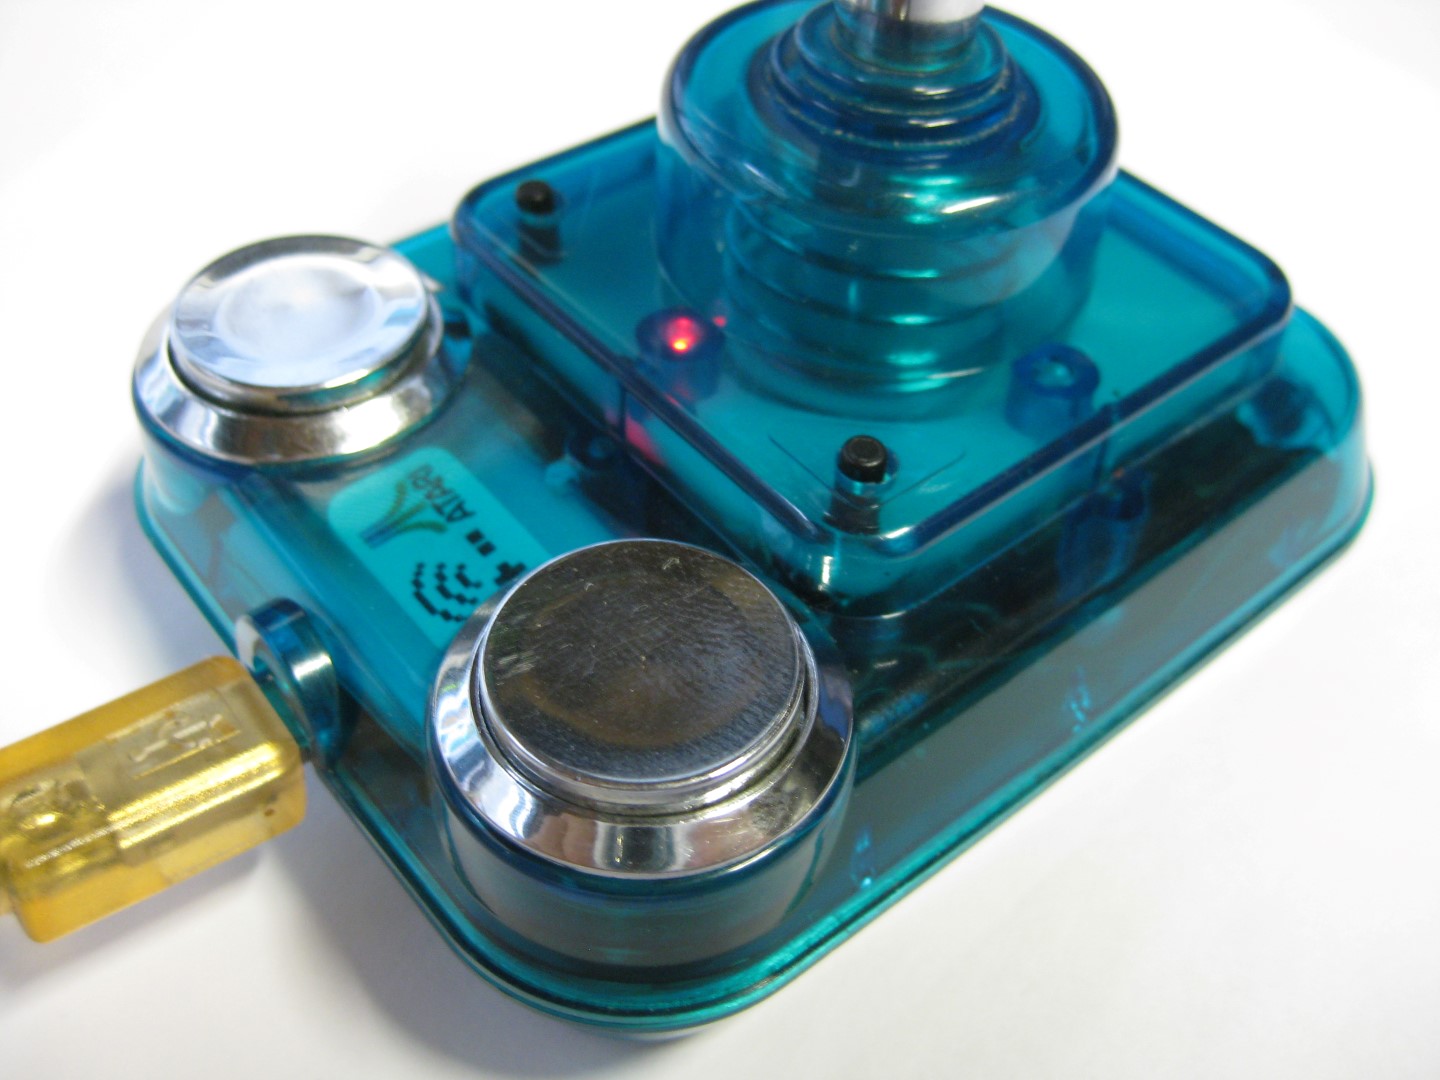
It was very tricky to add the Universal TX PCB in this tiny stick but after all it looks great ![]()
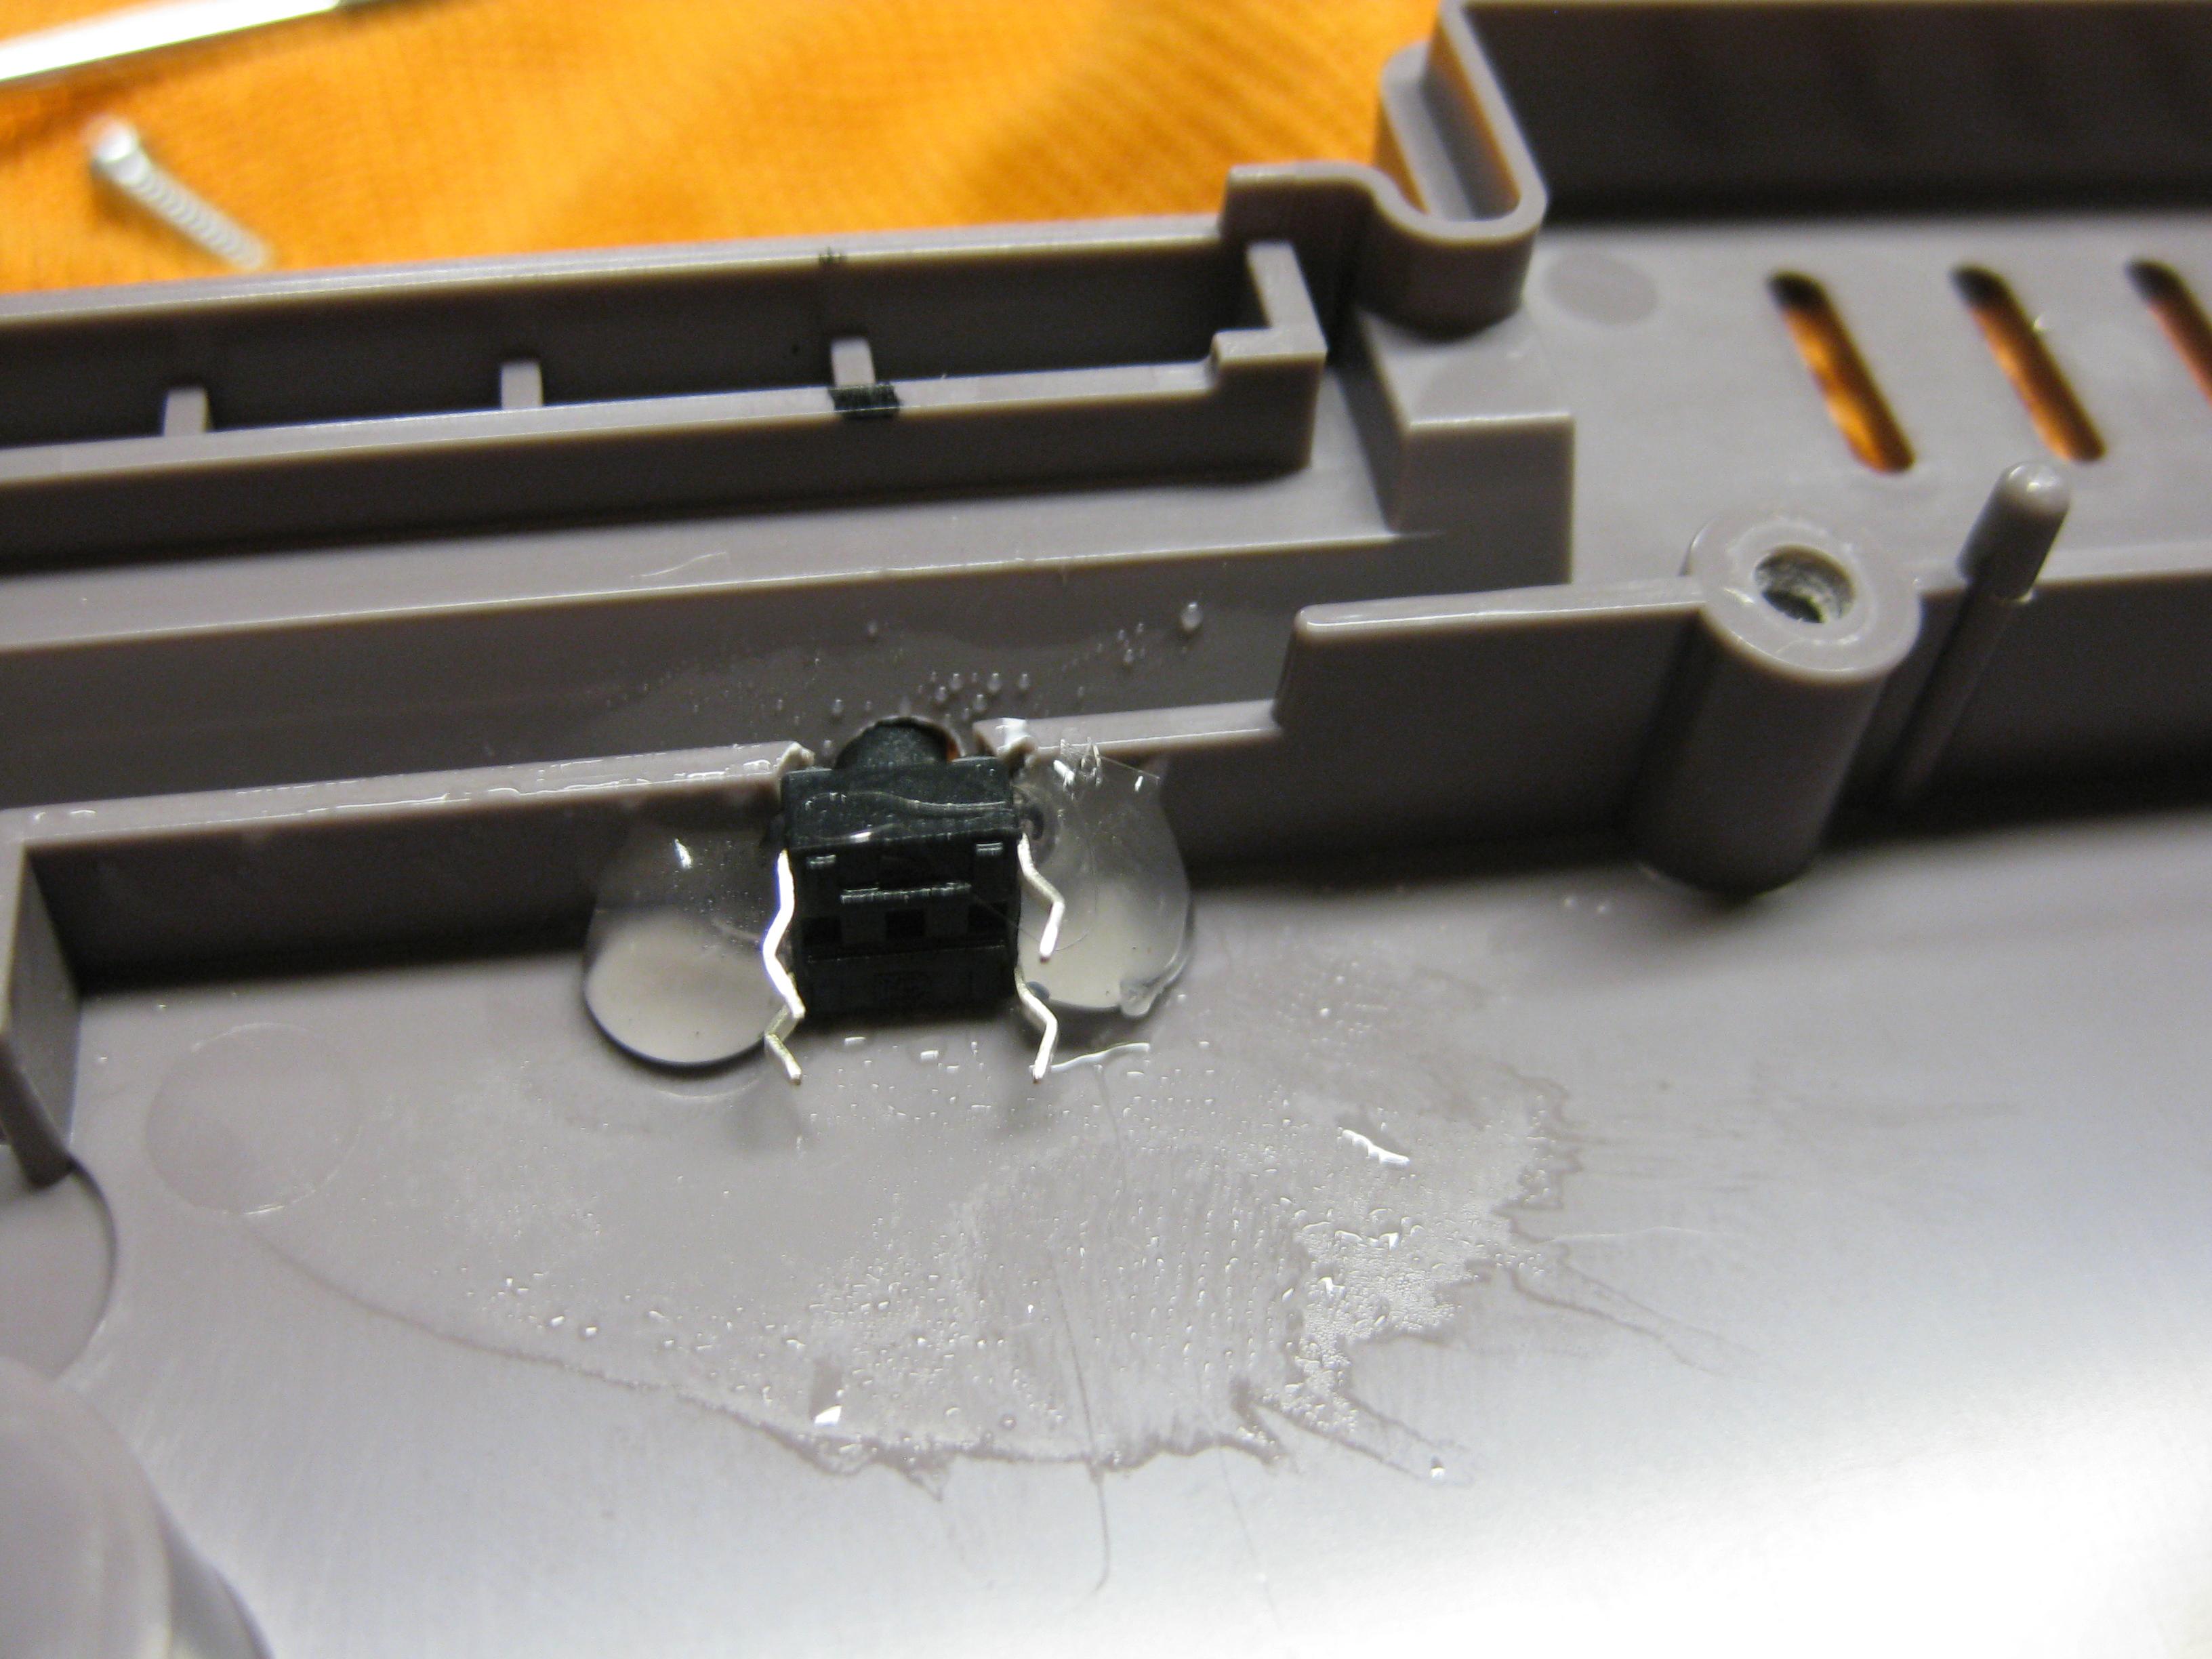
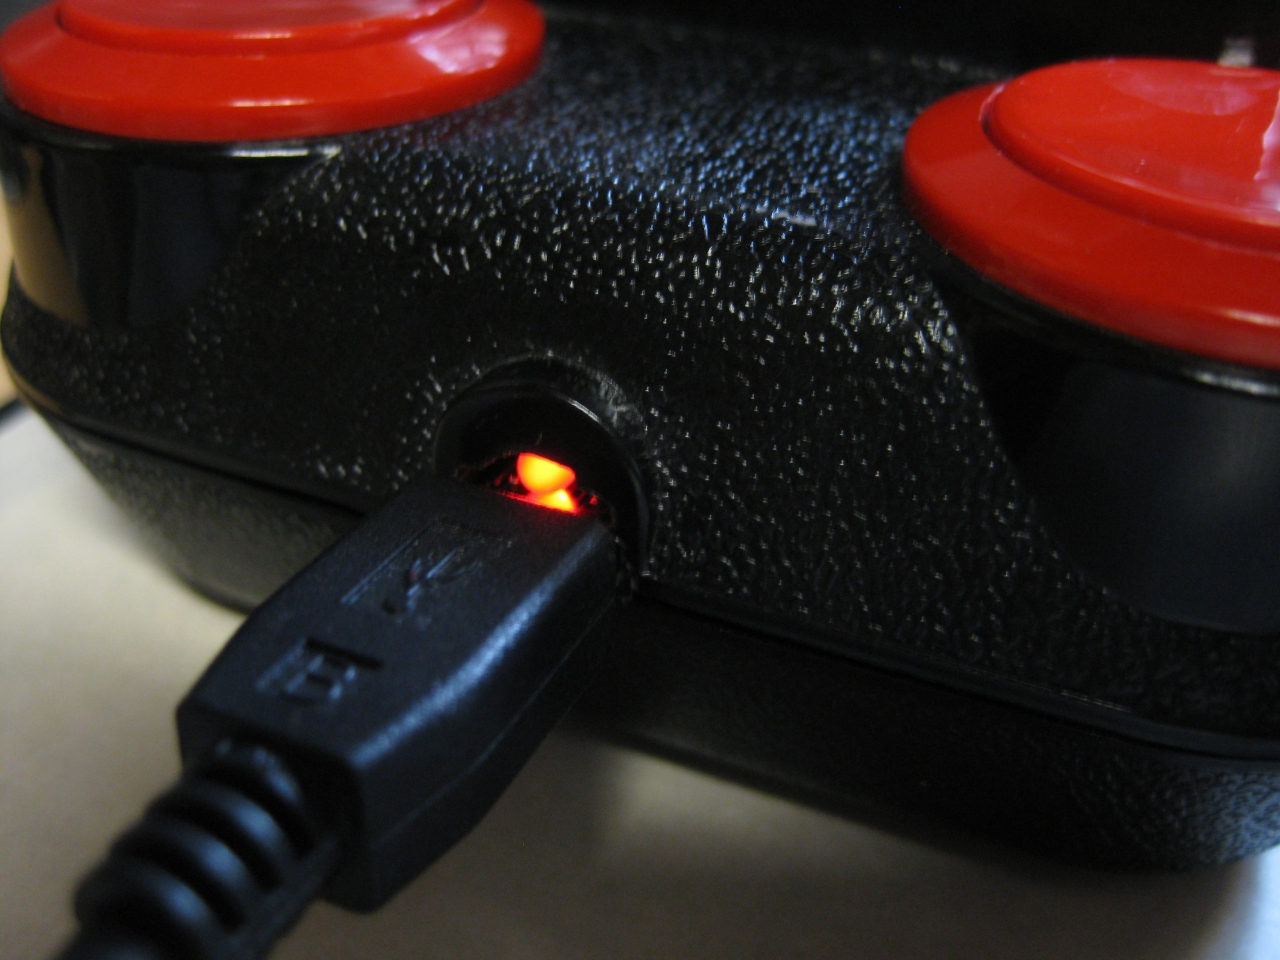
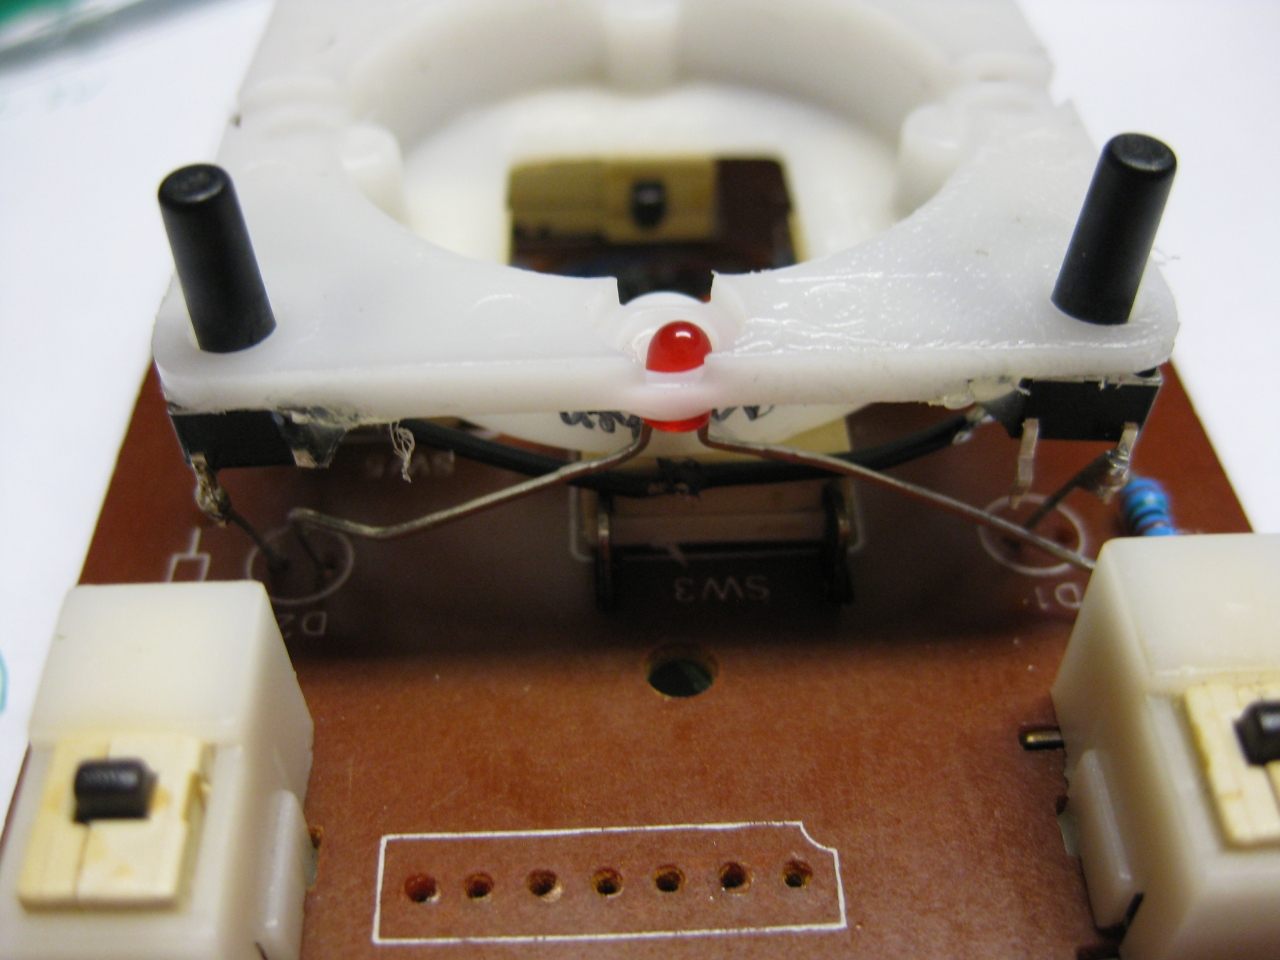
After removing original parts I add a Led and two more micro switches for Select and Start.
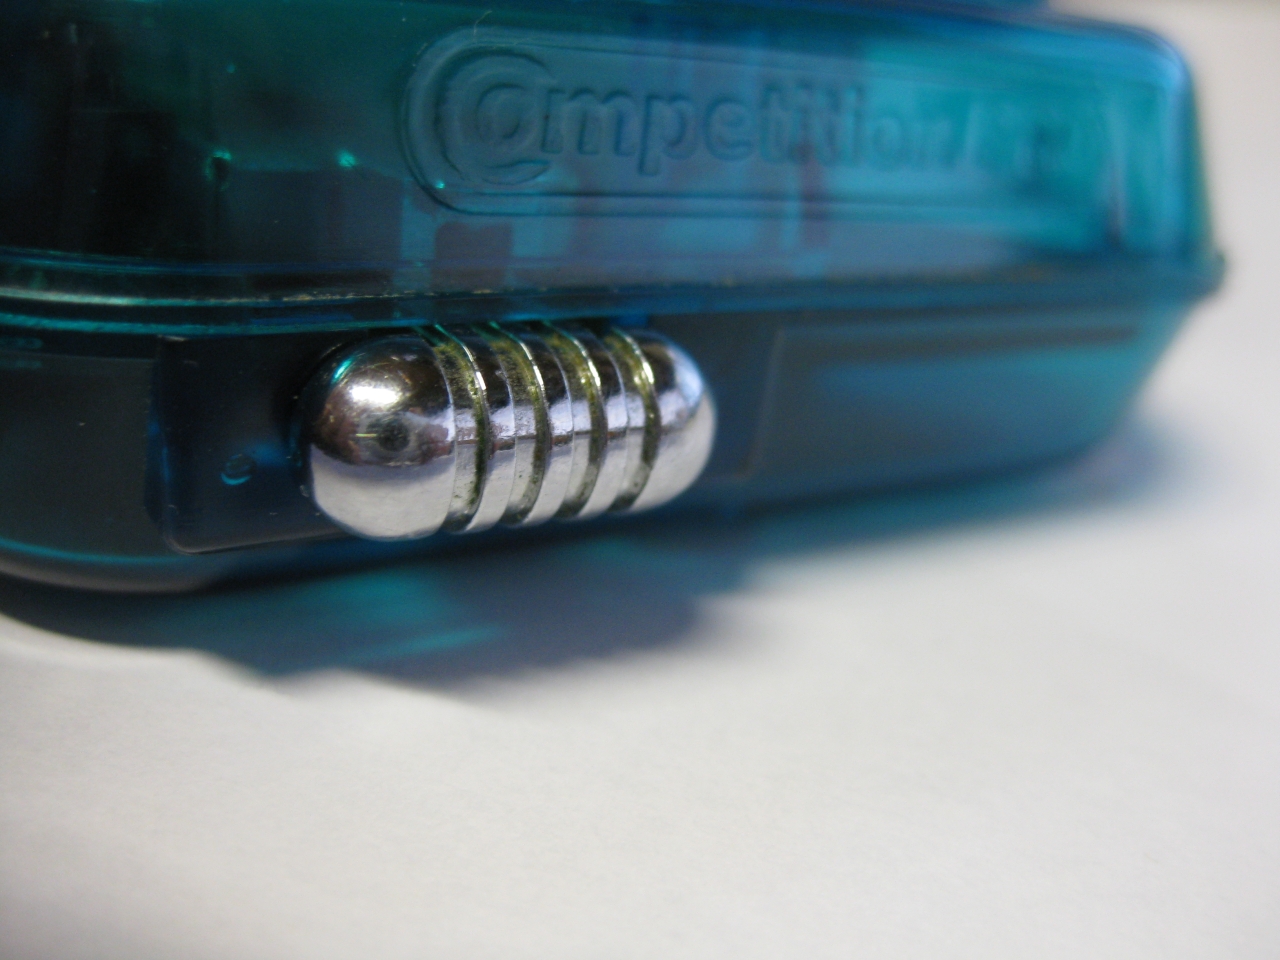
The chrome switch to swap between Layout Select/Start and Button X, Button Y
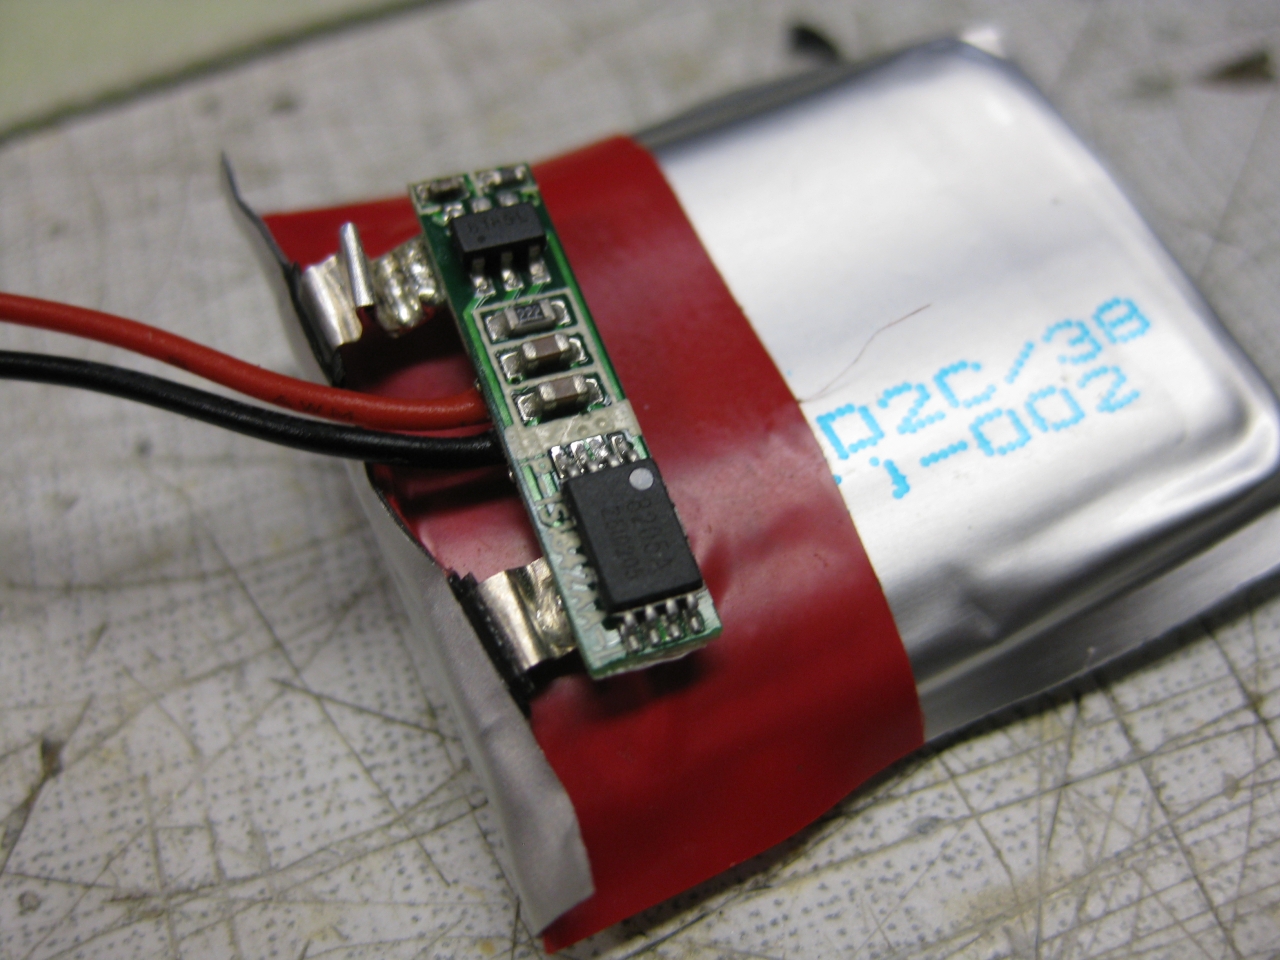
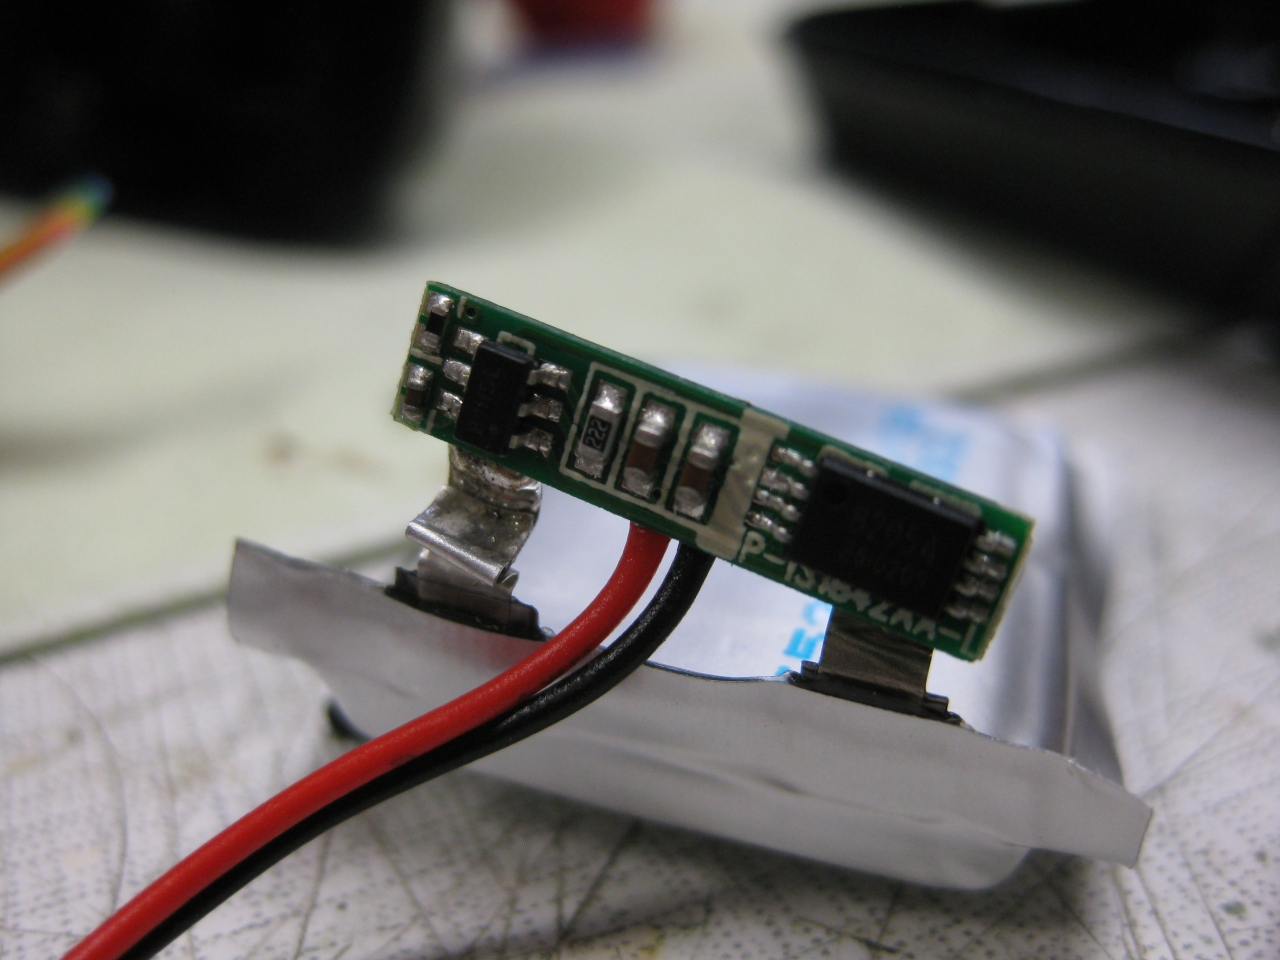
I must move the electronic of the LiPo to put it between the two fire Buttons


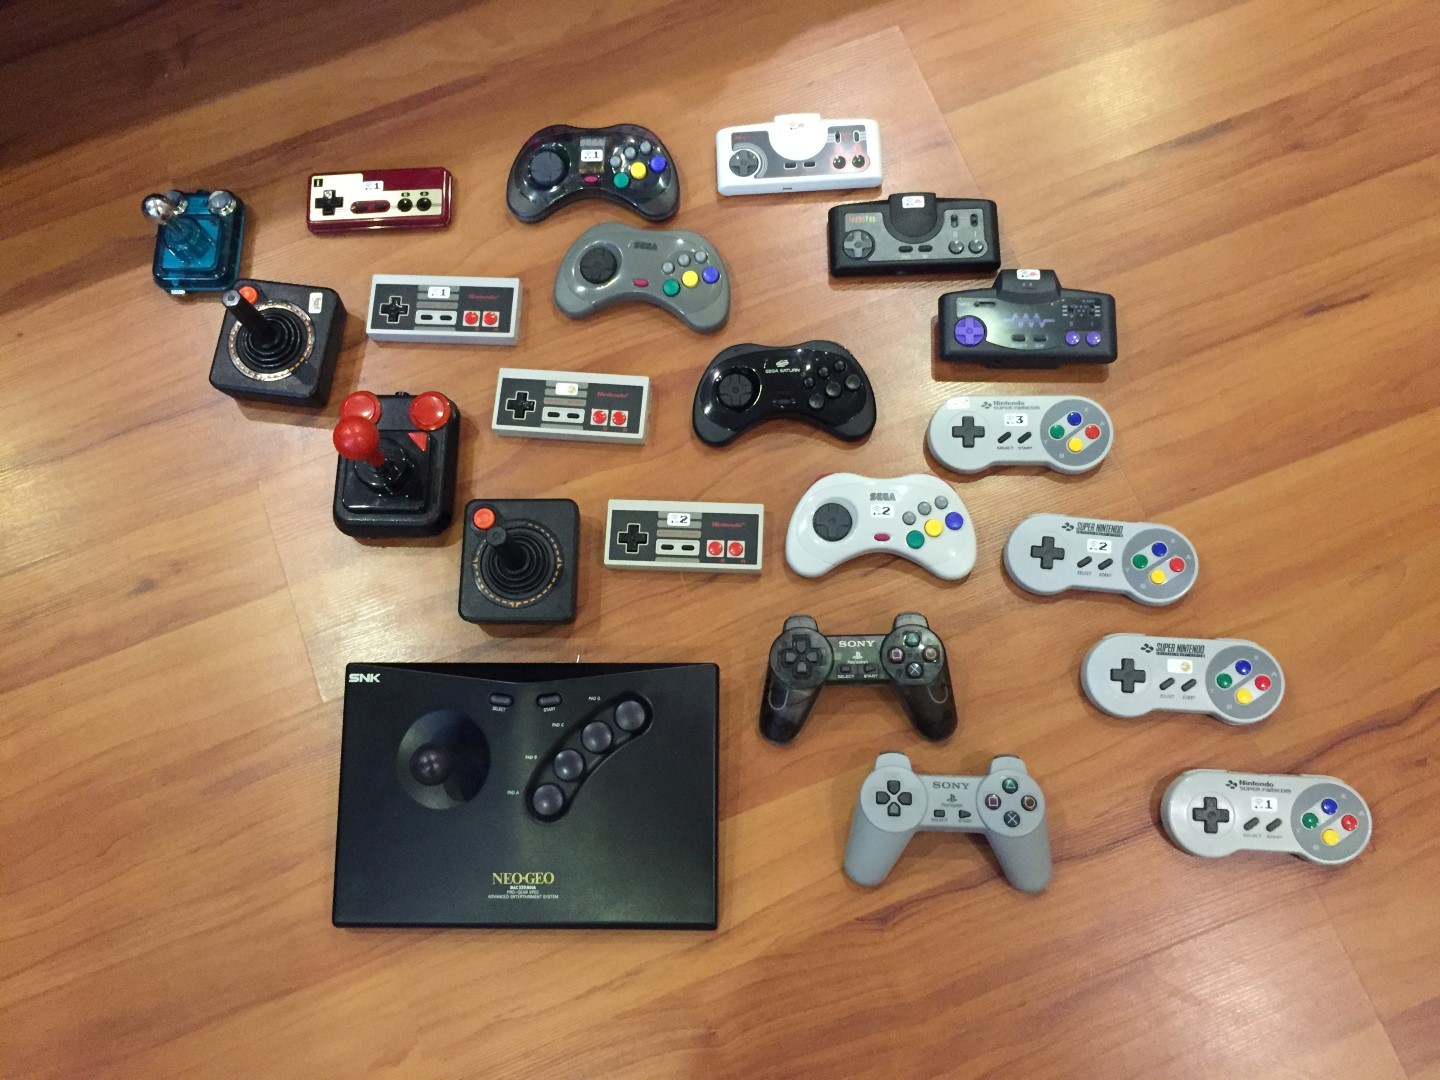
I done some UWRC Controller in the past.
Look here for my current Collection. It rules, because its great to have wireless original Controller in you hands and its crosscompatible. You can play eg. with the NeoGeo Controller @ NeoGeo Console, or @ Sega Mega Drive, or @ Super Nintendo, or @ Sega Saturn.
Other way is possible too. You can play with a Sega Saturn Controller @ NeoGeo Console, or @ Sega Mega Drive, or @ Super Nintendo, or @ Sega Saturn.
And you are free with controller and console
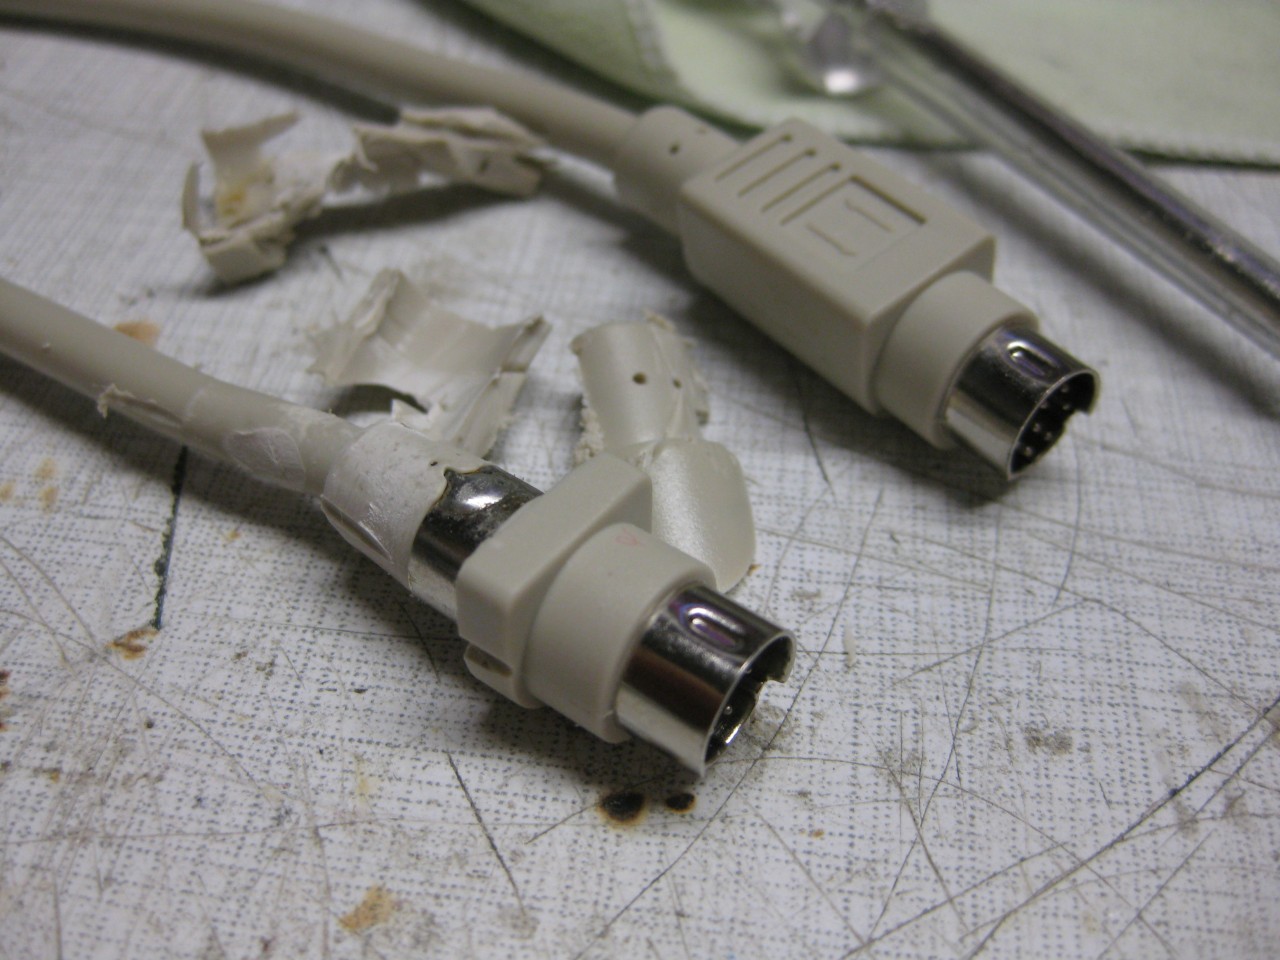
I used a extension Cable for Mini Din 8 to make the UWRC-RX PC-Engine Reveiver.
Here you can see some pics.
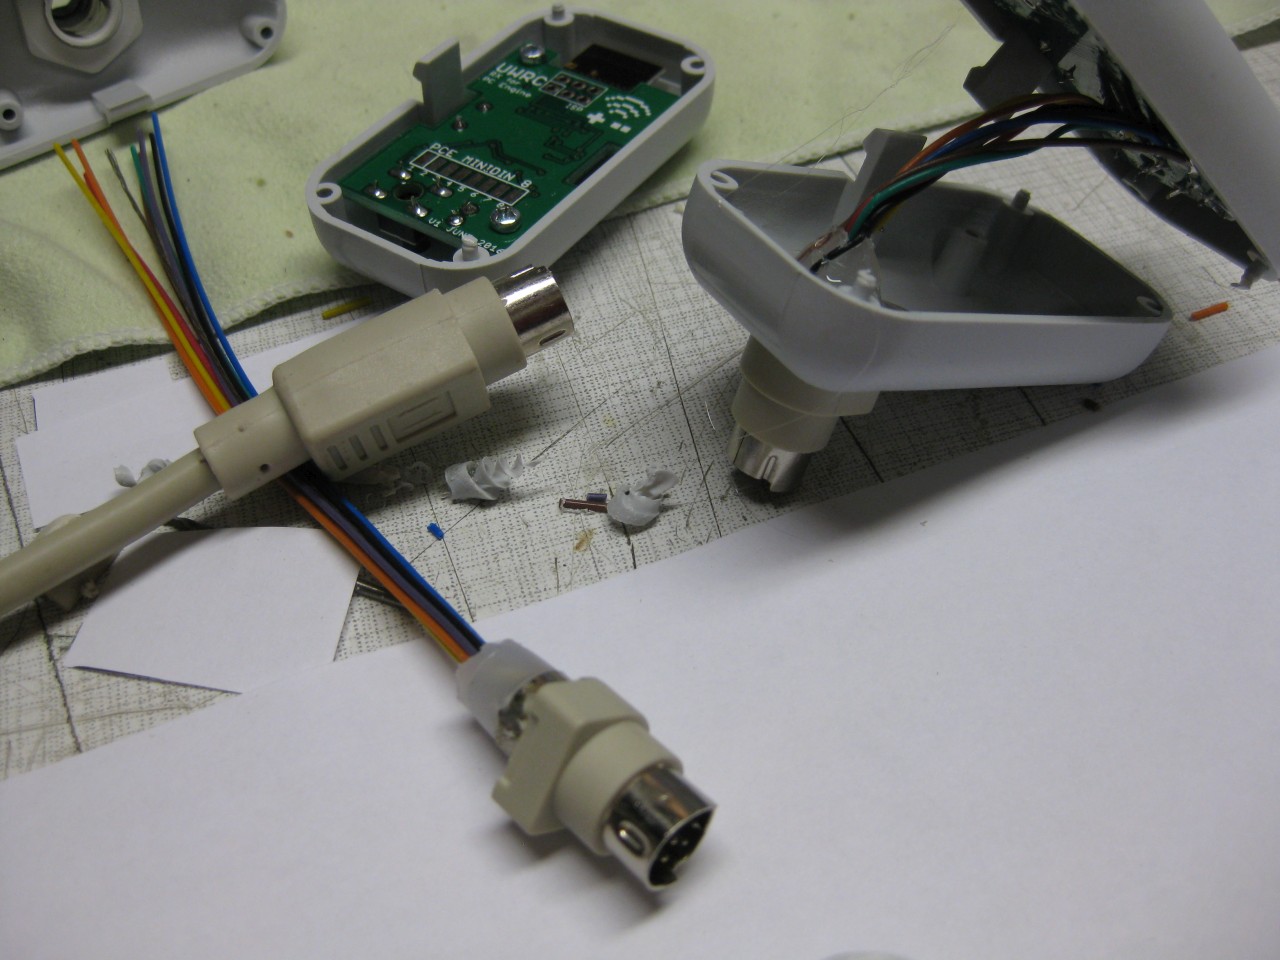
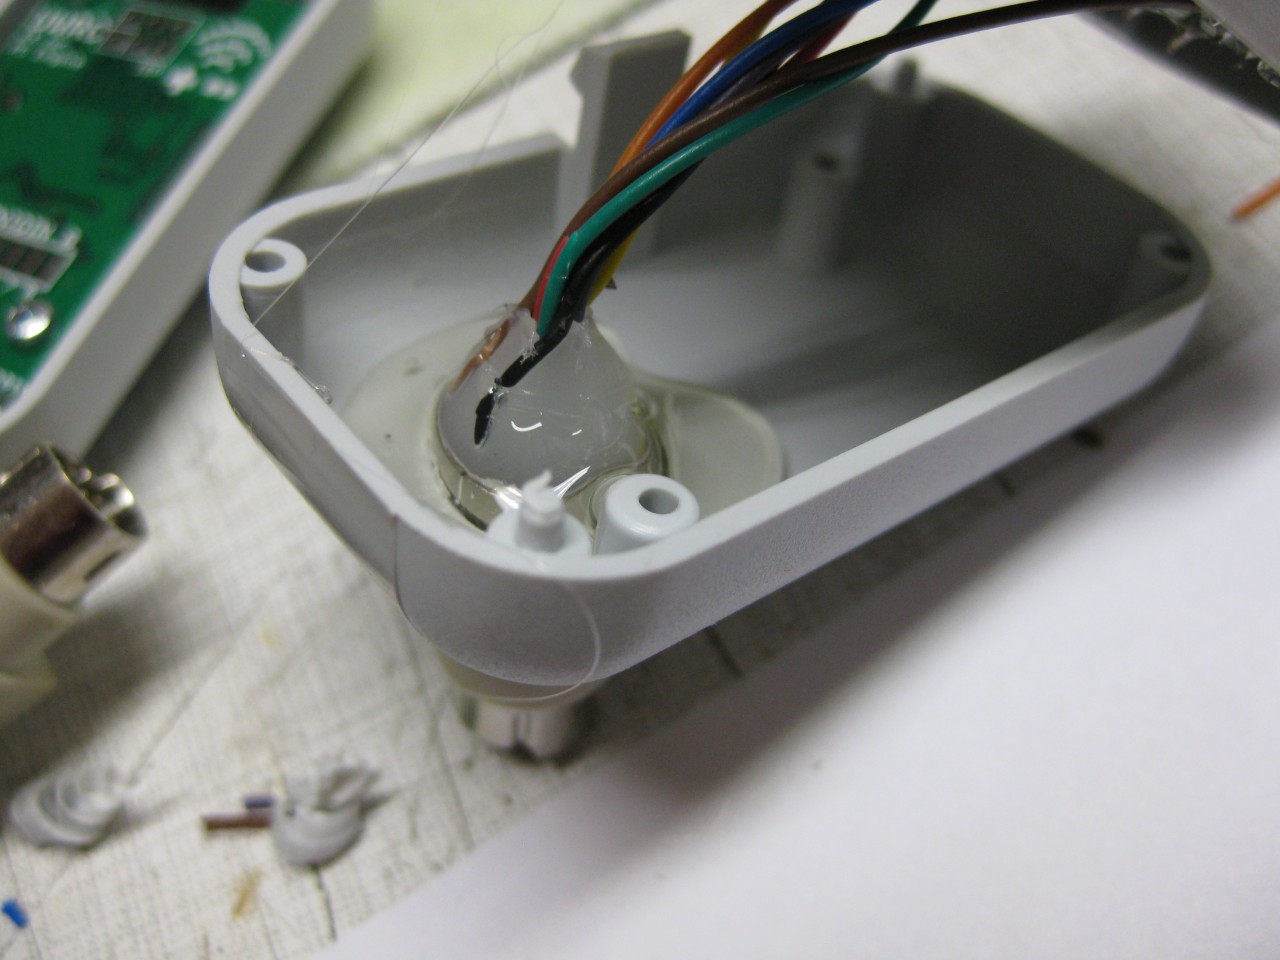
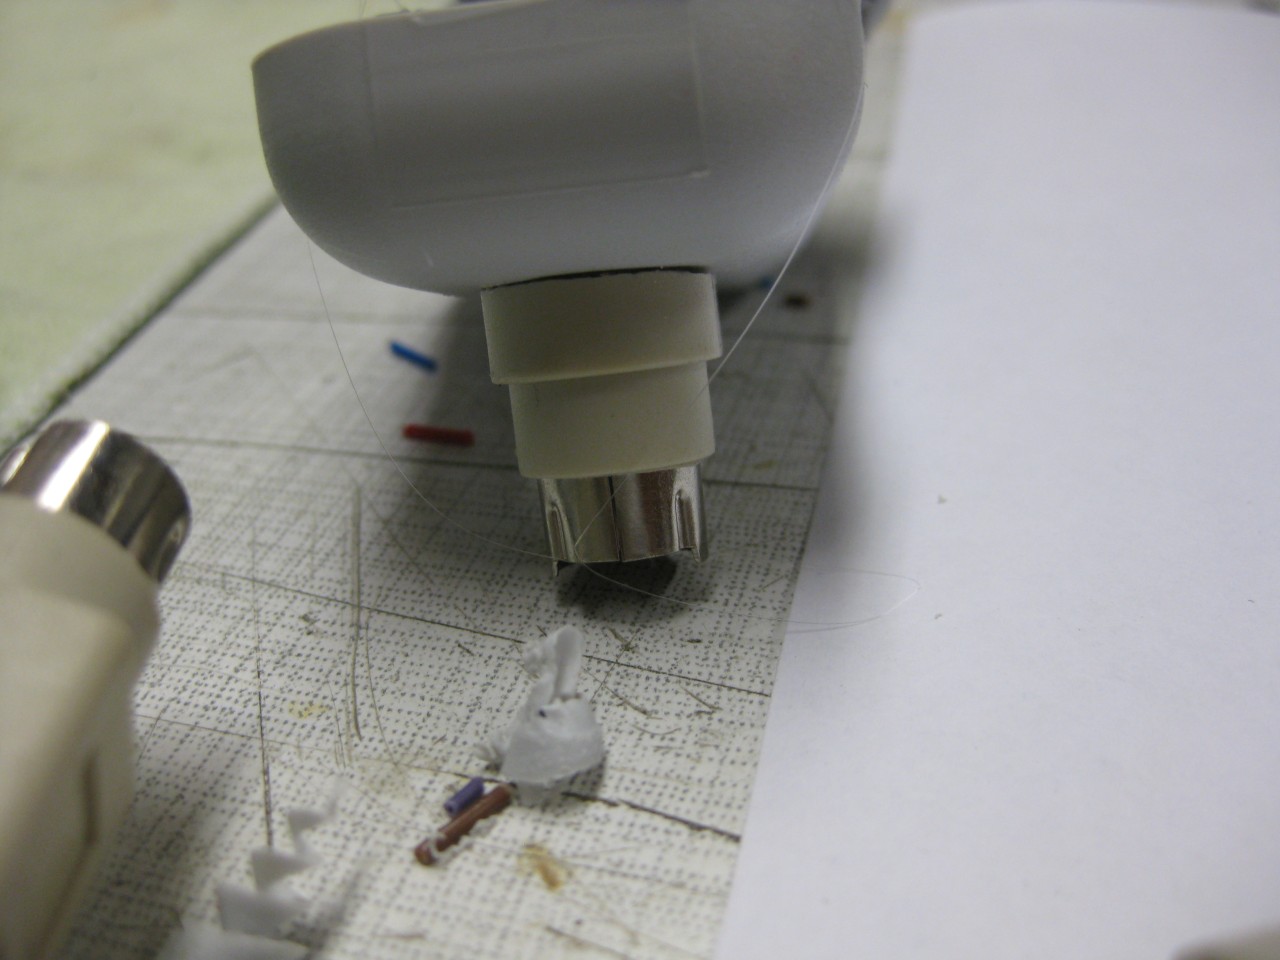
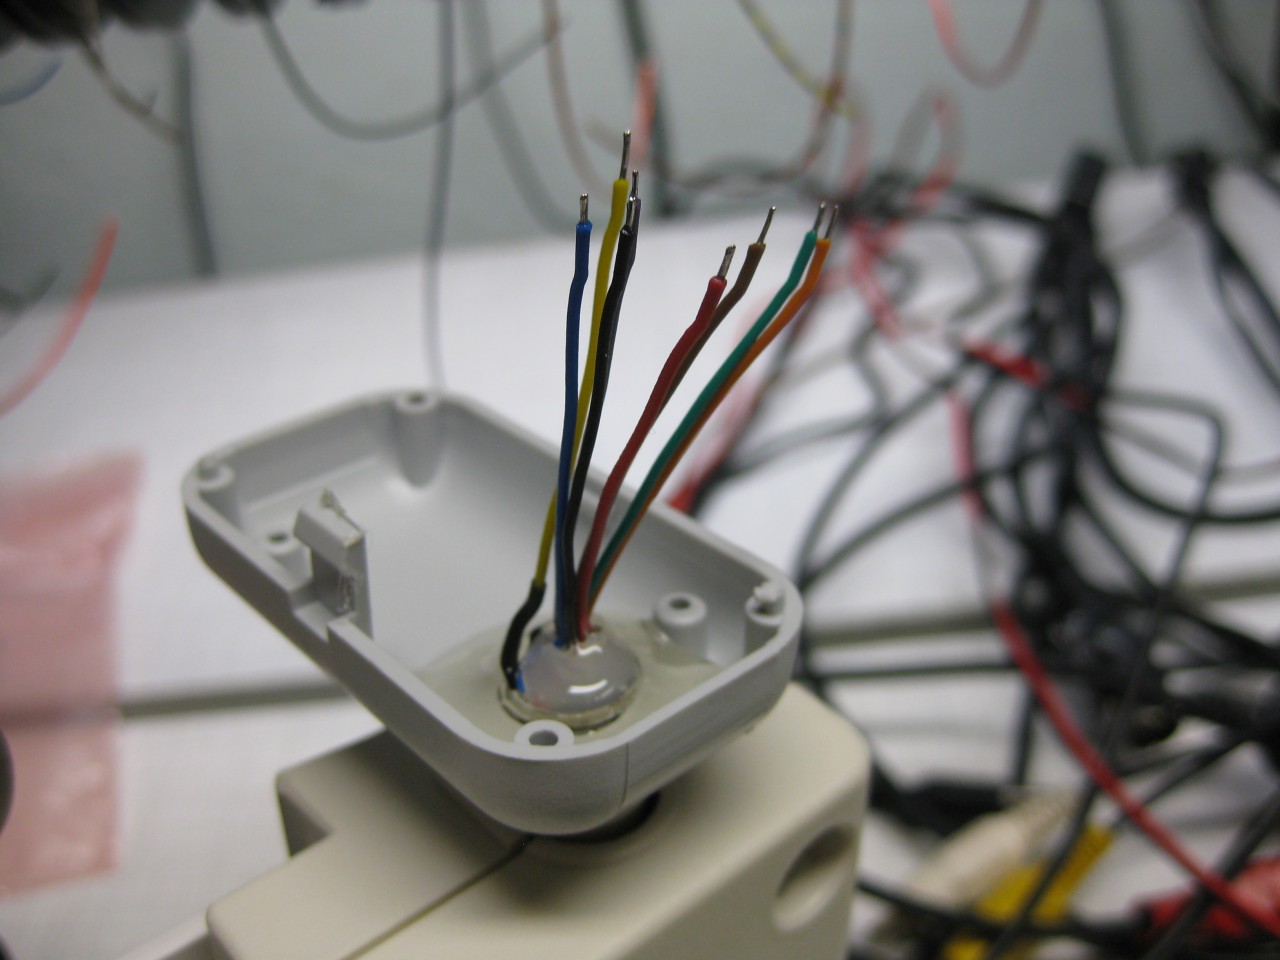

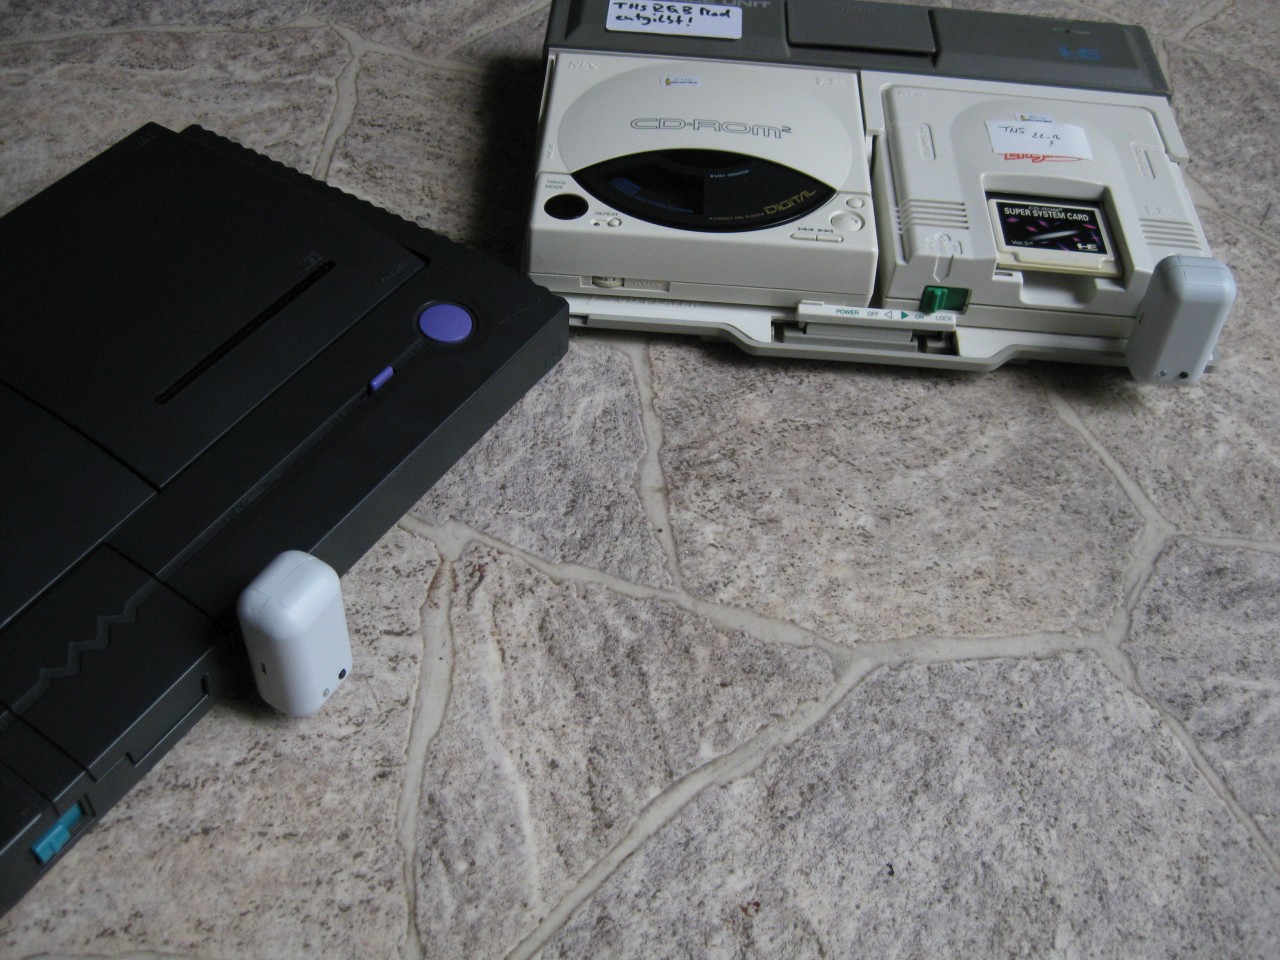
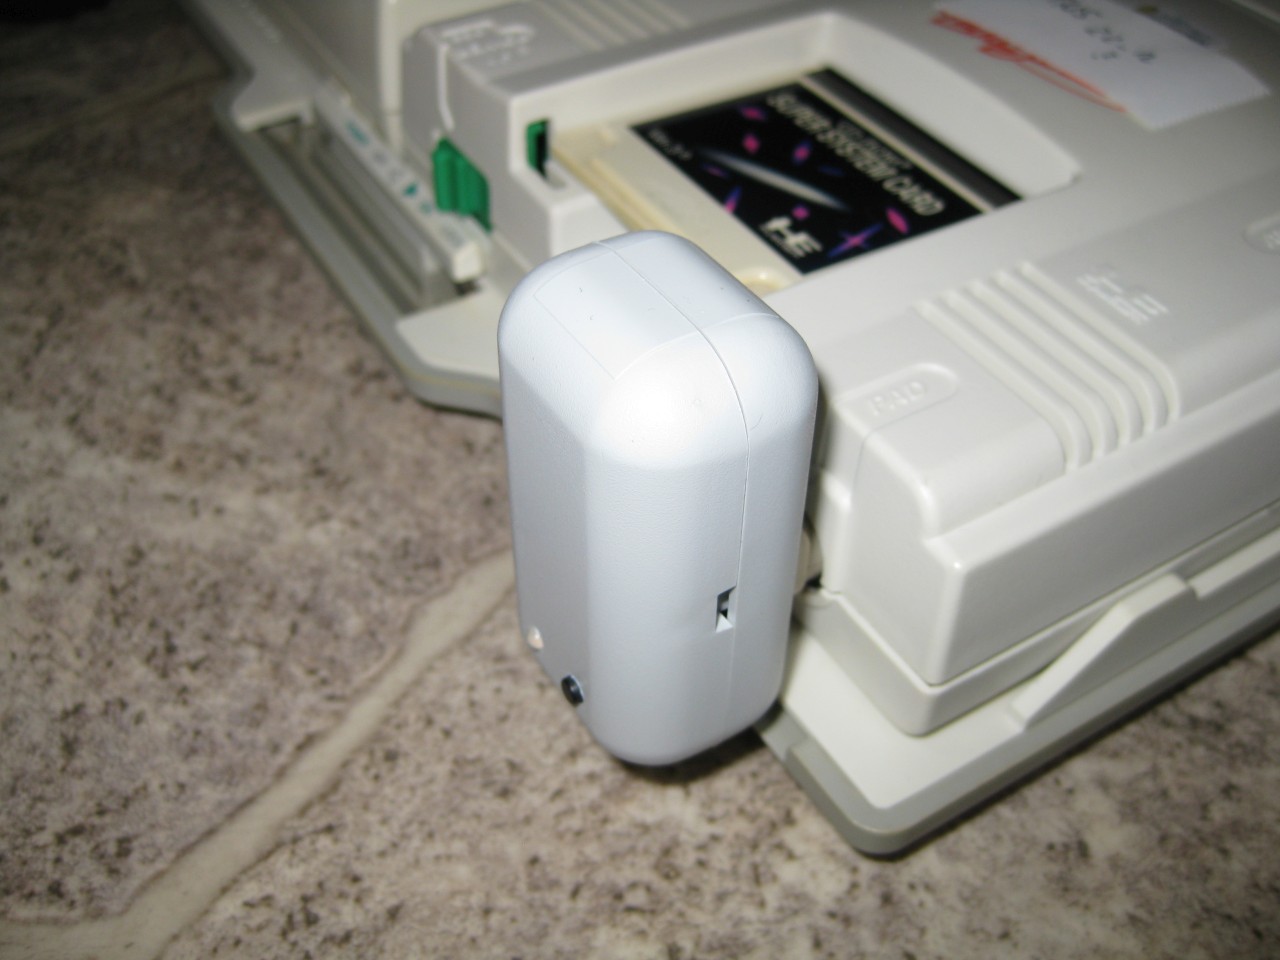
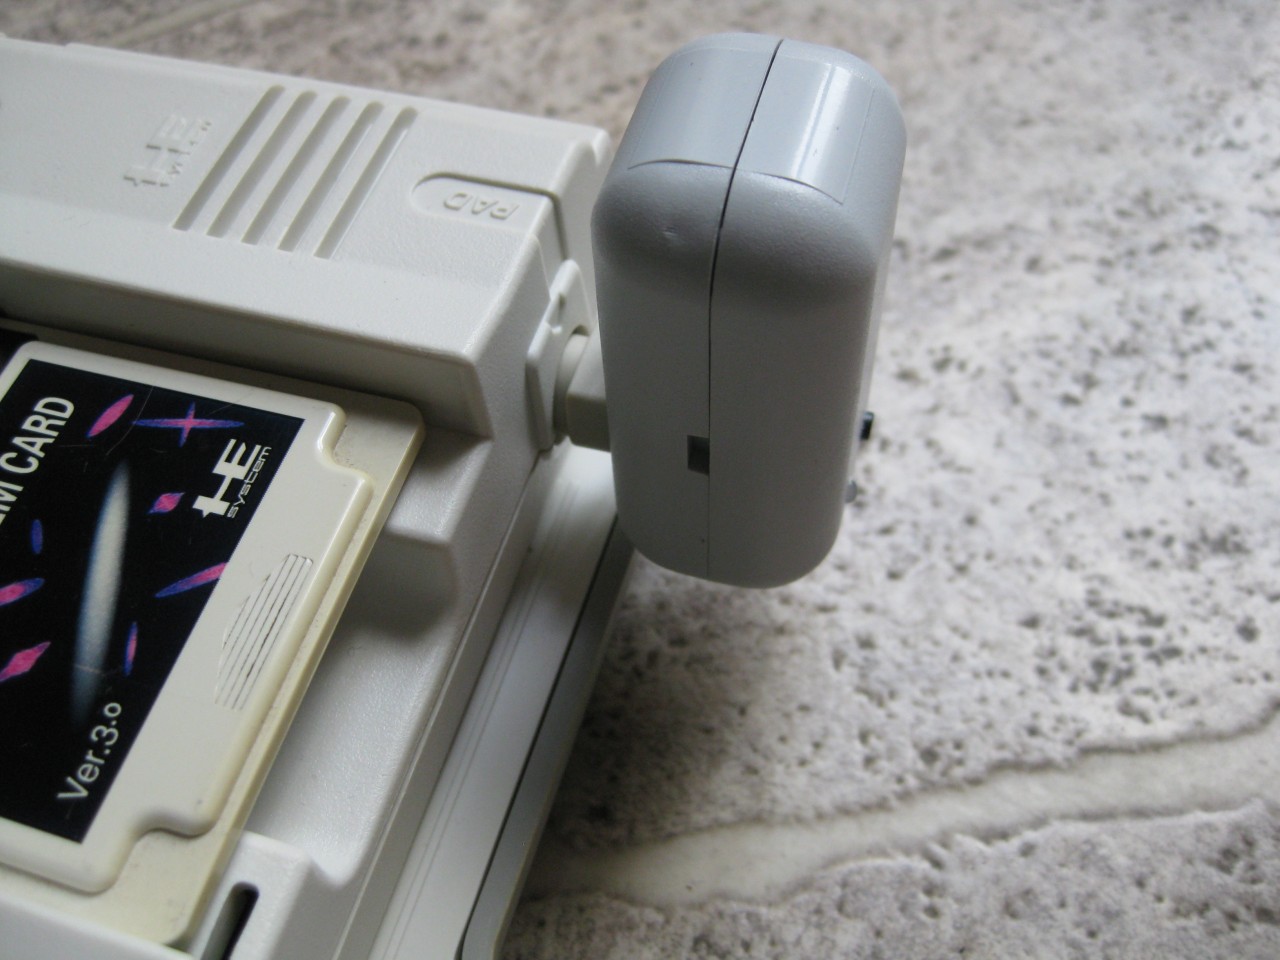
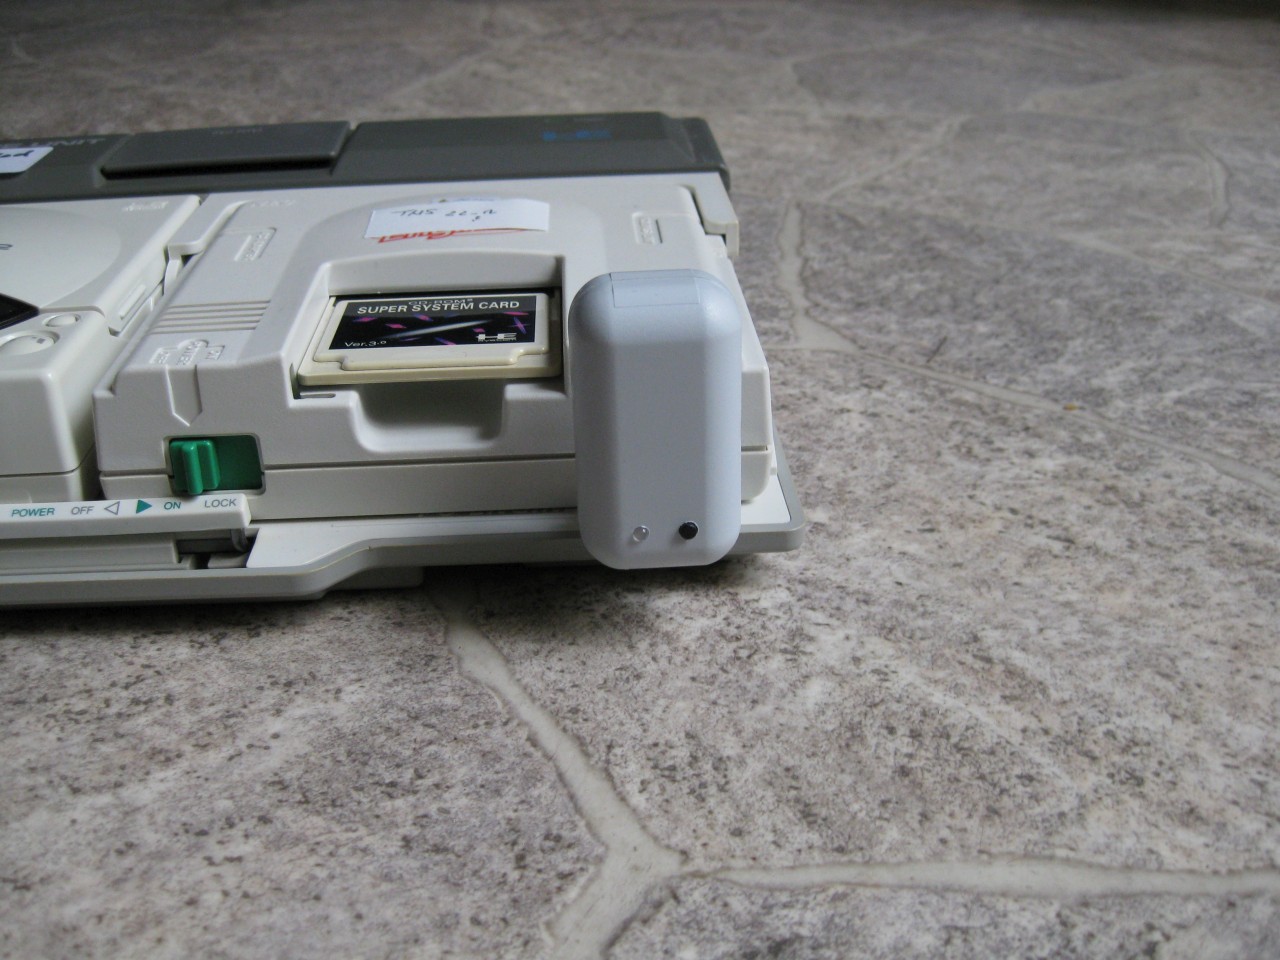
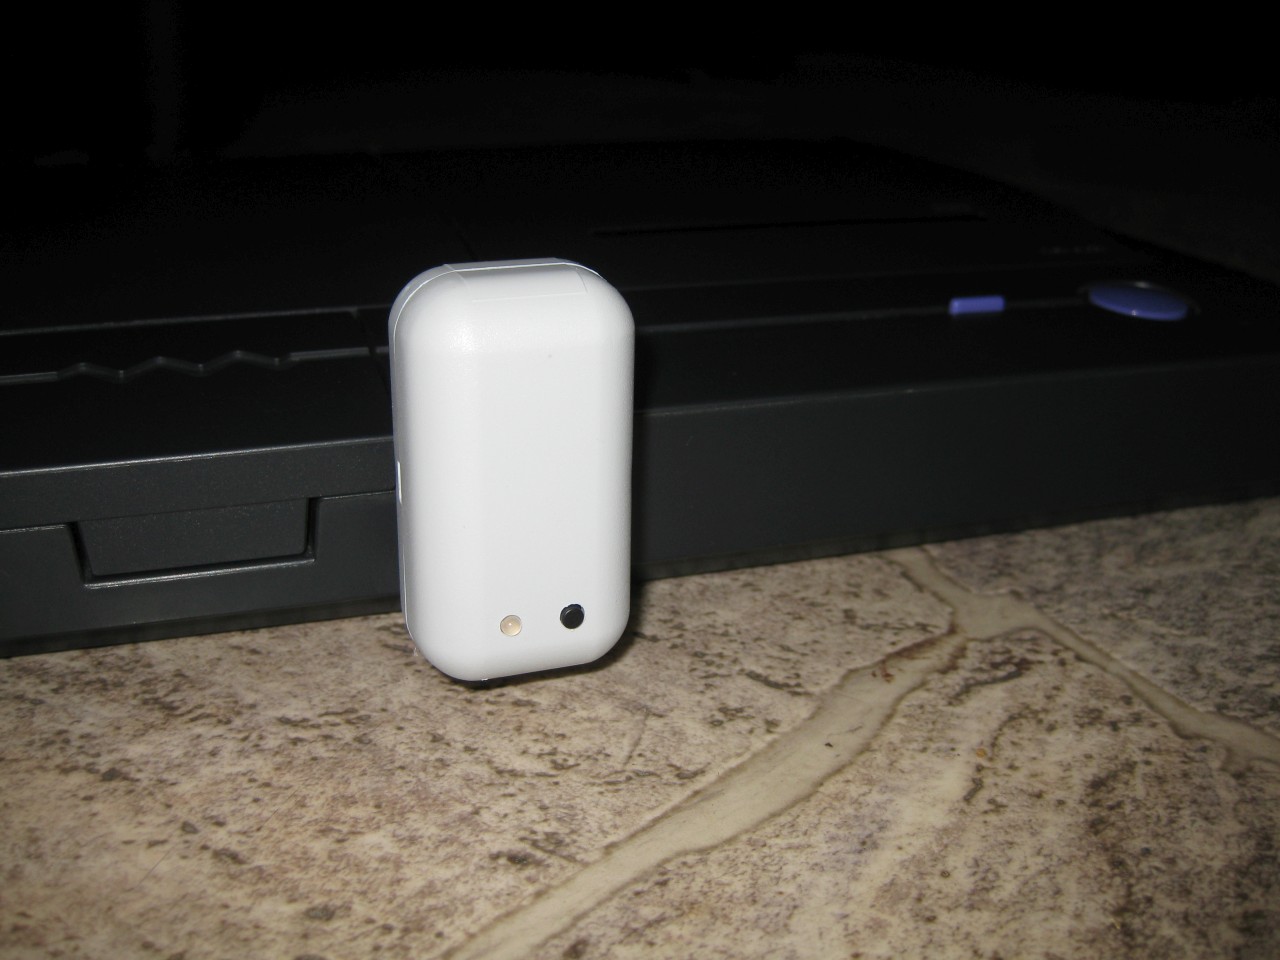
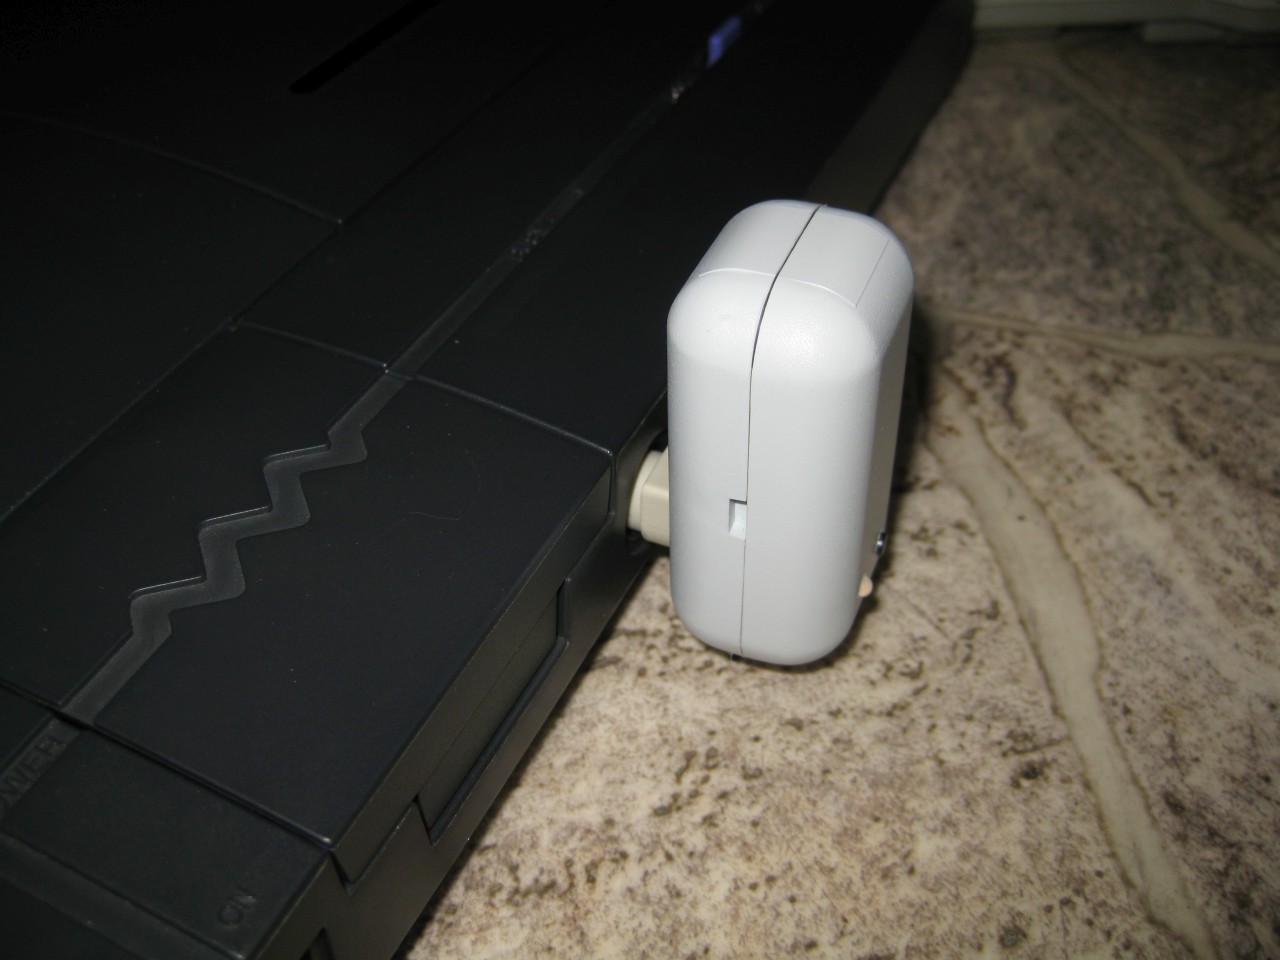
Next step is to use a black box for the Duo Receiver
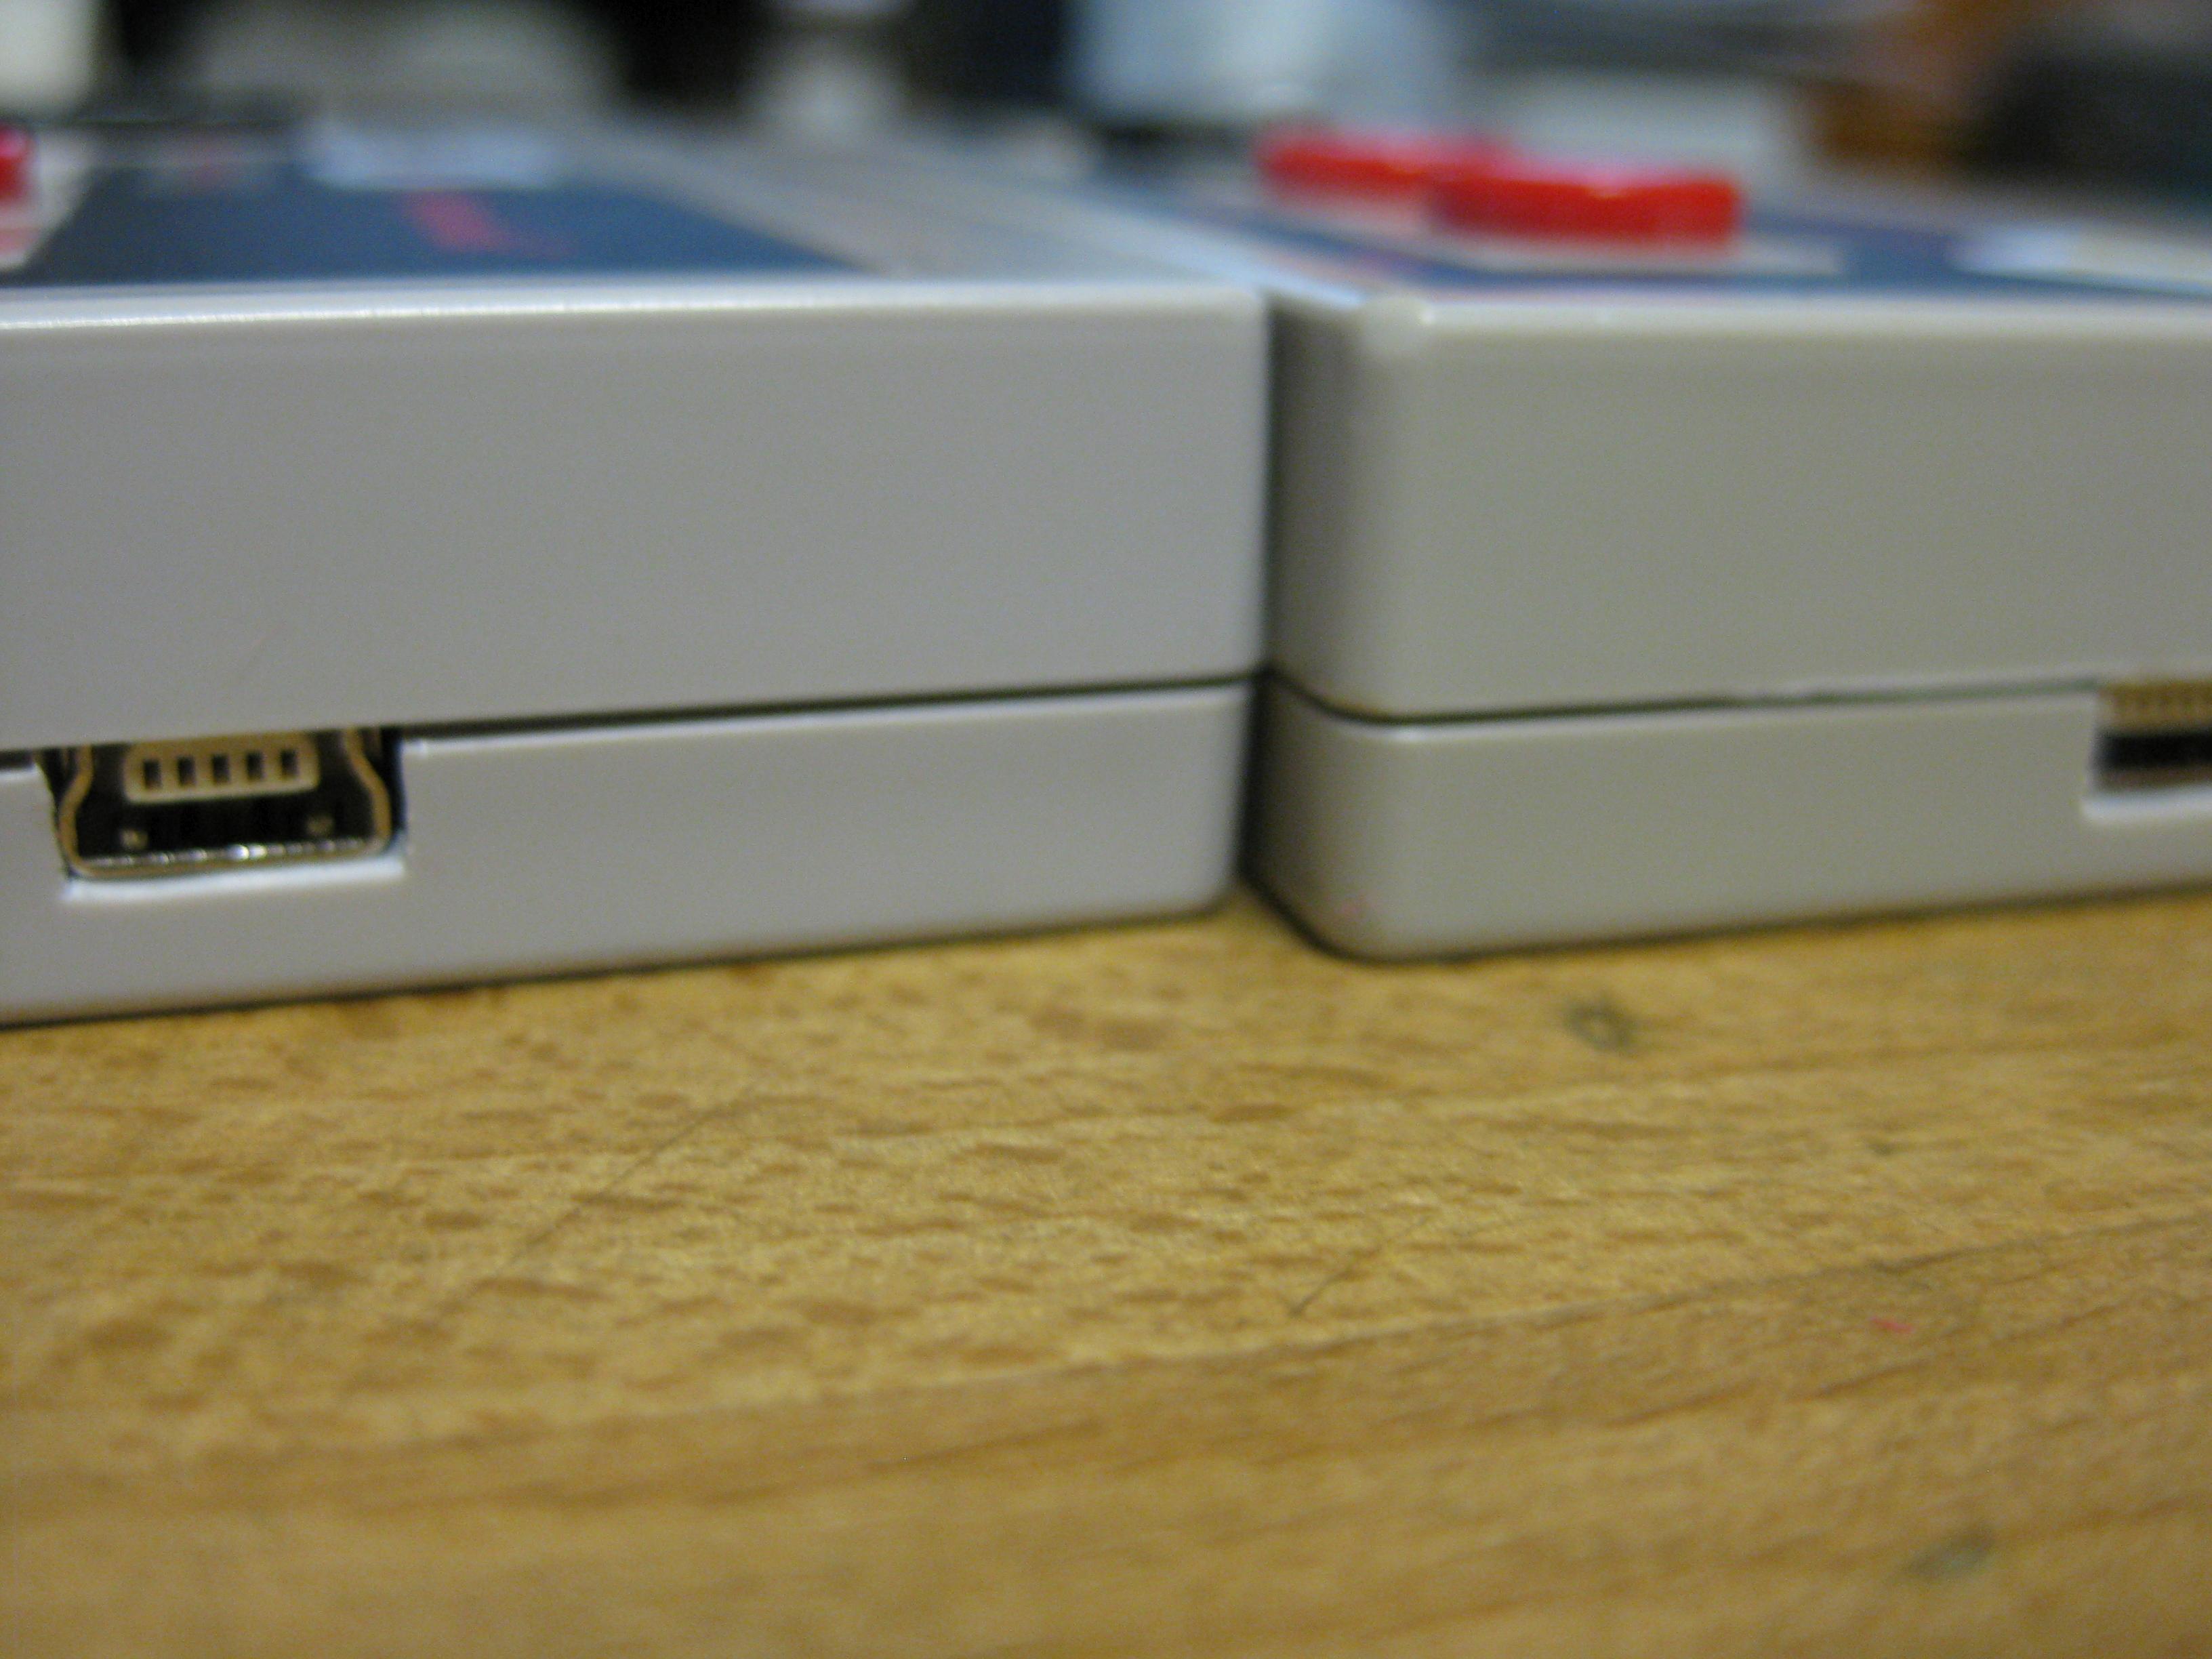
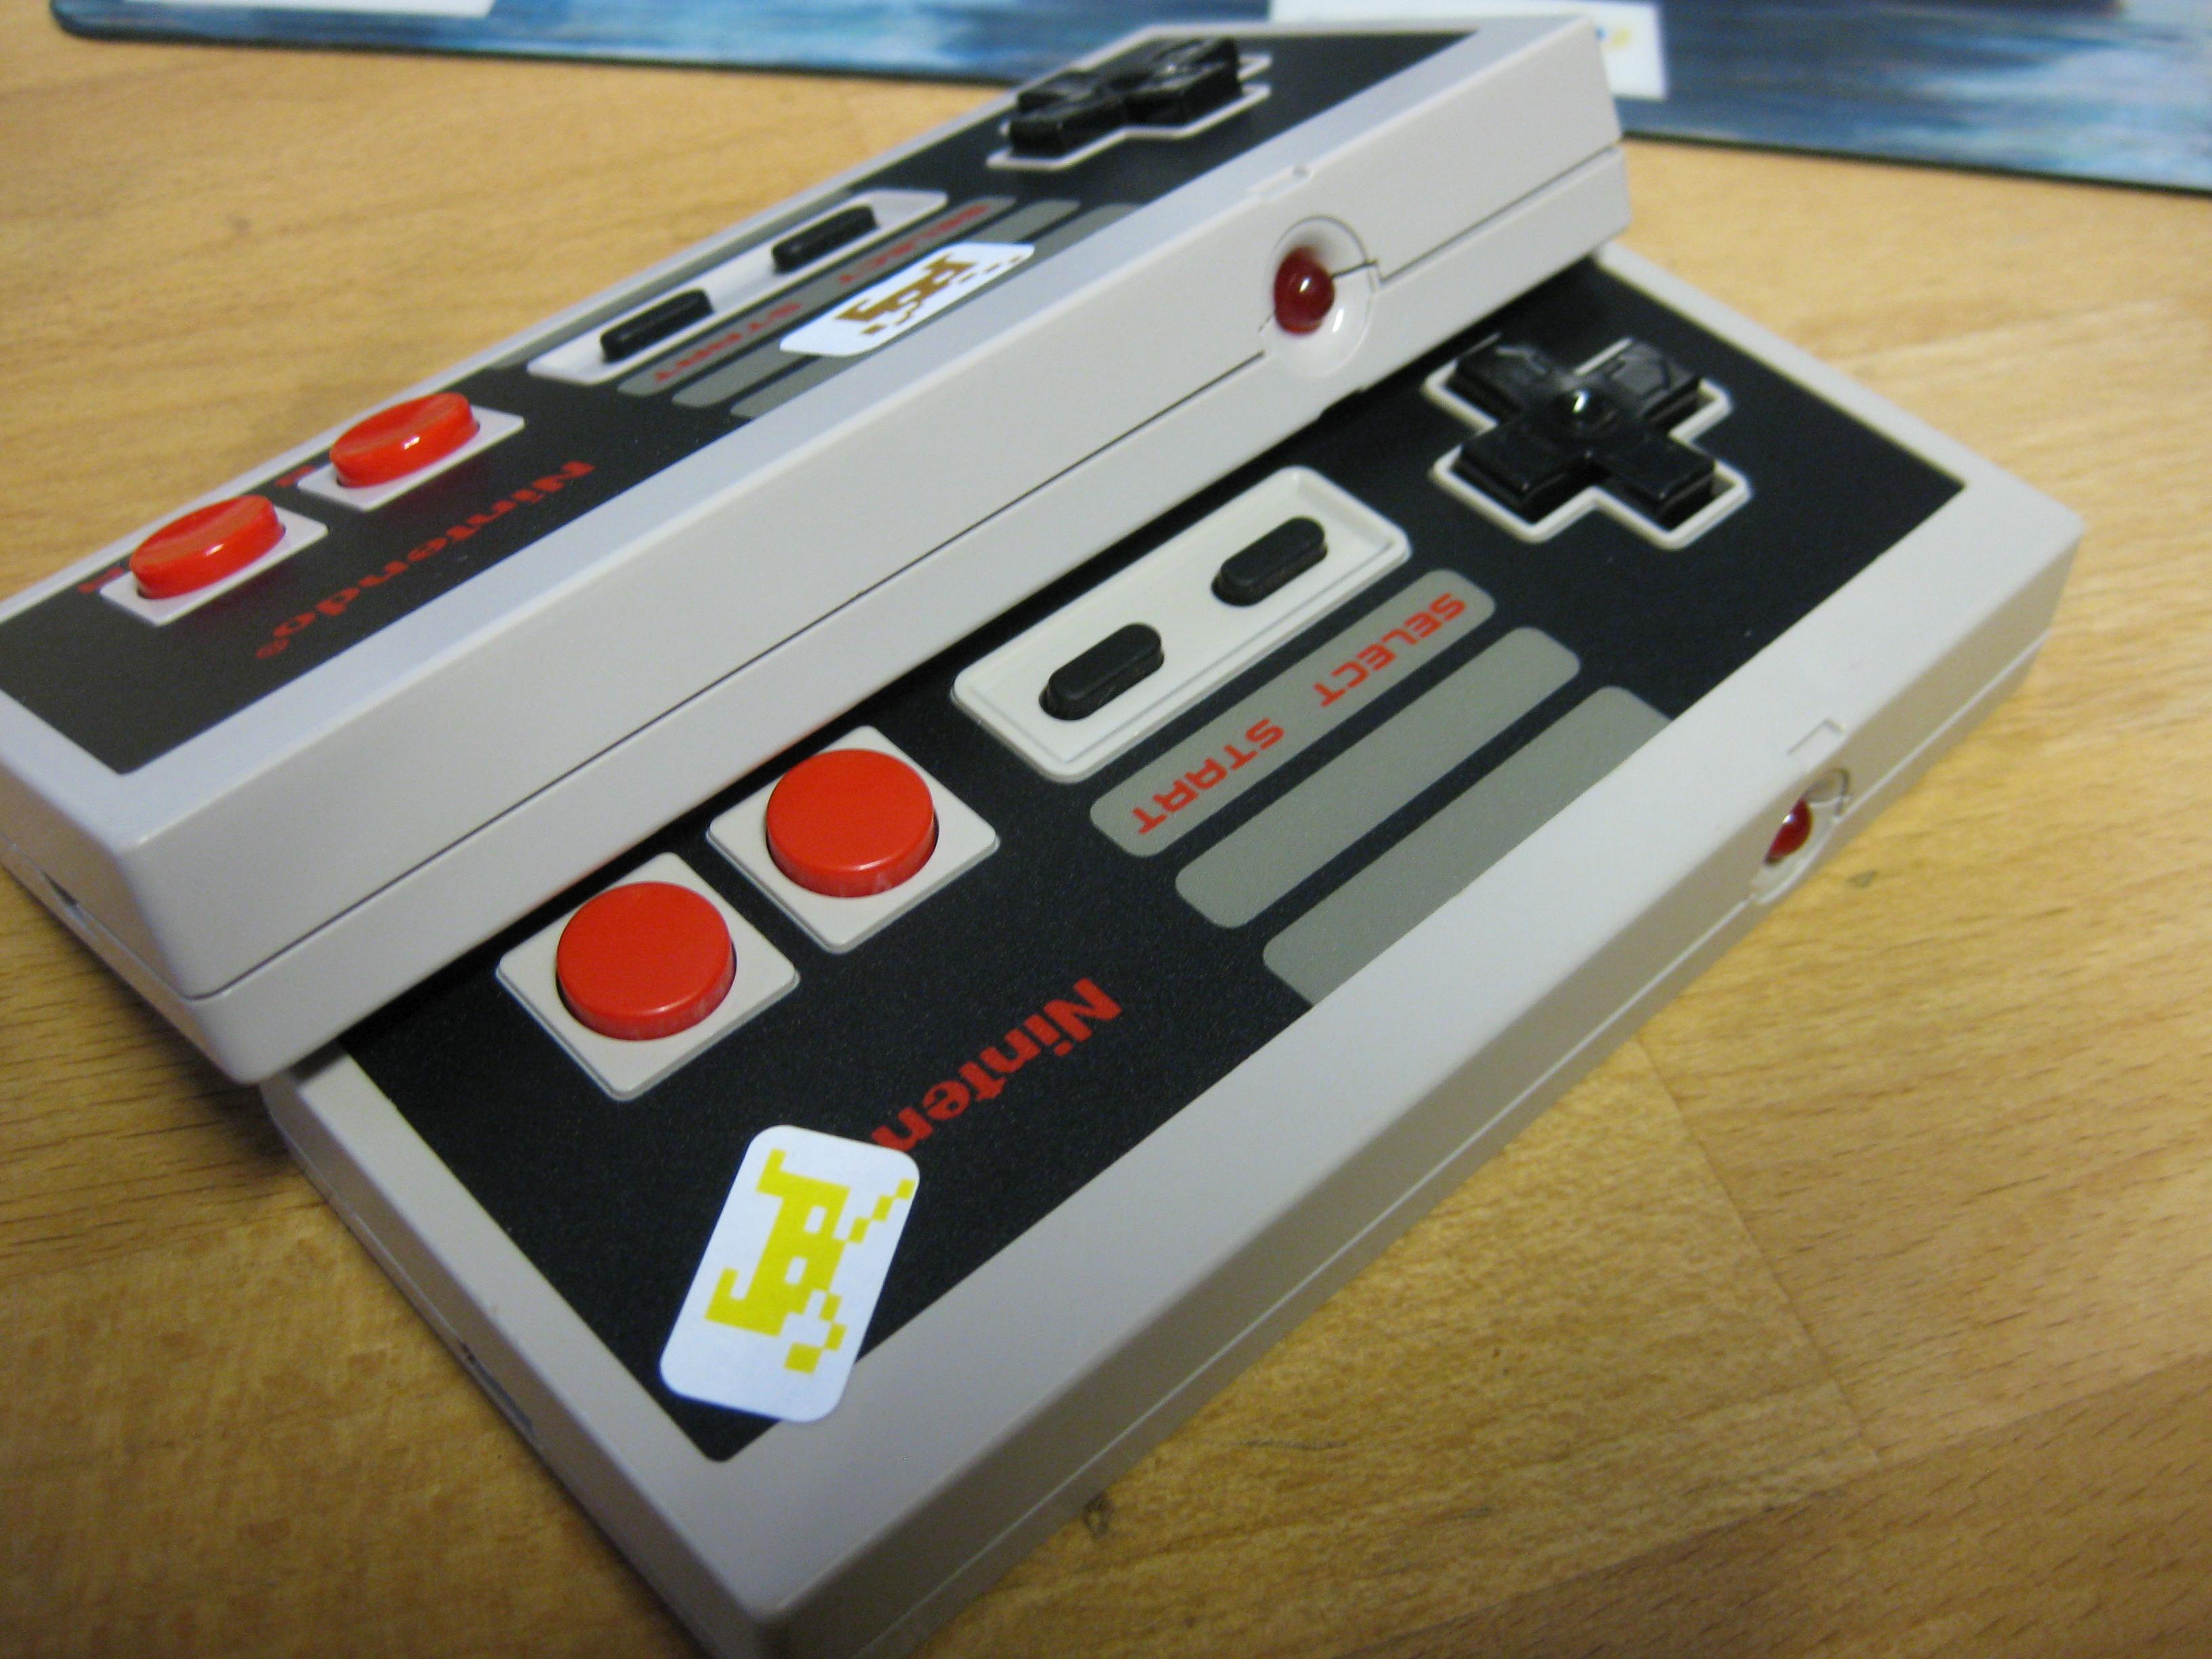
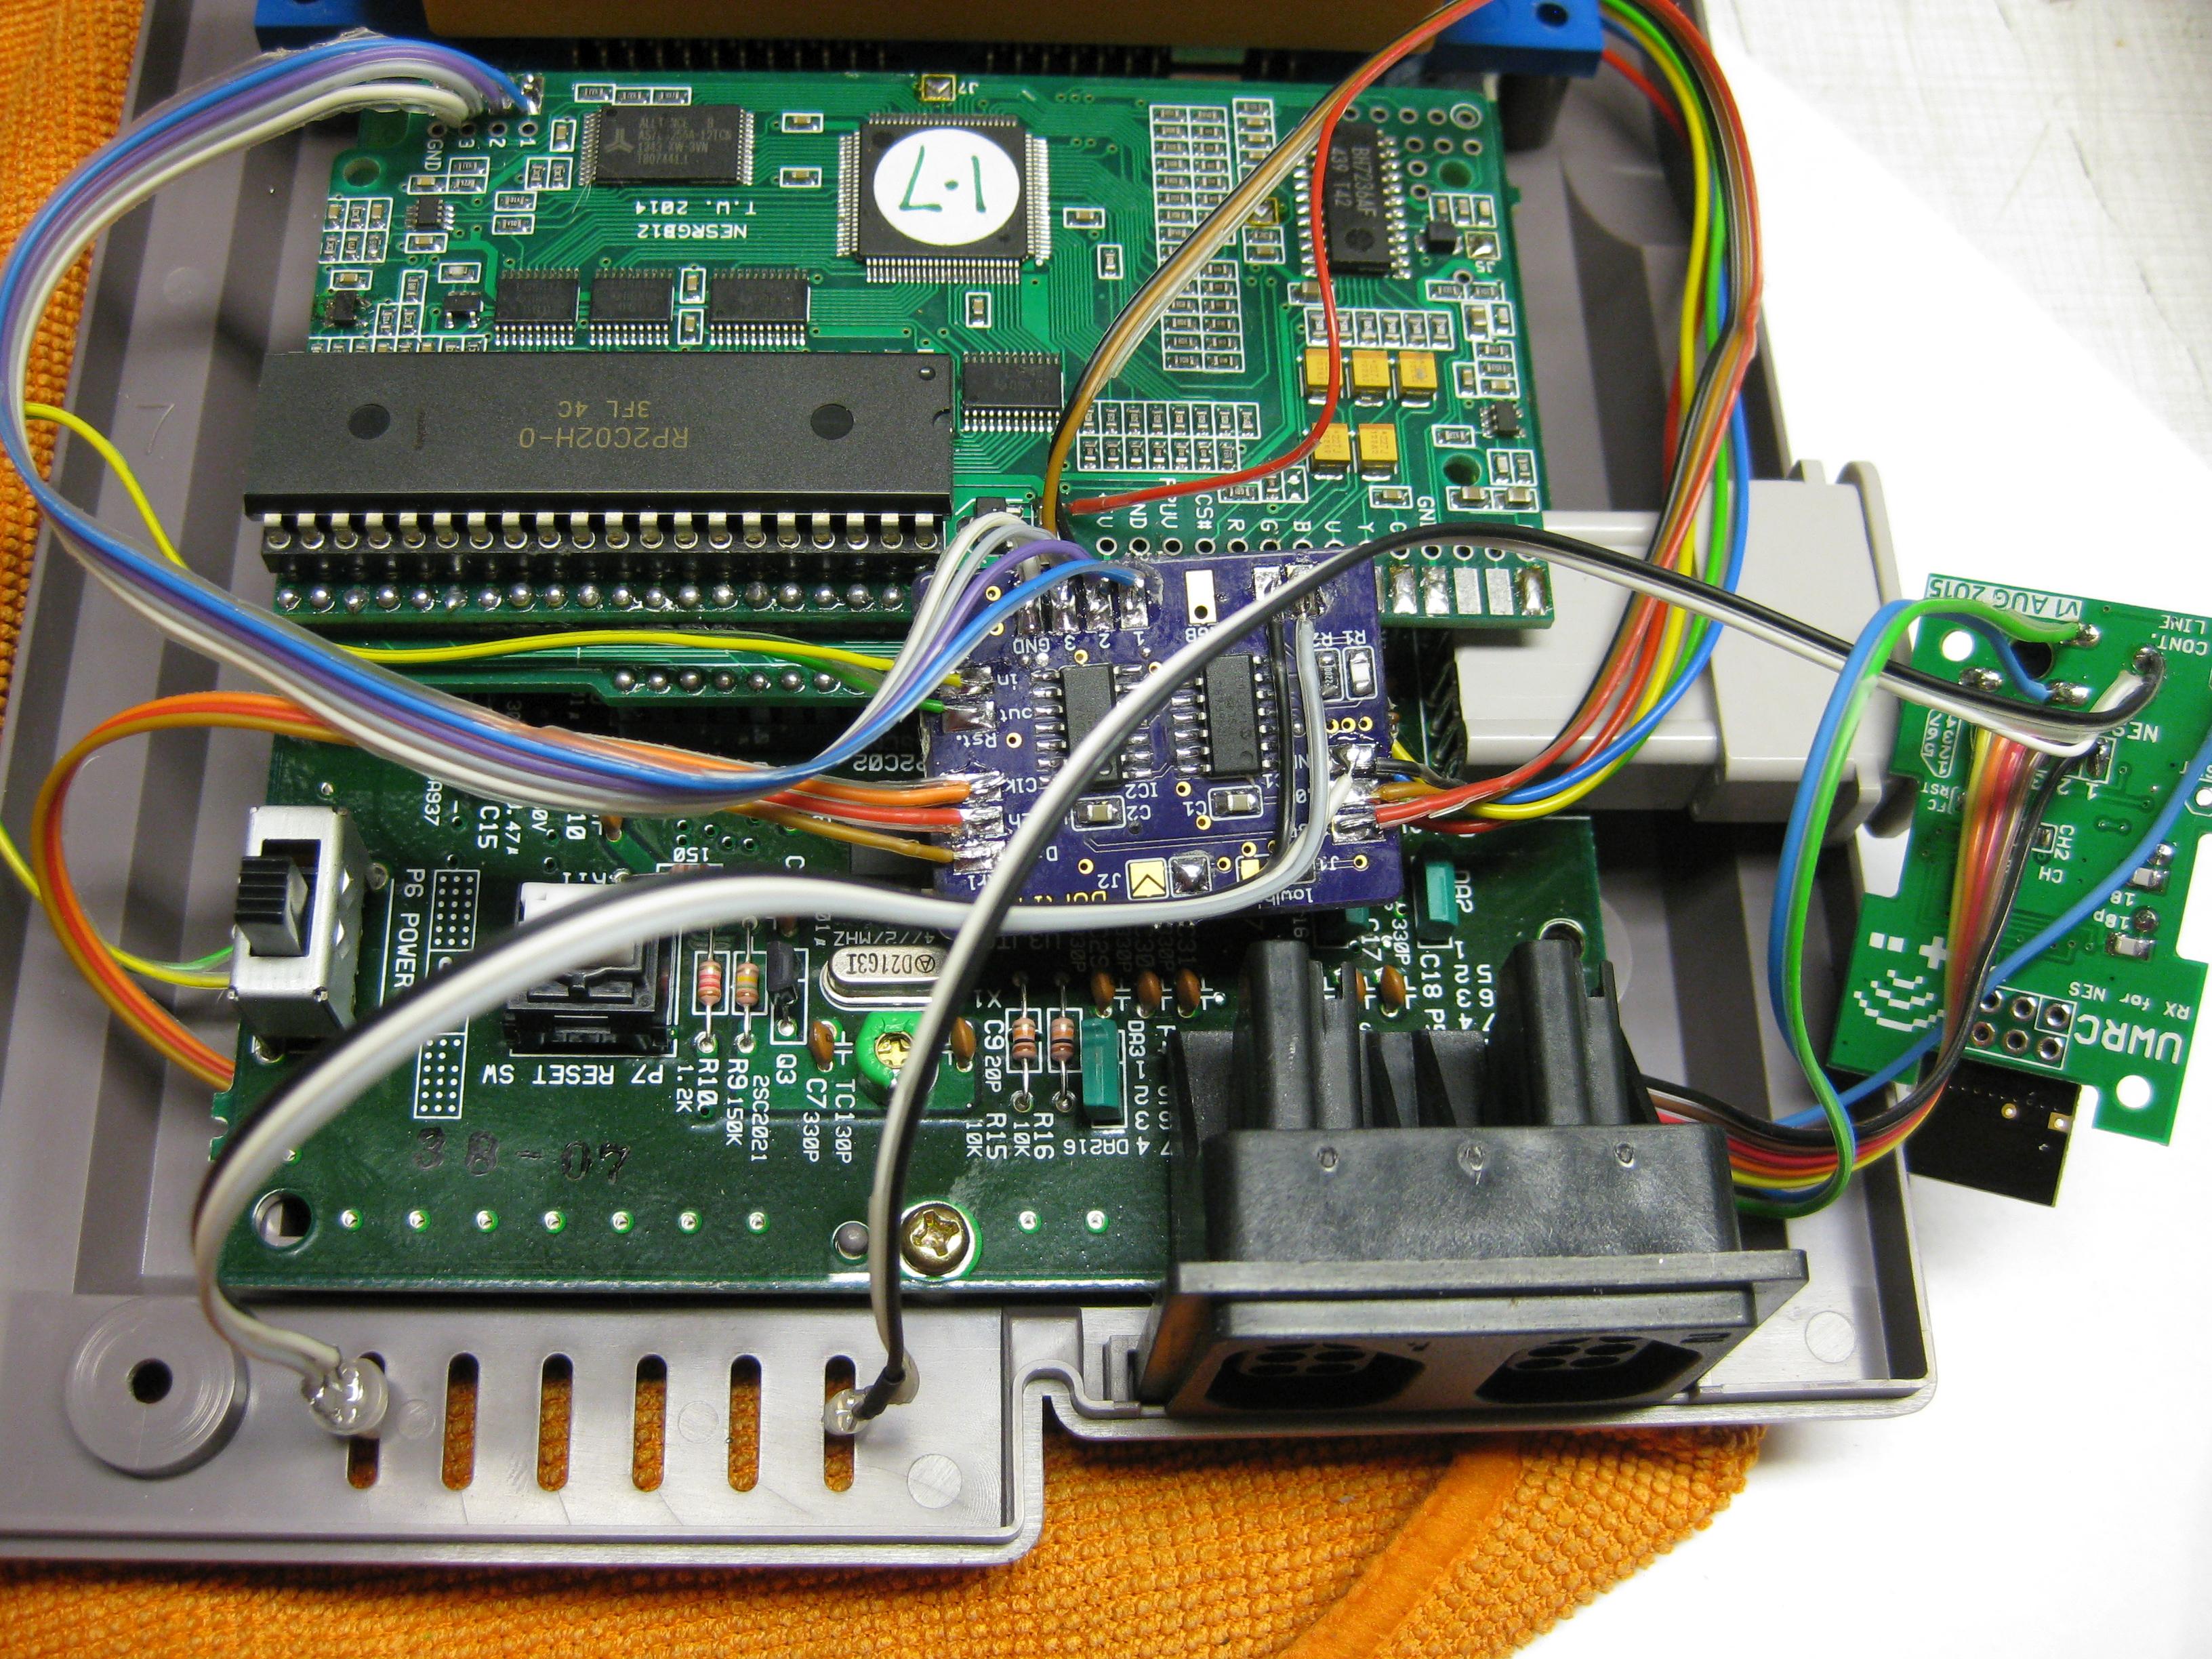
This week I got a new toy called UWRC for NES. Thanks micro ![]()
I have to put the PCB into the NES and with the help of a dremel and a cutter knife it fitts perfectly, like every UWRC PCB from micro.
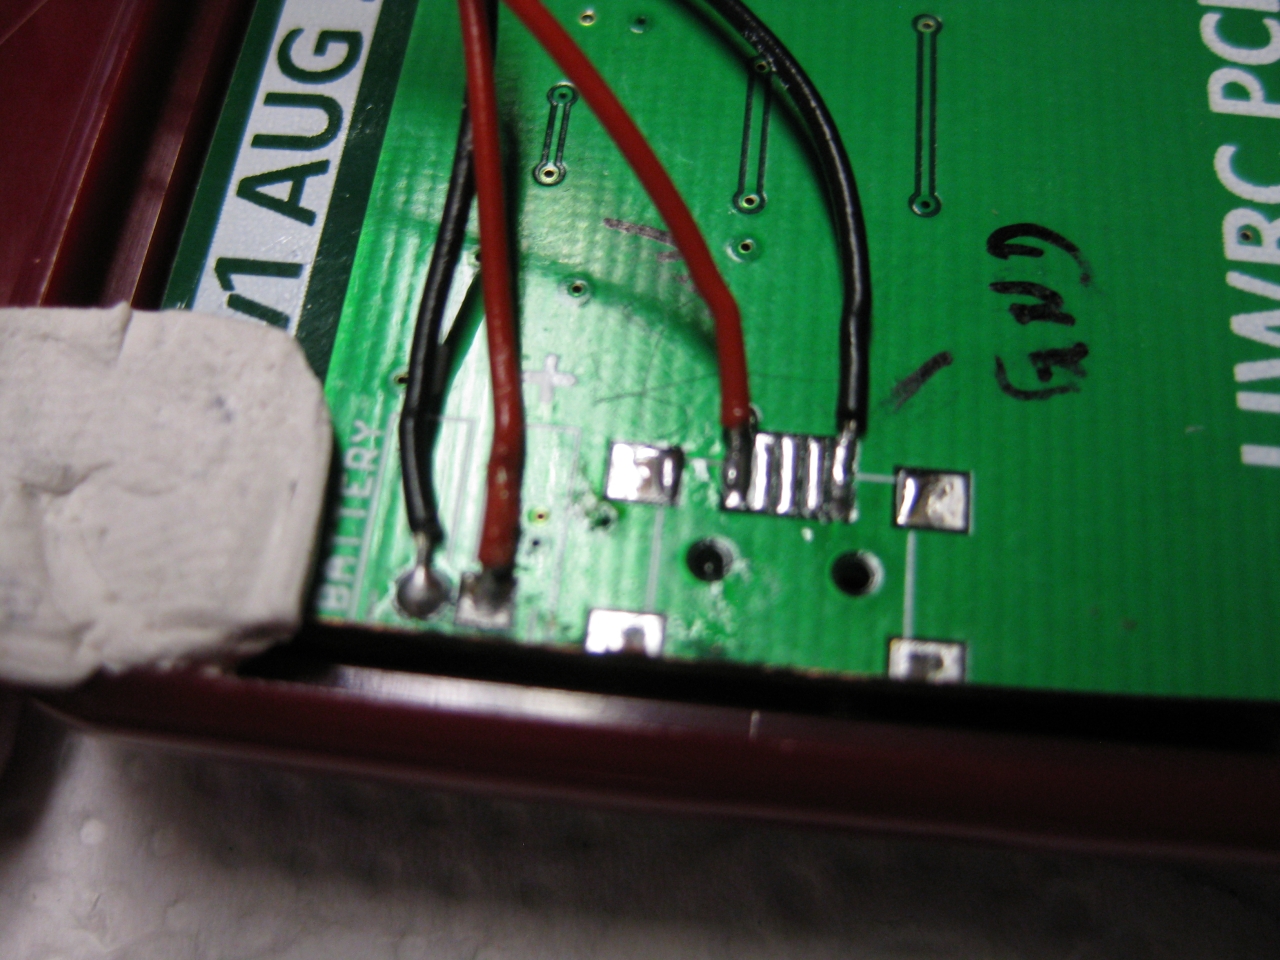
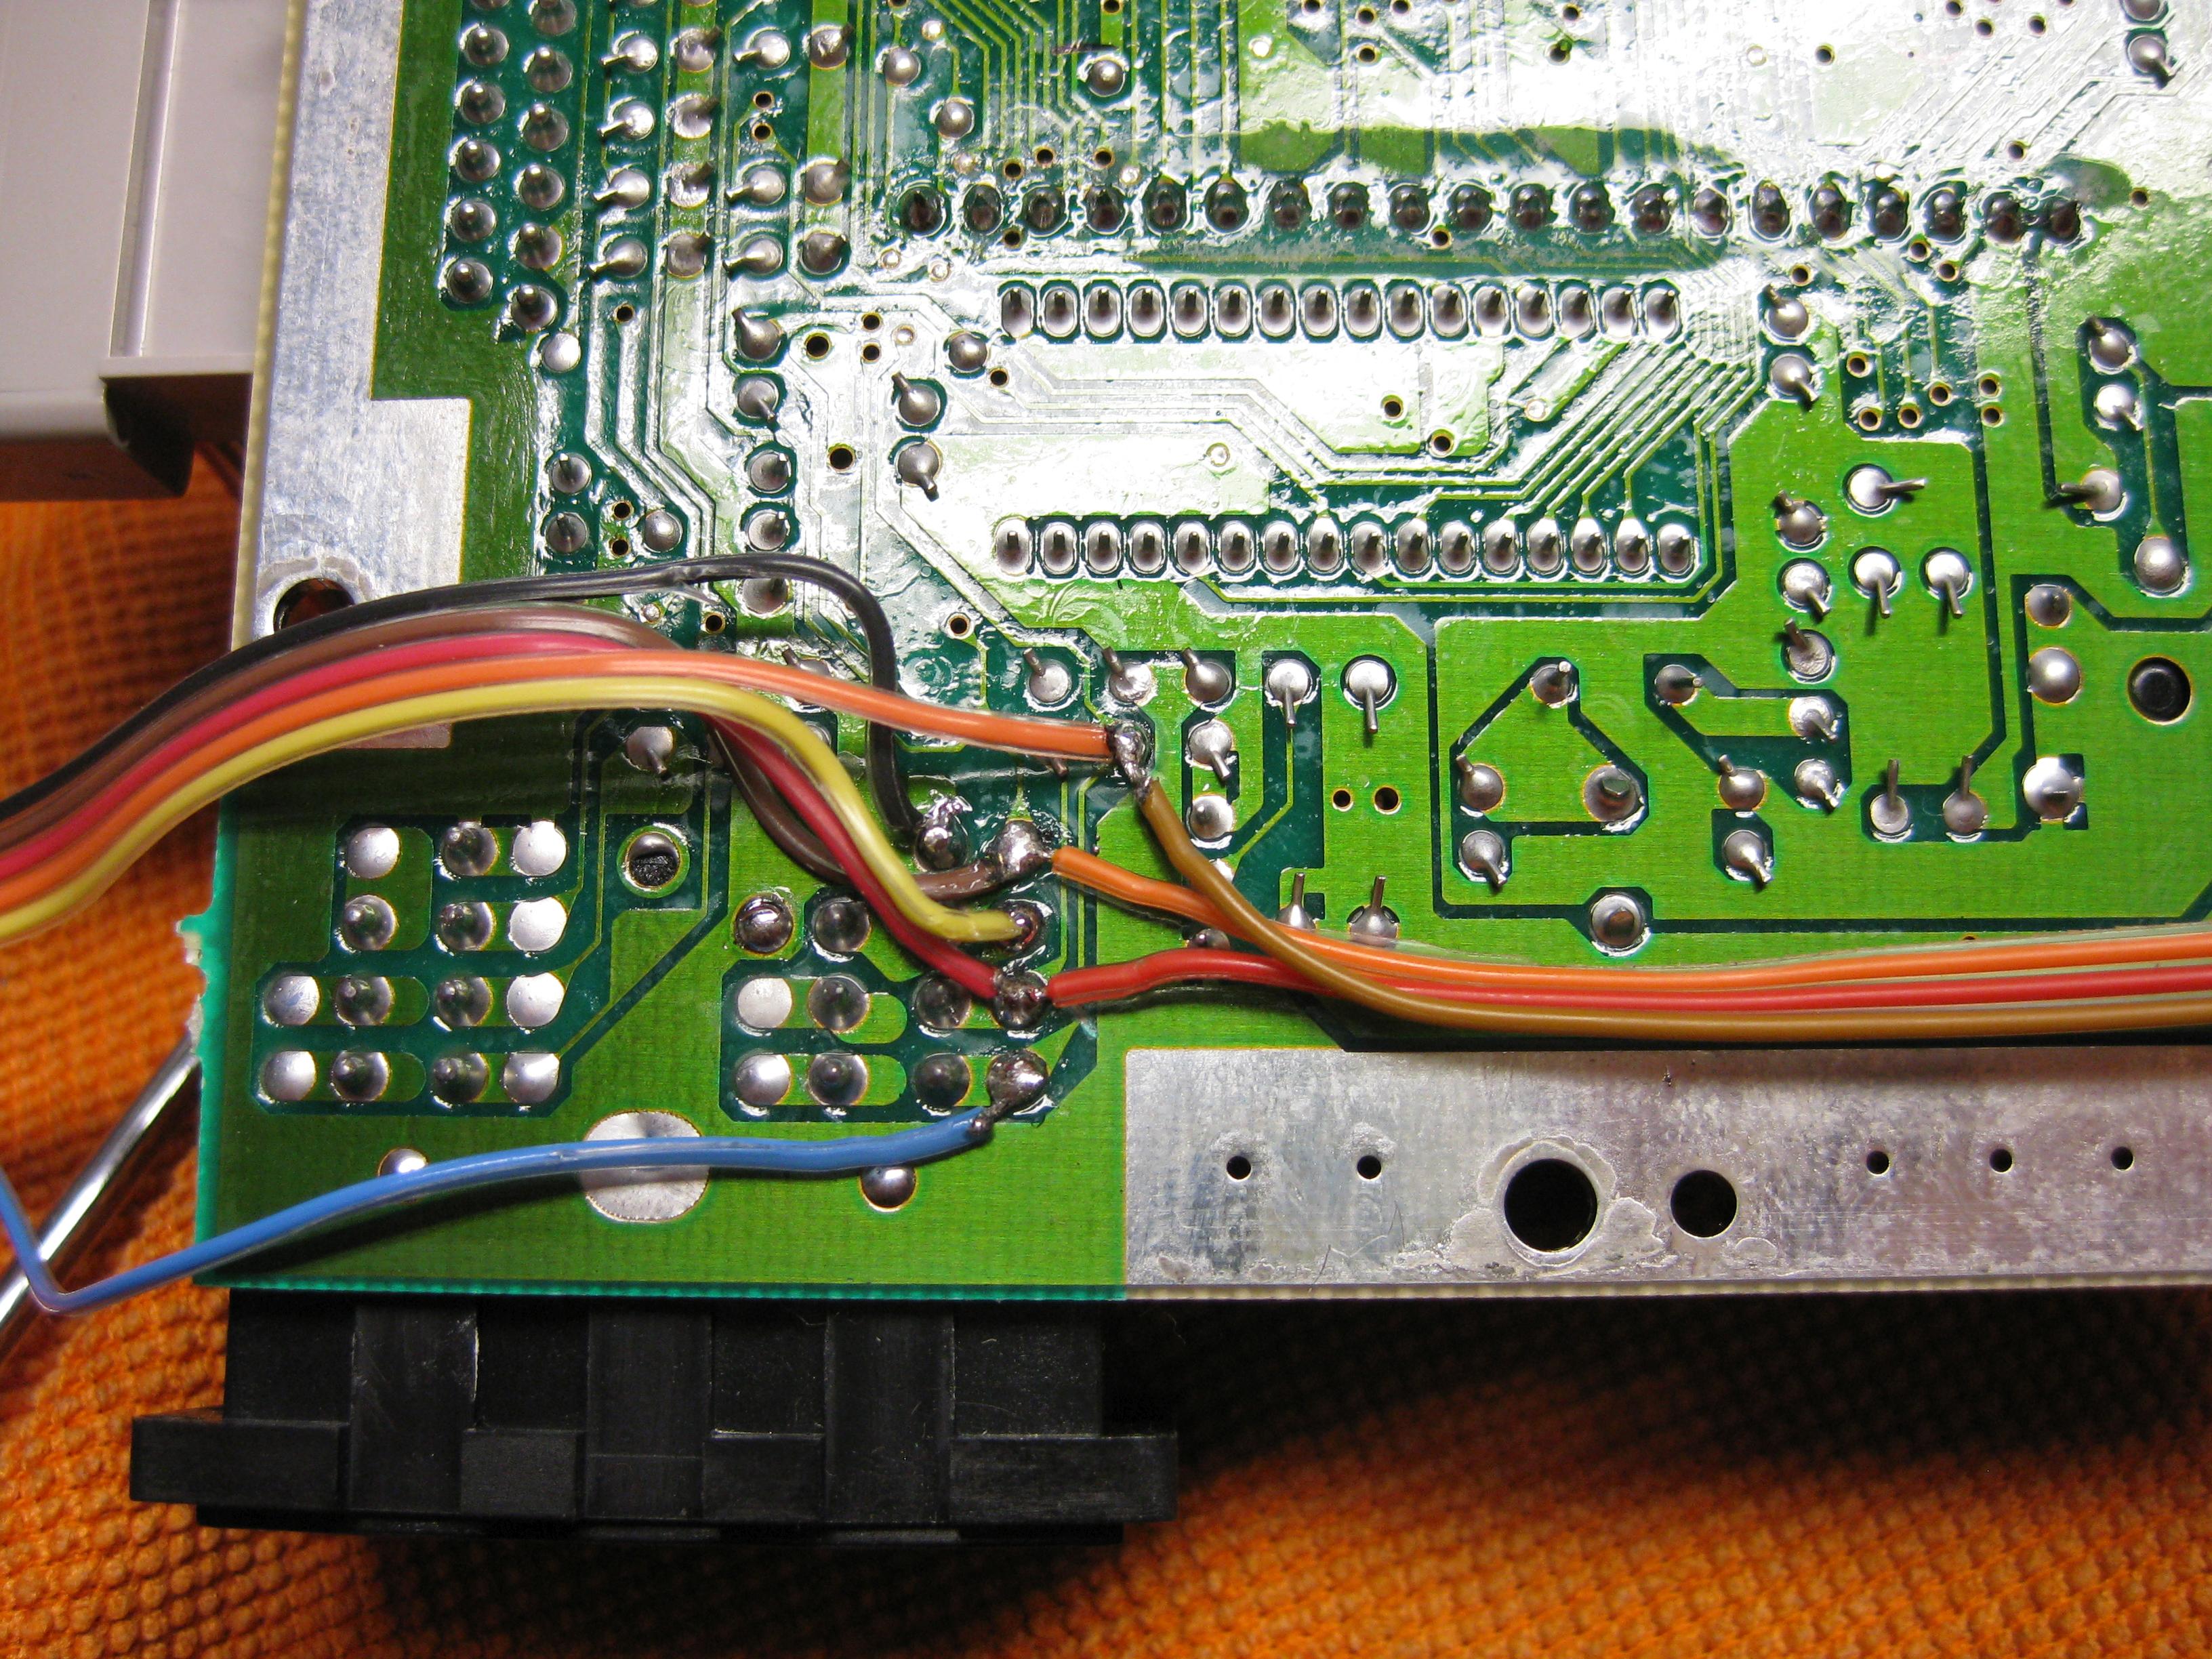
Now its time to put the receiver inside my Famicom A/V
You have to gut a circuit at Pin 4 from the Controllerport and wire it like on the picture.
Now it works with UWRC Controller and Real Controller too.
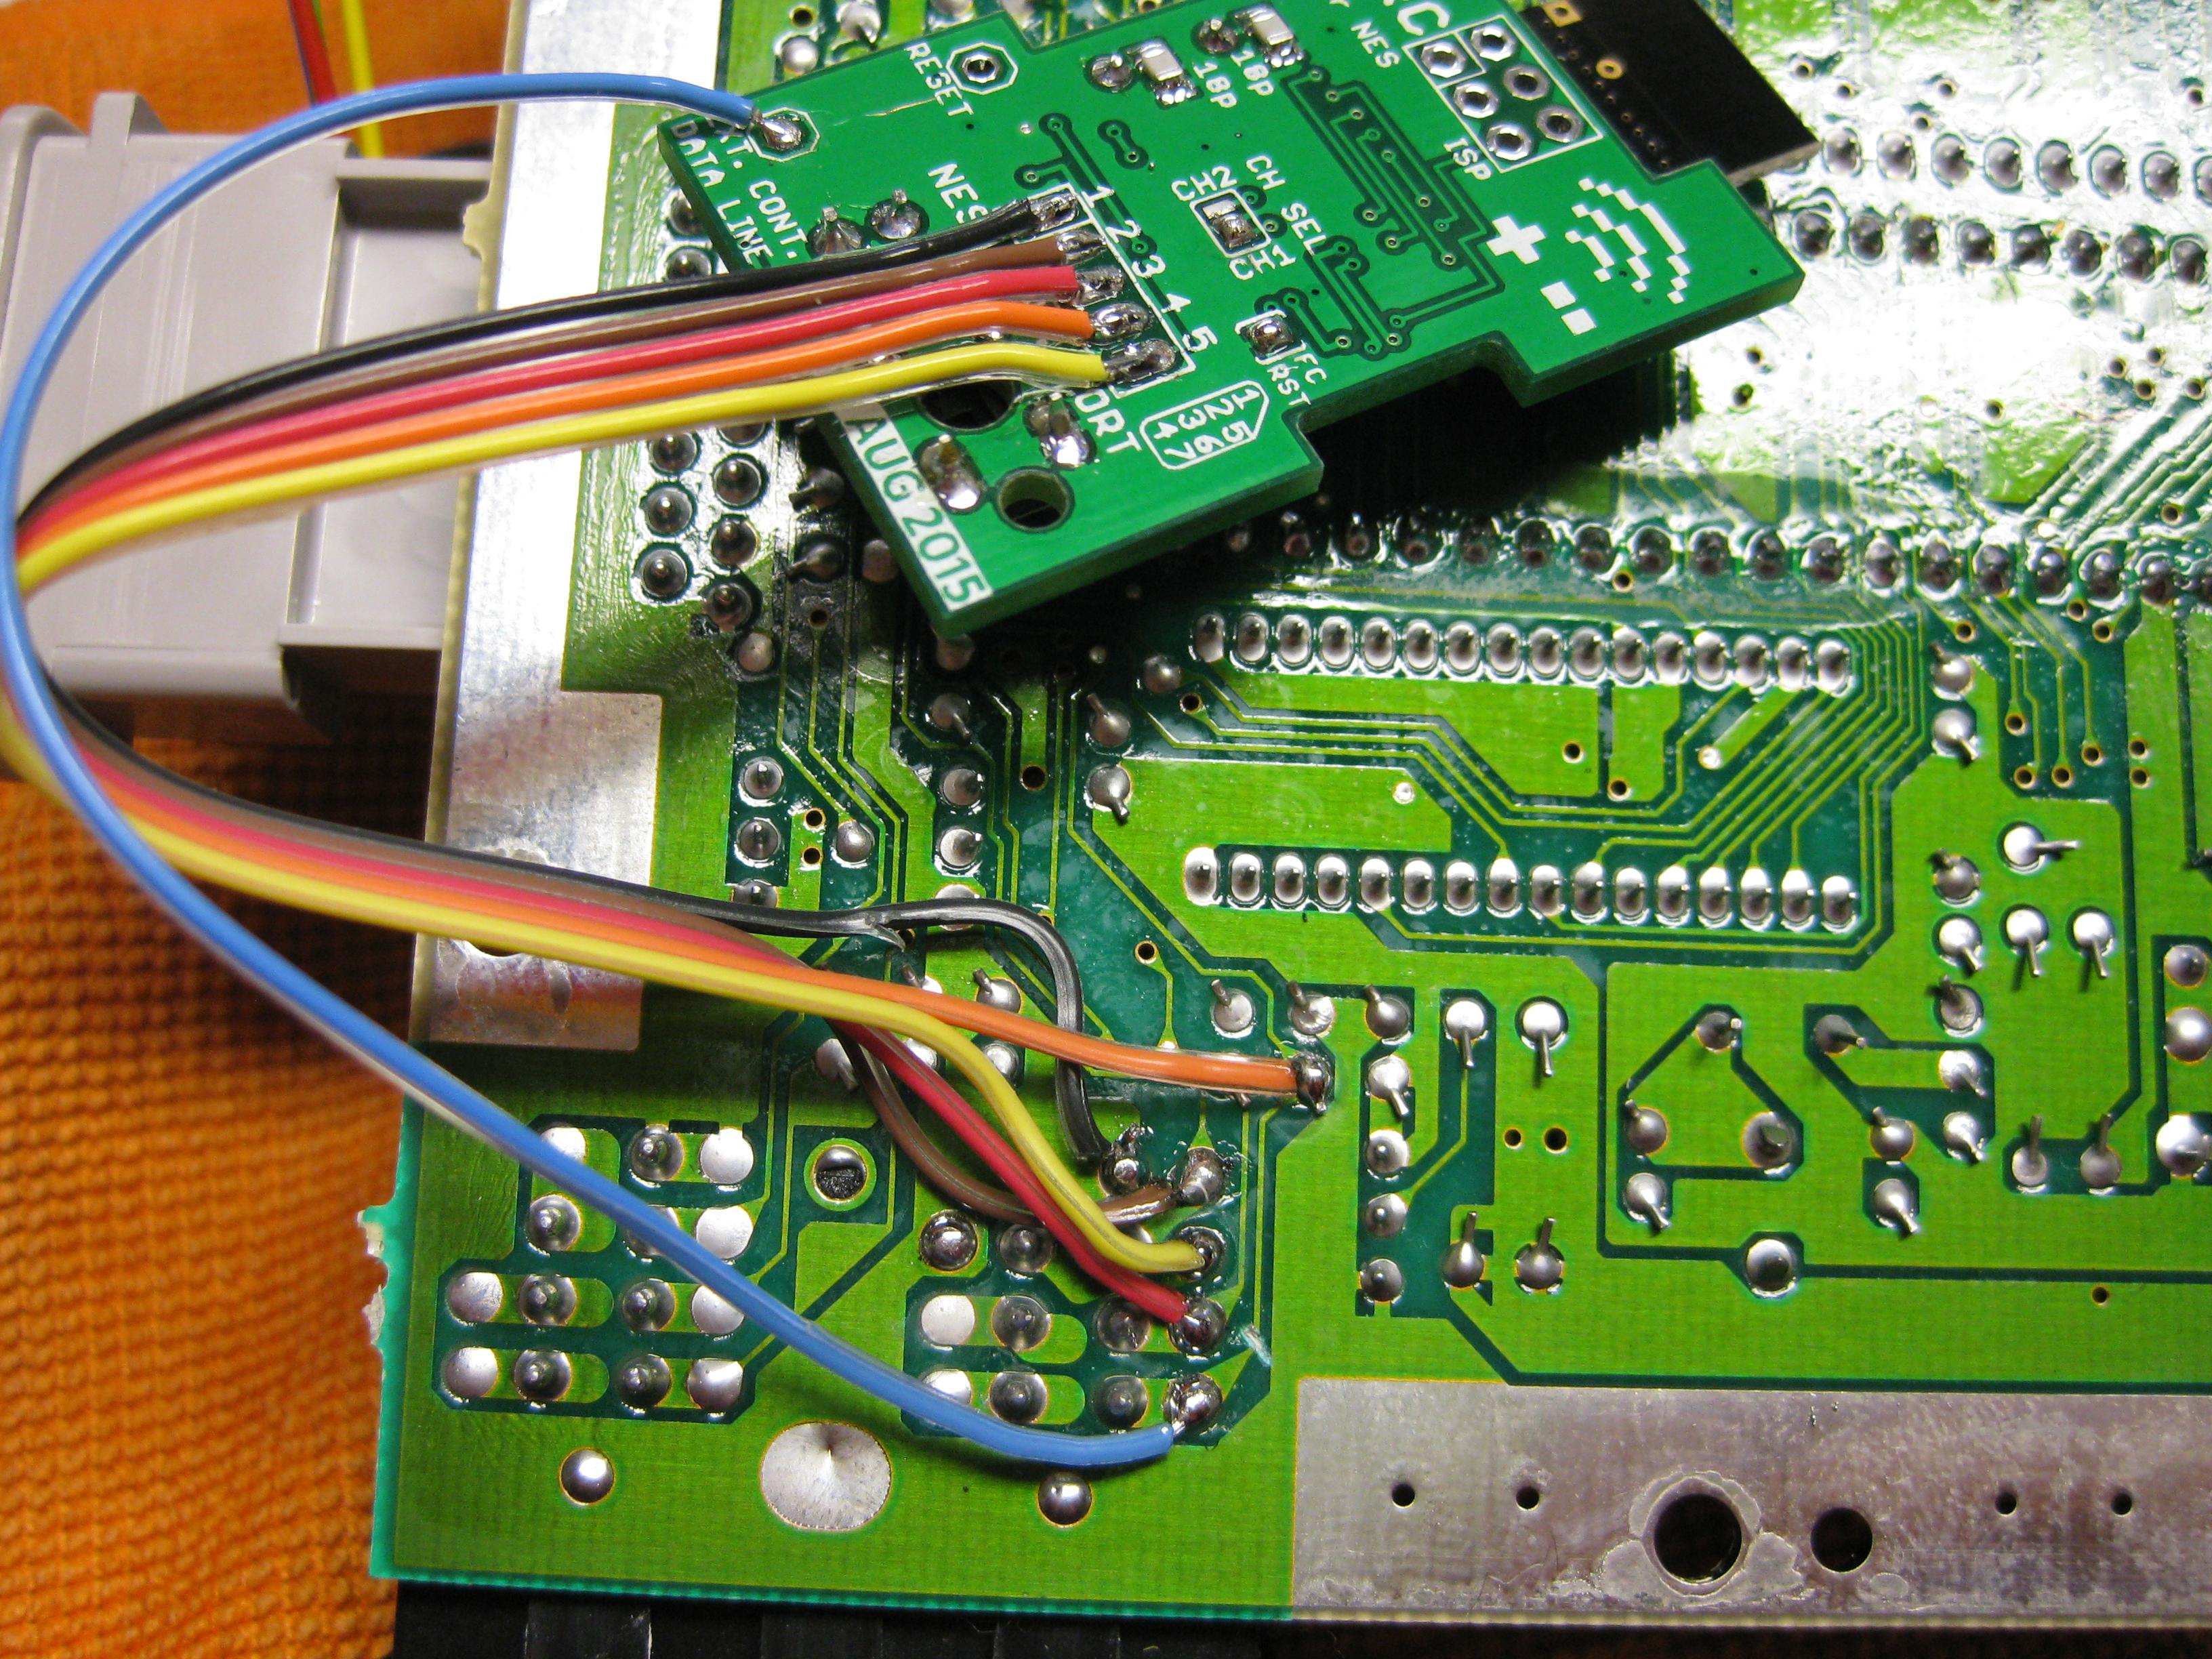
As I have a RGB Mod from Tim Worthington inside and the helper PCB from borti you have to wire the helper pcb „behind“ the cutted wire
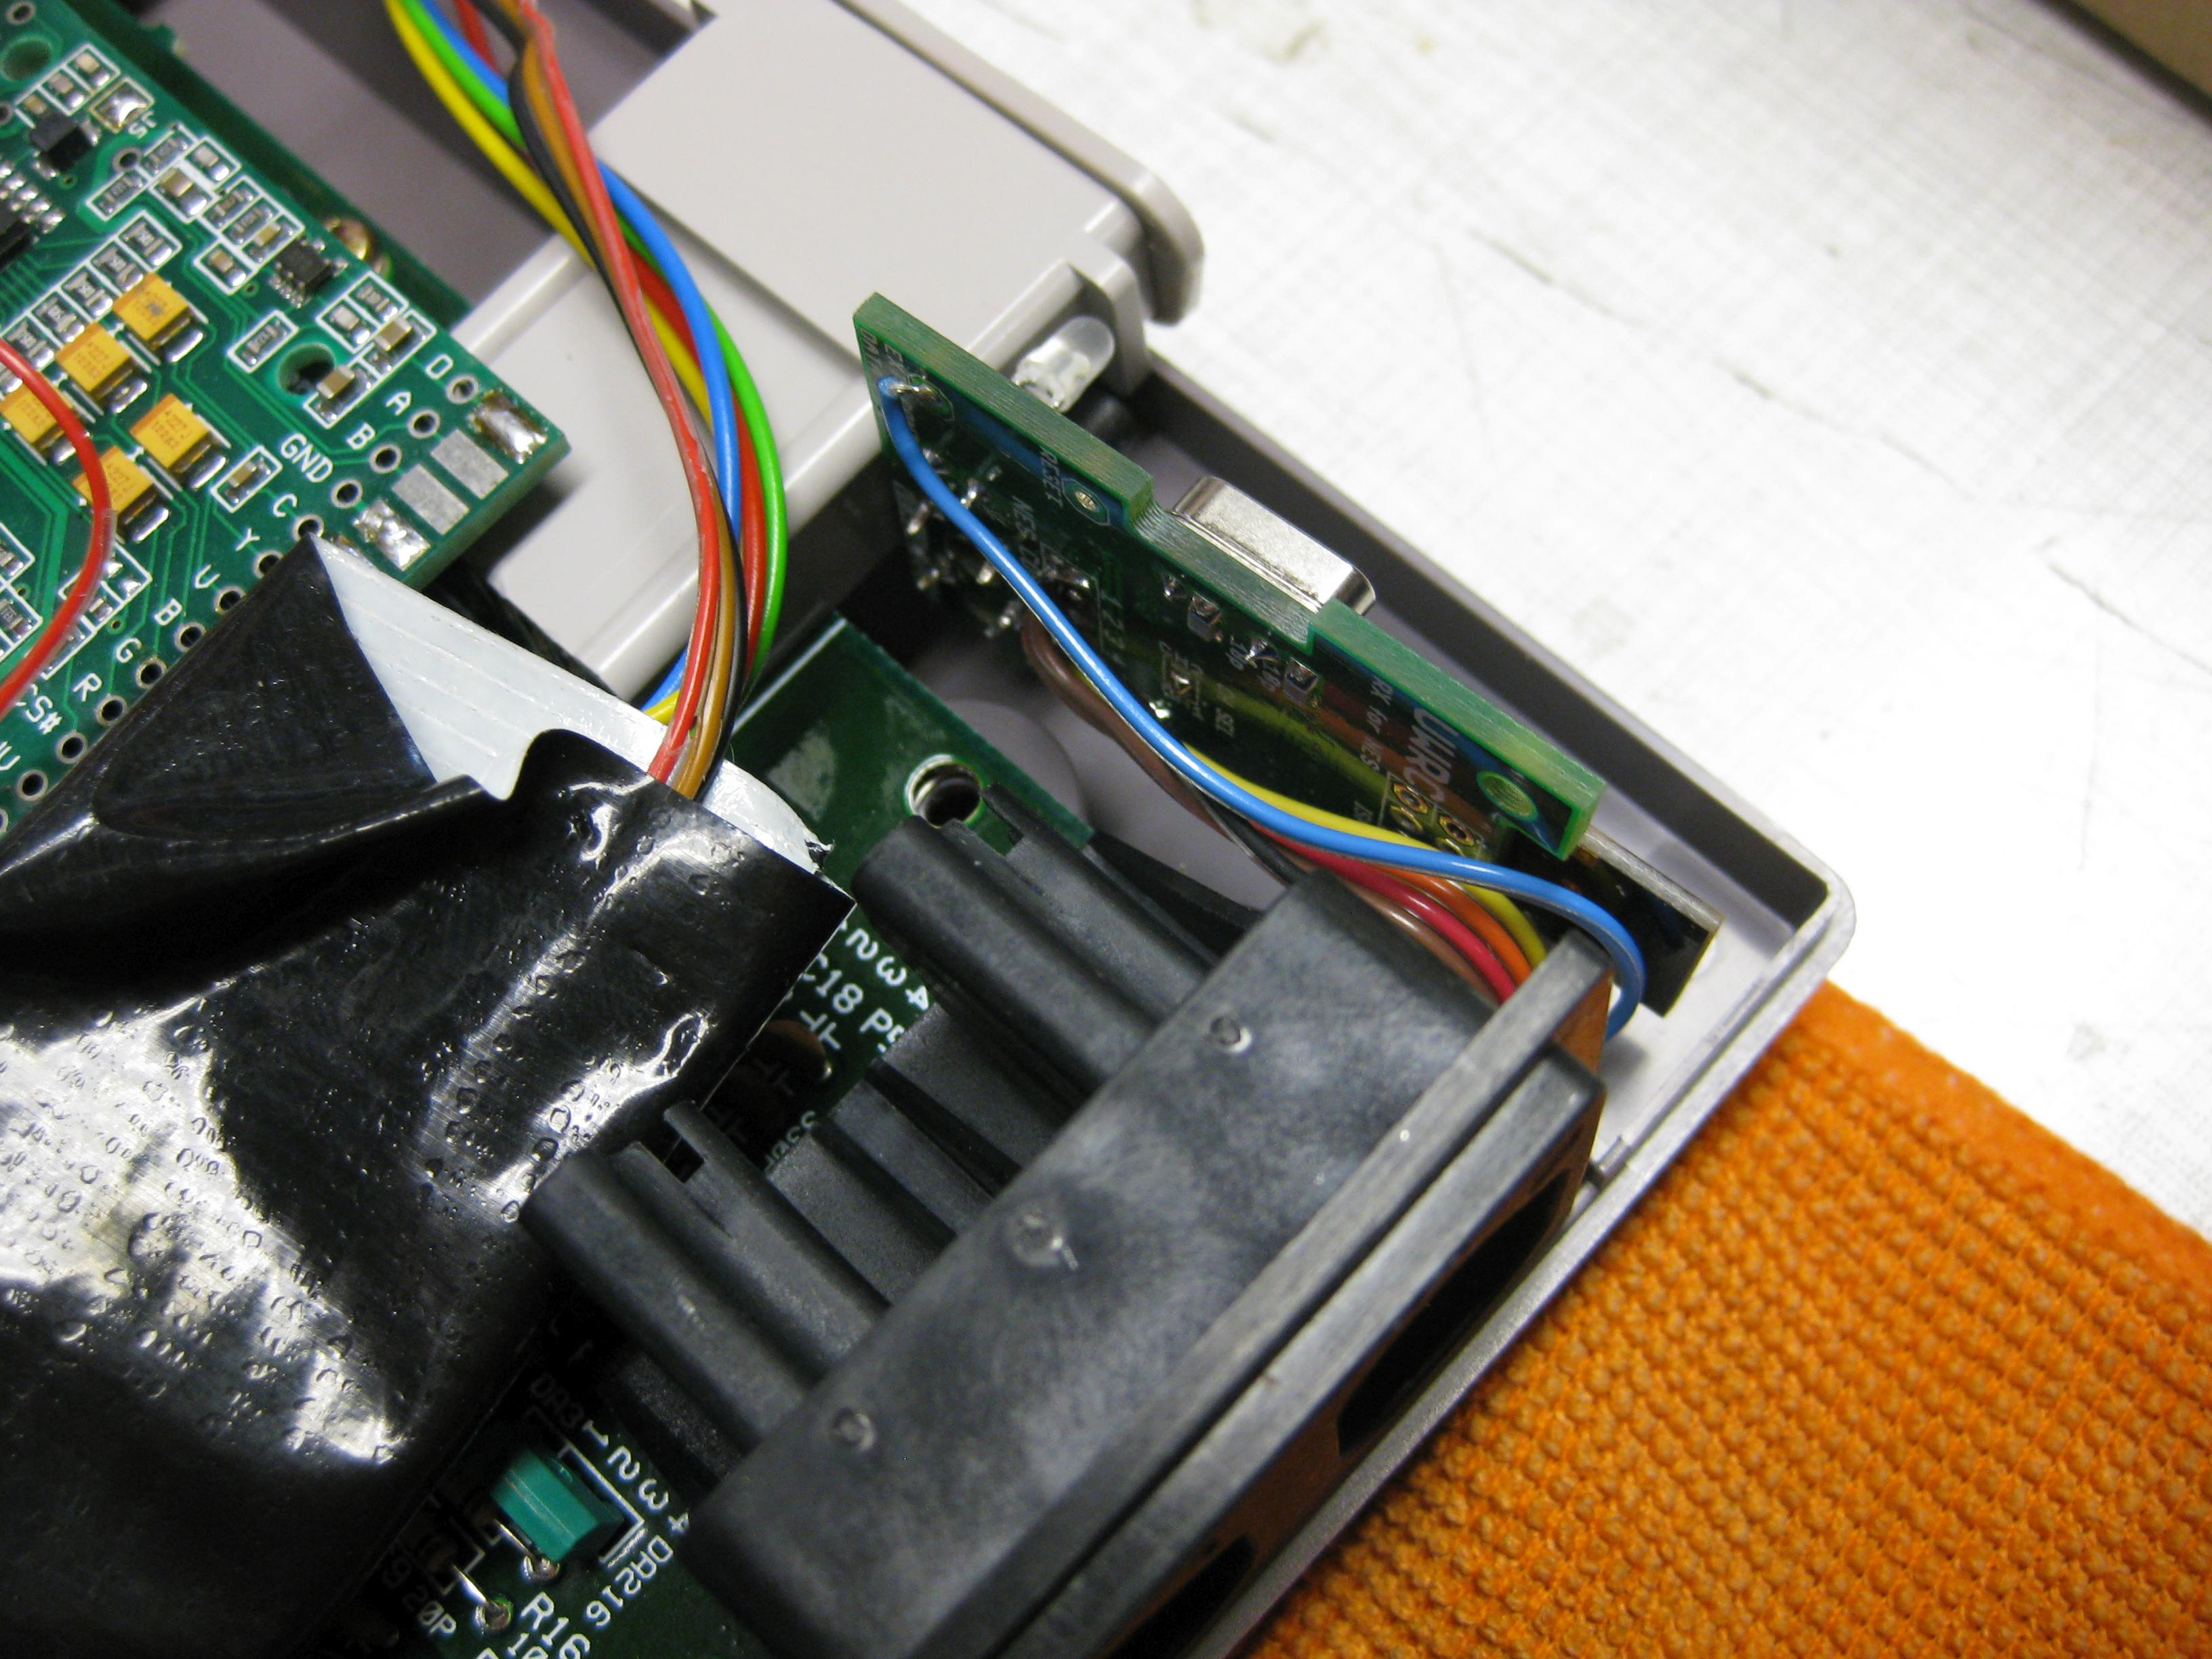
But we need some Input and Led Display too.
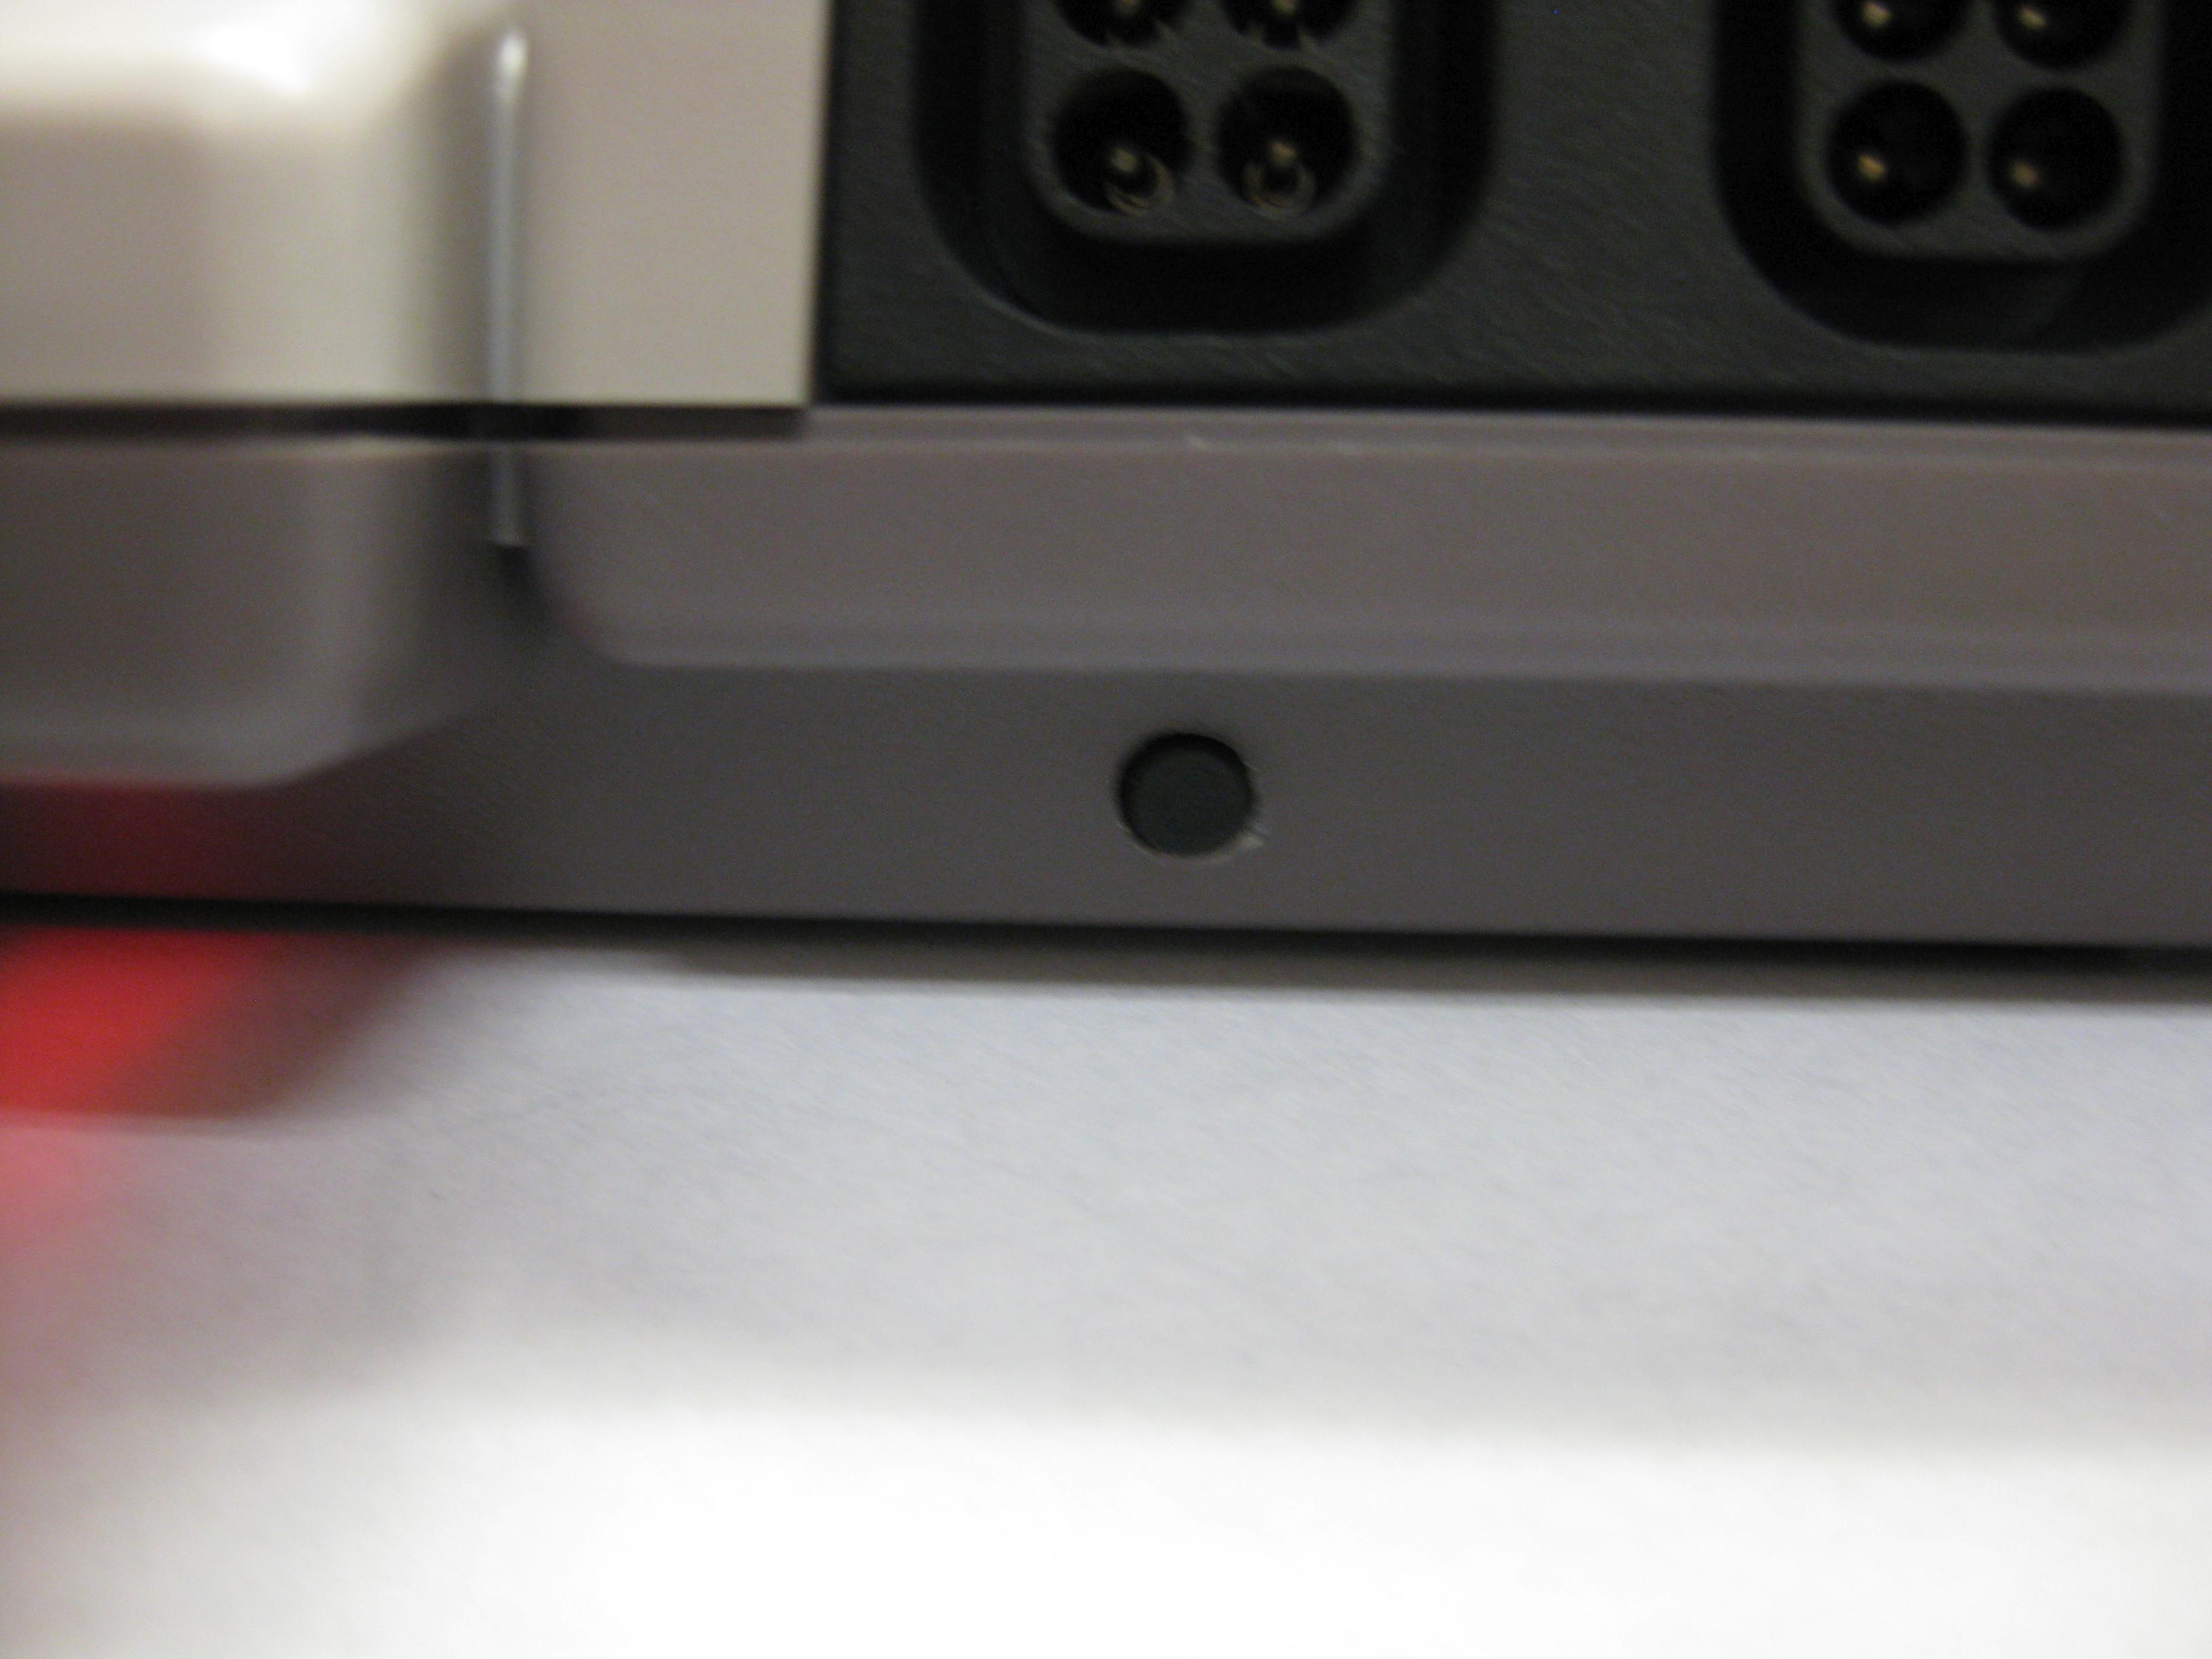
Here I wanted to make it incognito like possible and put the LEDs through the cooling openings.
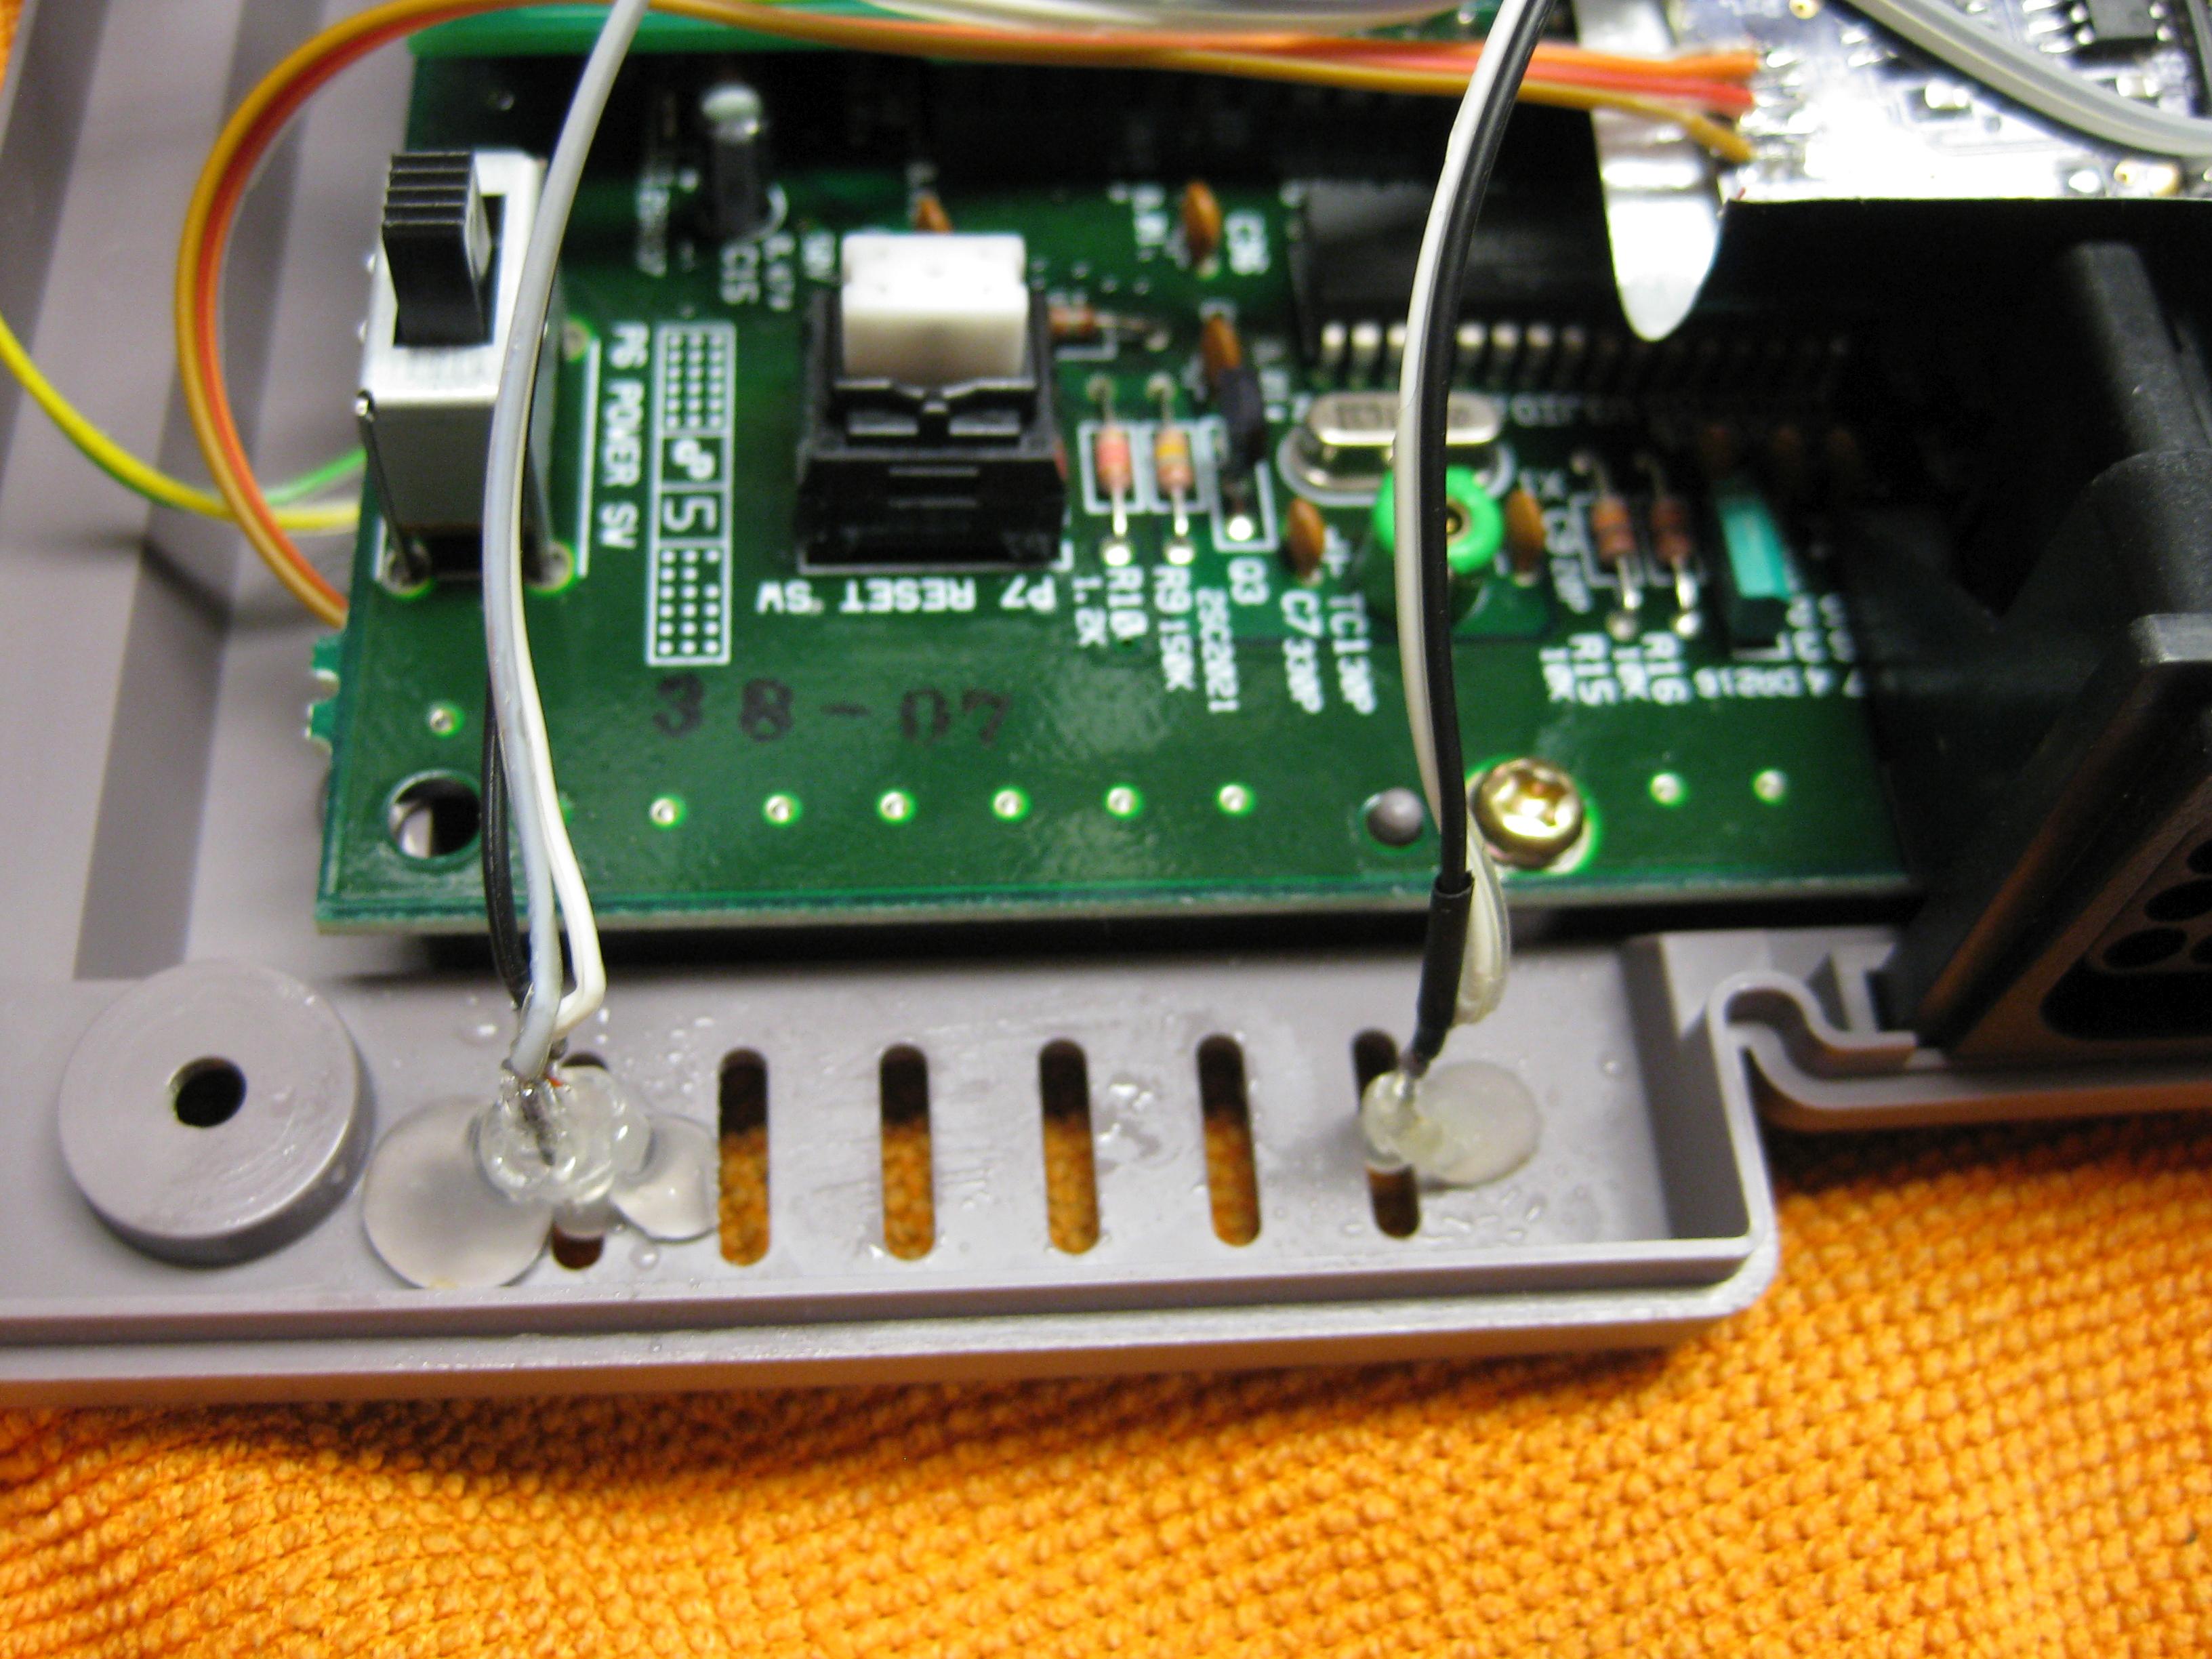
The only „bad“ part was the reset button.
But you didn’t see it at normal viewpoint to the Famicom