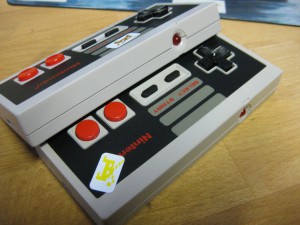
This week I got a new toy called UWRC for NES. Thanks micro ![]()
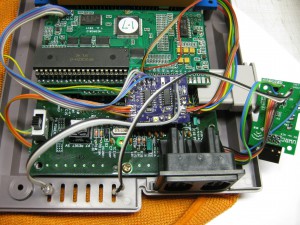
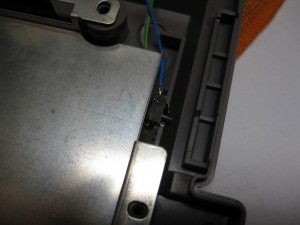
I have to put the PCB into the NES and with the help of a dremel and a cutter knife it fitts perfectly, like every UWRC PCB from micro.
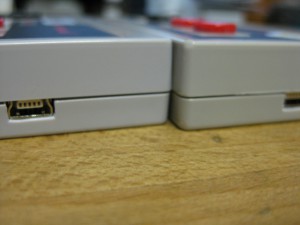
Now its time to put the receiver inside my Famicom A/V
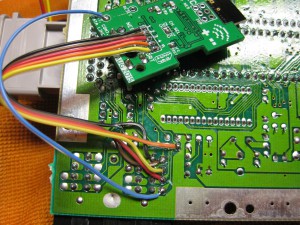
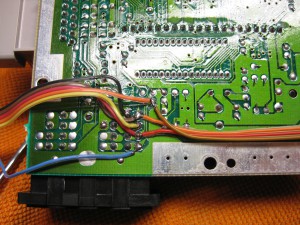
You have to gut a circuit at Pin 4 from the Controllerport and wire it like on the picture.
Now it works with UWRC Controller and Real Controller too.
As I have a RGB Mod from Tim Worthington inside and the helper PCB from borti you have to wire the helper pcb „behind“ the cutted wire
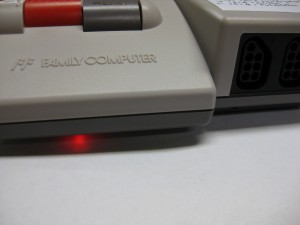
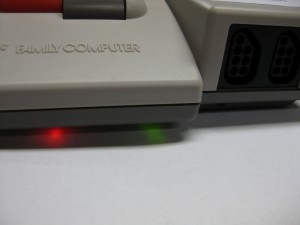
But we need some Input and Led Display too.
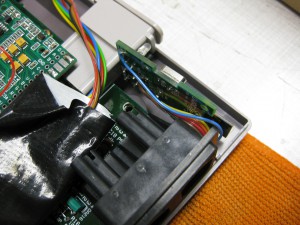
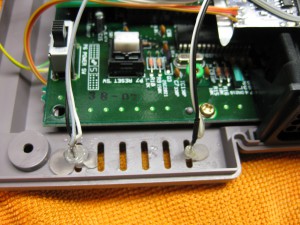
Here I wanted to make it incognito like possible and put the LEDs through the cooling openings.
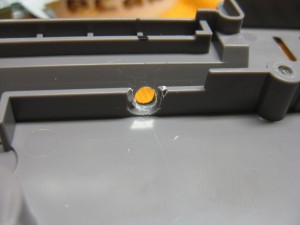
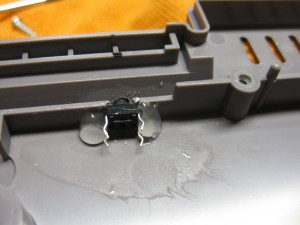
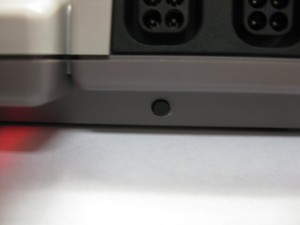
The only „bad“ part was the reset button.
But you didn’t see it at normal viewpoint to the Famicom
