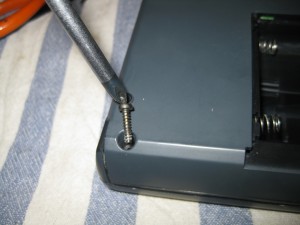
Easy going remove the old soldered Battery and replace it with a socket and one ML2032 Battery
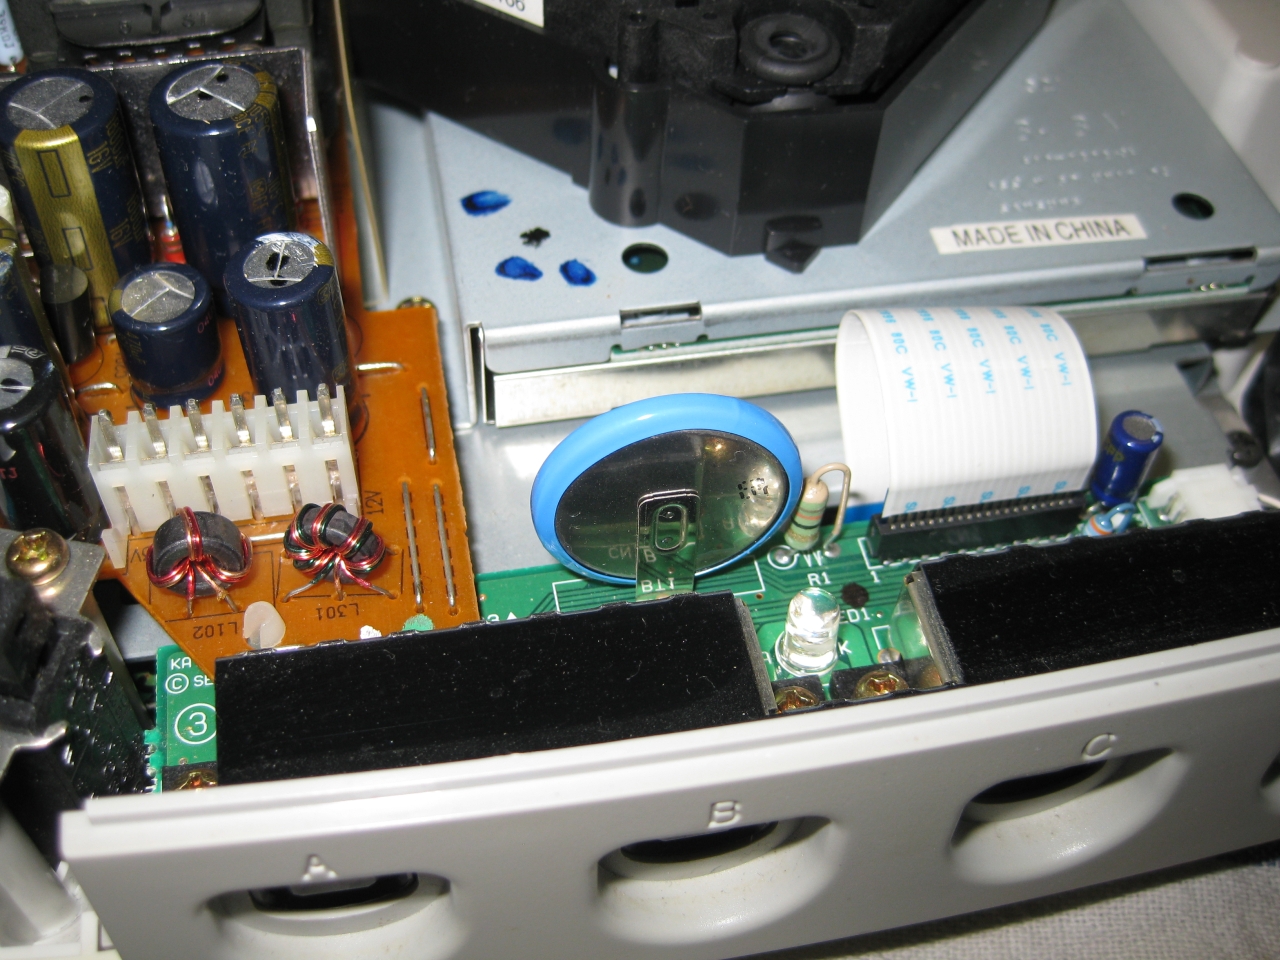
desoldering
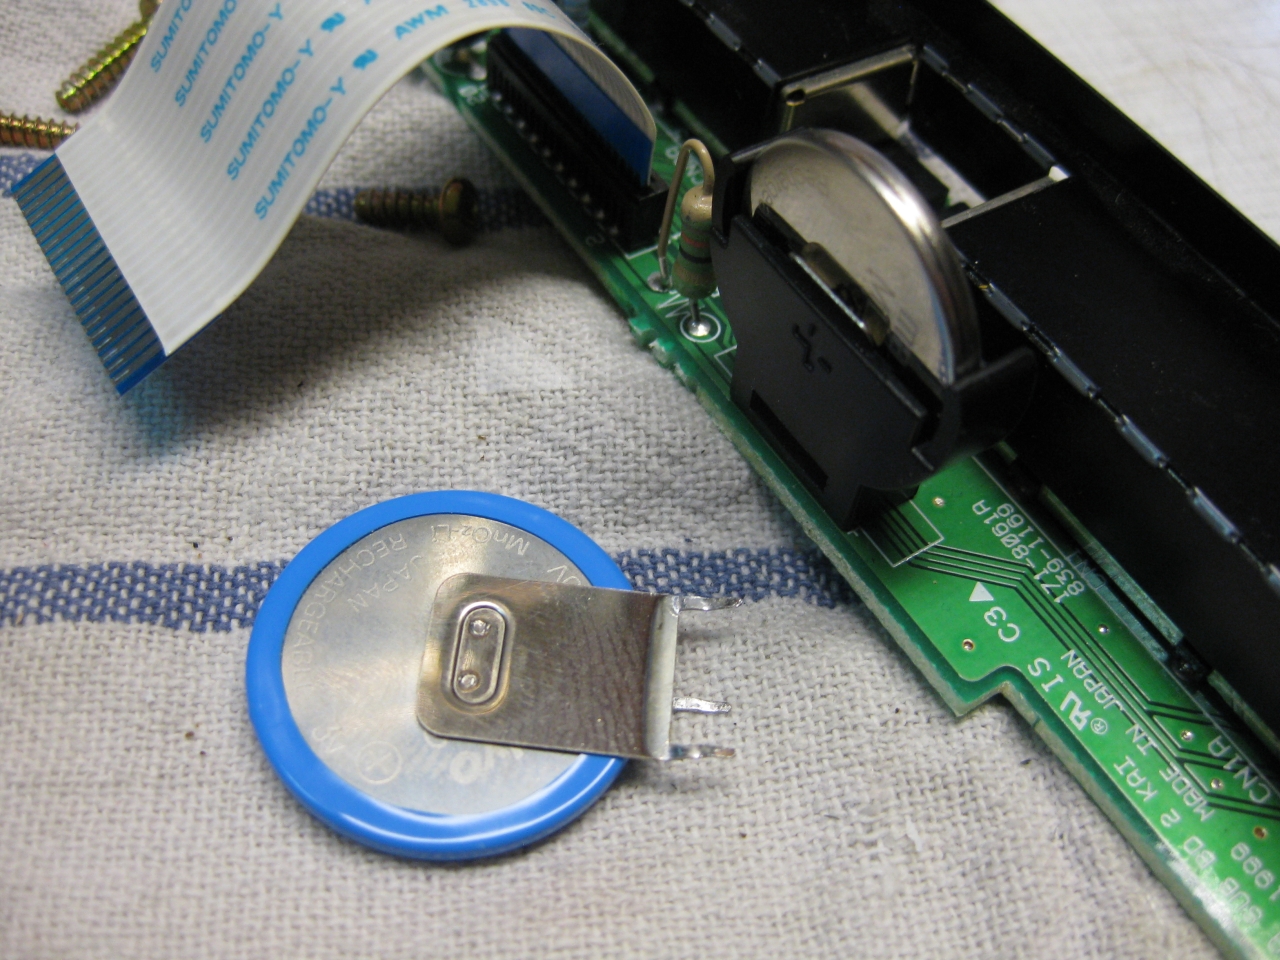
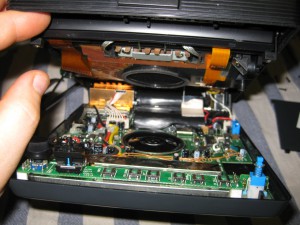
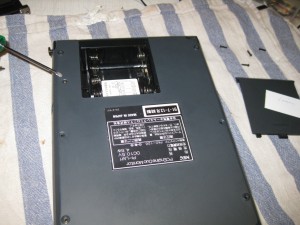
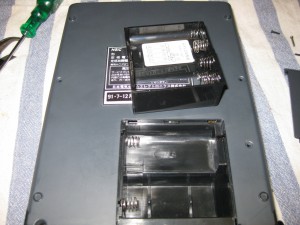
final

some charging (only put the dreamcast on) and you are ready to go
Easy going remove the old soldered Battery and replace it with a socket and one ML2032 Battery
desoldering
final
some charging (only put the dreamcast on) and you are ready to go
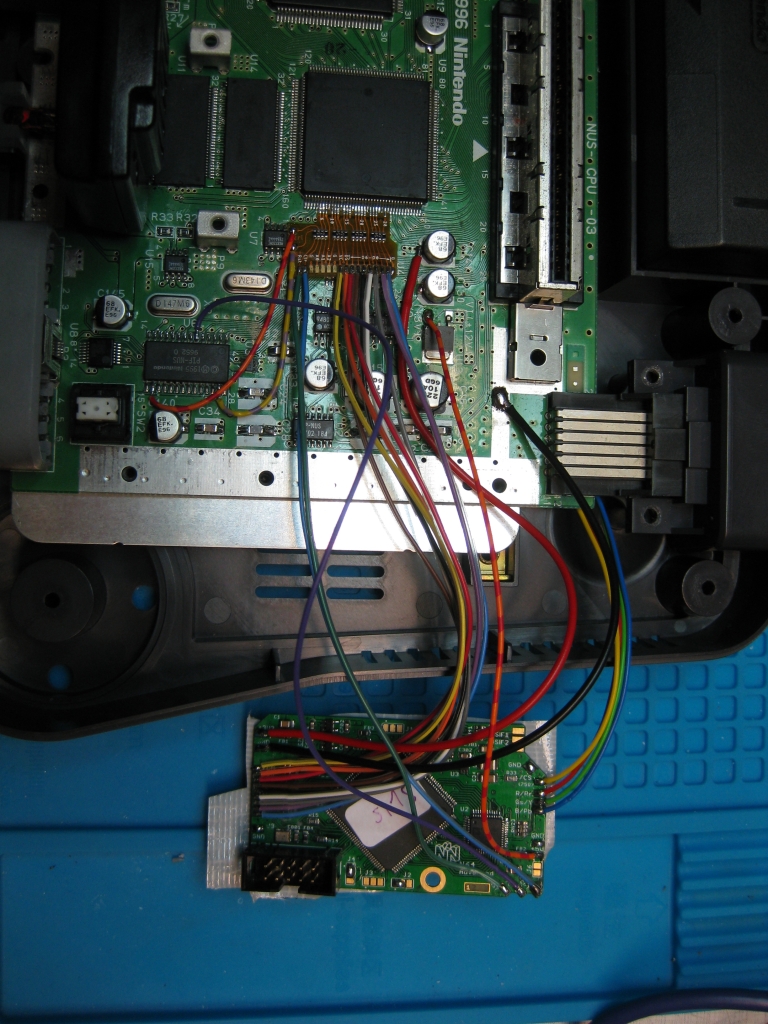
thanks to borti4938, N64 RGB is reaching a new level.
https://github.com/borti4938/n64rgb/blob/master/Guide_N64A_n_N64RGB.pdf
Including deblur, wonderfull RGB Picture, OSD for configuring and more…
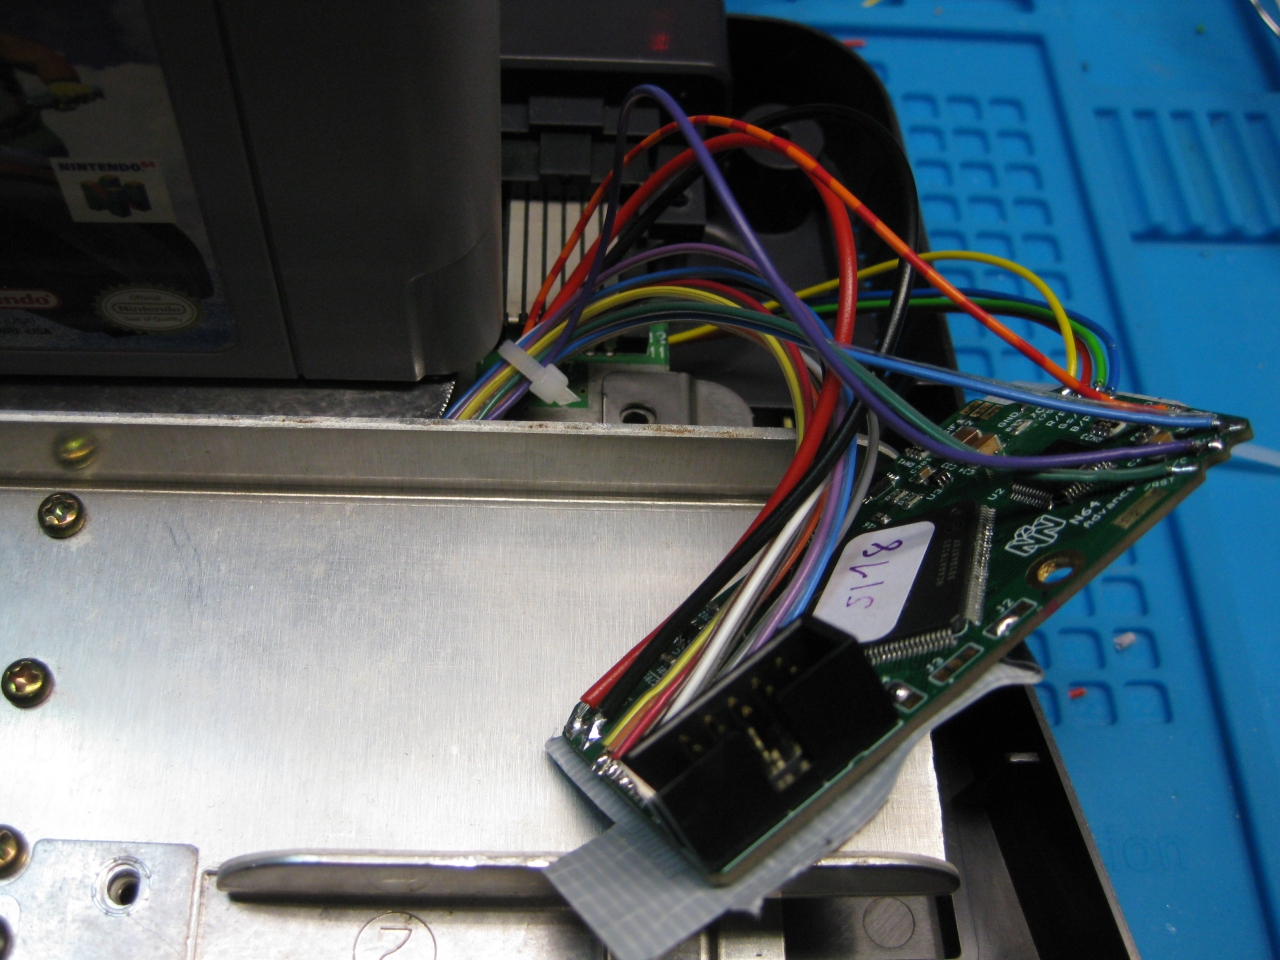
I used the new FPC Adapter (thanks to borti)
If you want a mod:
https://www.wolfsoft.de/shop/product_info.php/products_id/15375/
Here you can find some installation pics for a N64 jap NUS-CPU-03 Board


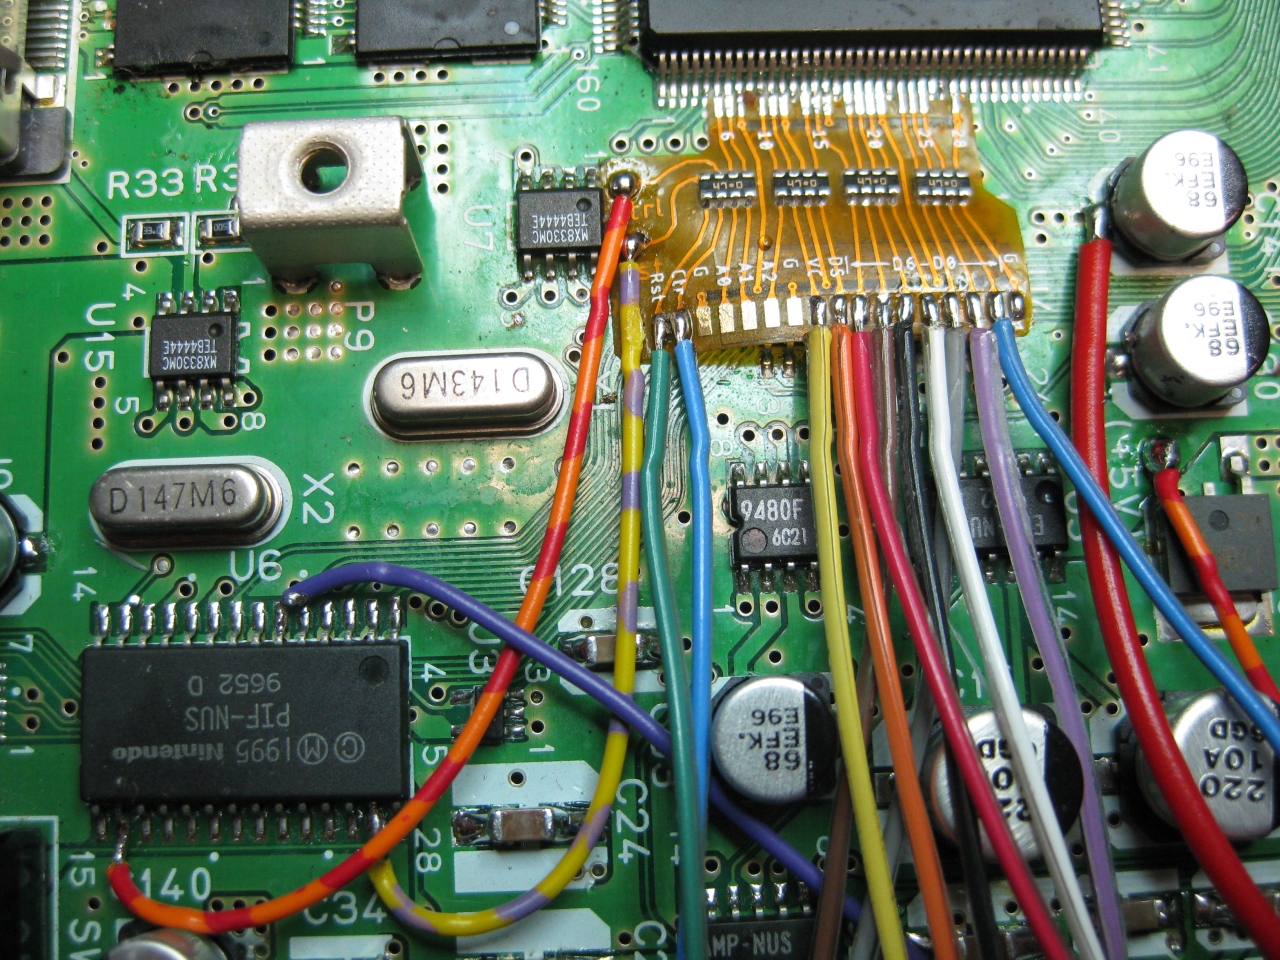
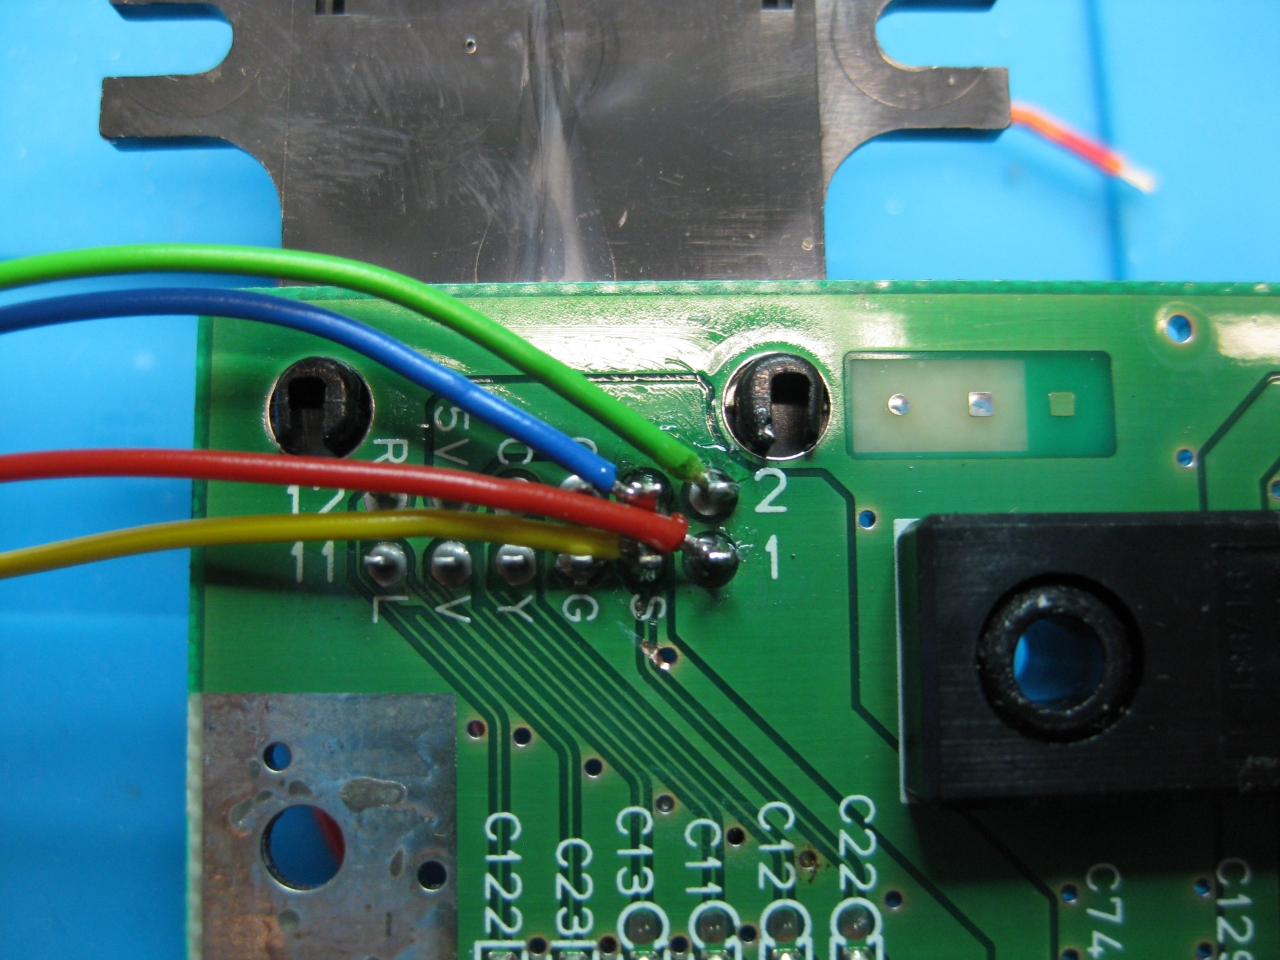
Cutted Pin 3 and used C-Sync from RGB Advanced Borad
(some testing)

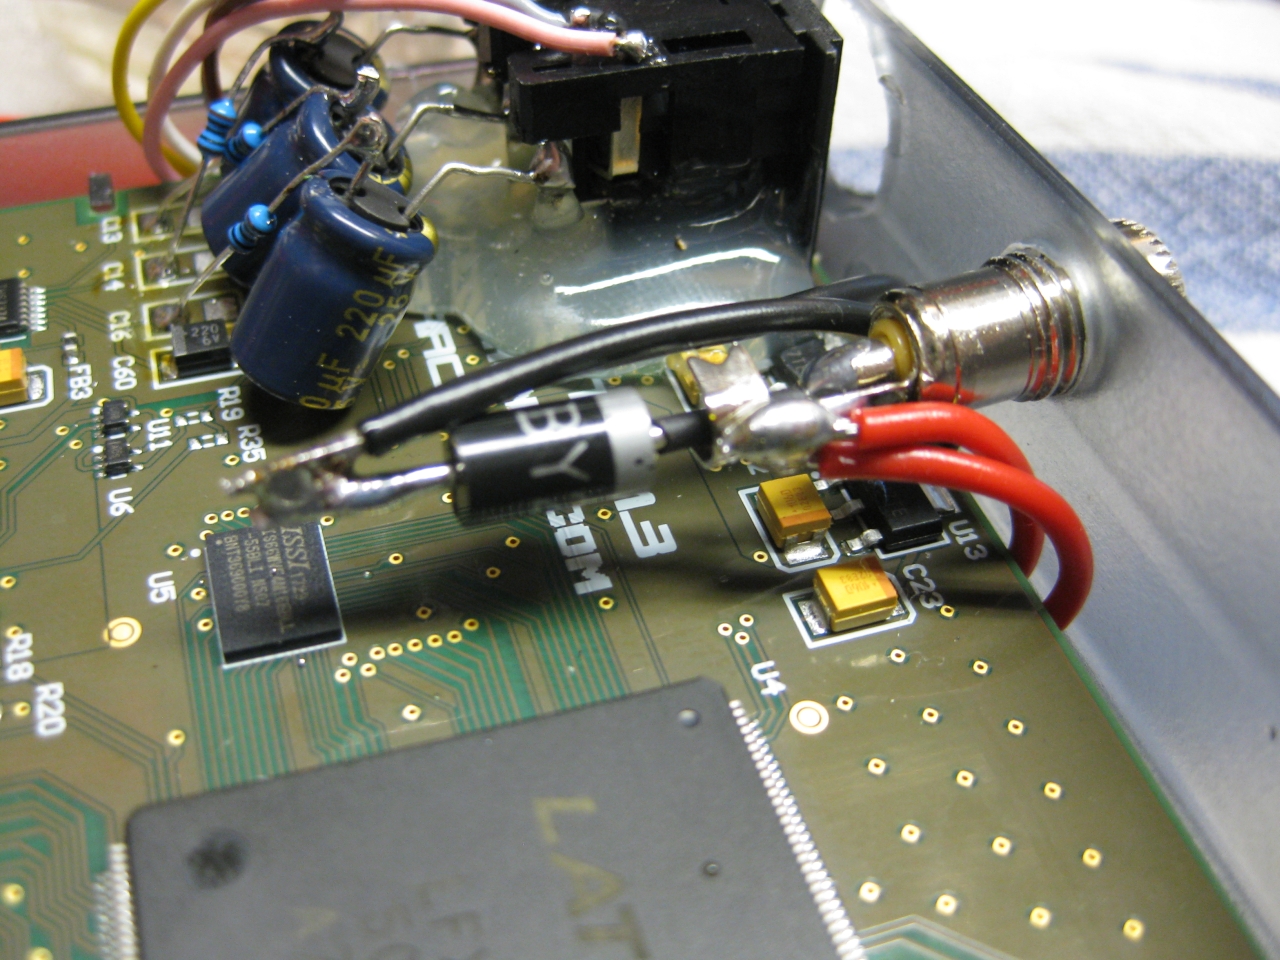
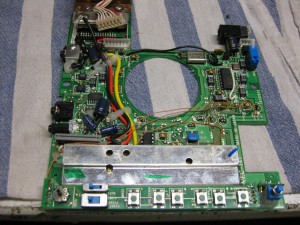
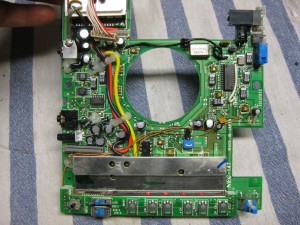
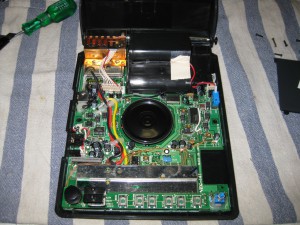
As I have open the Super SD System 3 for the Audiofix. I change the Mini Din A/V Connector to my common 8 Pin DIN connector, because I have a lot of consolse fitted with this same connector.
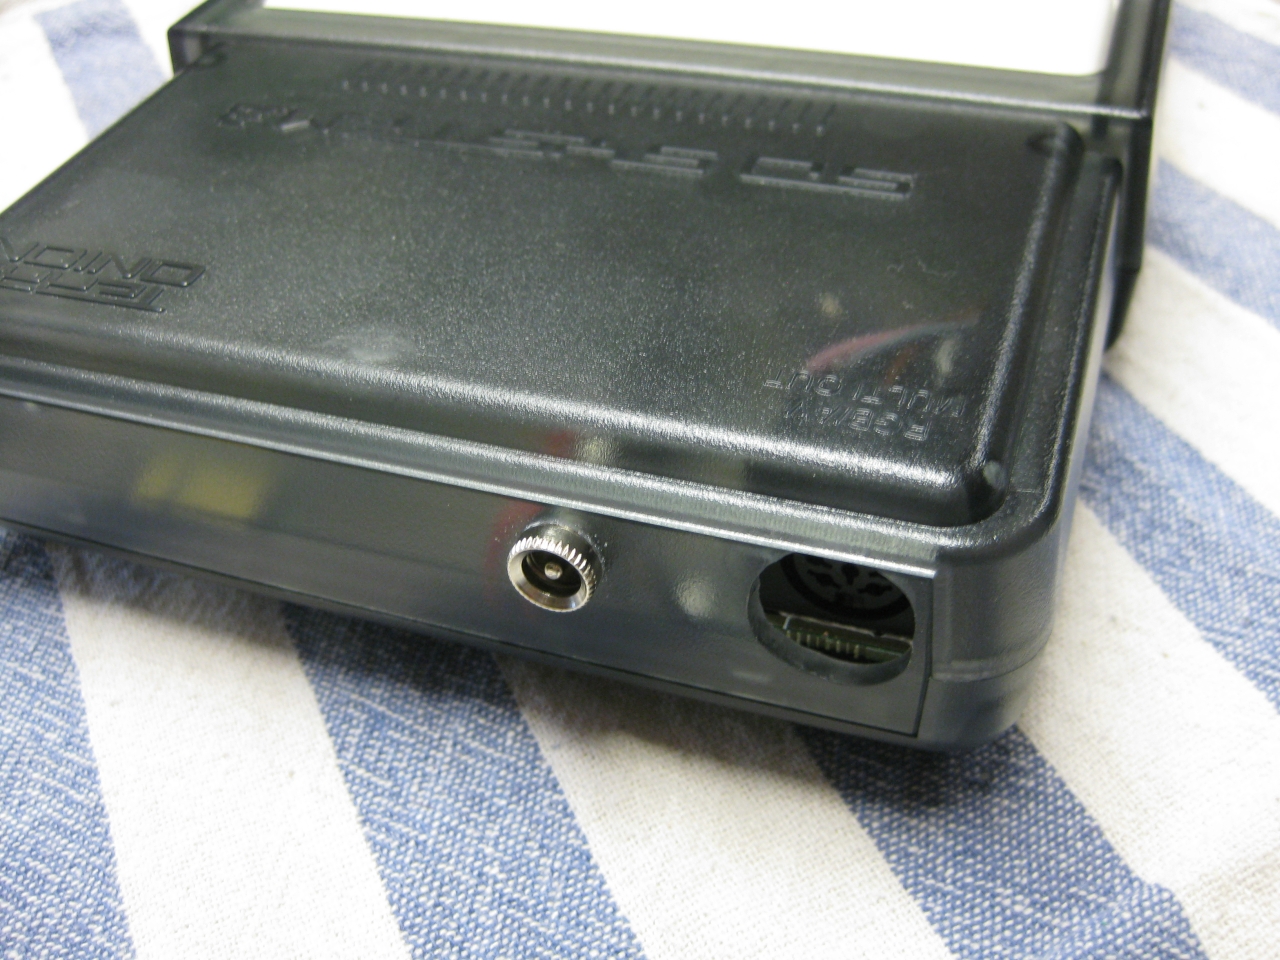
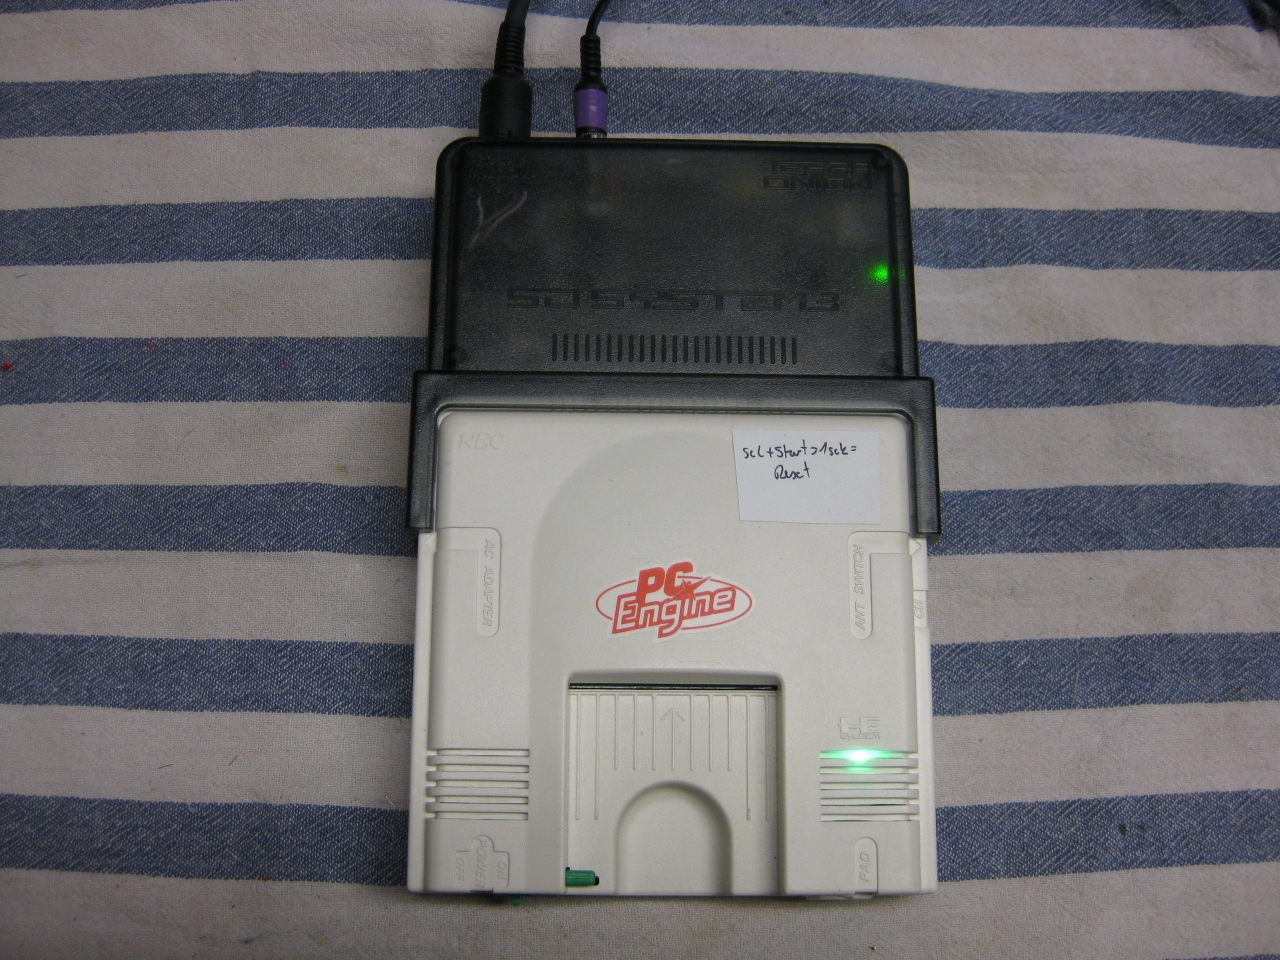
I am not a friend of cables from different sides of a console. So i put both RGB and Power supply in the back and have a nice looking PC-Engine Combo
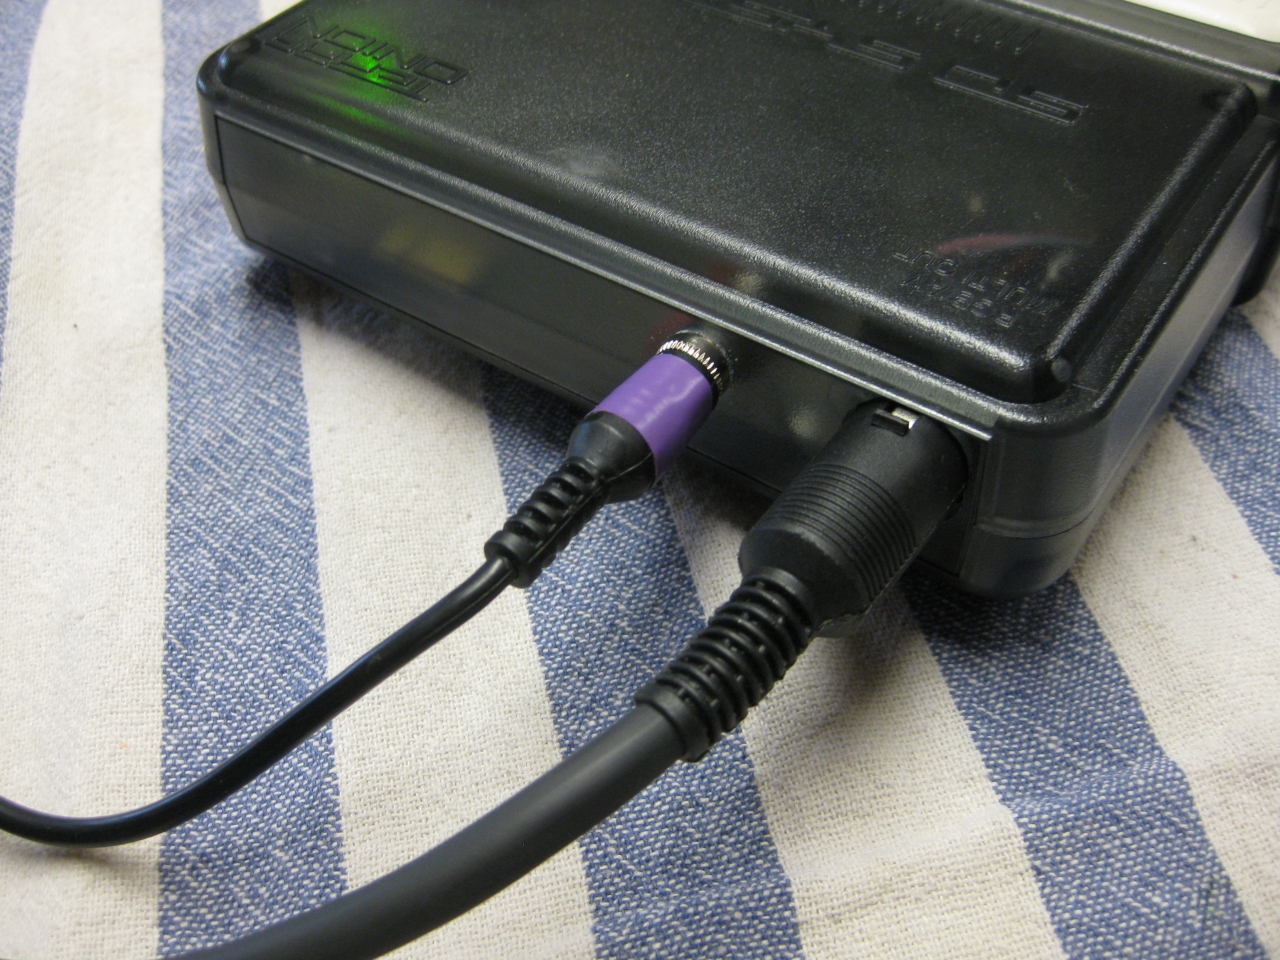
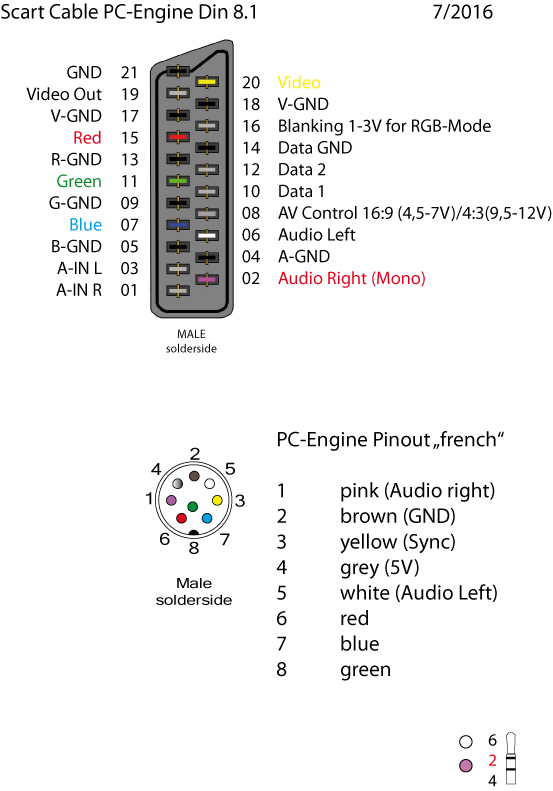
Pinout RGB
The Powersupply +9V at the red wires GND at the black wires
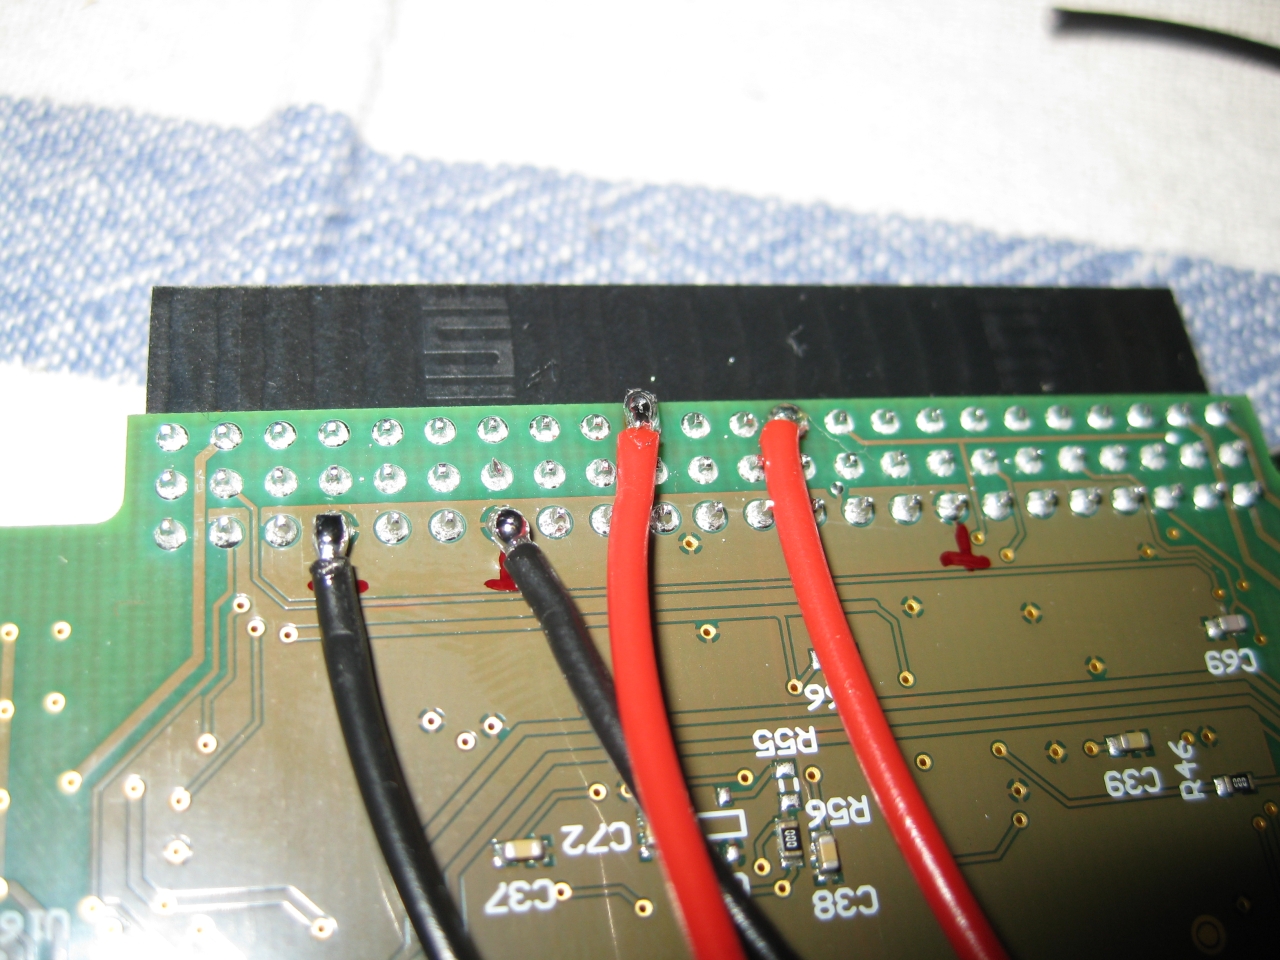
I used a big diode to avoid wrong input voltage
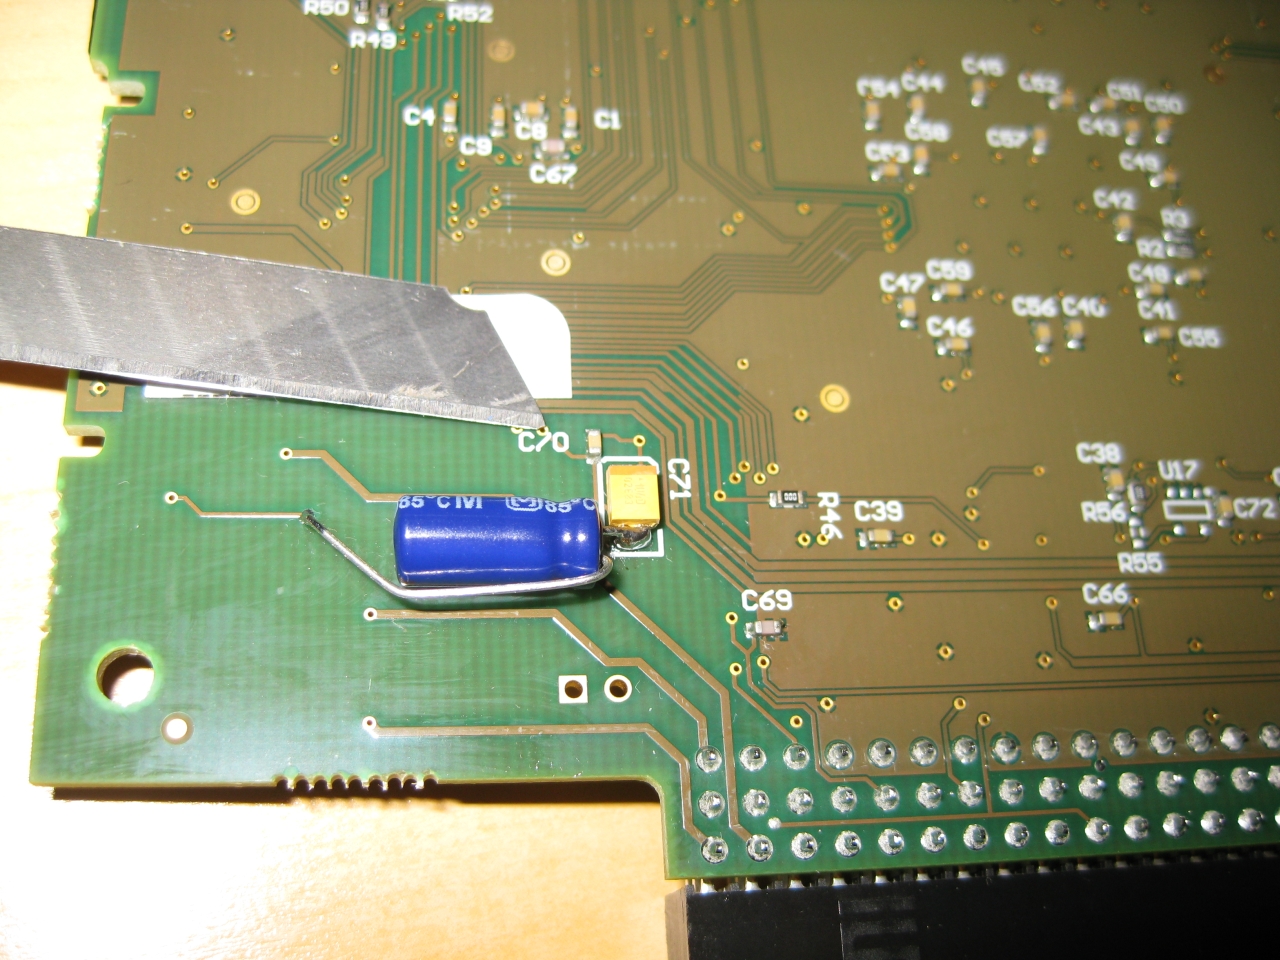
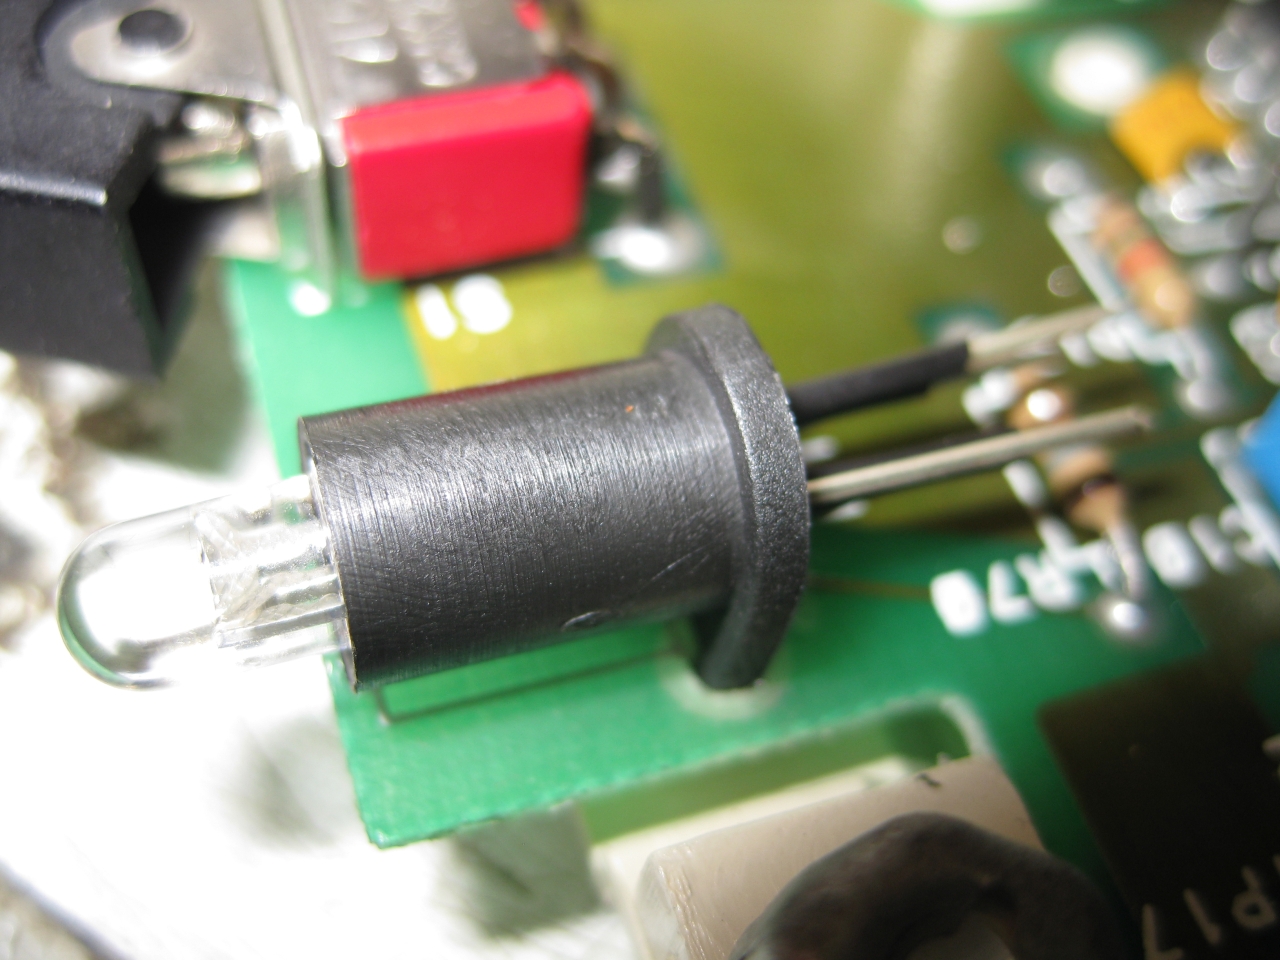
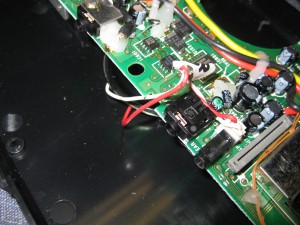
you can hear a lot of digital noise, when accession SD Card. This fix solve it and we have silence ![]()
With the help of a single 10uF 10V Elko its done. Minus at the yellow Cap, Plus to the via
Hi there,
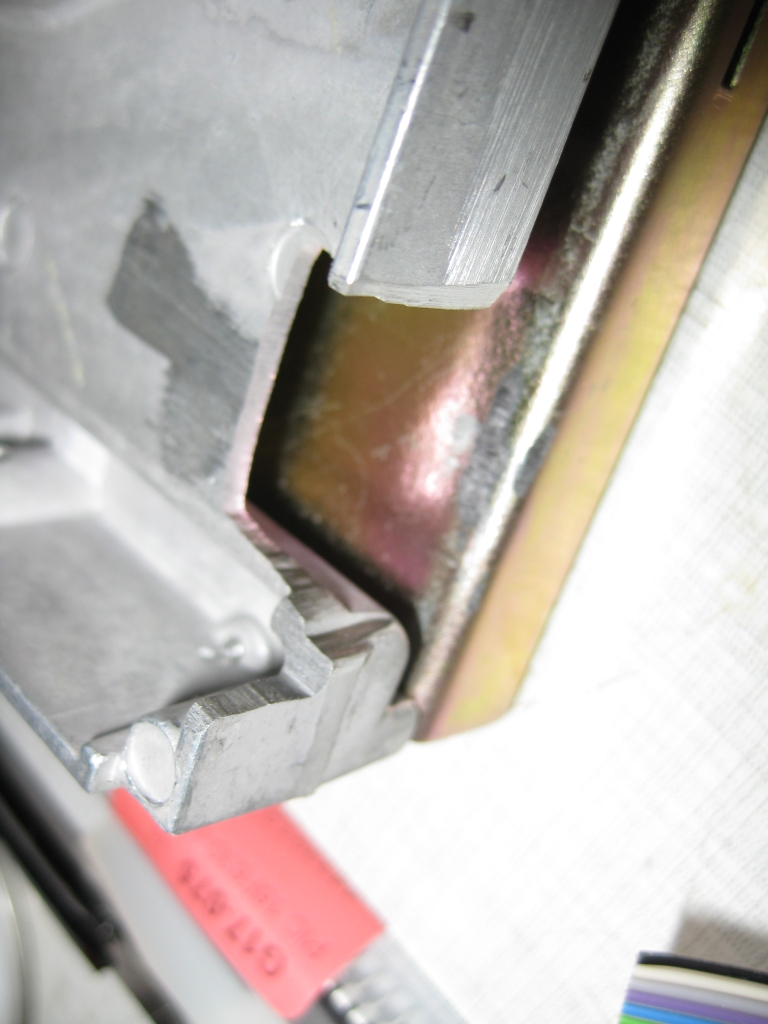
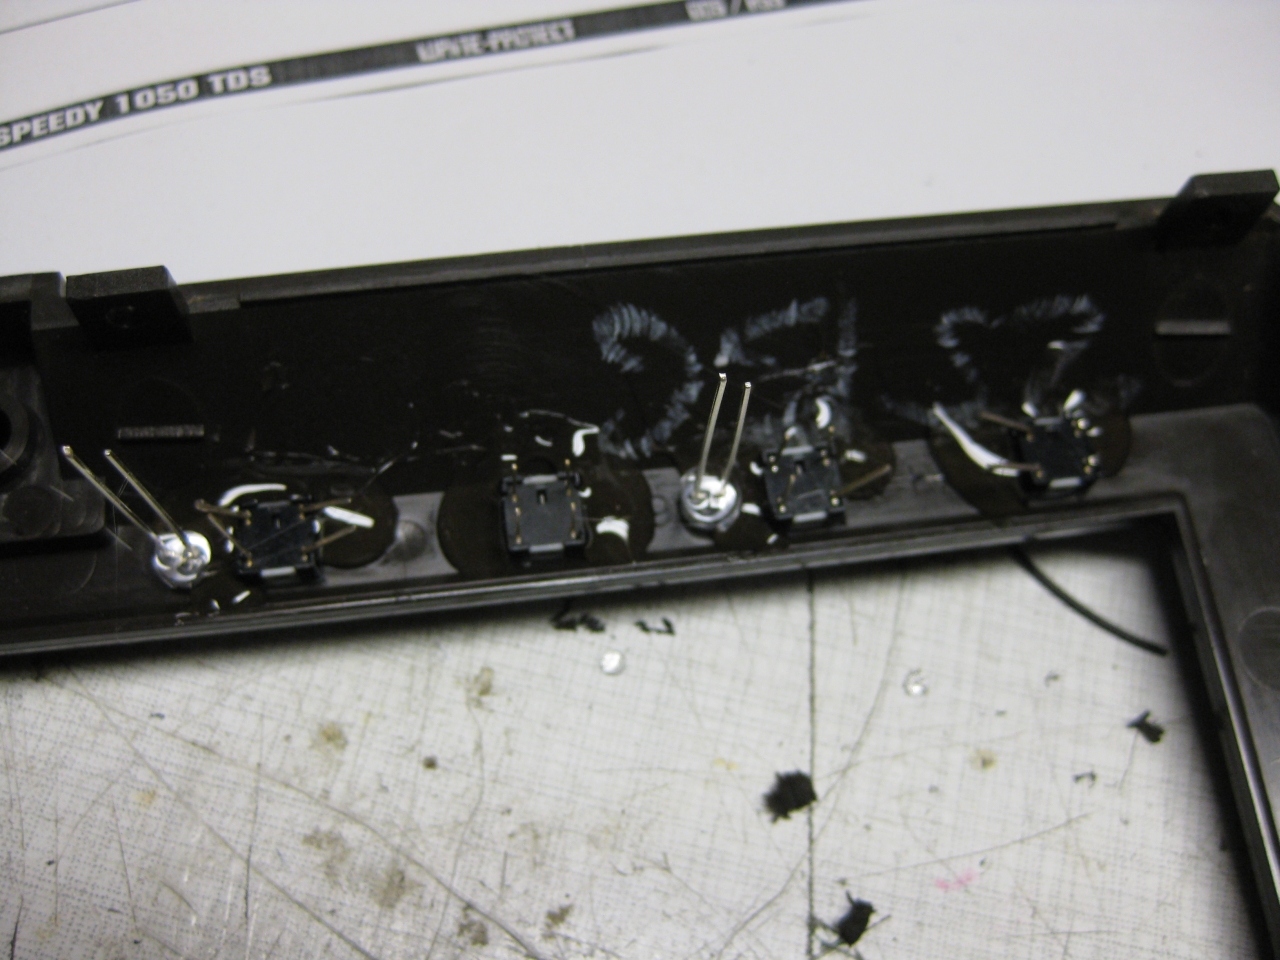
I put a Speedy TDS into a Atari 1050 Diskdrive inspired from Wolfram Fischers Version


I got these rare item and it needs a recap…

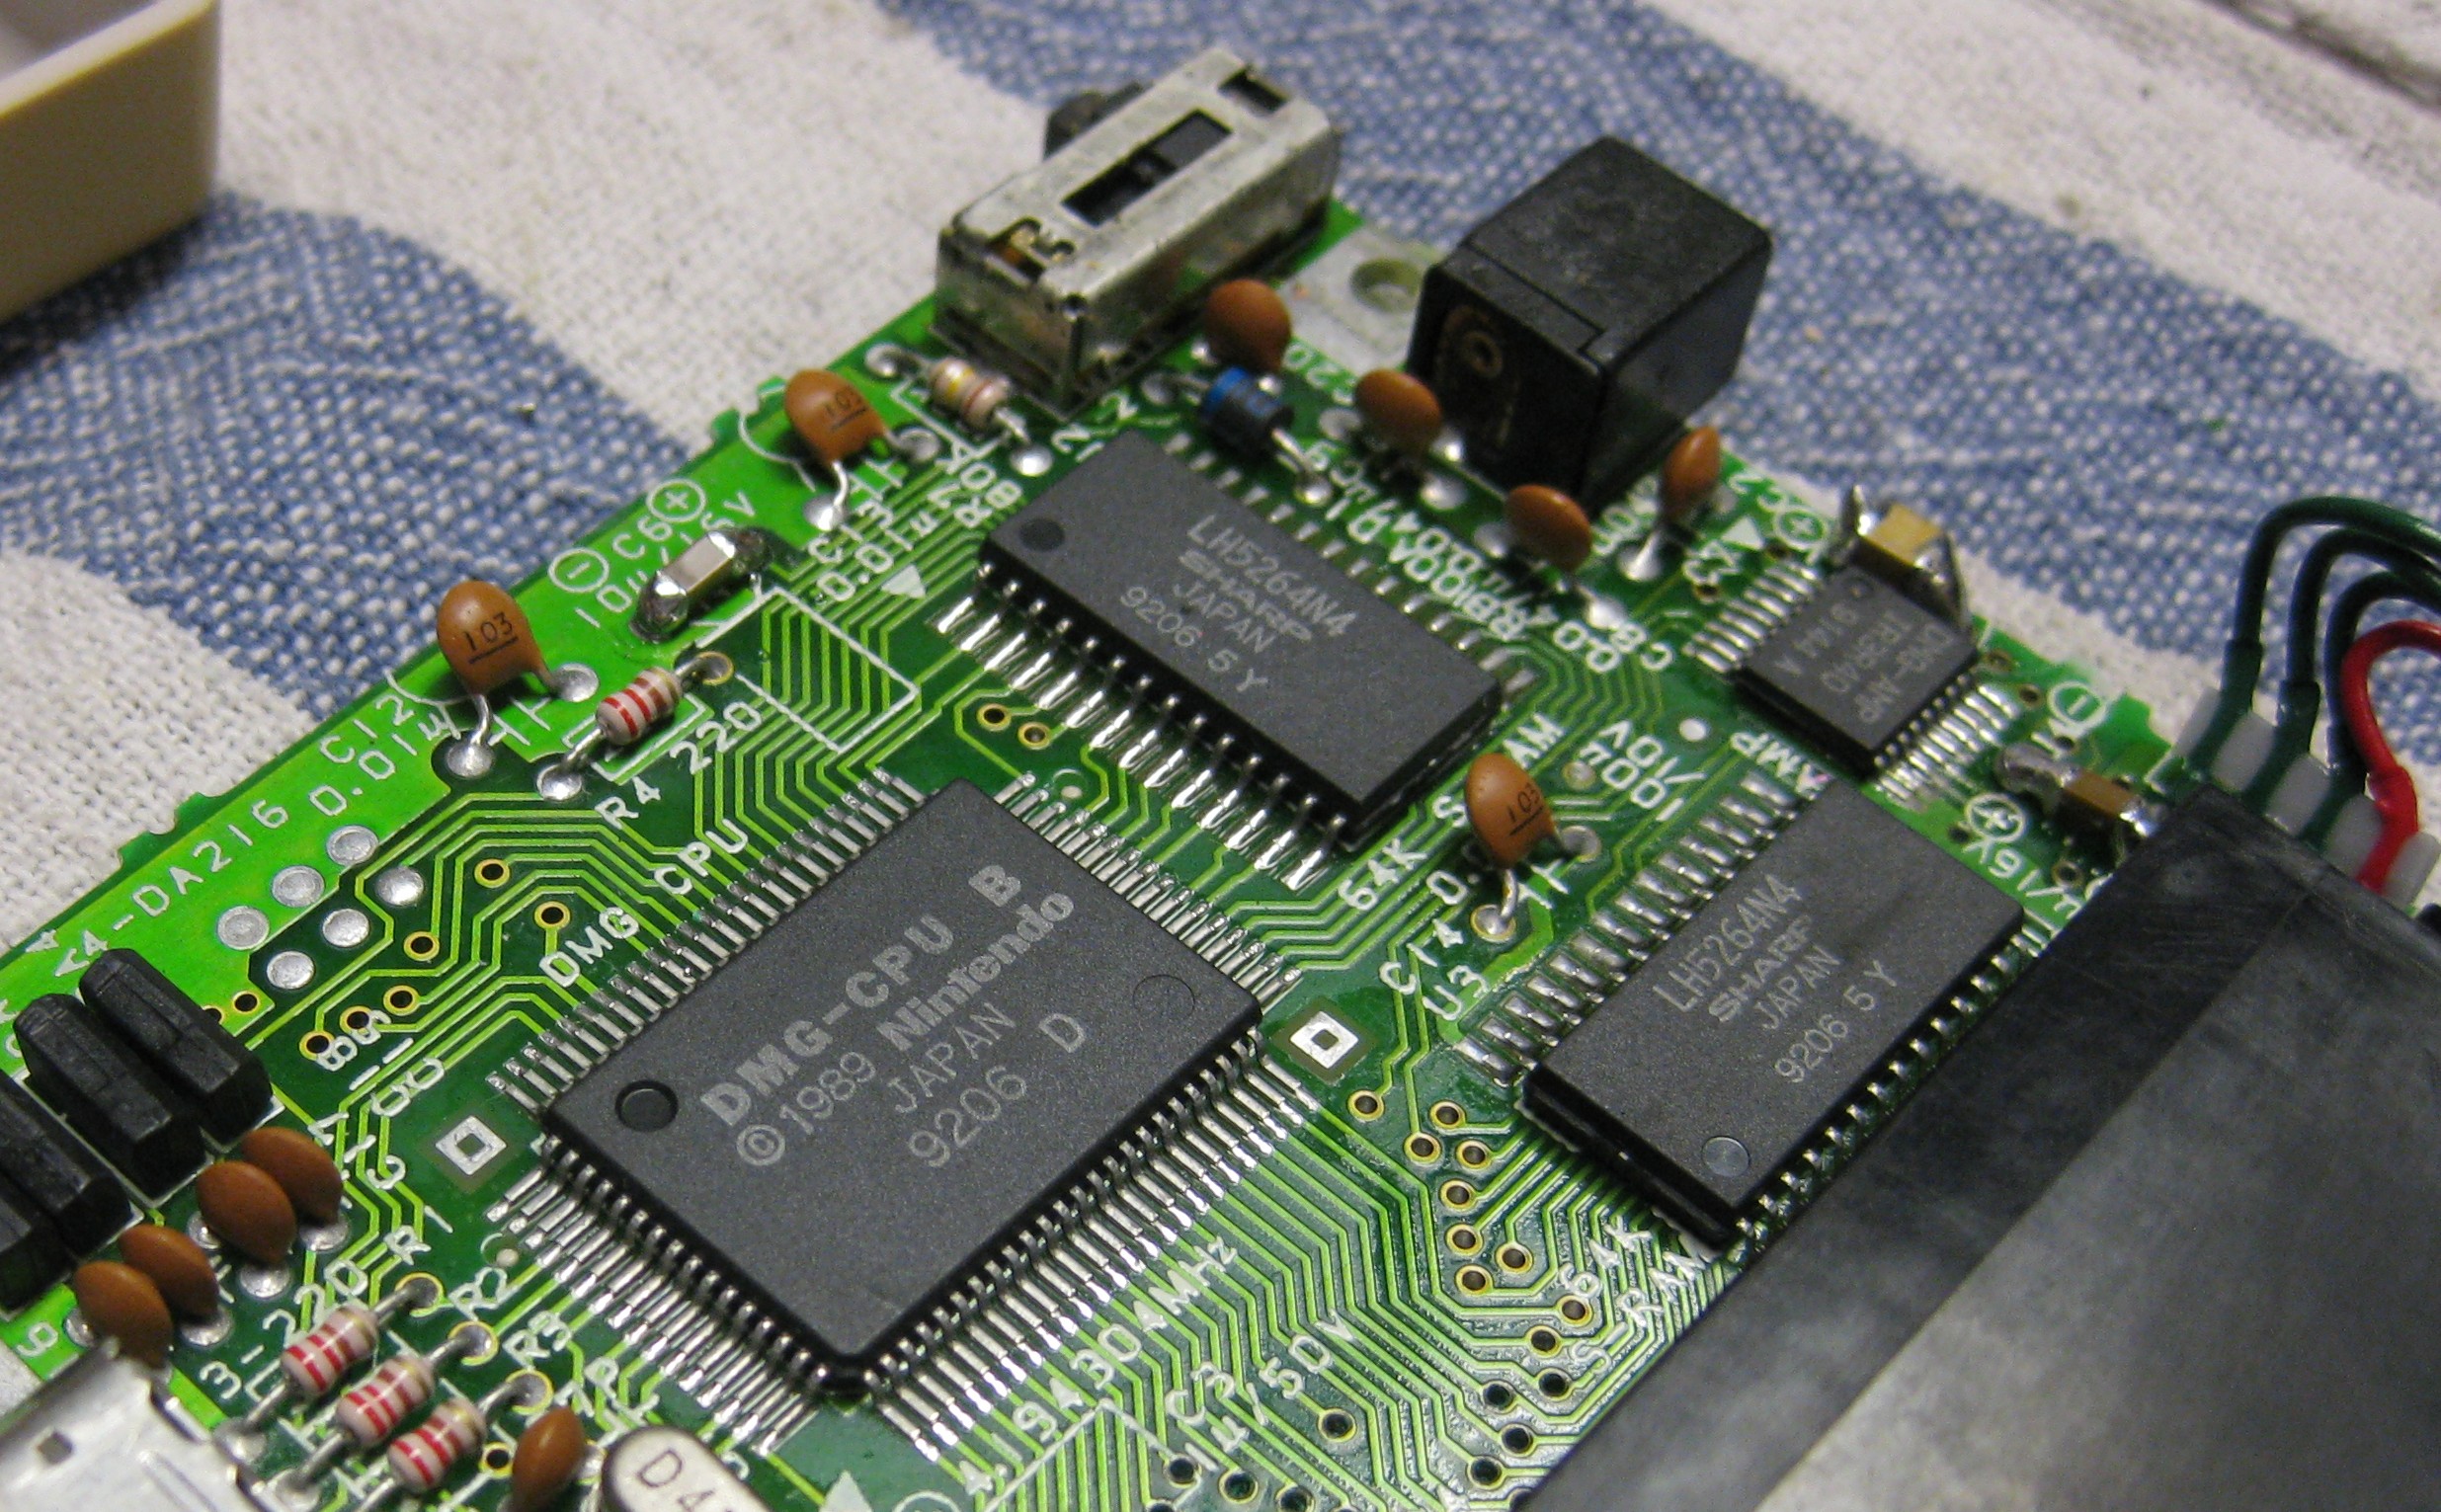
Its time to do a recap of the good old classic DMG 01
two pcbs with some elkos. I repaced all elkos to keramic caps.
2x 100u/ 6,3V
2x 100u /10V
1x 33u / 25V
2x 10u / 16V
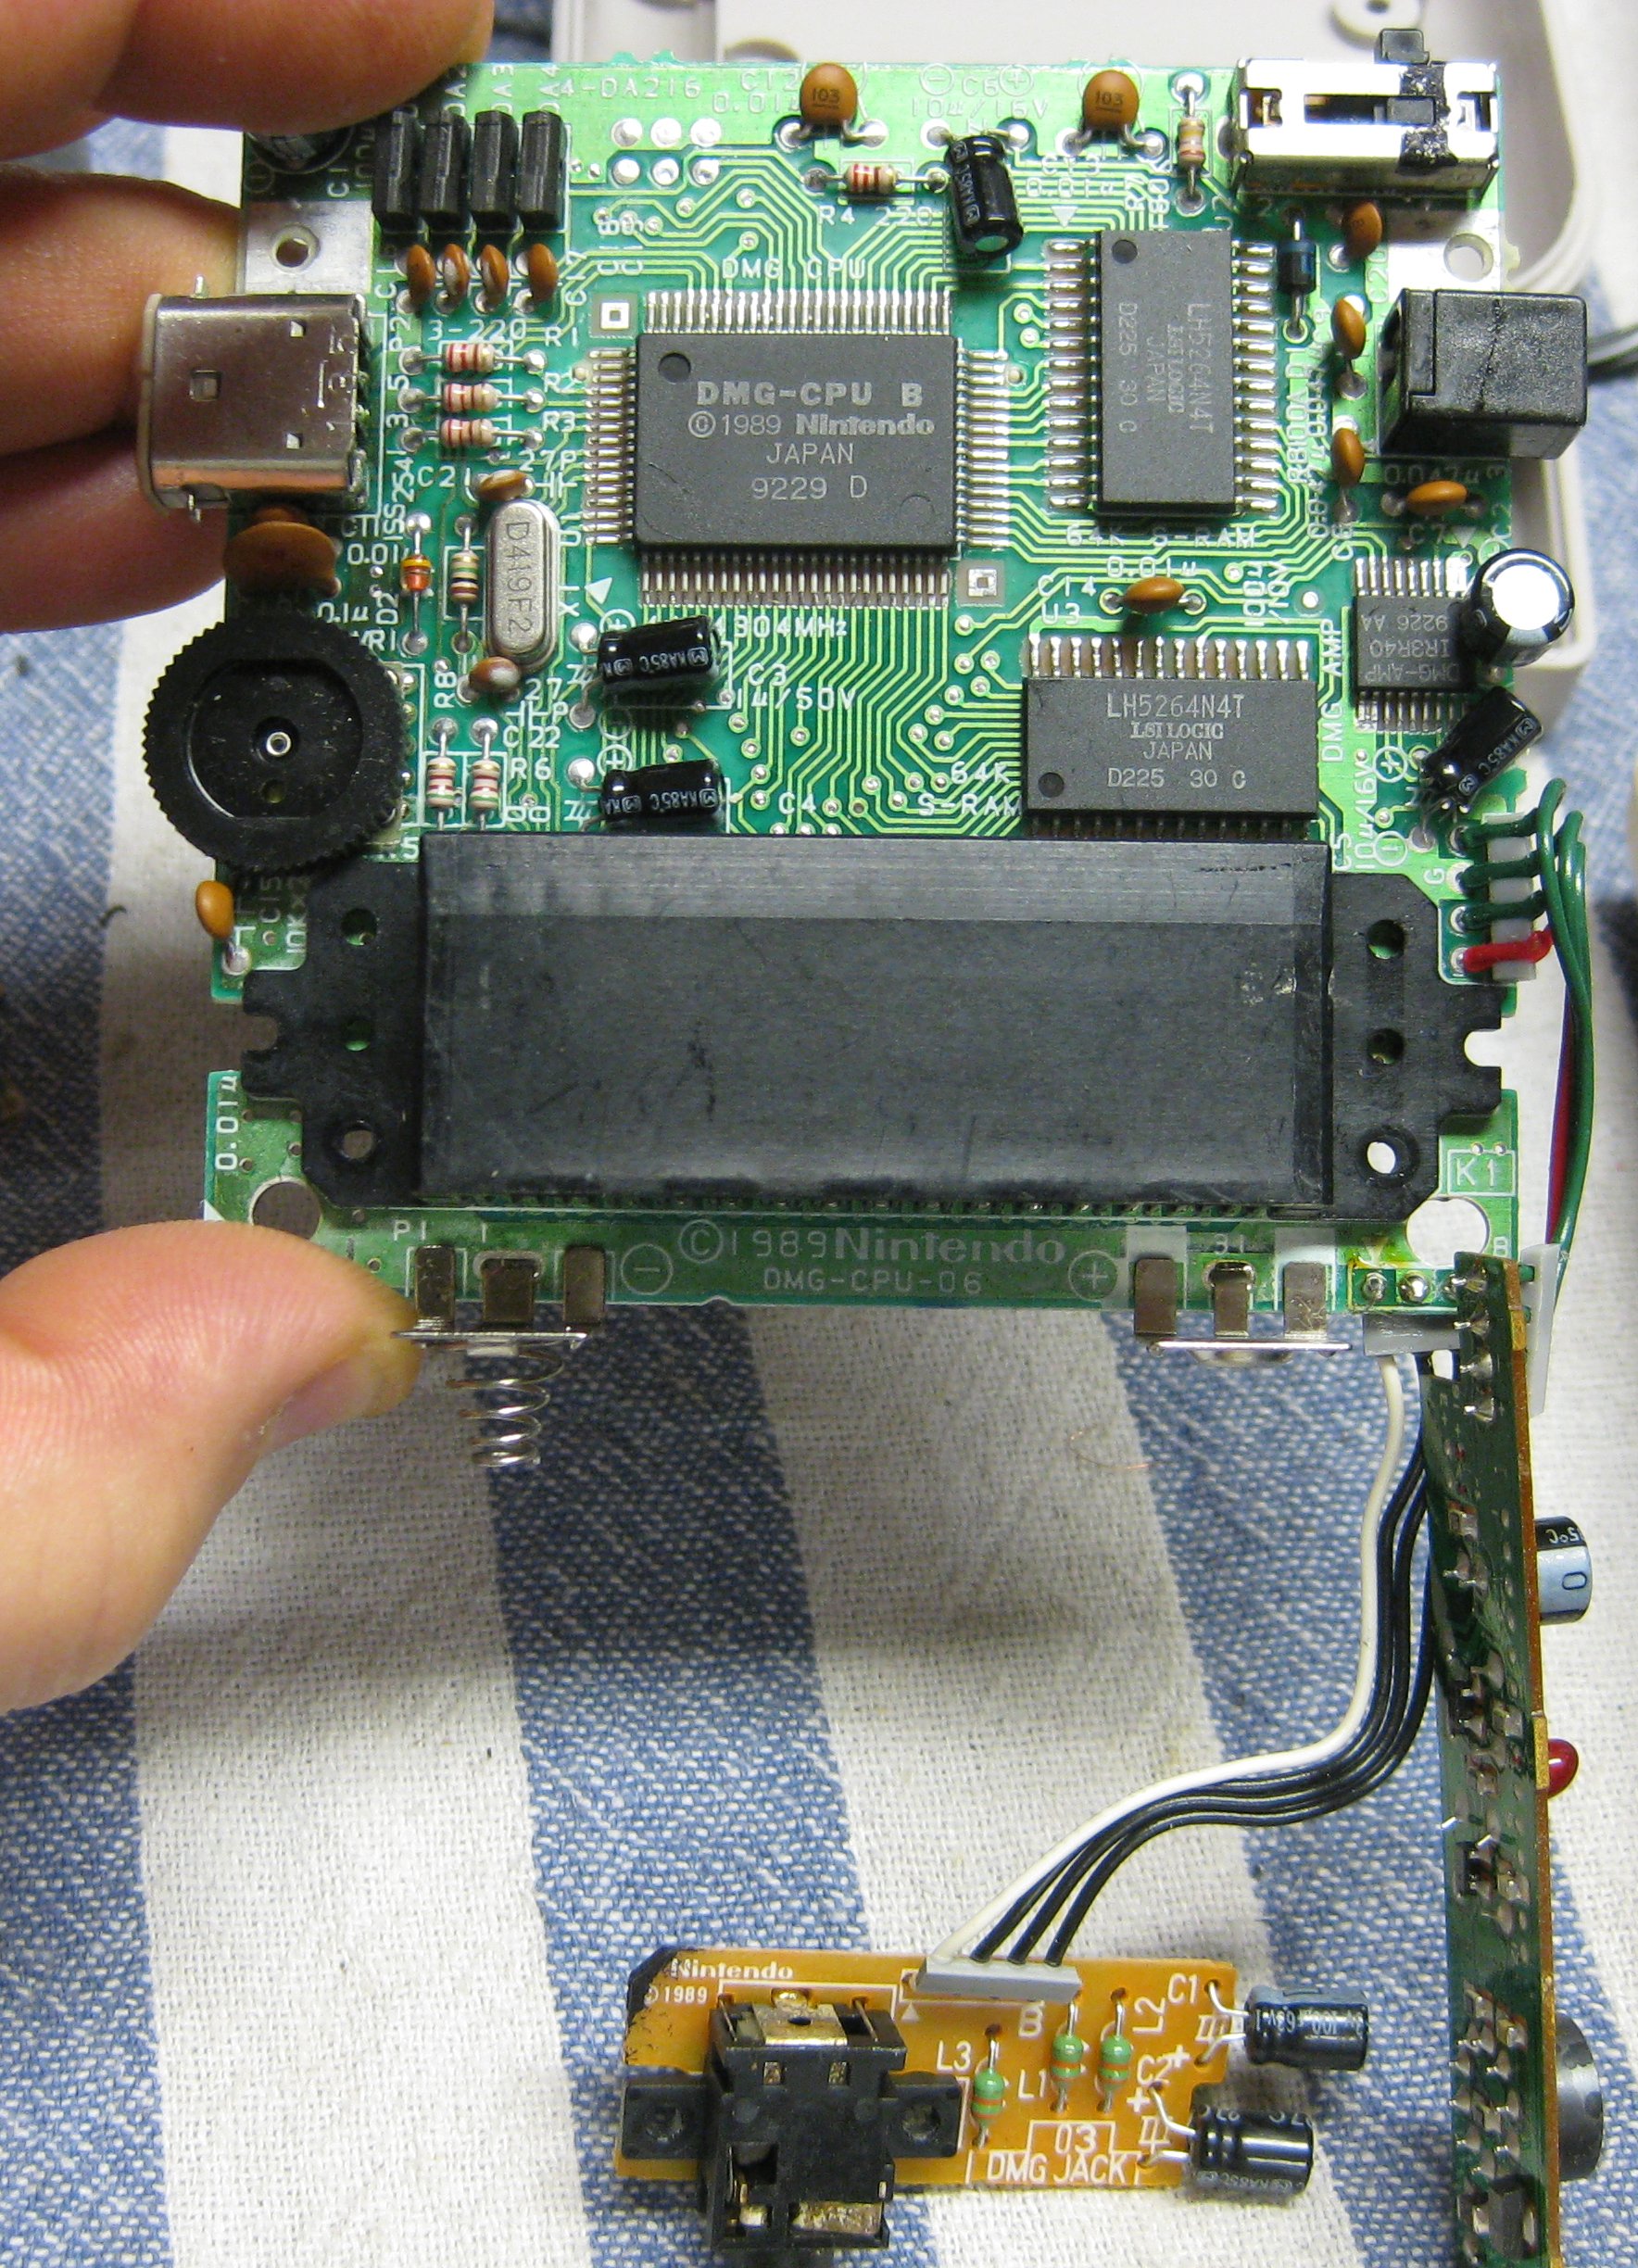
display/gamepad pcb
2x 100u /16V
5x 1u / 50V
1x 10u / 25V

here we go
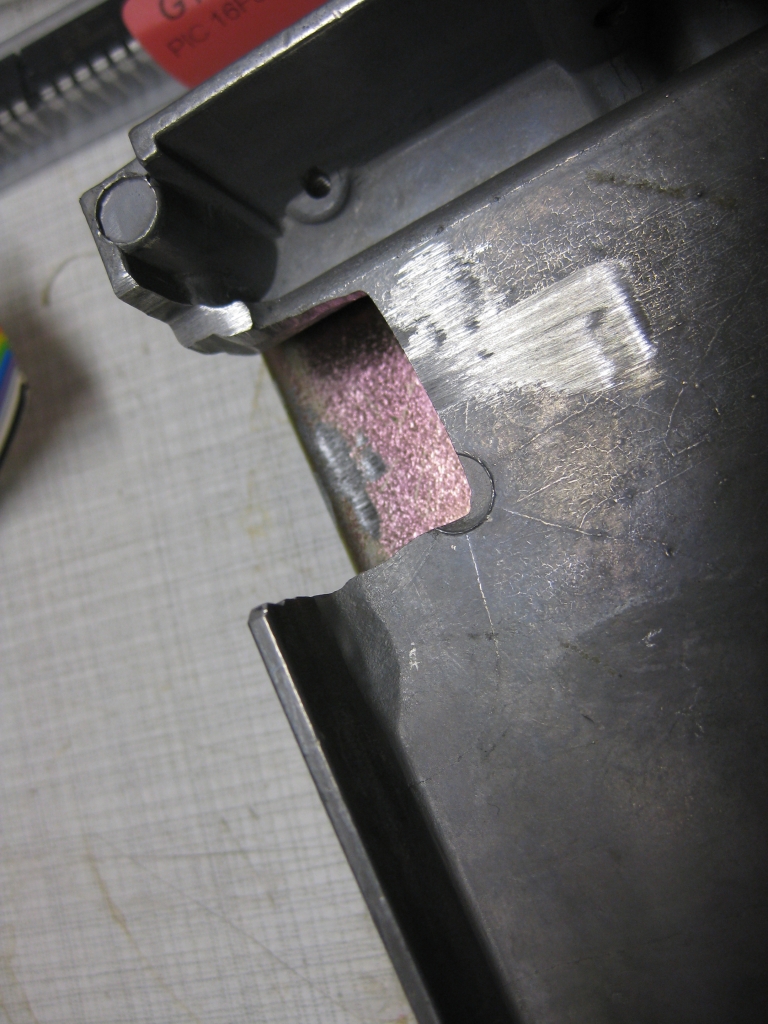
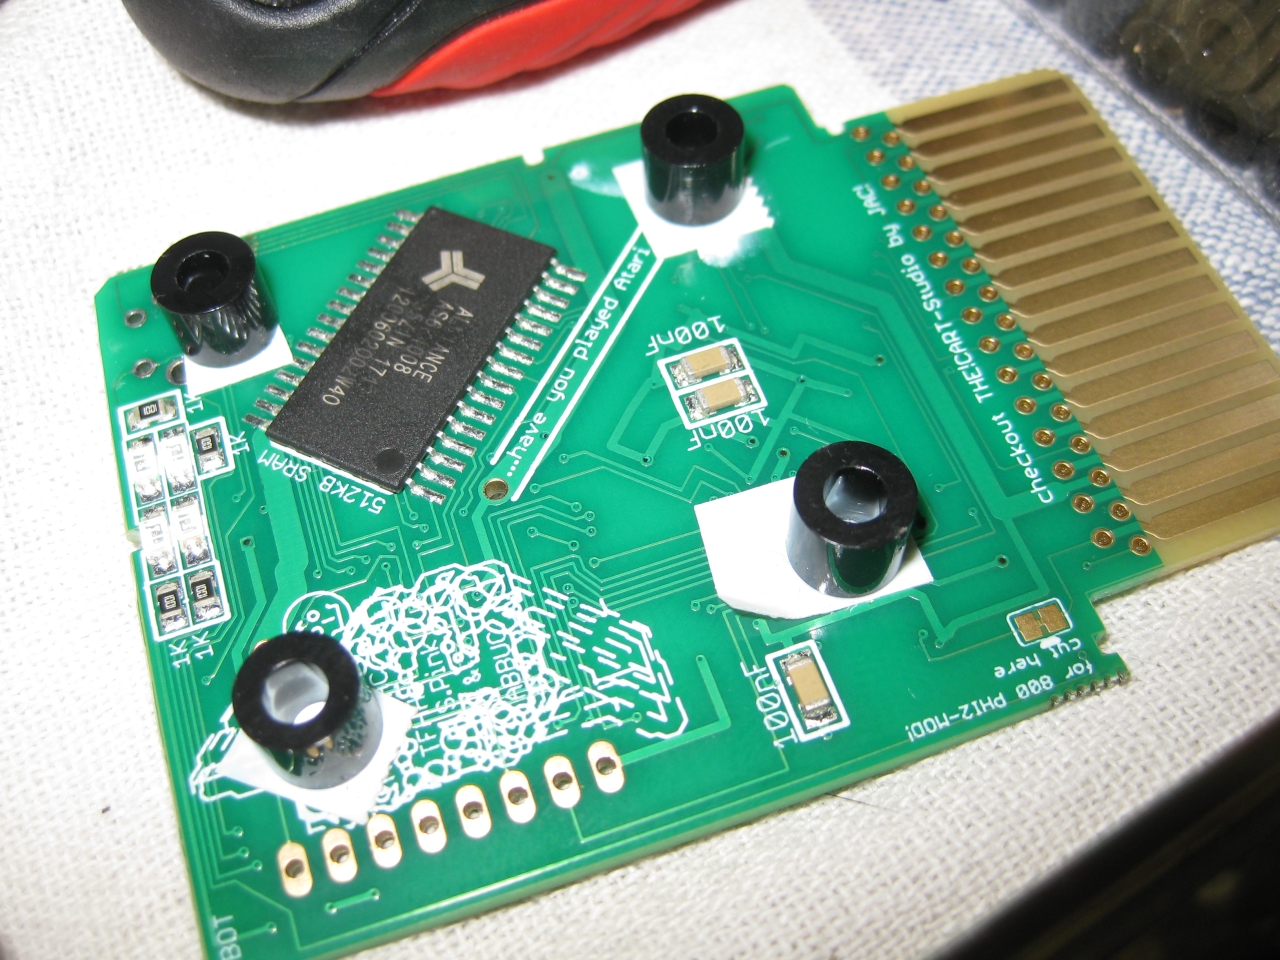
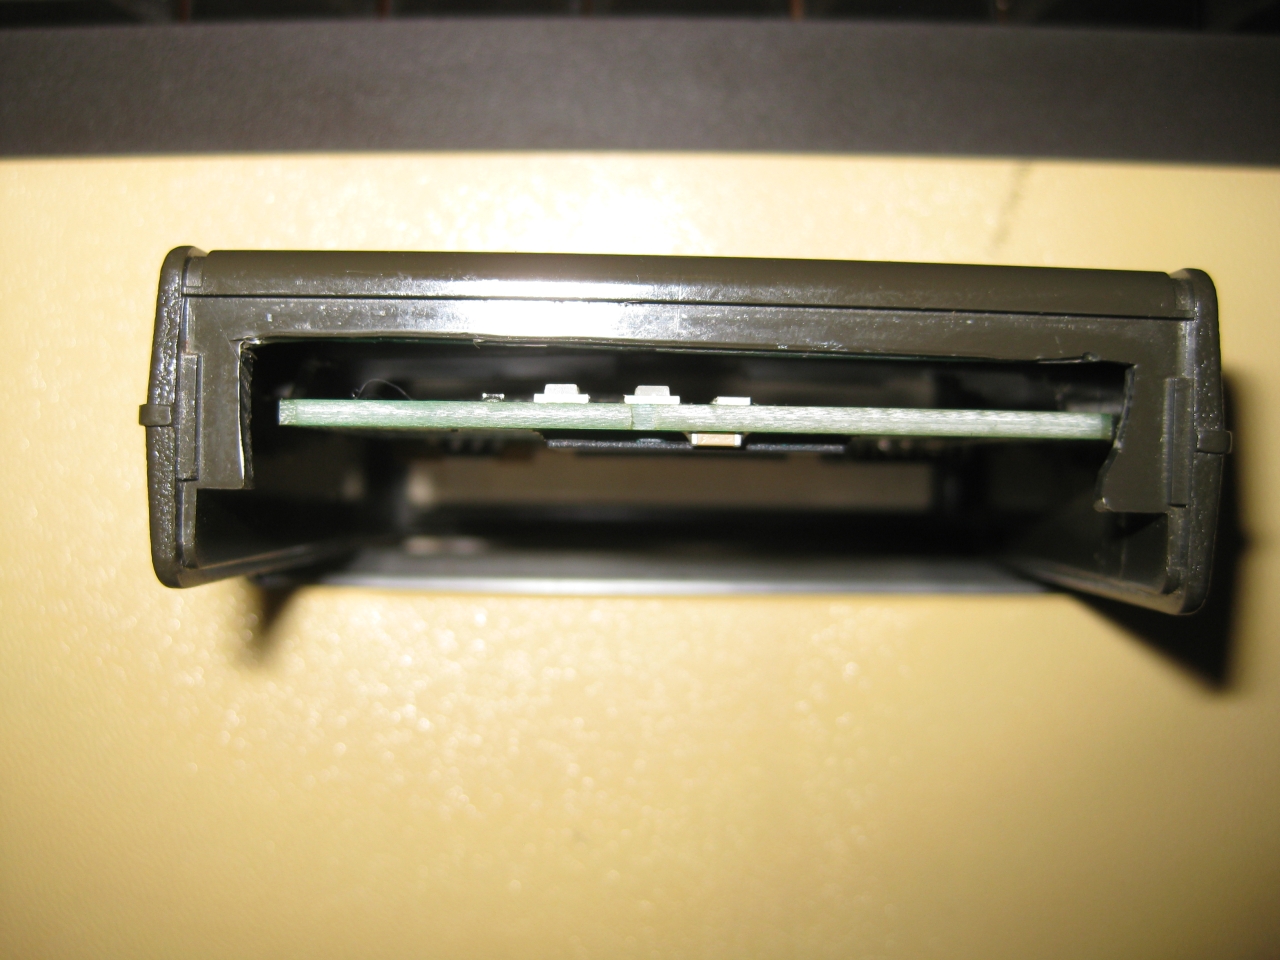
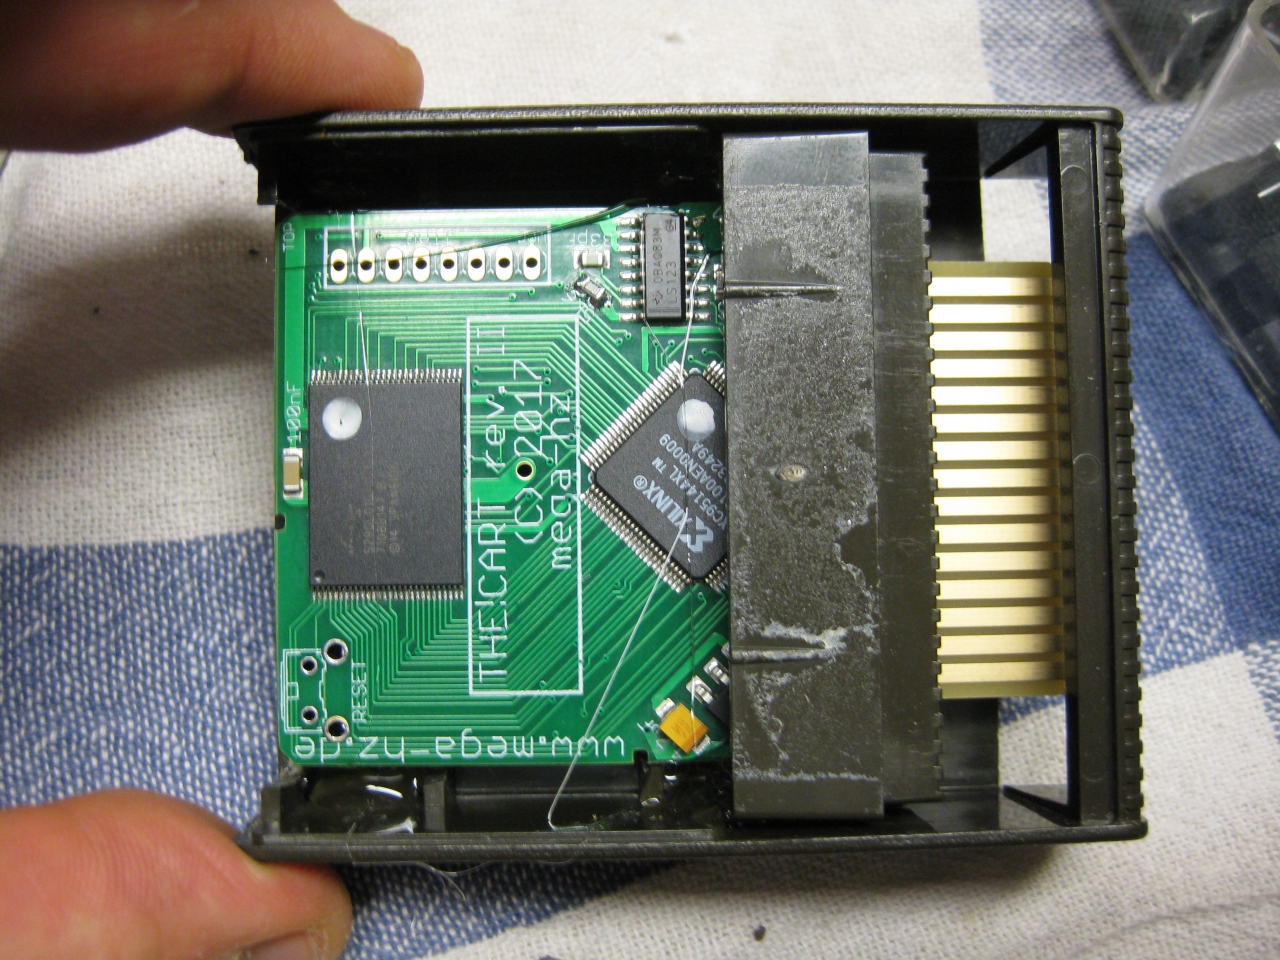
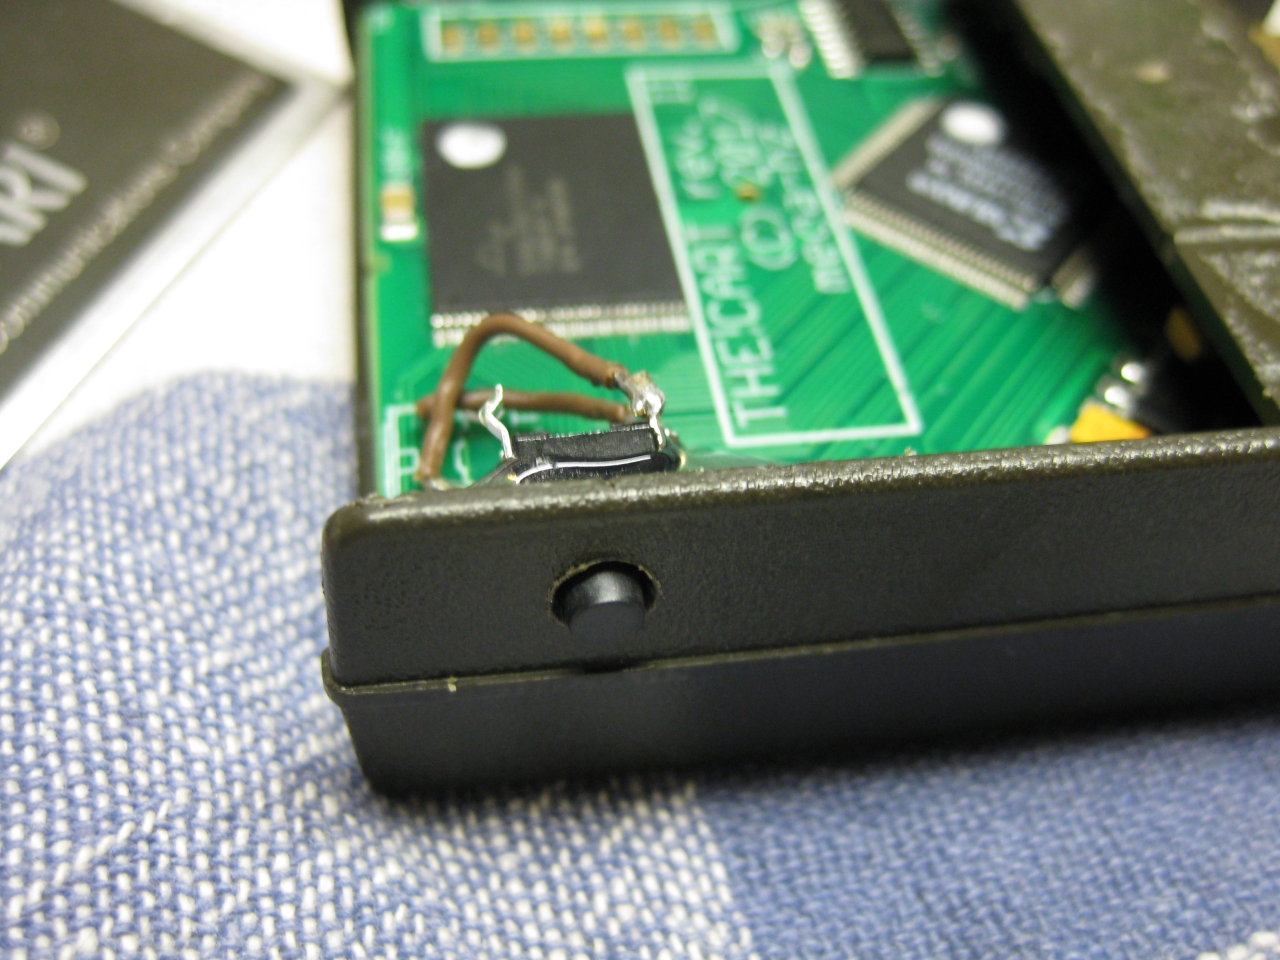
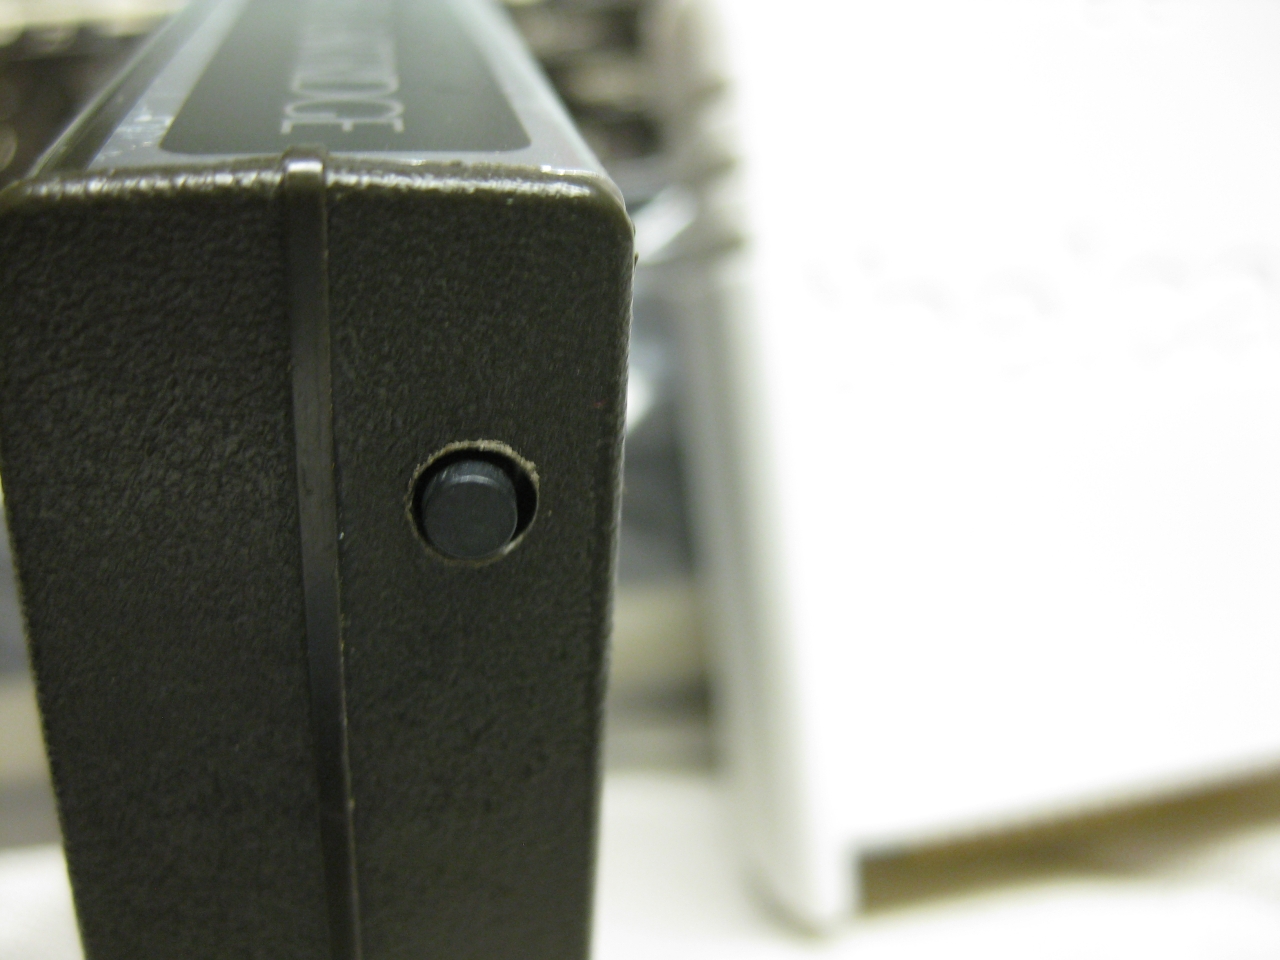
finaly I got the!cart and it needed the right home.
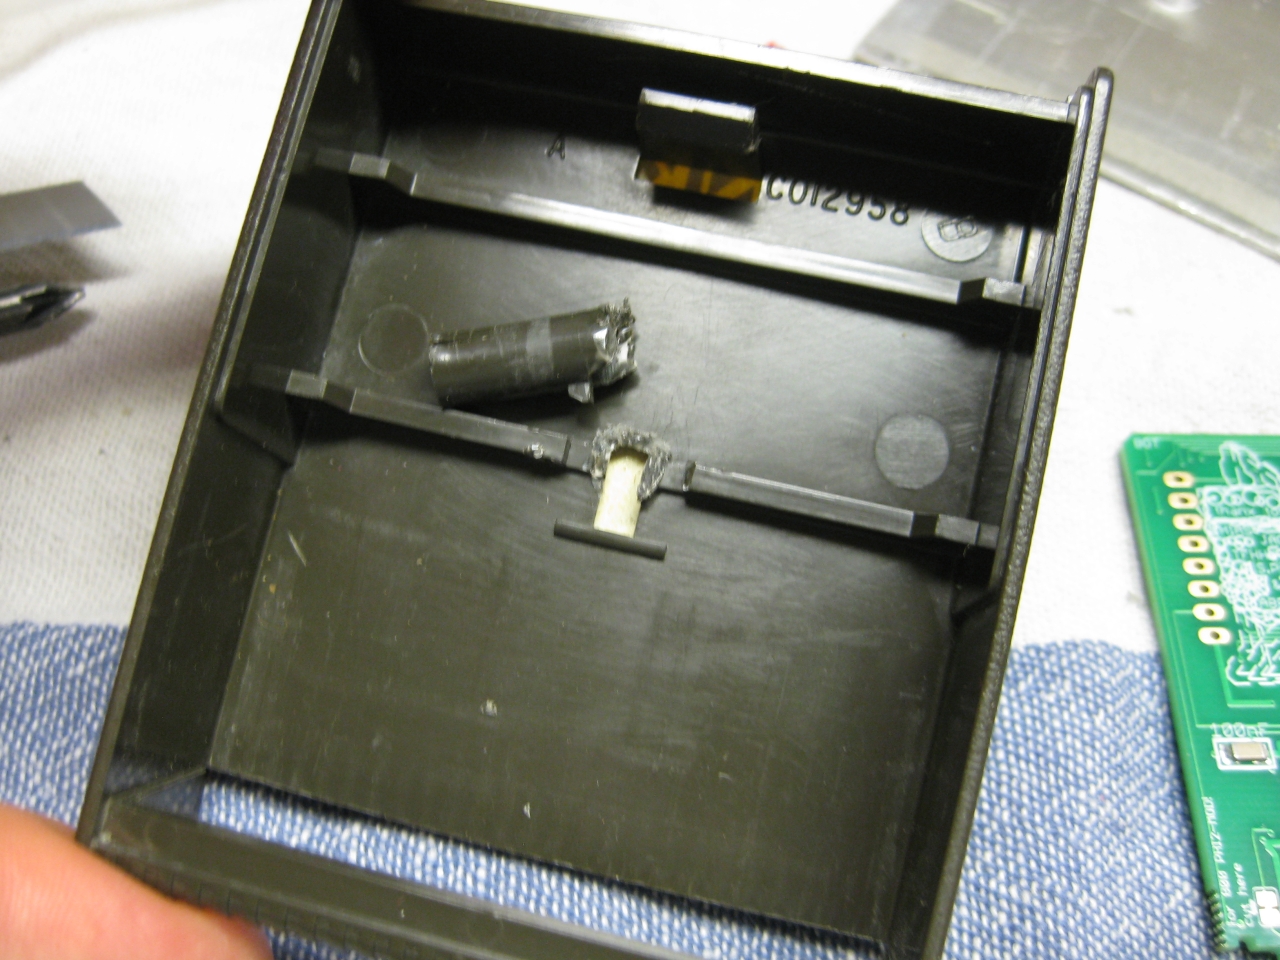
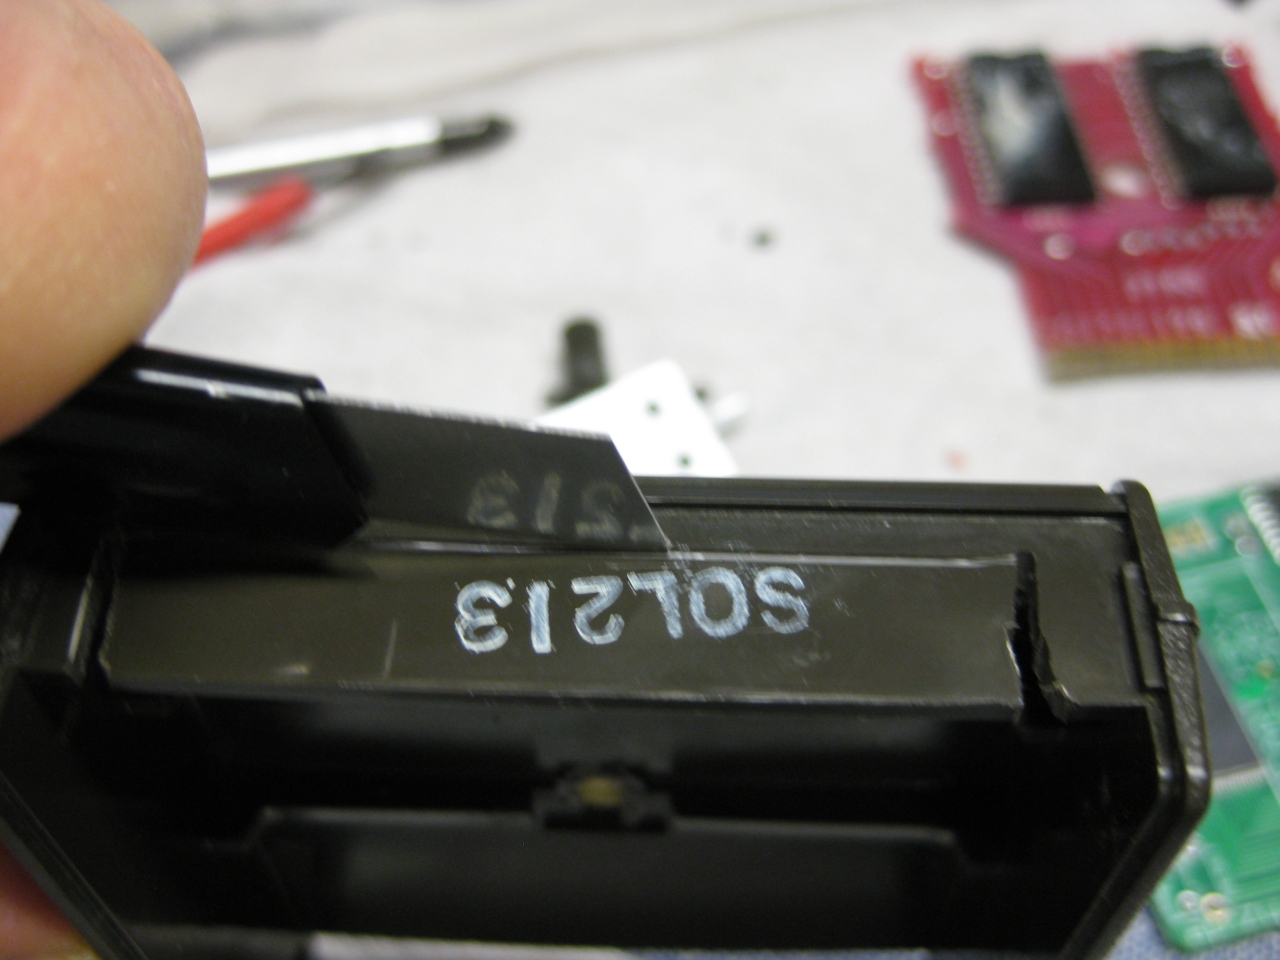
With the help of a cutter knife, dremel and hotglue it fits into a classic Atari 800 Cartridge.
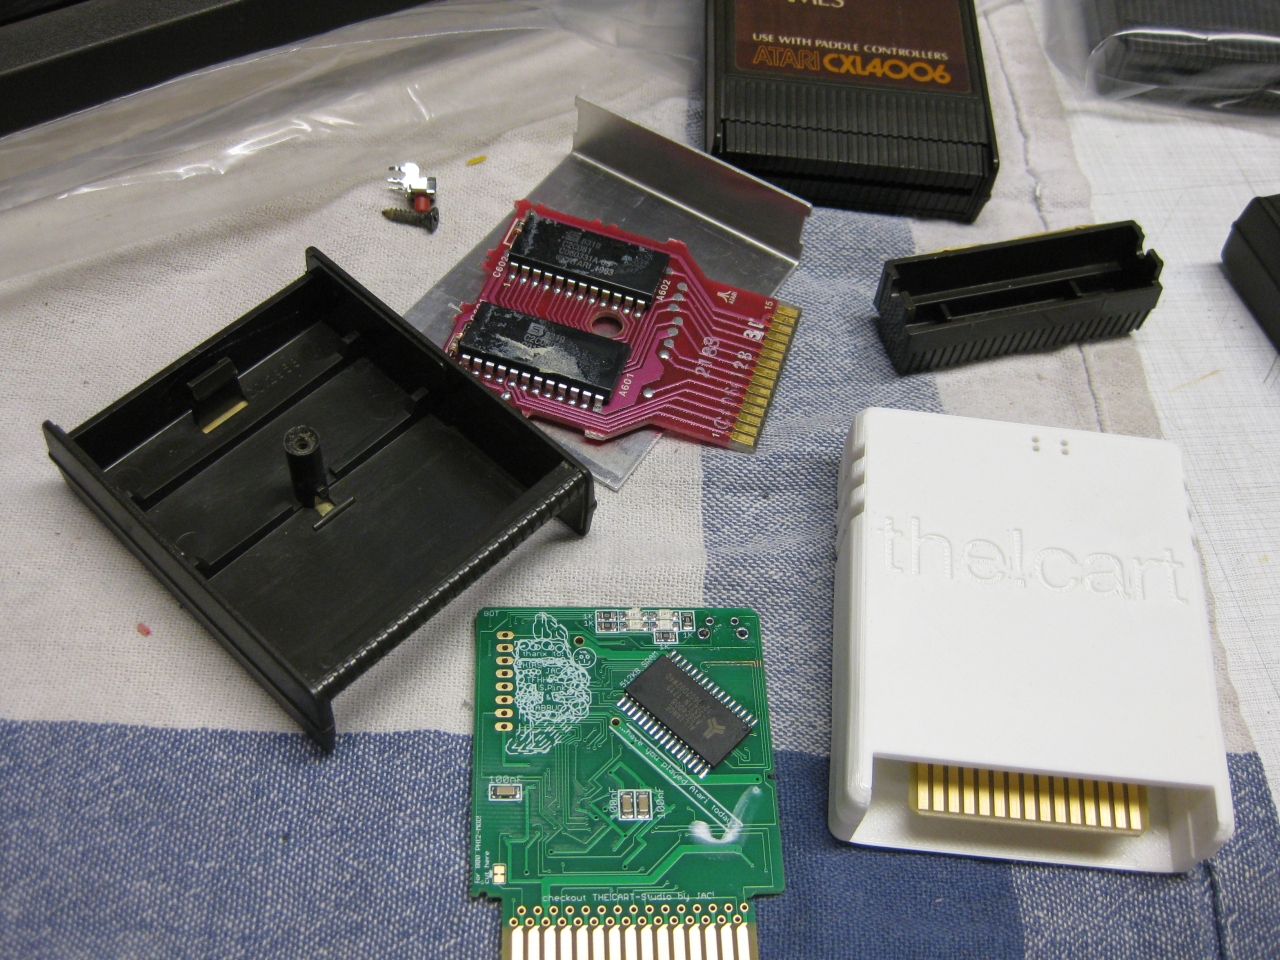
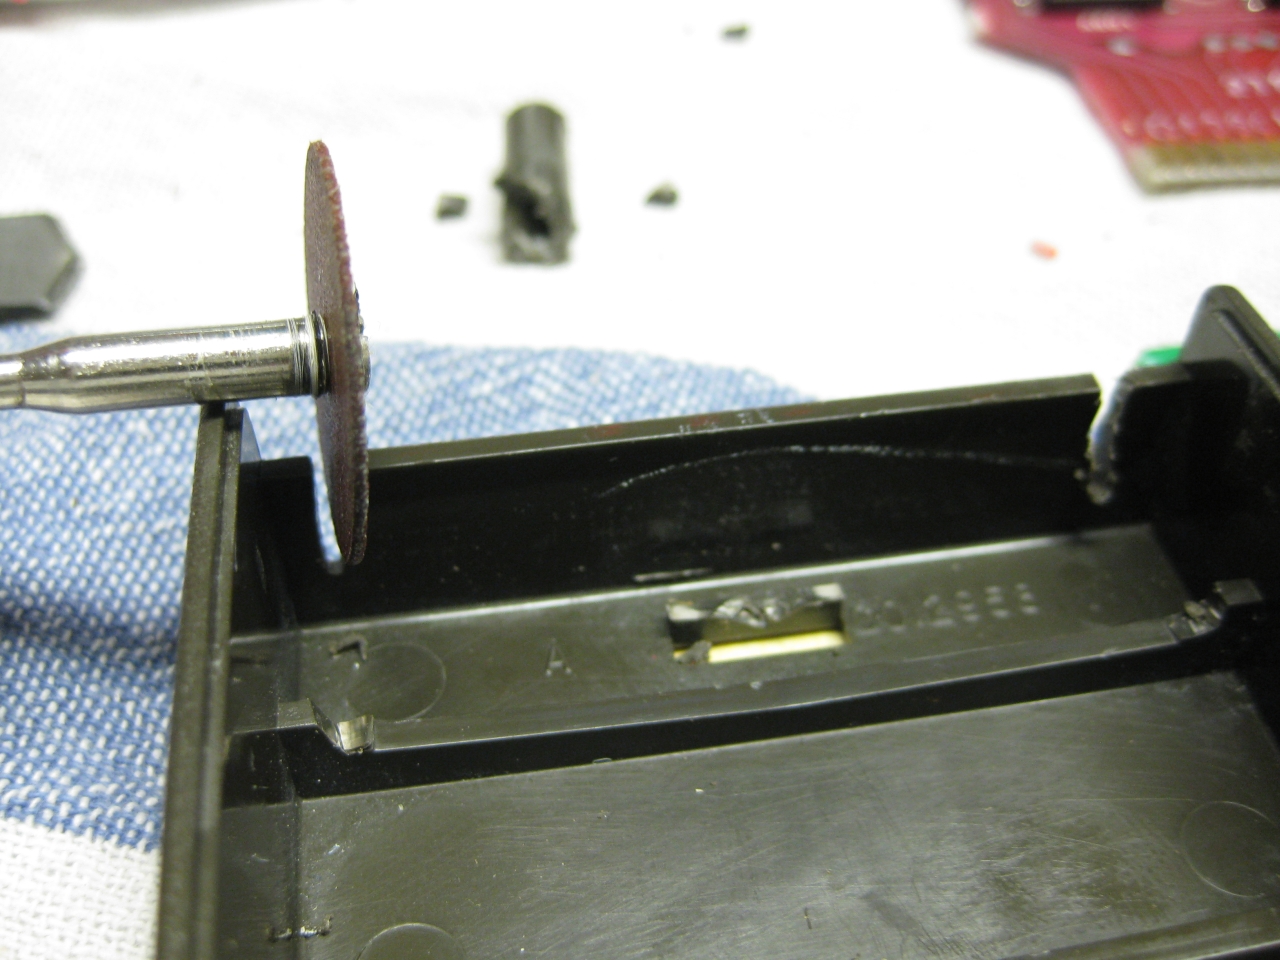
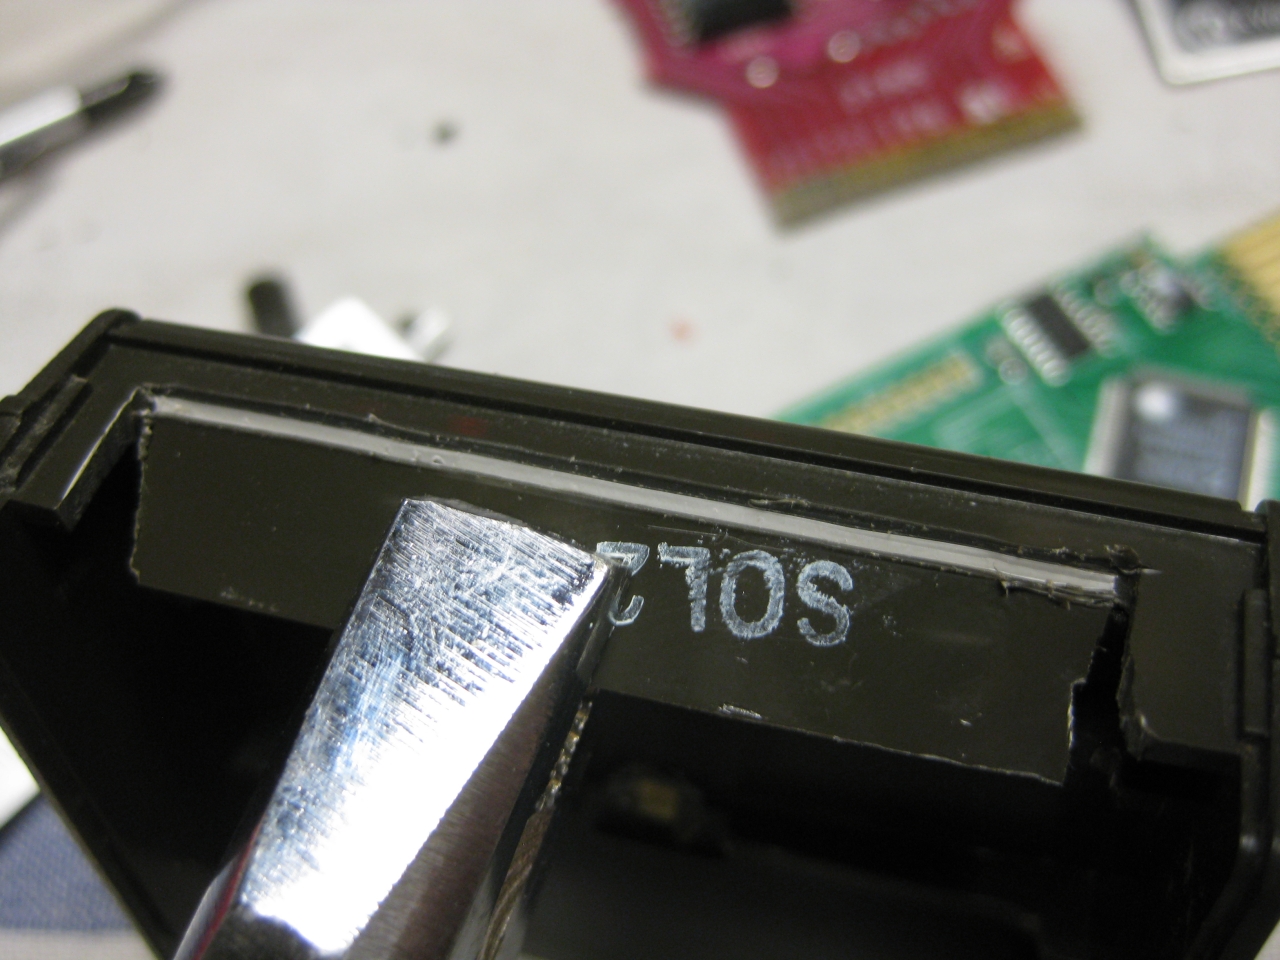
7mm height
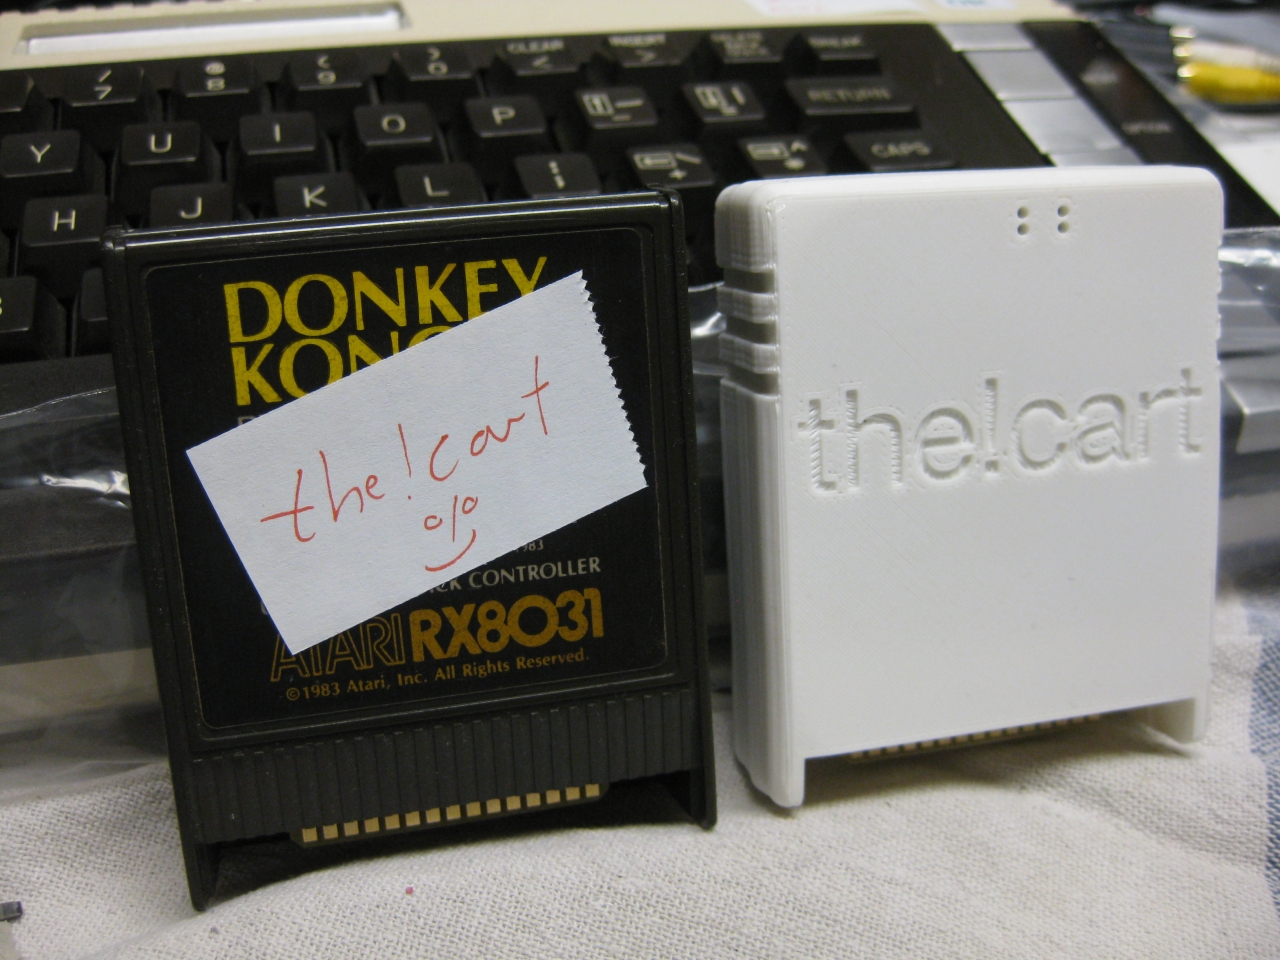
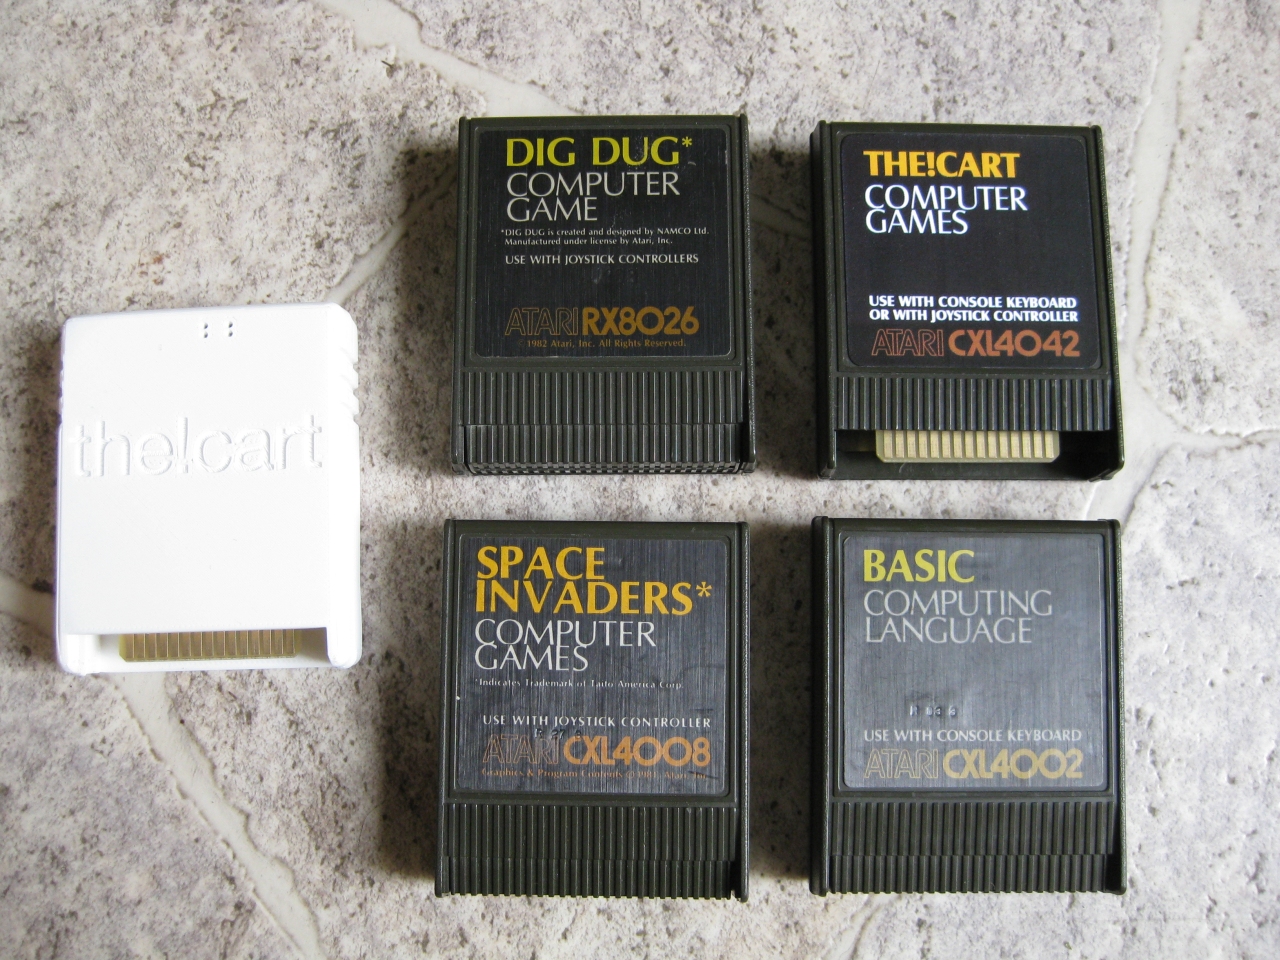
Label in Atari 400/800 Style
THE!CART – Font: Salzburg-Bold
COMPUTER GAMES – Font: Salzburg-Regular
USE WITH CONSOLE… – Font: Salzburg-Bold
CXL4042 – Font: HammerFat
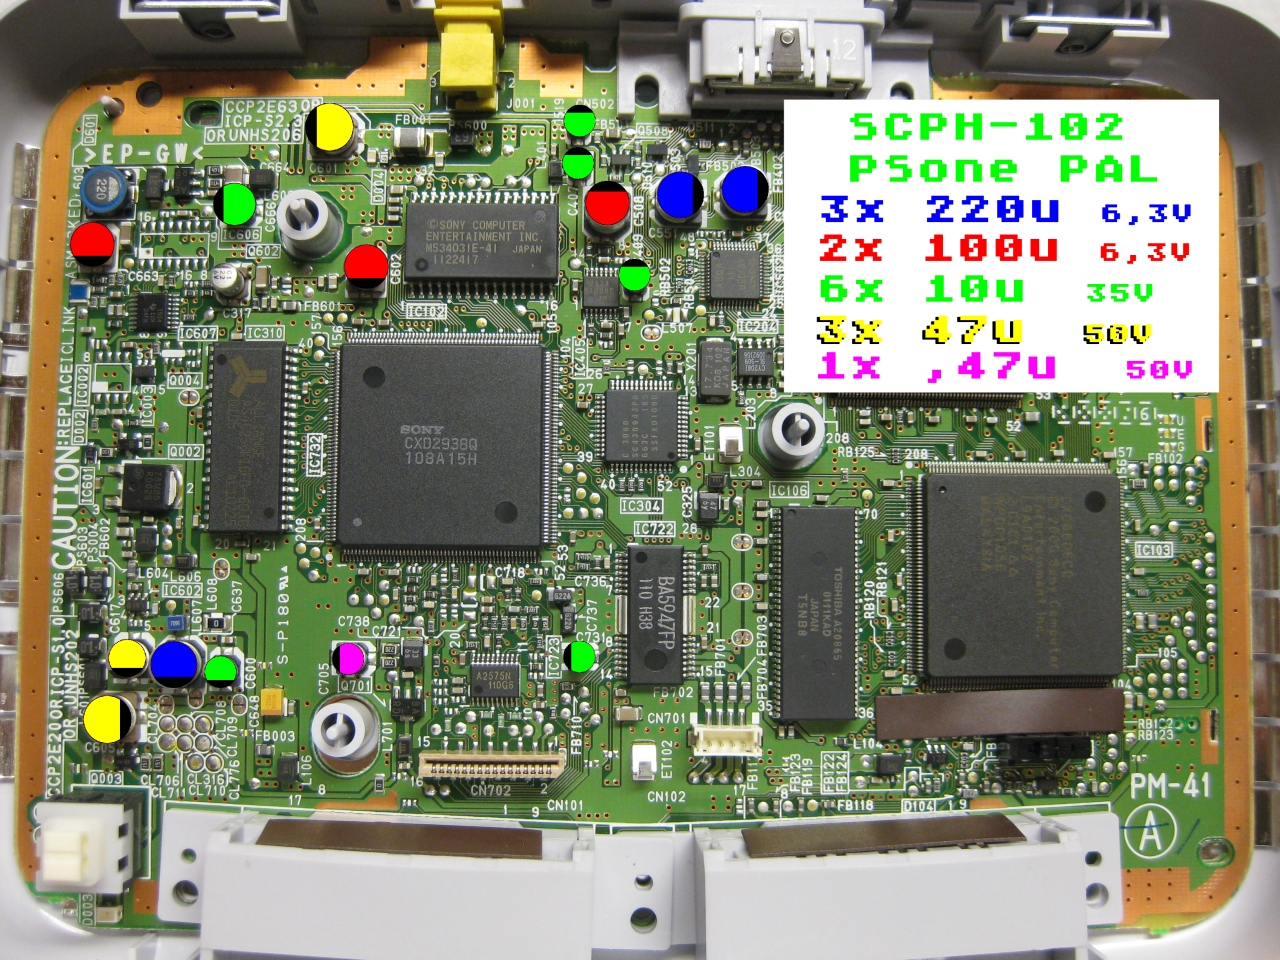
I got a really new boxed PSOne and it didn’t work. It wasn’t play any disc ![]()
So i decided to do a complete recap of the smd caps.
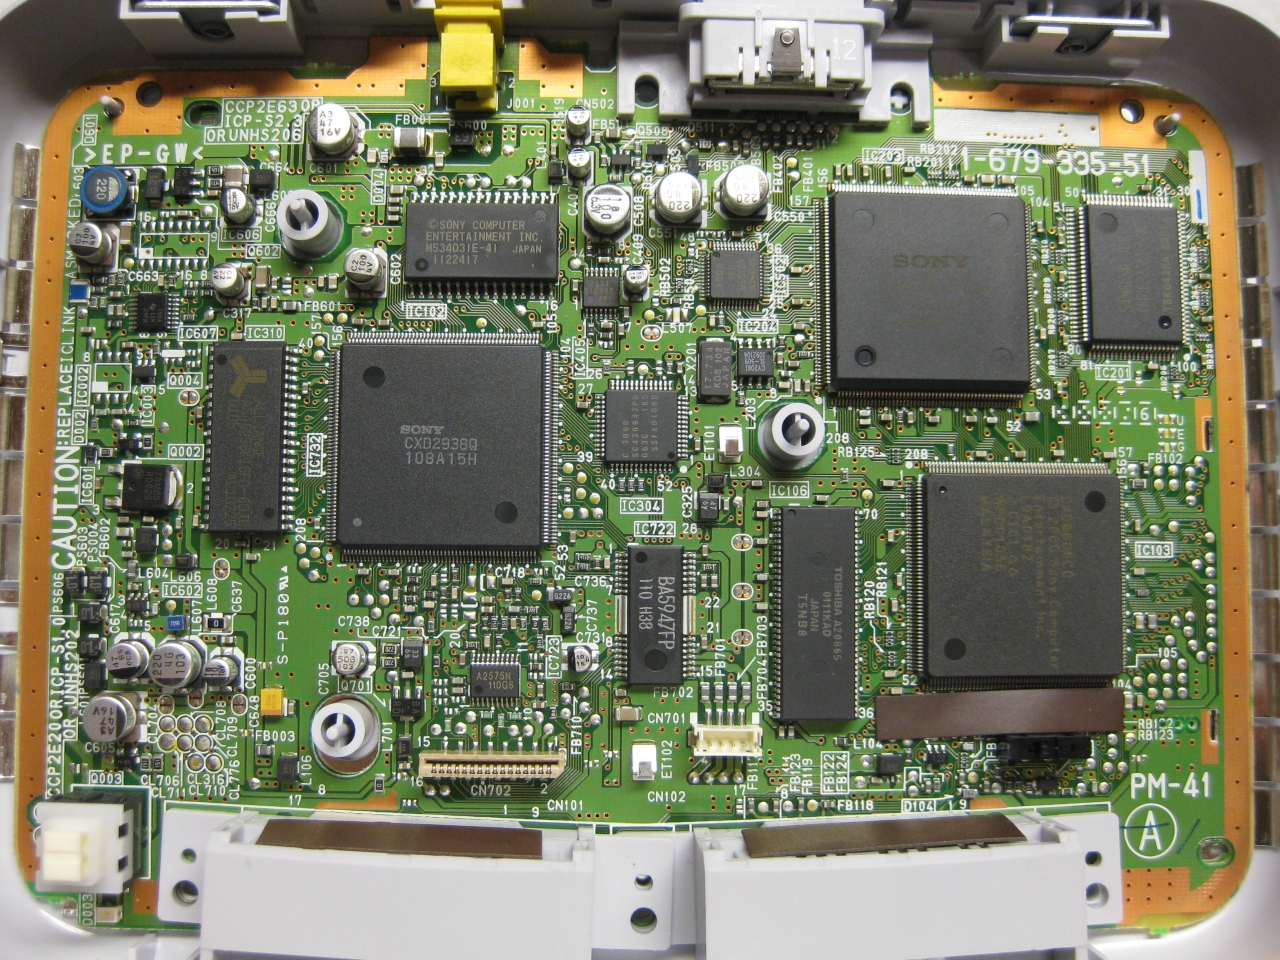
I used a lot of ceramic caps and for the 220u new SMD caps

And how wonderful, after recap it plays all CDs ![]()
Here is a recap map I put the values of the replacement voltage often higher as the original values