Nothing new.
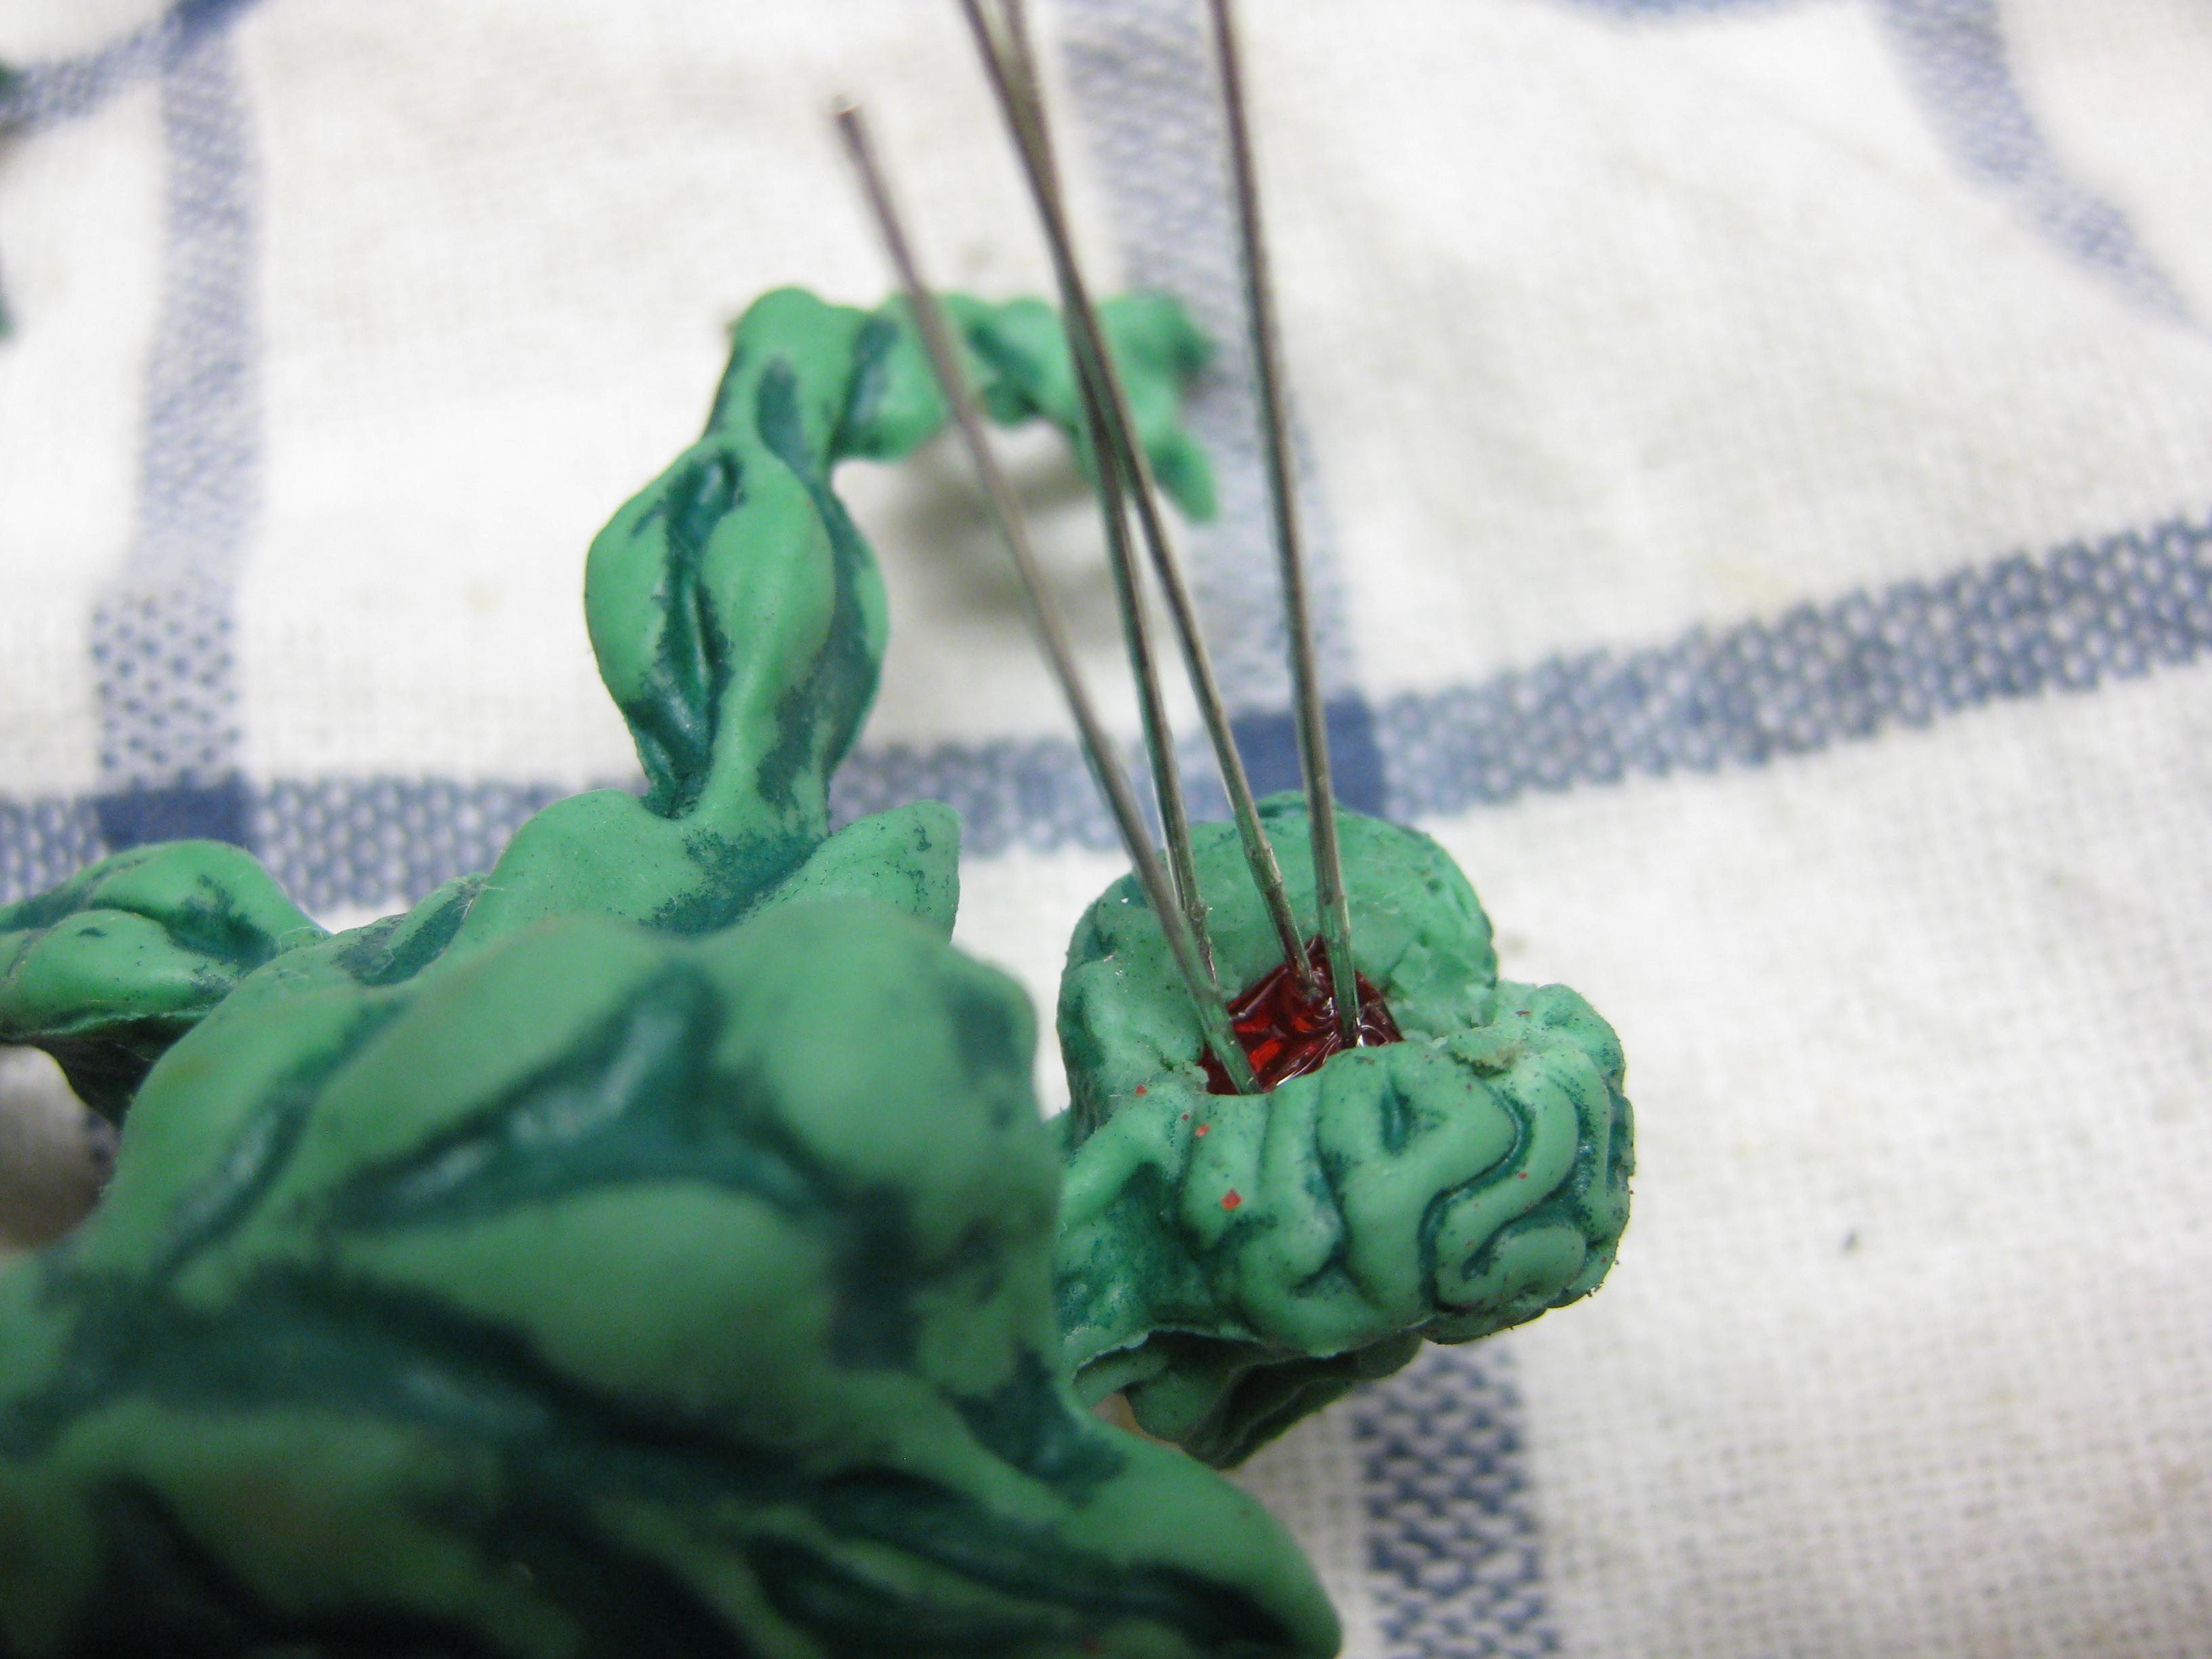
A lot of people done this before. I used 2mm red leds fitts perfectly for the size of the martians.
Some headache…

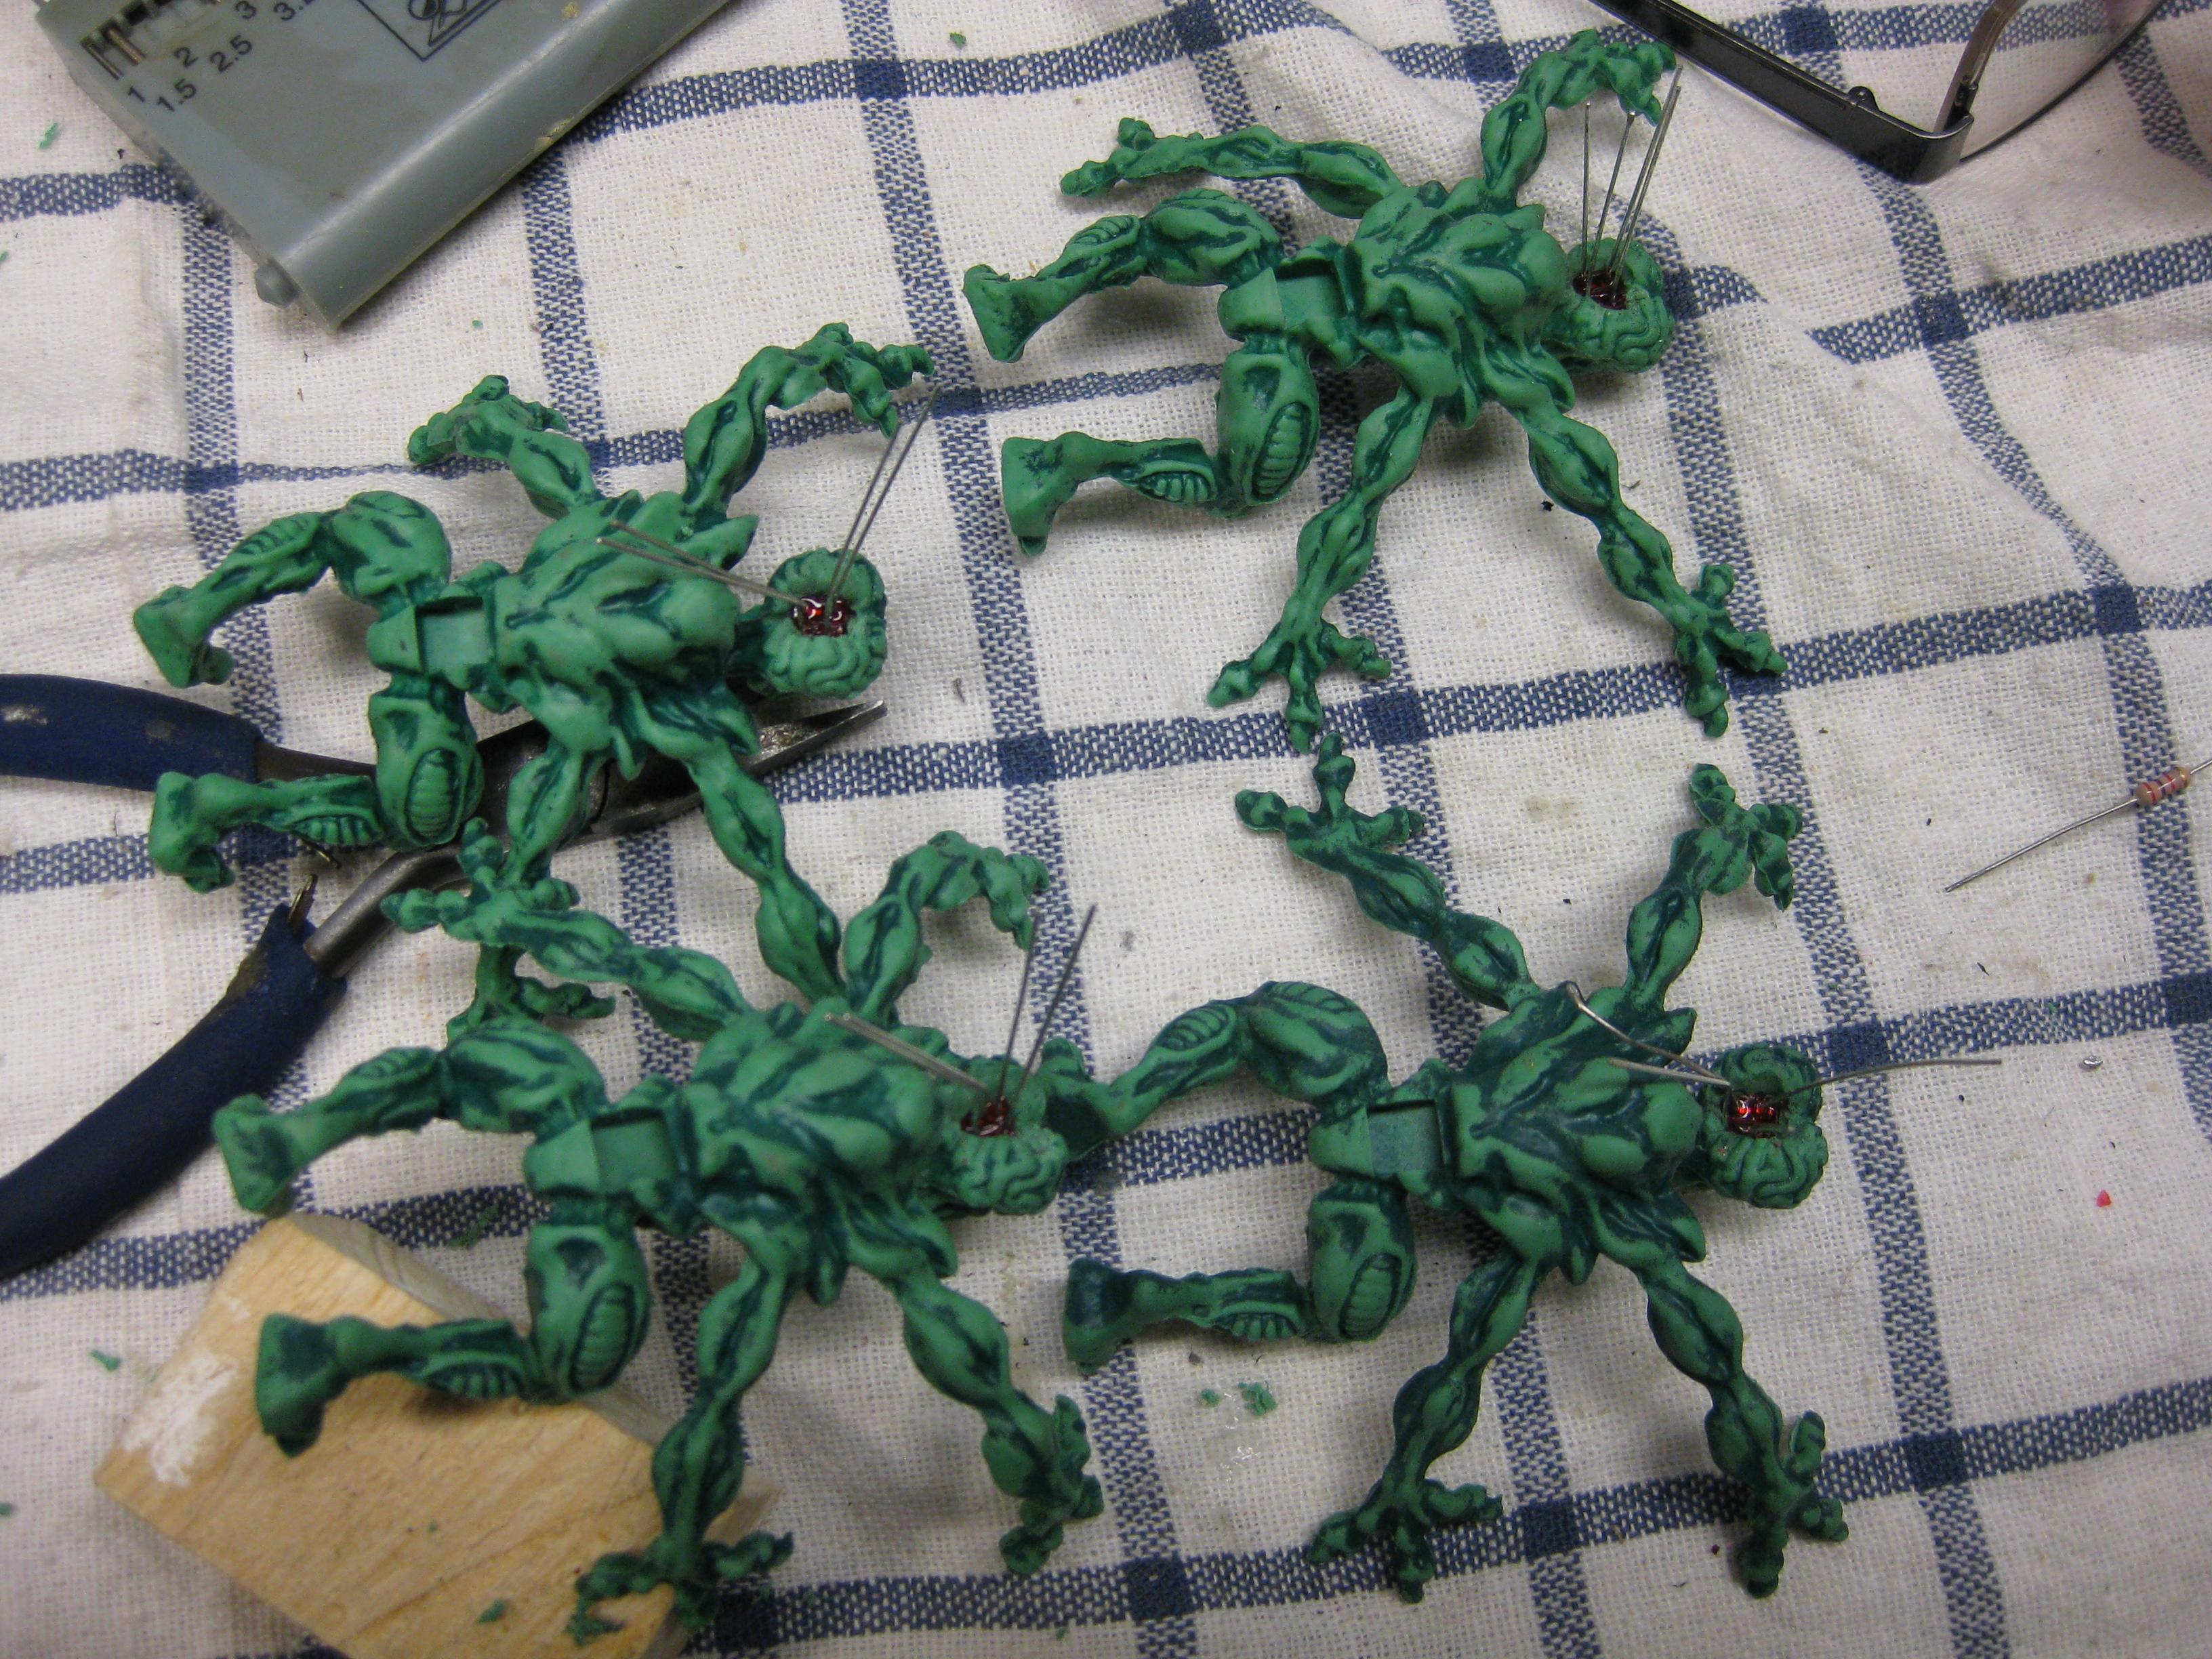
group therapy
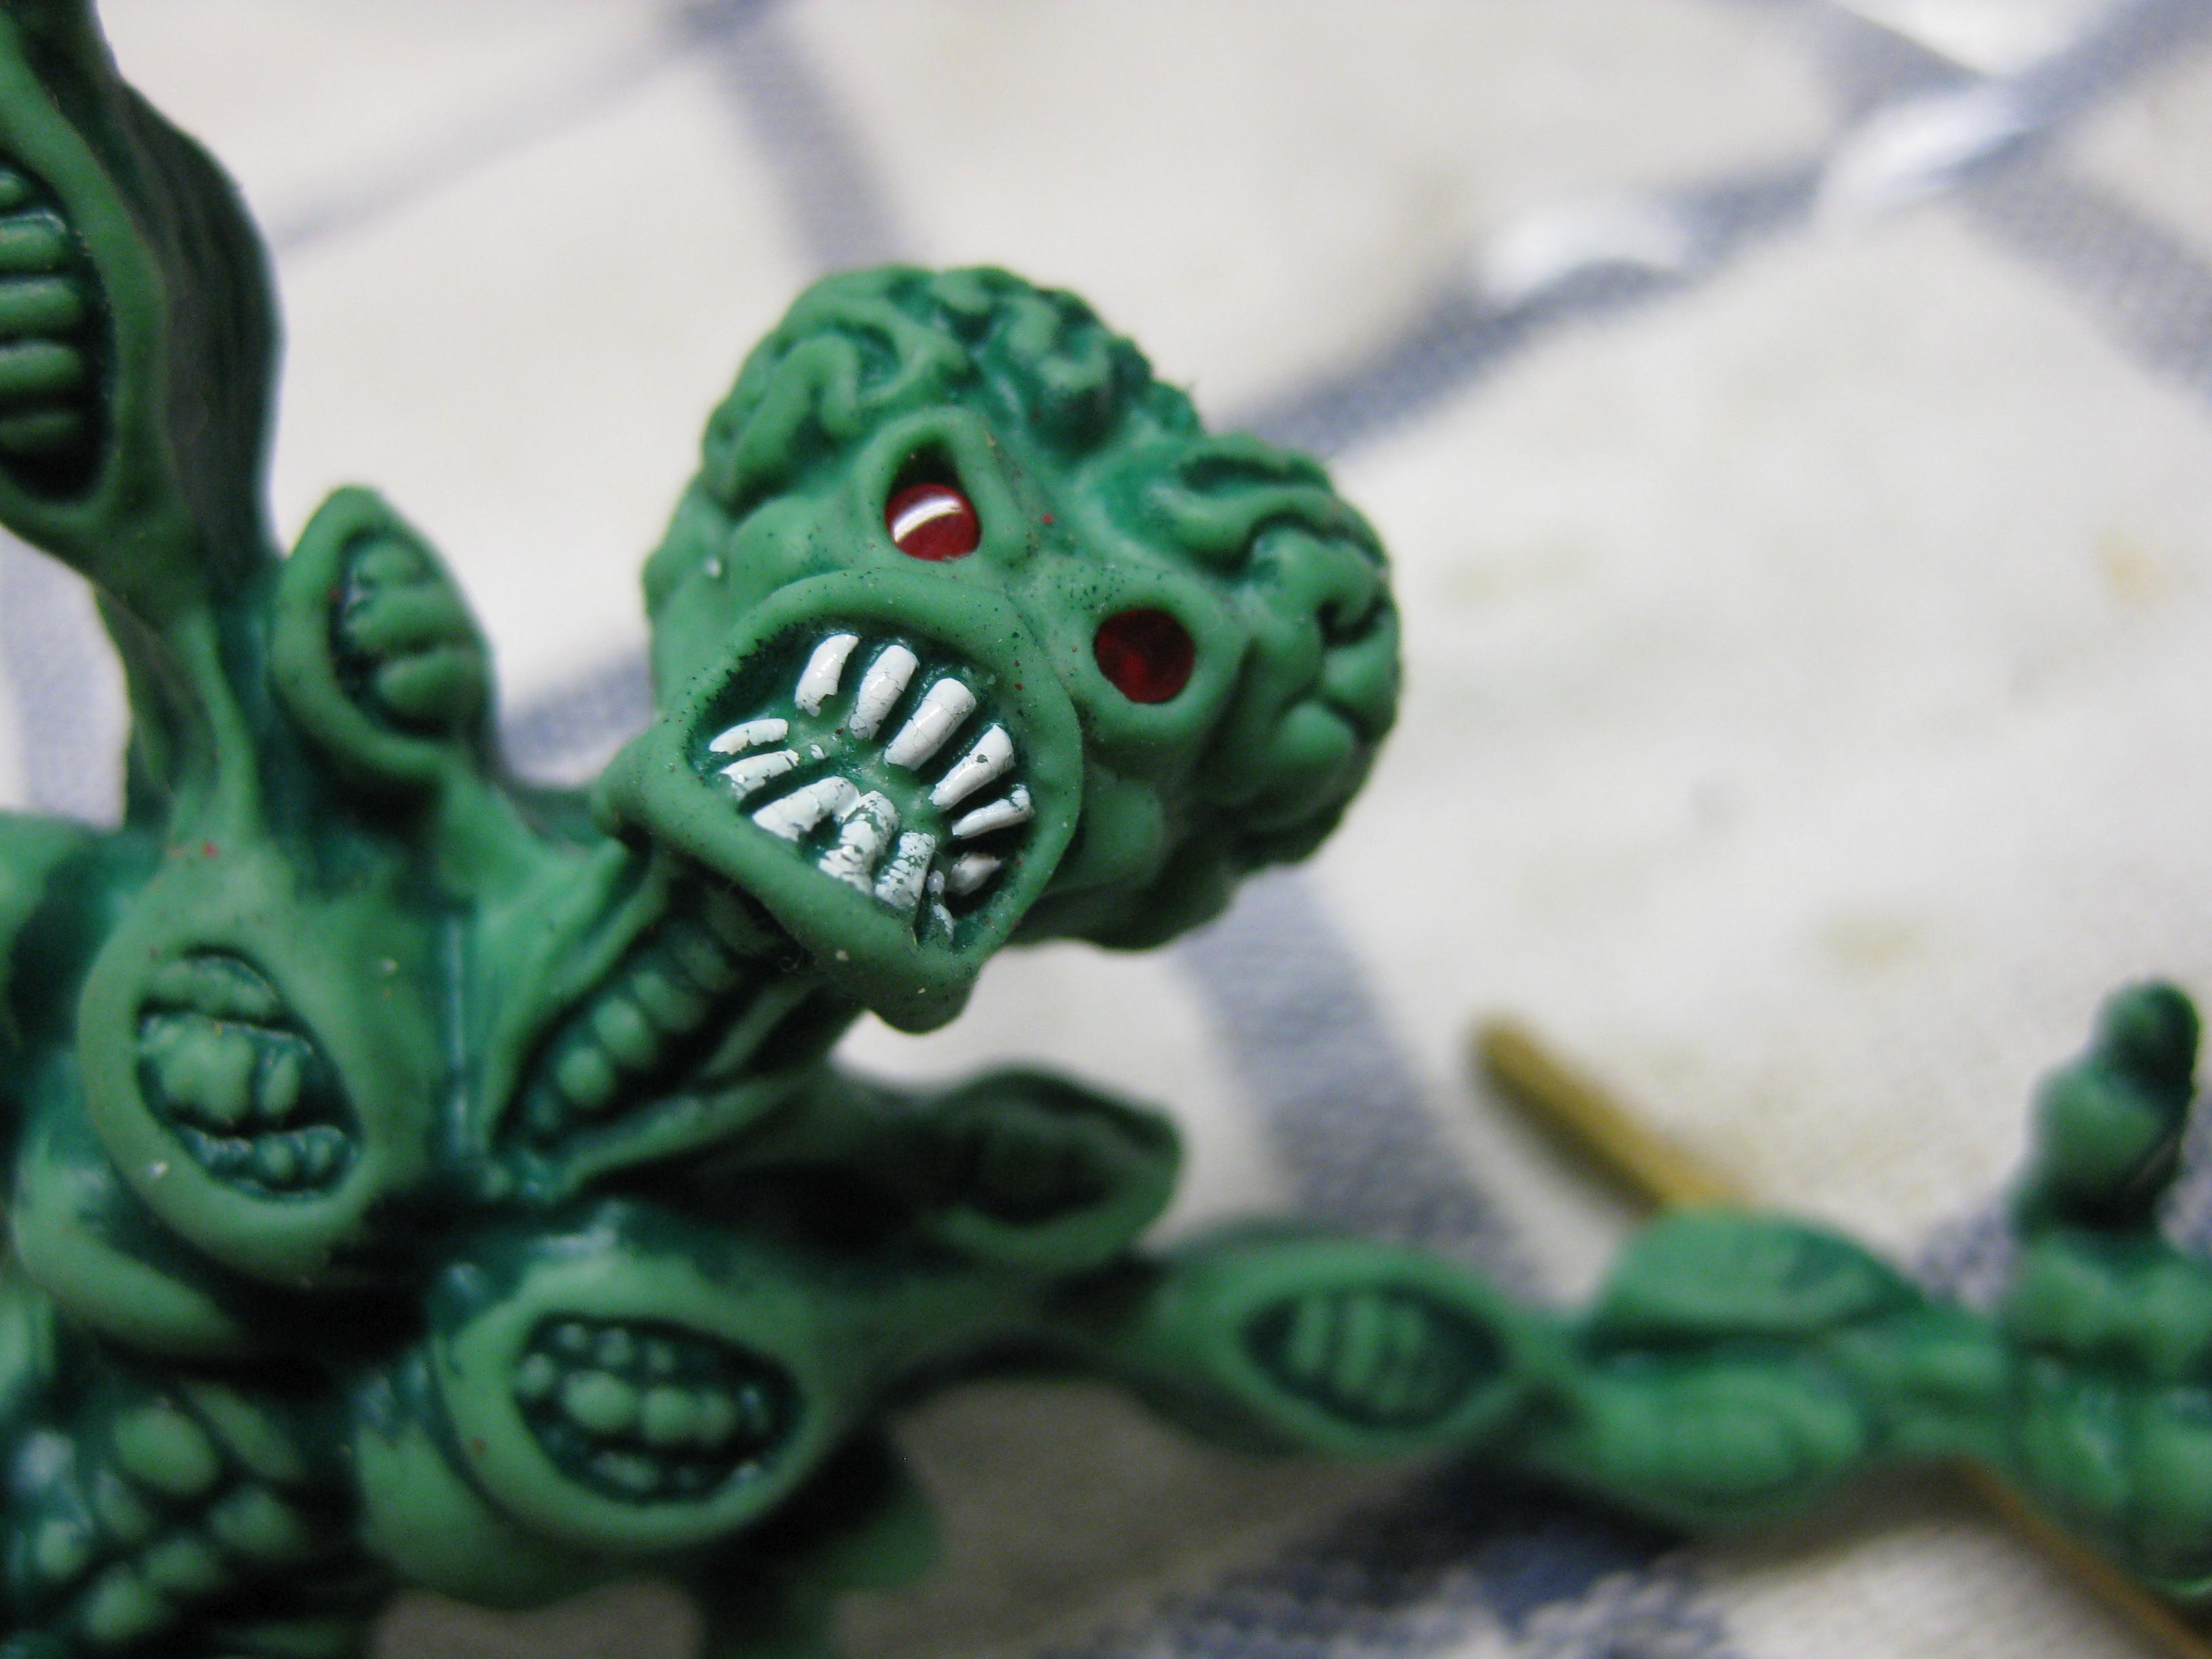
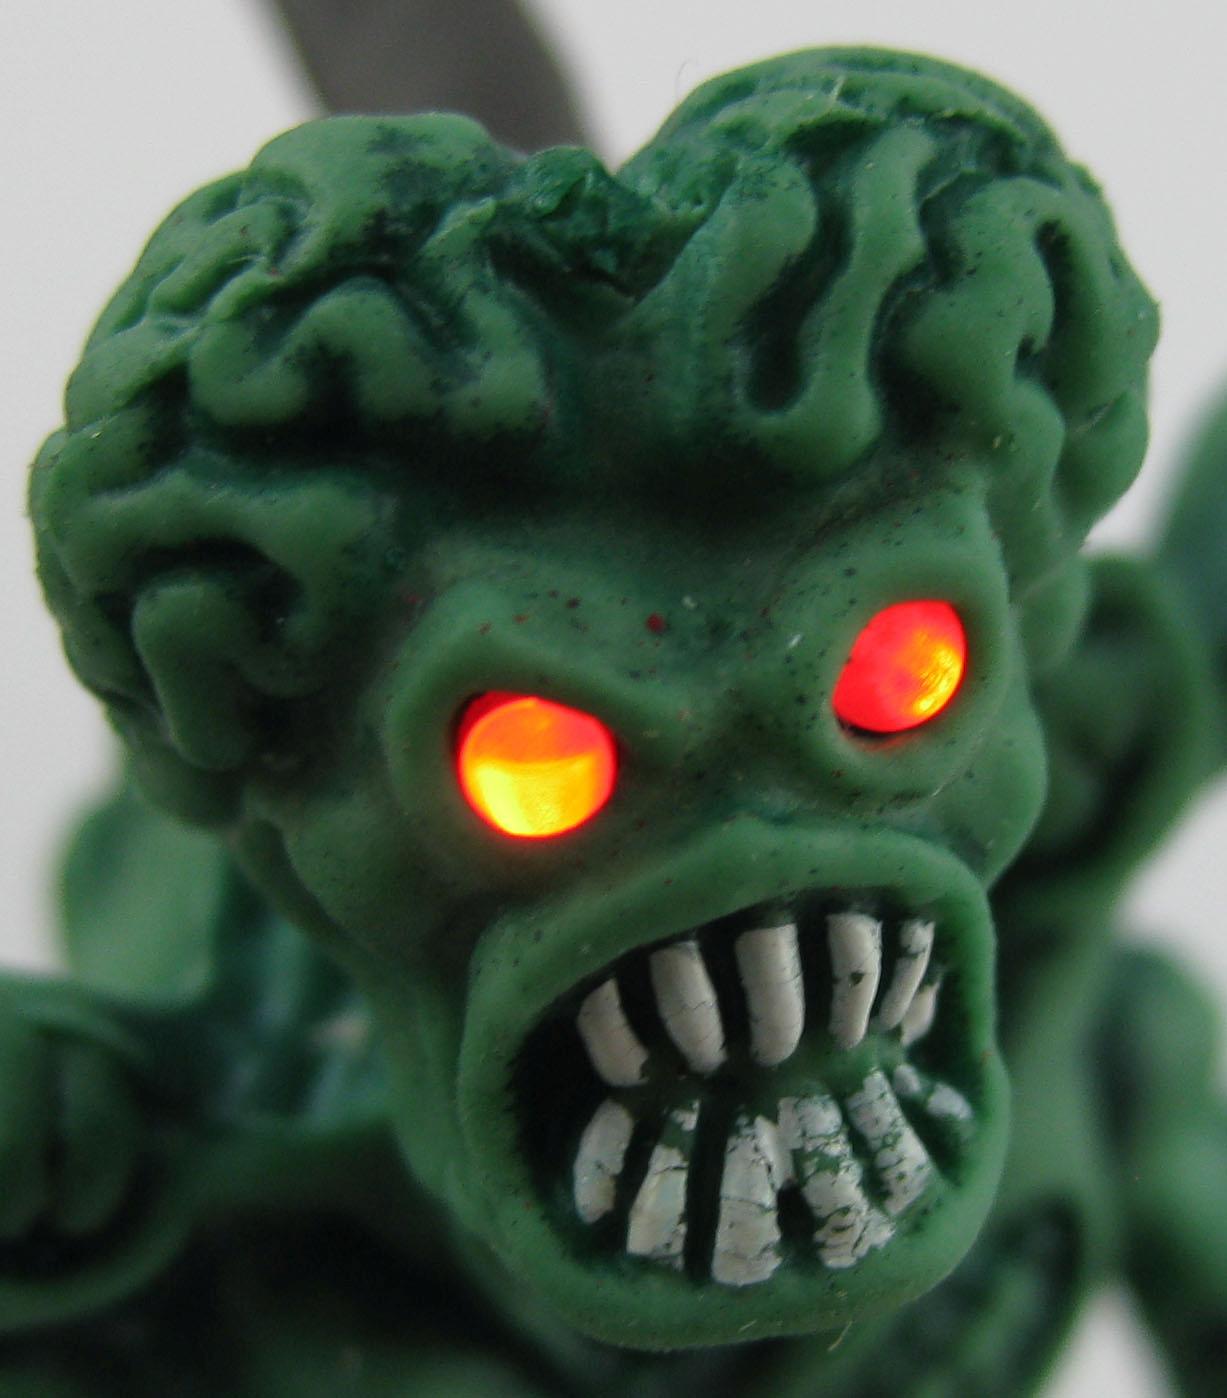
and ready to go..
Nothing new.
A lot of people done this before. I used 2mm red leds fitts perfectly for the size of the martians.
Some headache…
and ready to go..
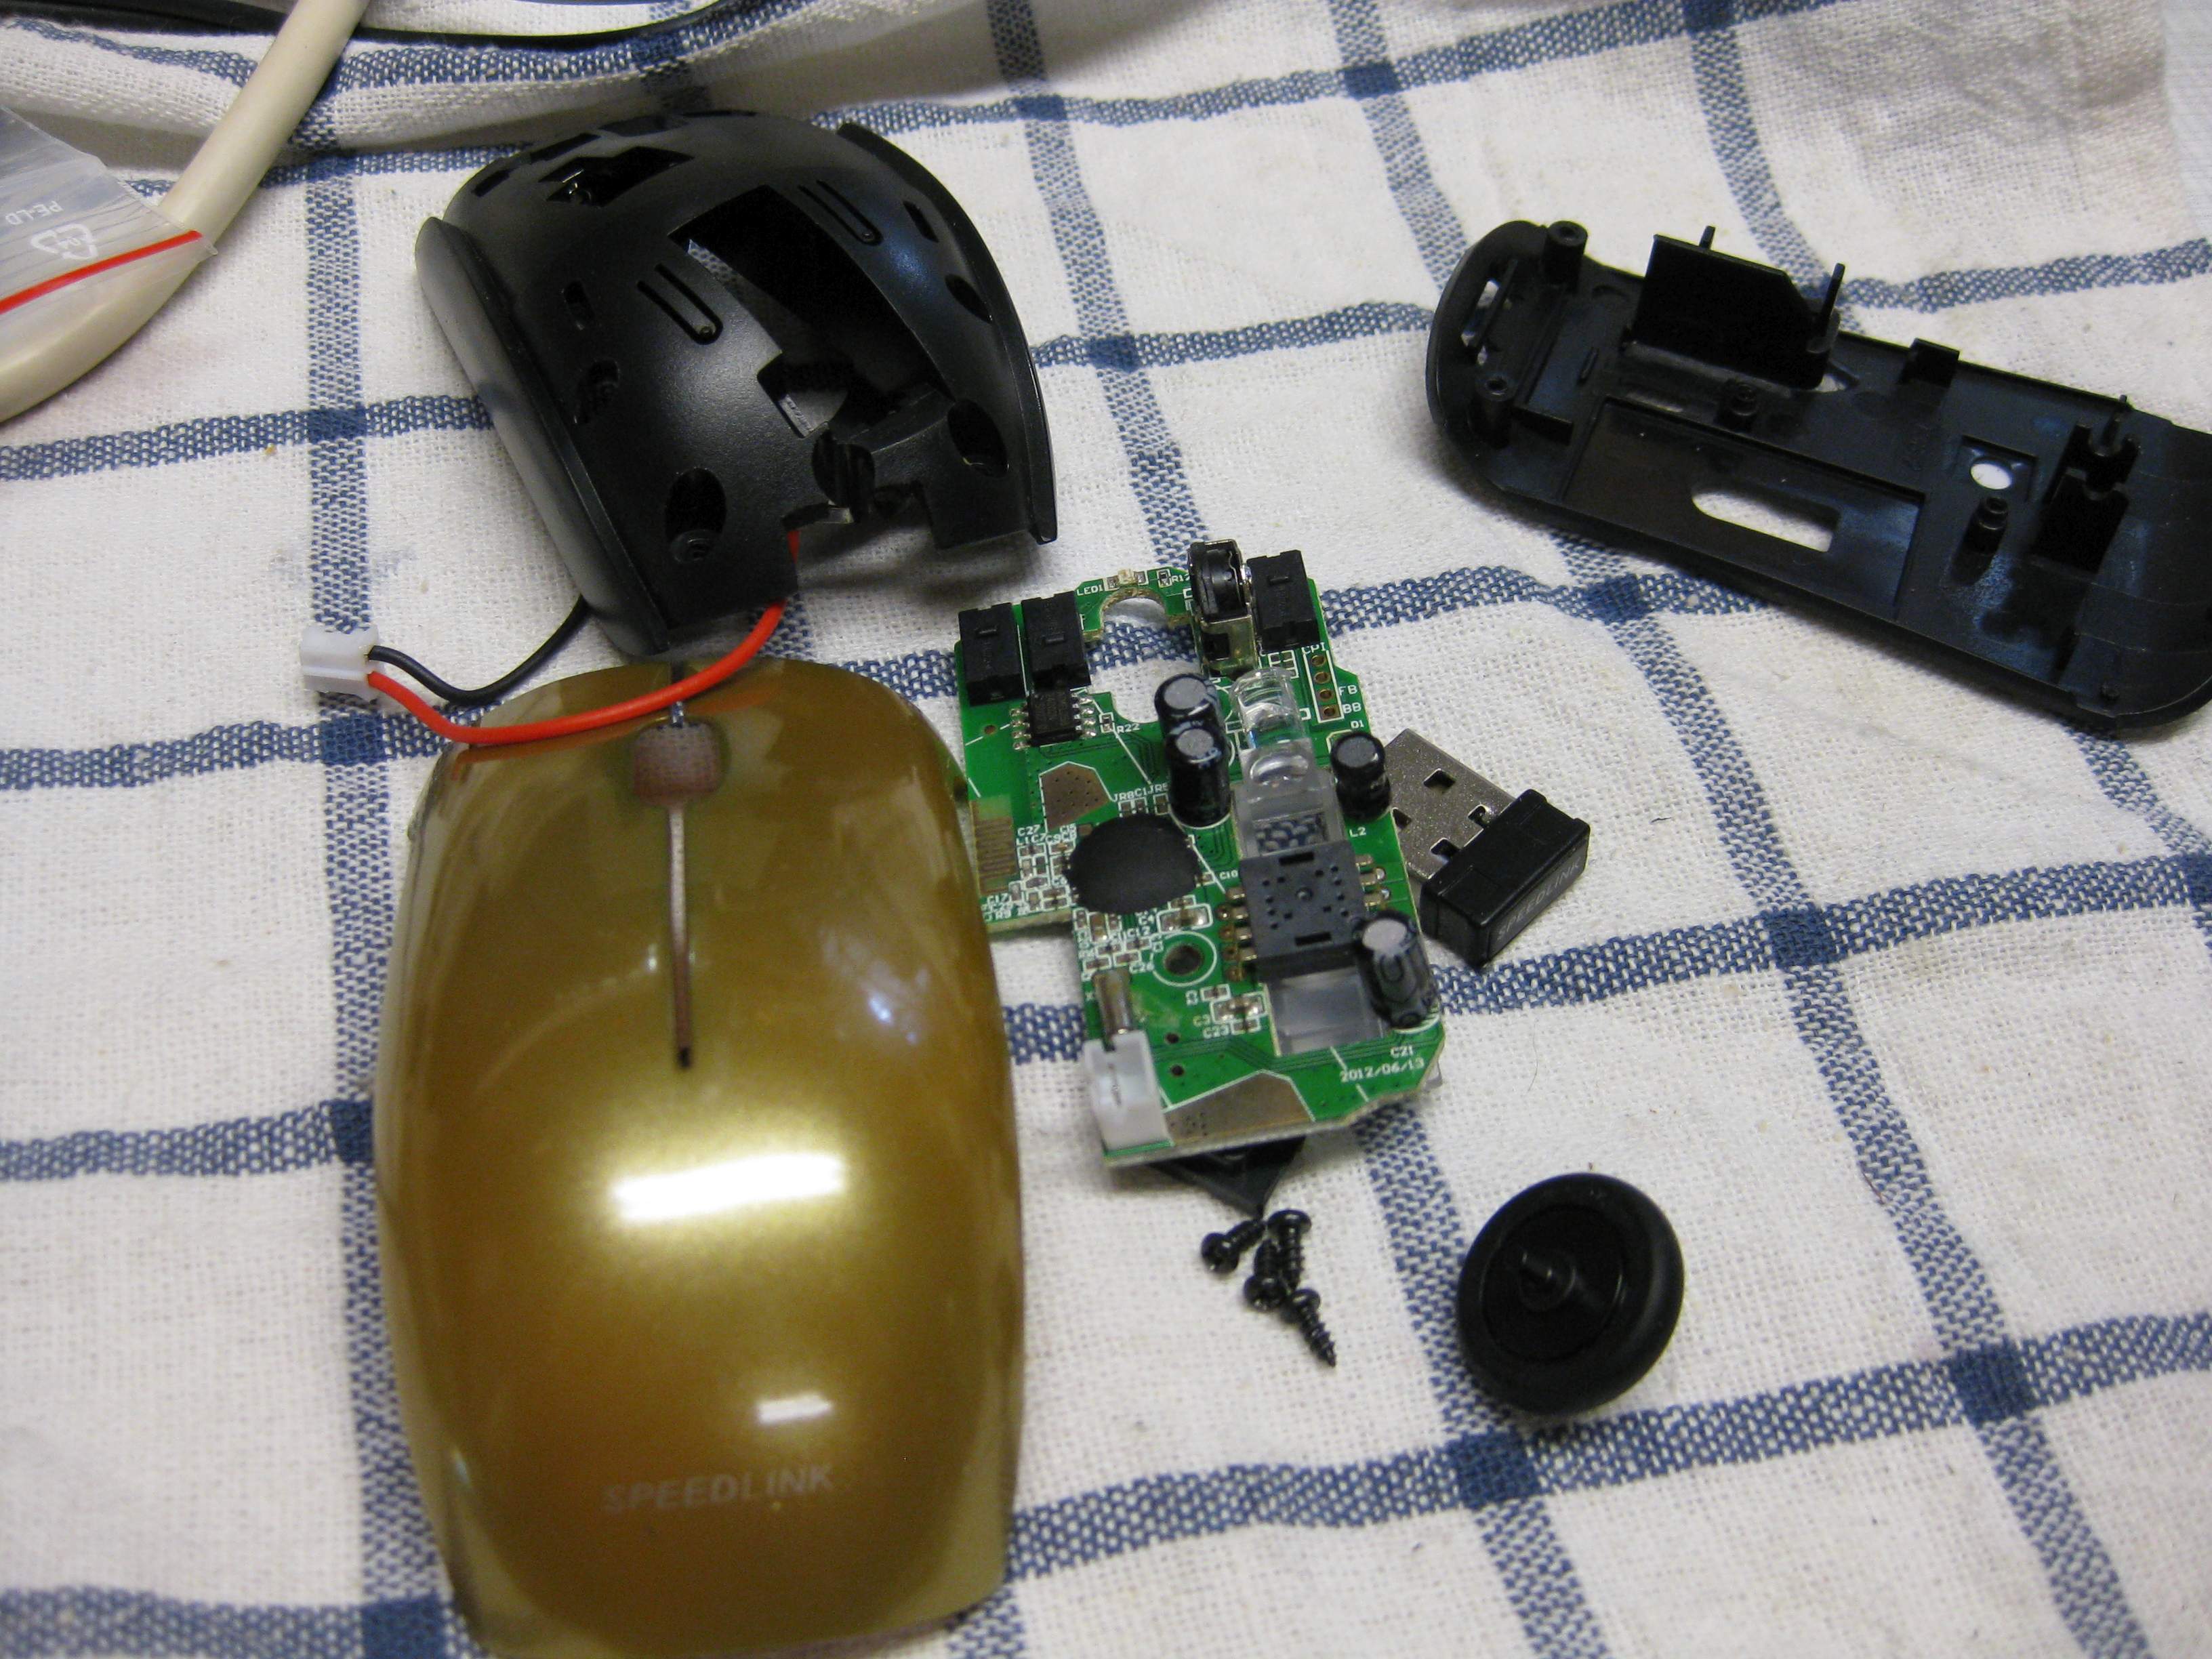
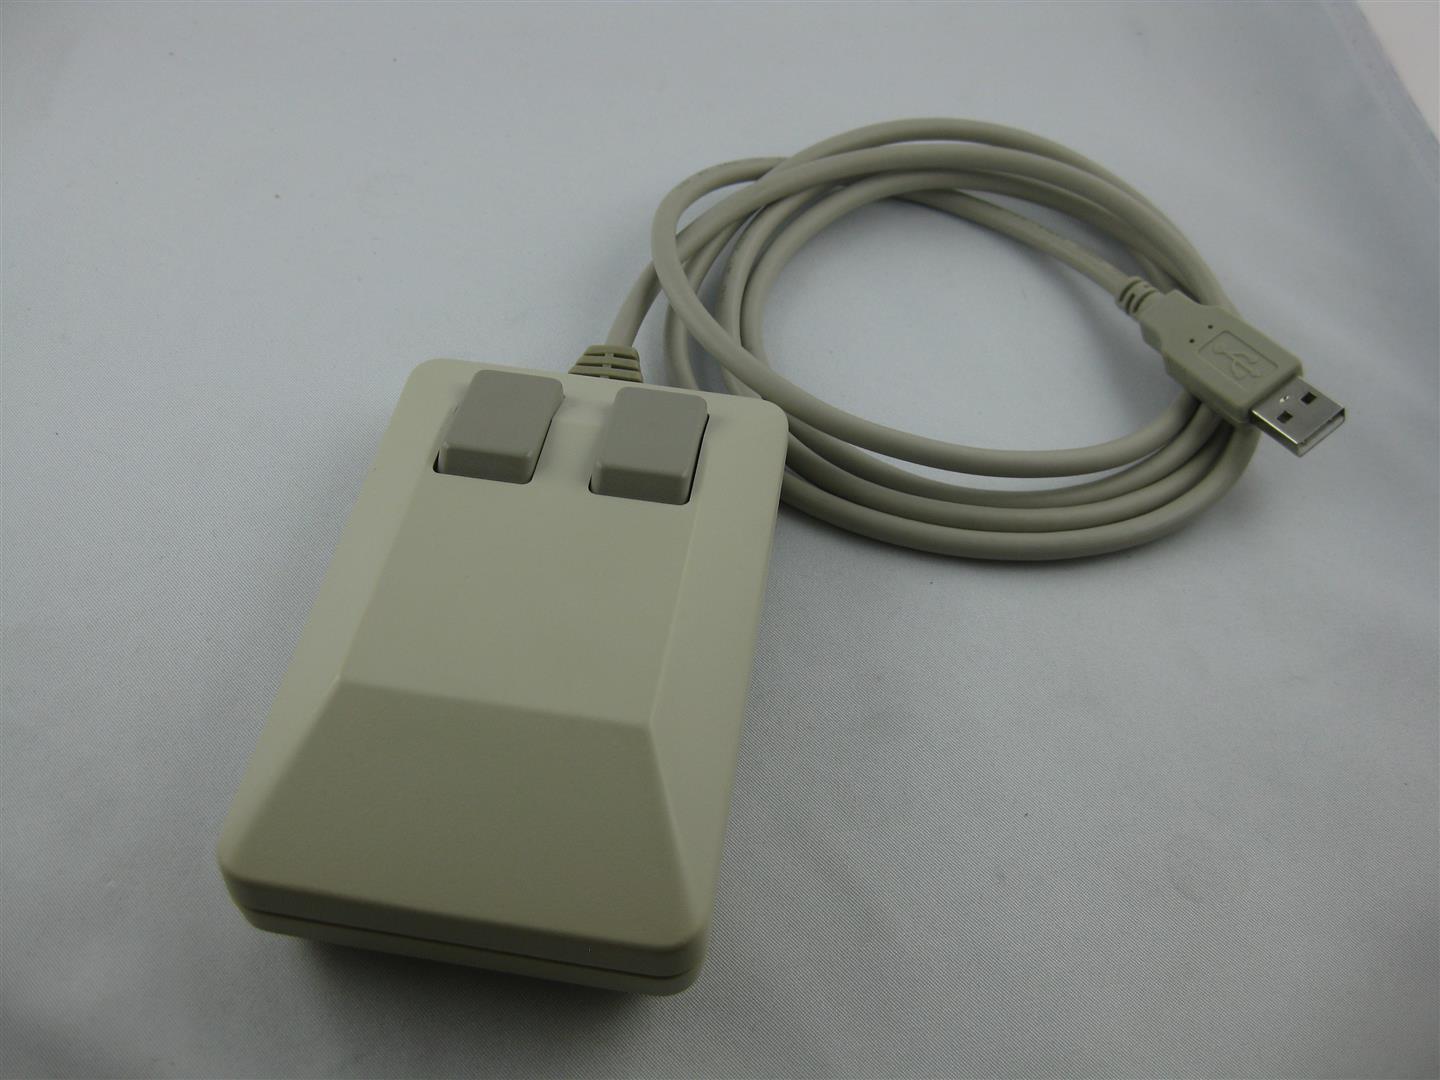
I want to make a wirless optical mouse with the authentical look and feel ![]()
For this I Used a small PC optical Wireless Mouse.
Opened it removed the uneeded stuff and take a amiga mouse with the help of some dremel it fits into it
Here you can see some pics from the progress
Have fun

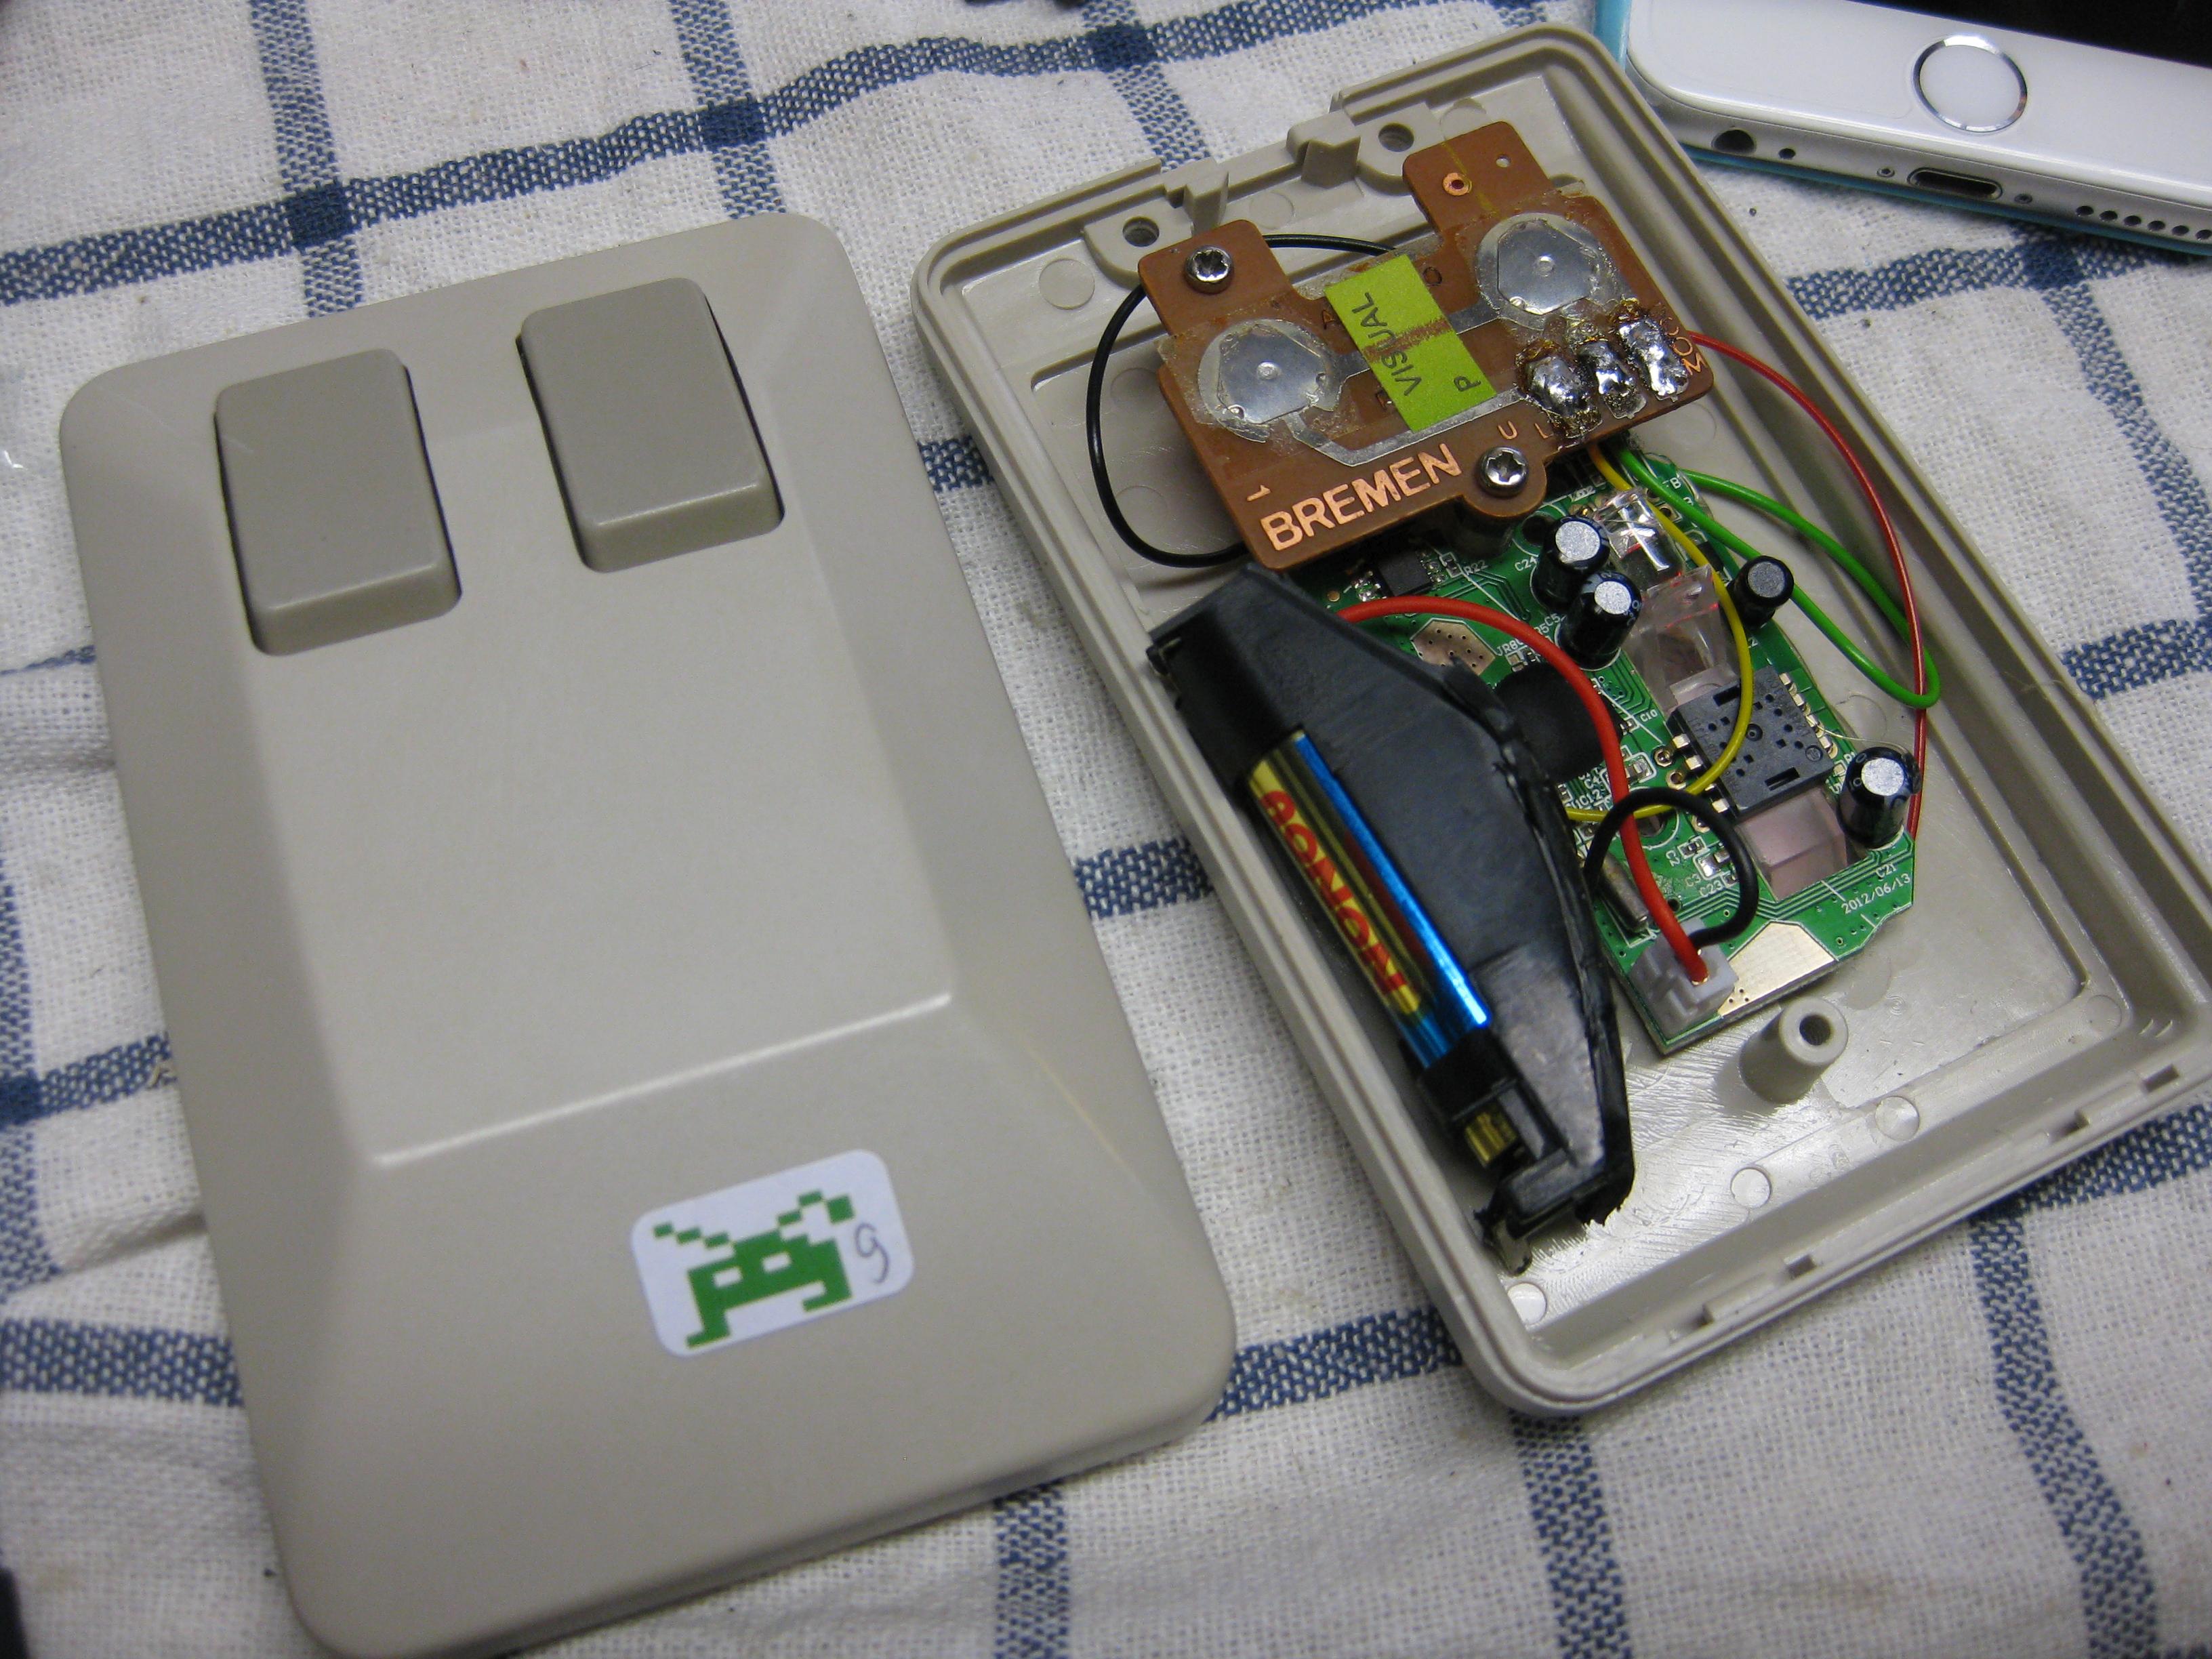


you can use this mouse at PC via USB, Amiga via Jerry Adapter, Atari ST via Jerry Adapter
3 in 1 Mouse
Putting the good old Atari 2600 to a proper view, needs some help of a little s-video pcb.
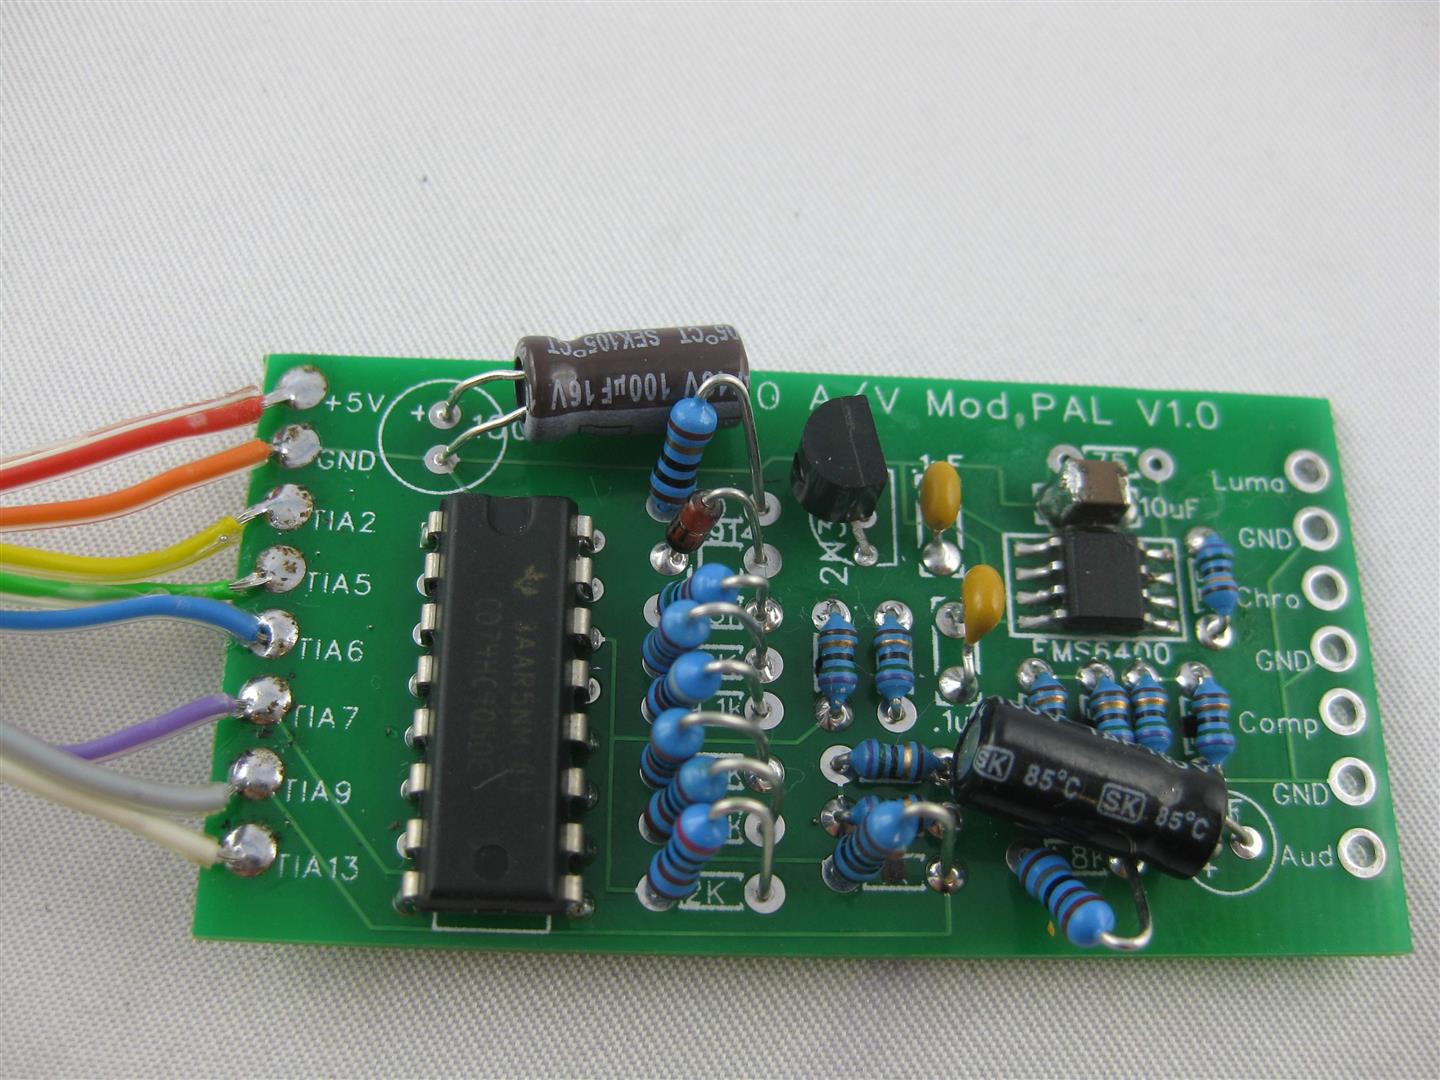
I done the mod and show some pictures comparing video Signal and S-video. I will prefer S-video and better RGB see other post.
Opening the 2600 and go to the TIA chip. Here you have to solder some wires
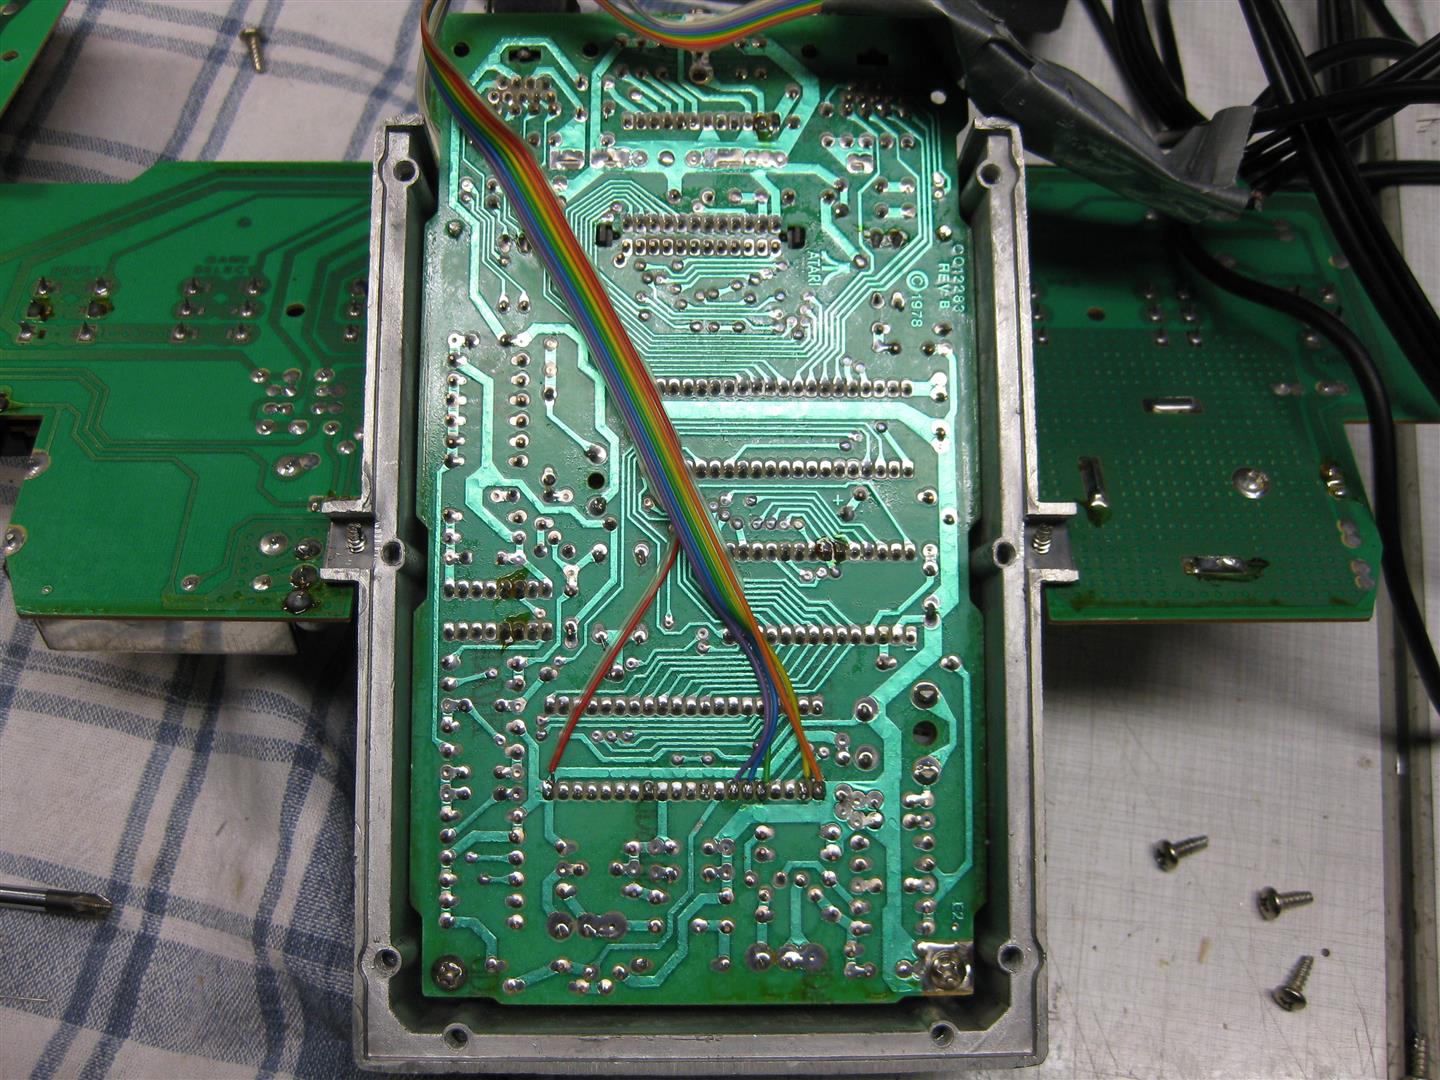
upper side
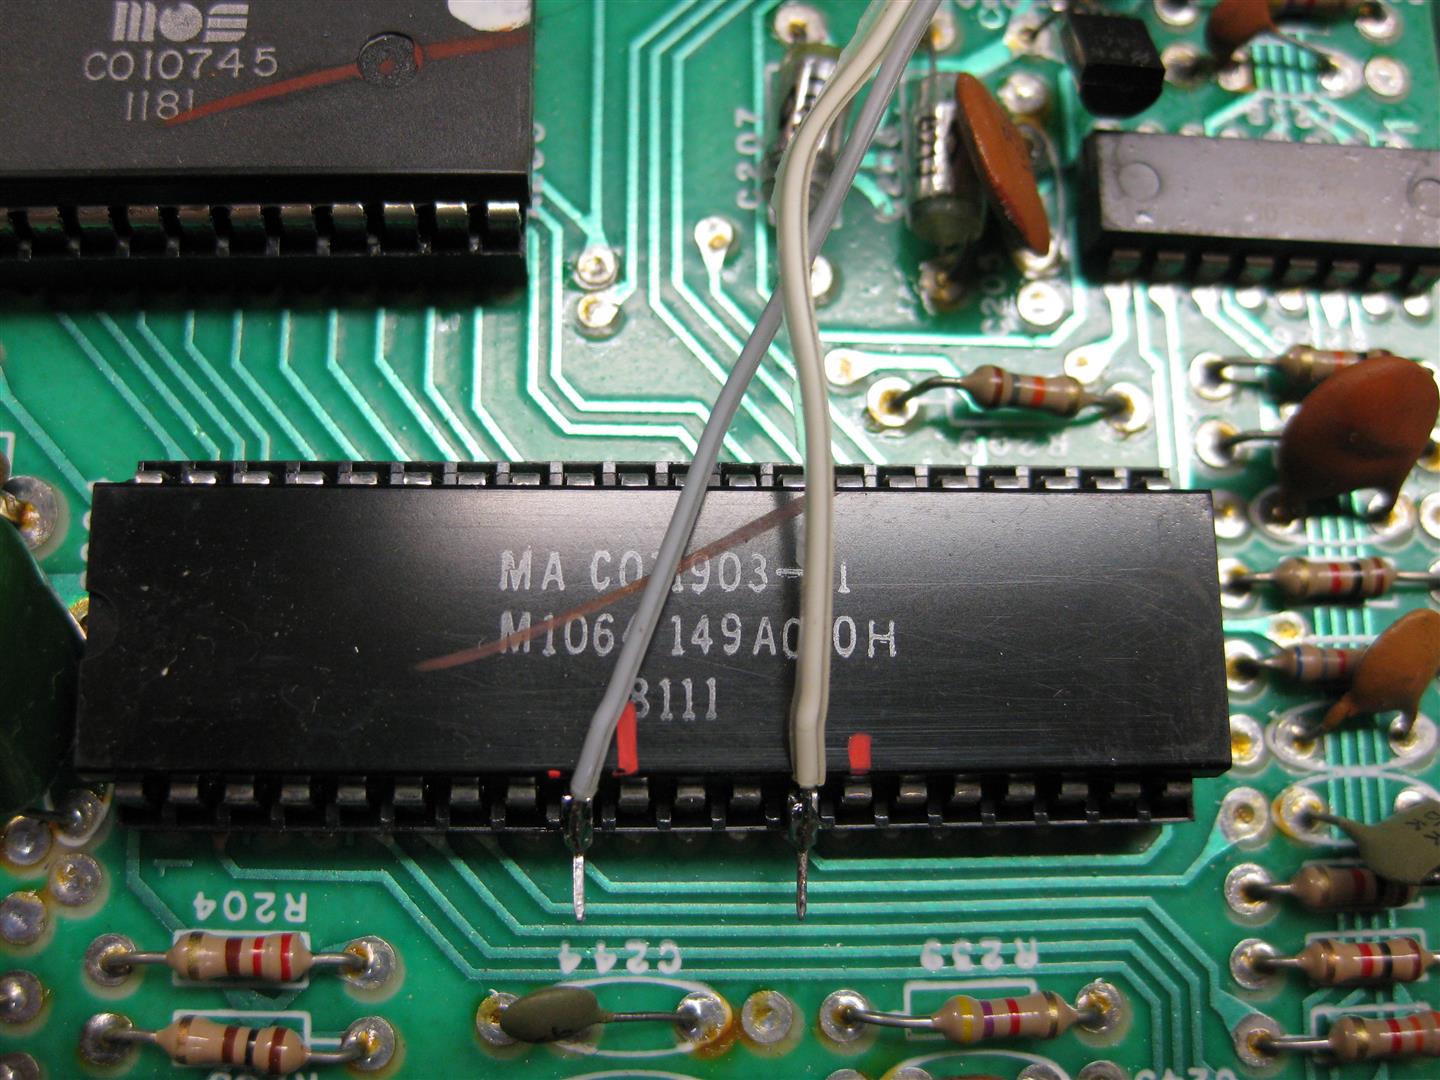
(lift pin 9 and 13 and solder the two wires directly to the TIA Chip)
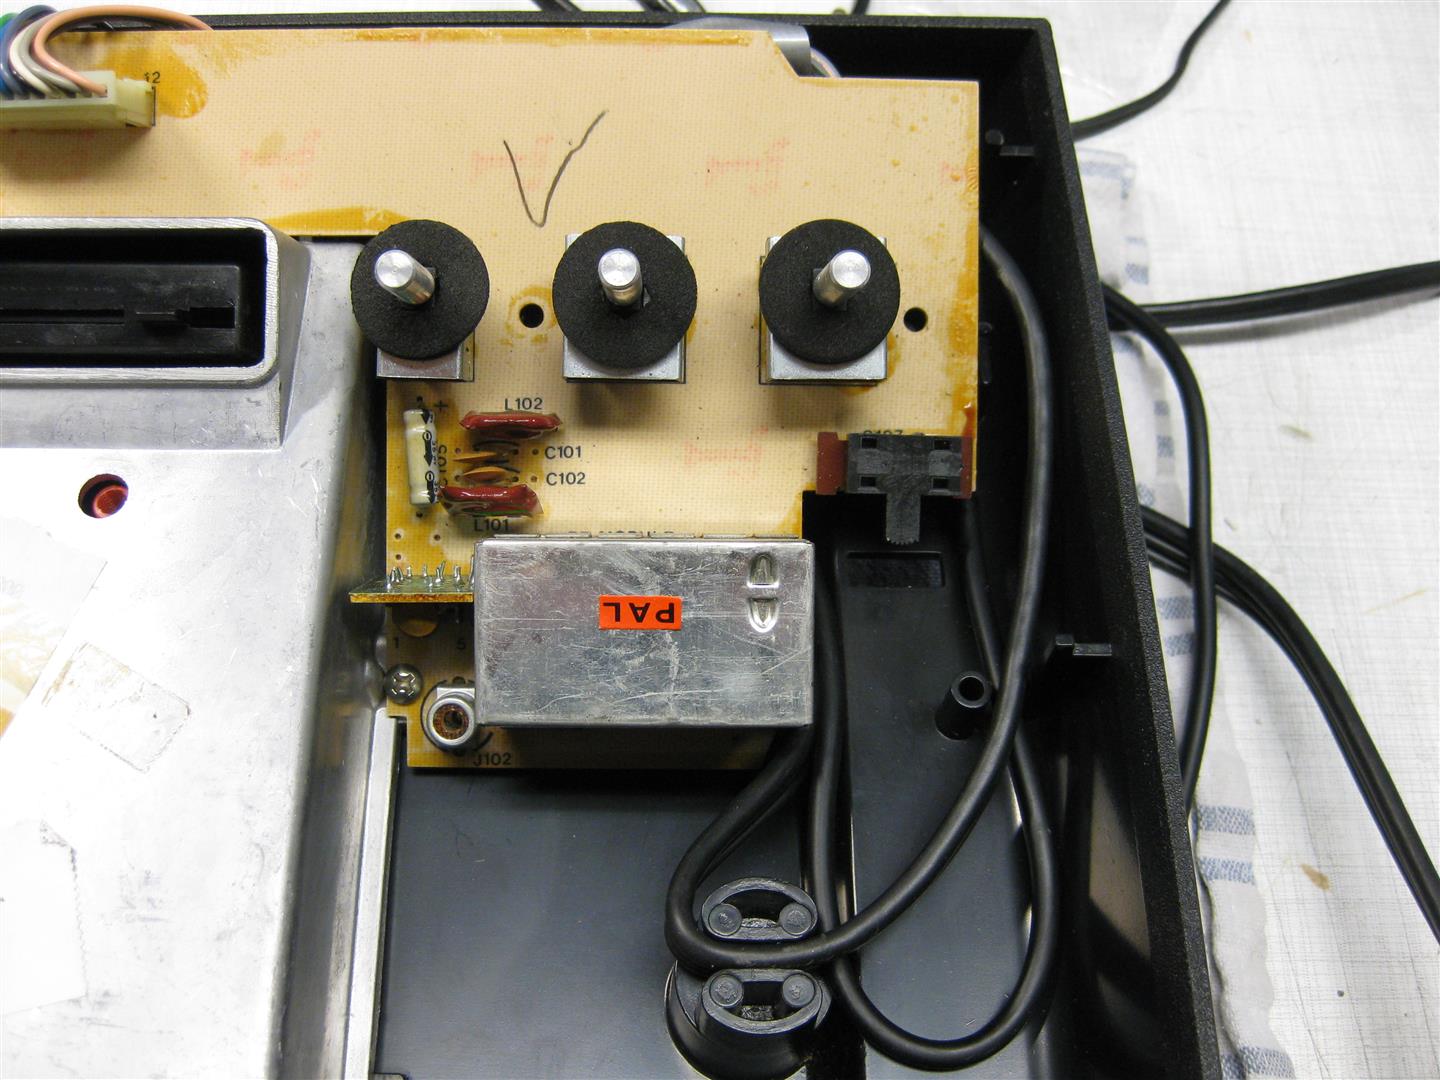
wiring of S-Video/A/V cable
Some pics

(Video Signal)
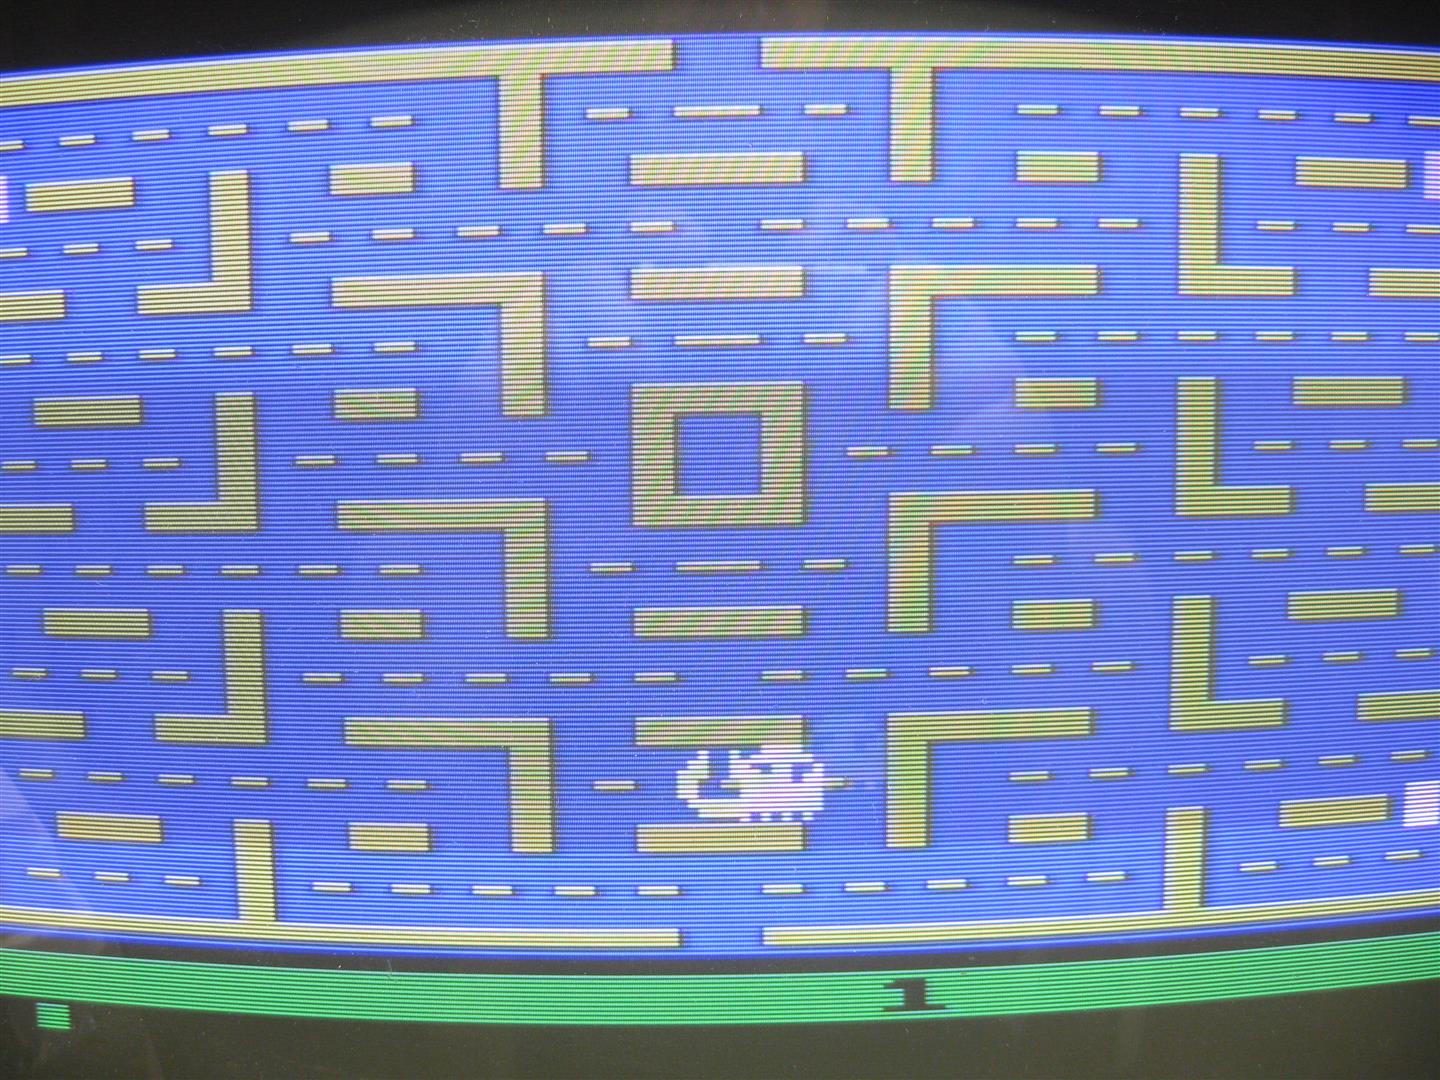
(S-Video)
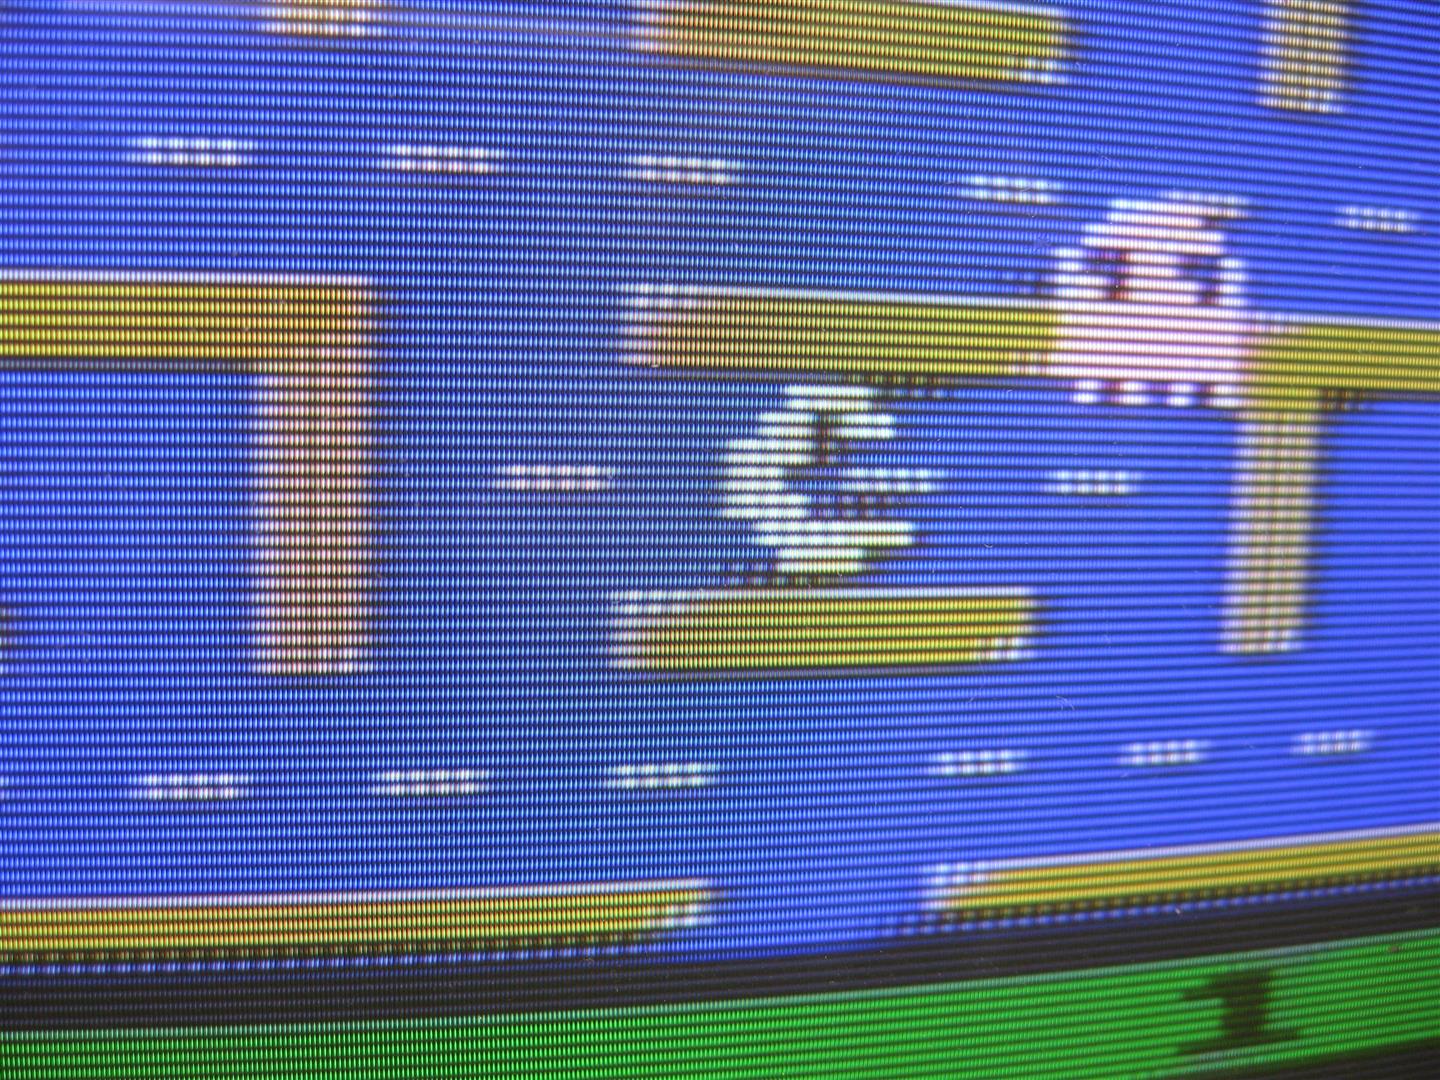
(Video)

(S-Video)
Recently I got some Pads from http://www.8bitdo.com/
If you want to buy some Look here
Great bluetooth Pads working on tablets, iphone, ipad, android phone/tablets, Windows, MAC, Nintendo Wii, Retrocon…
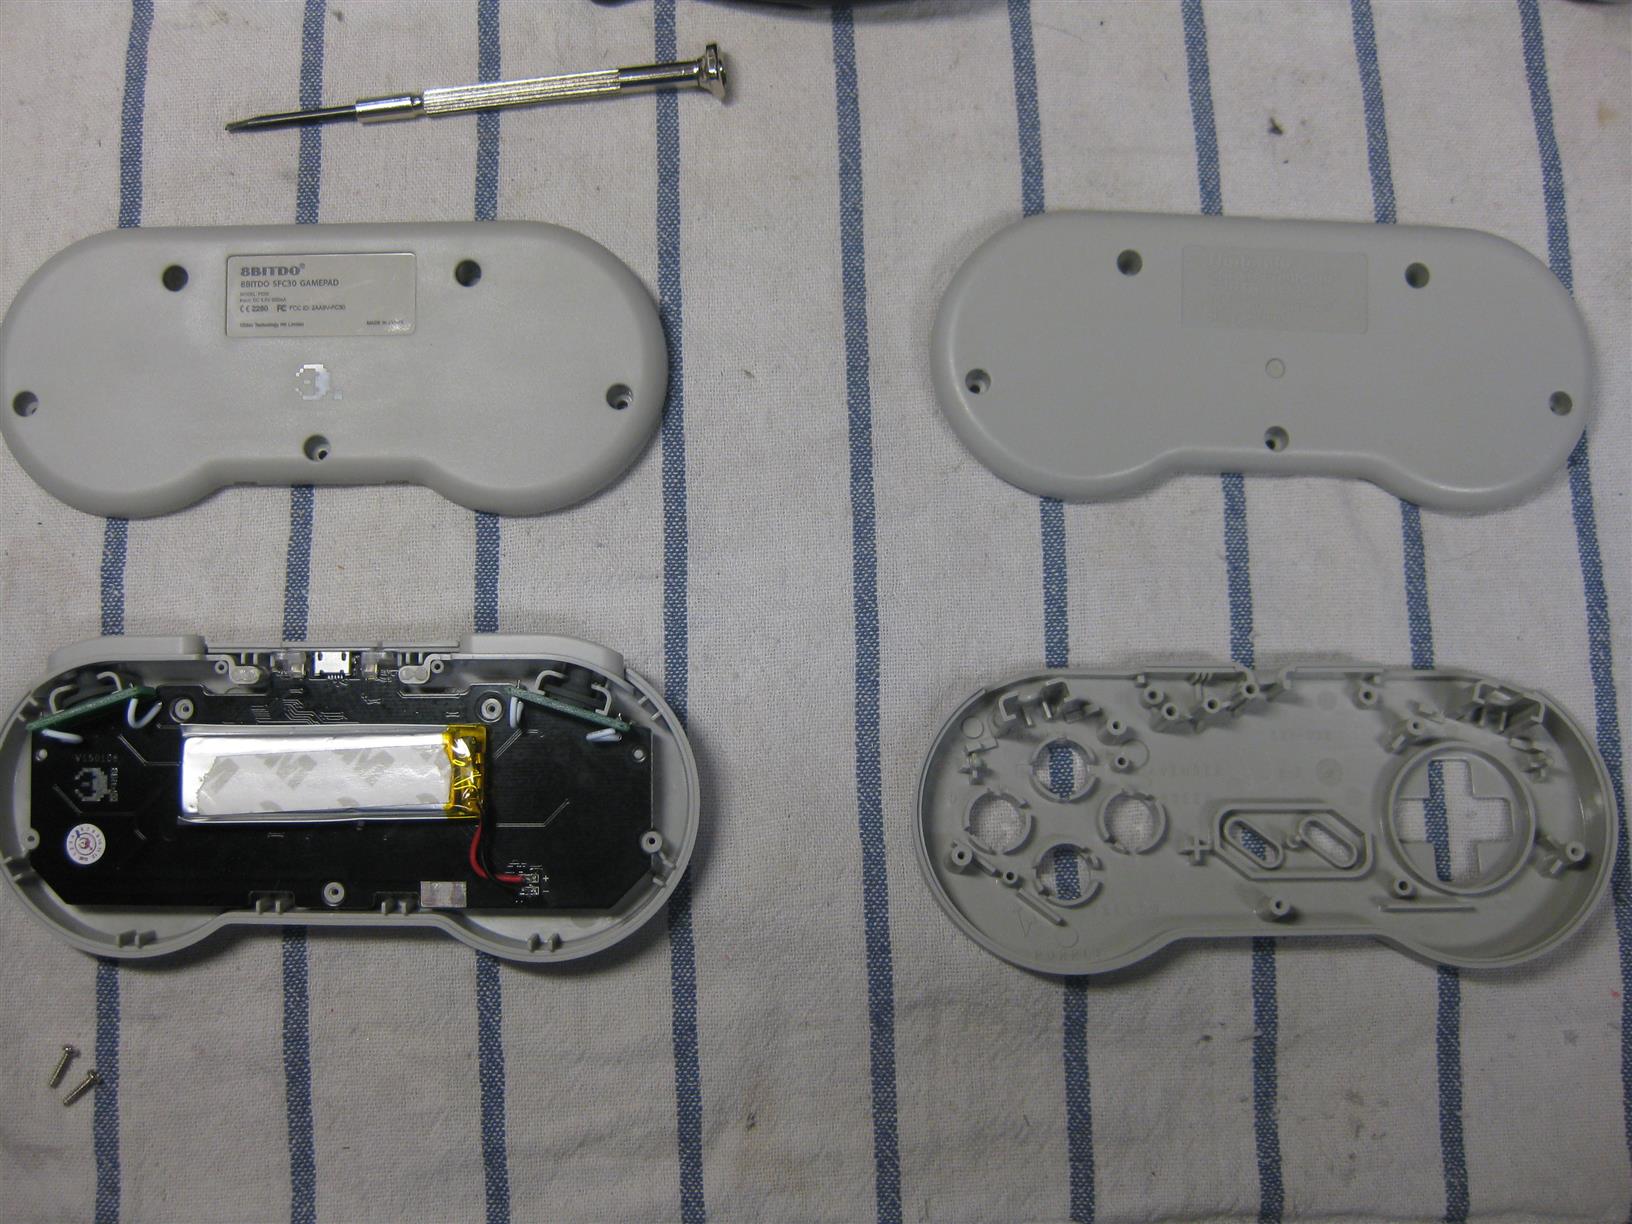
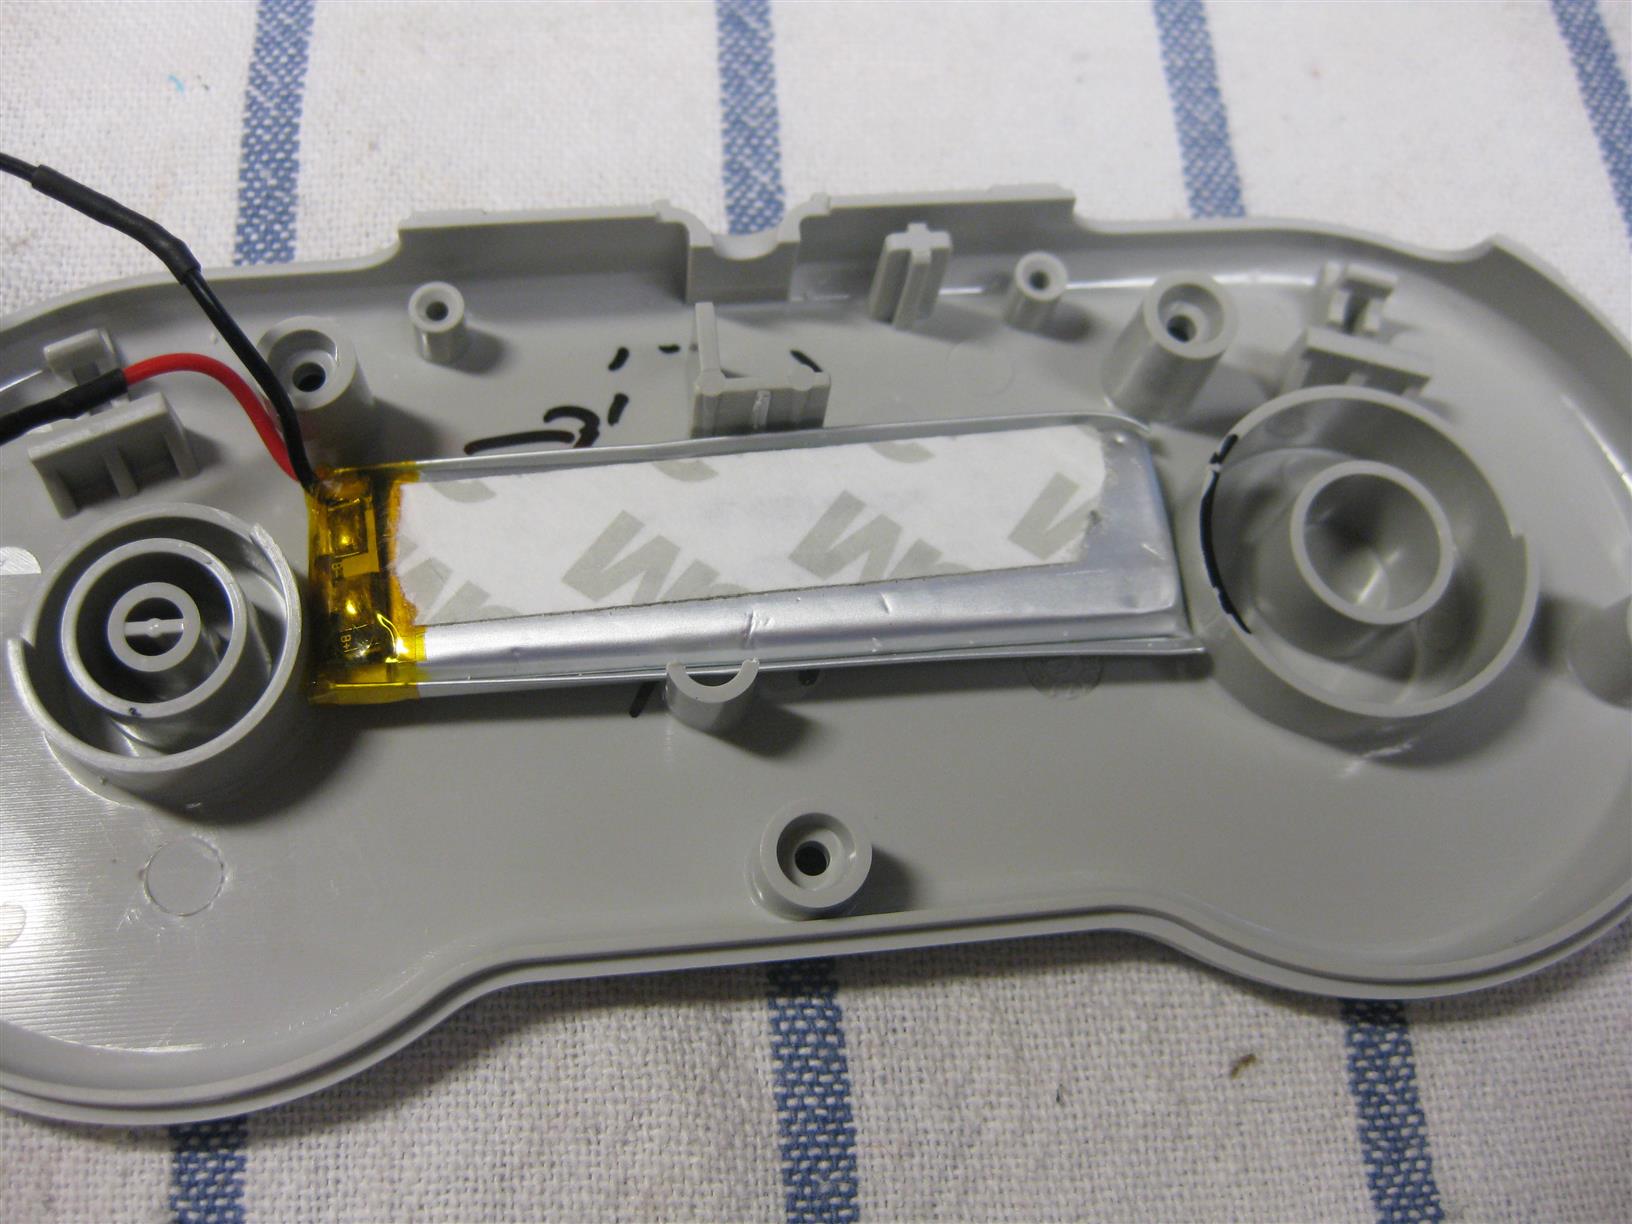
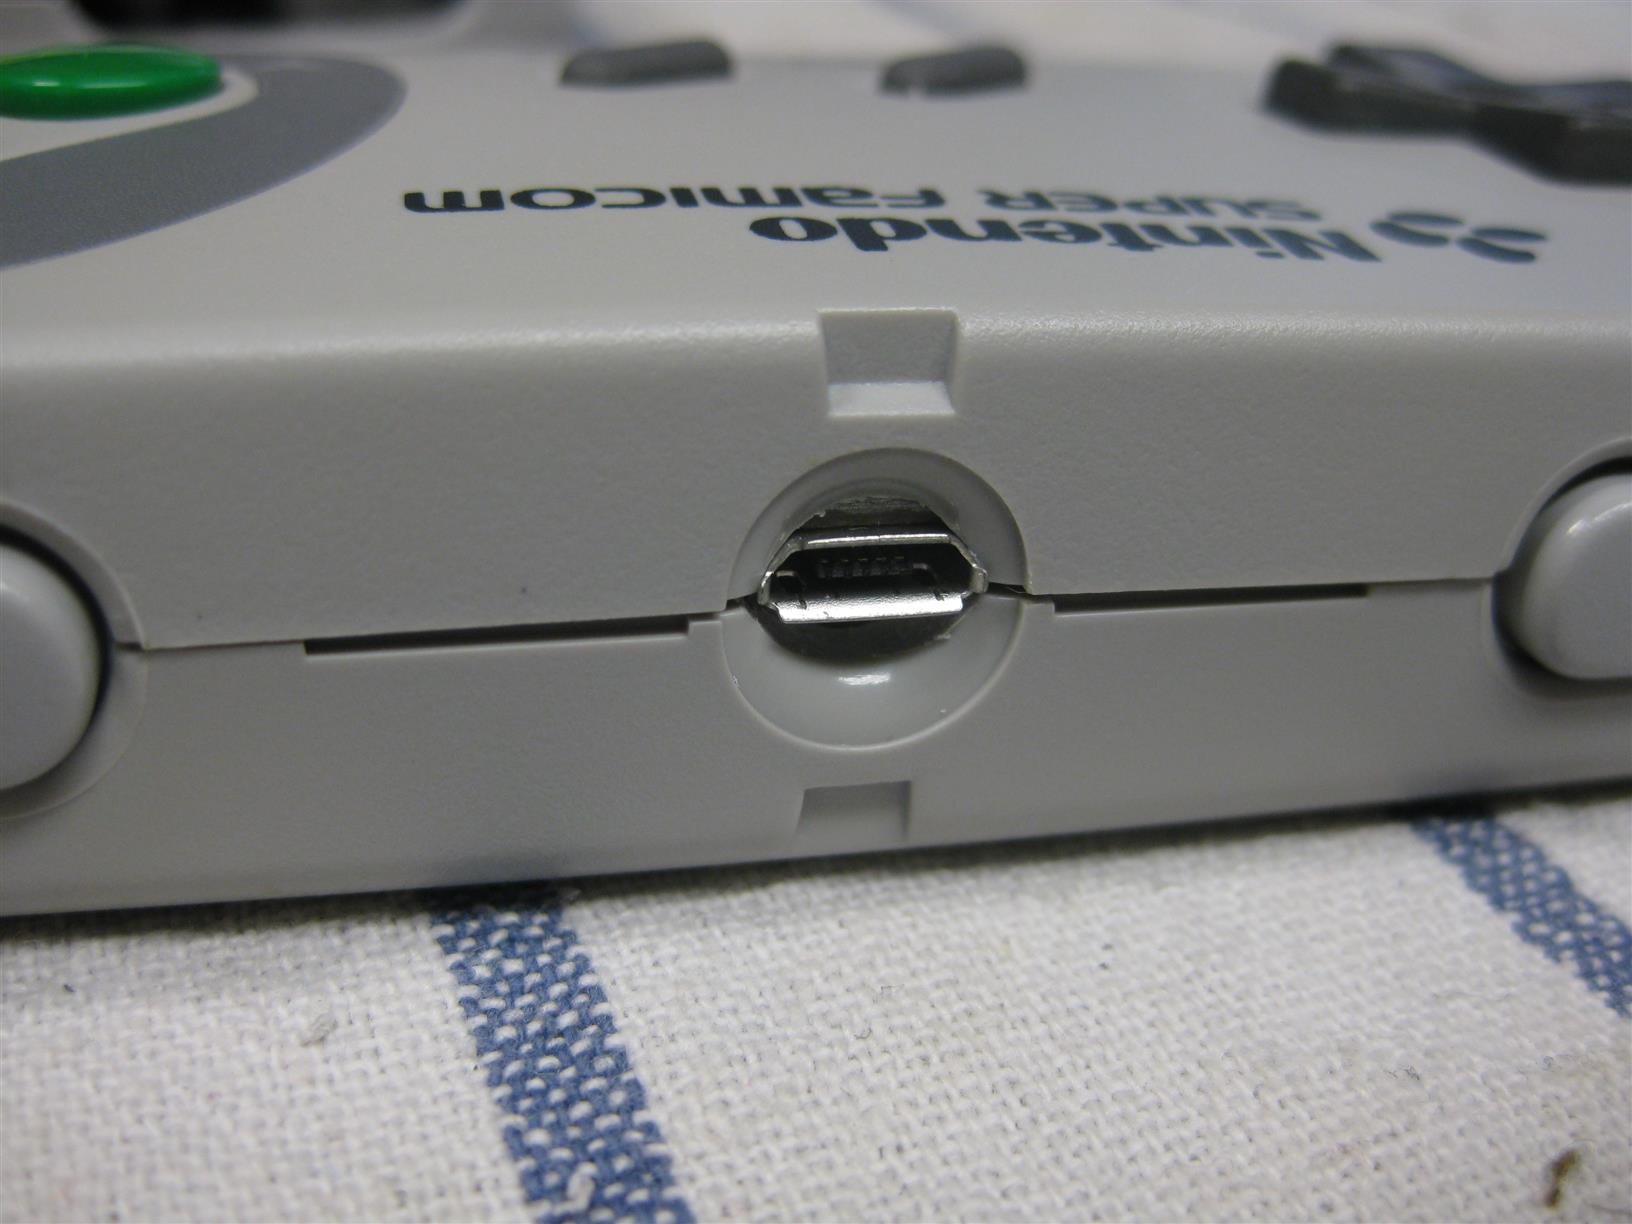
The SFC30 is looking like a SNES Controller and reached it around 80-90%. But I want it 100%
So I put the PCB of a SFC30 into a original SNES Controller. You need only some drilling and its a fast job.
Look here for some pictures during the process


Hi Folks,
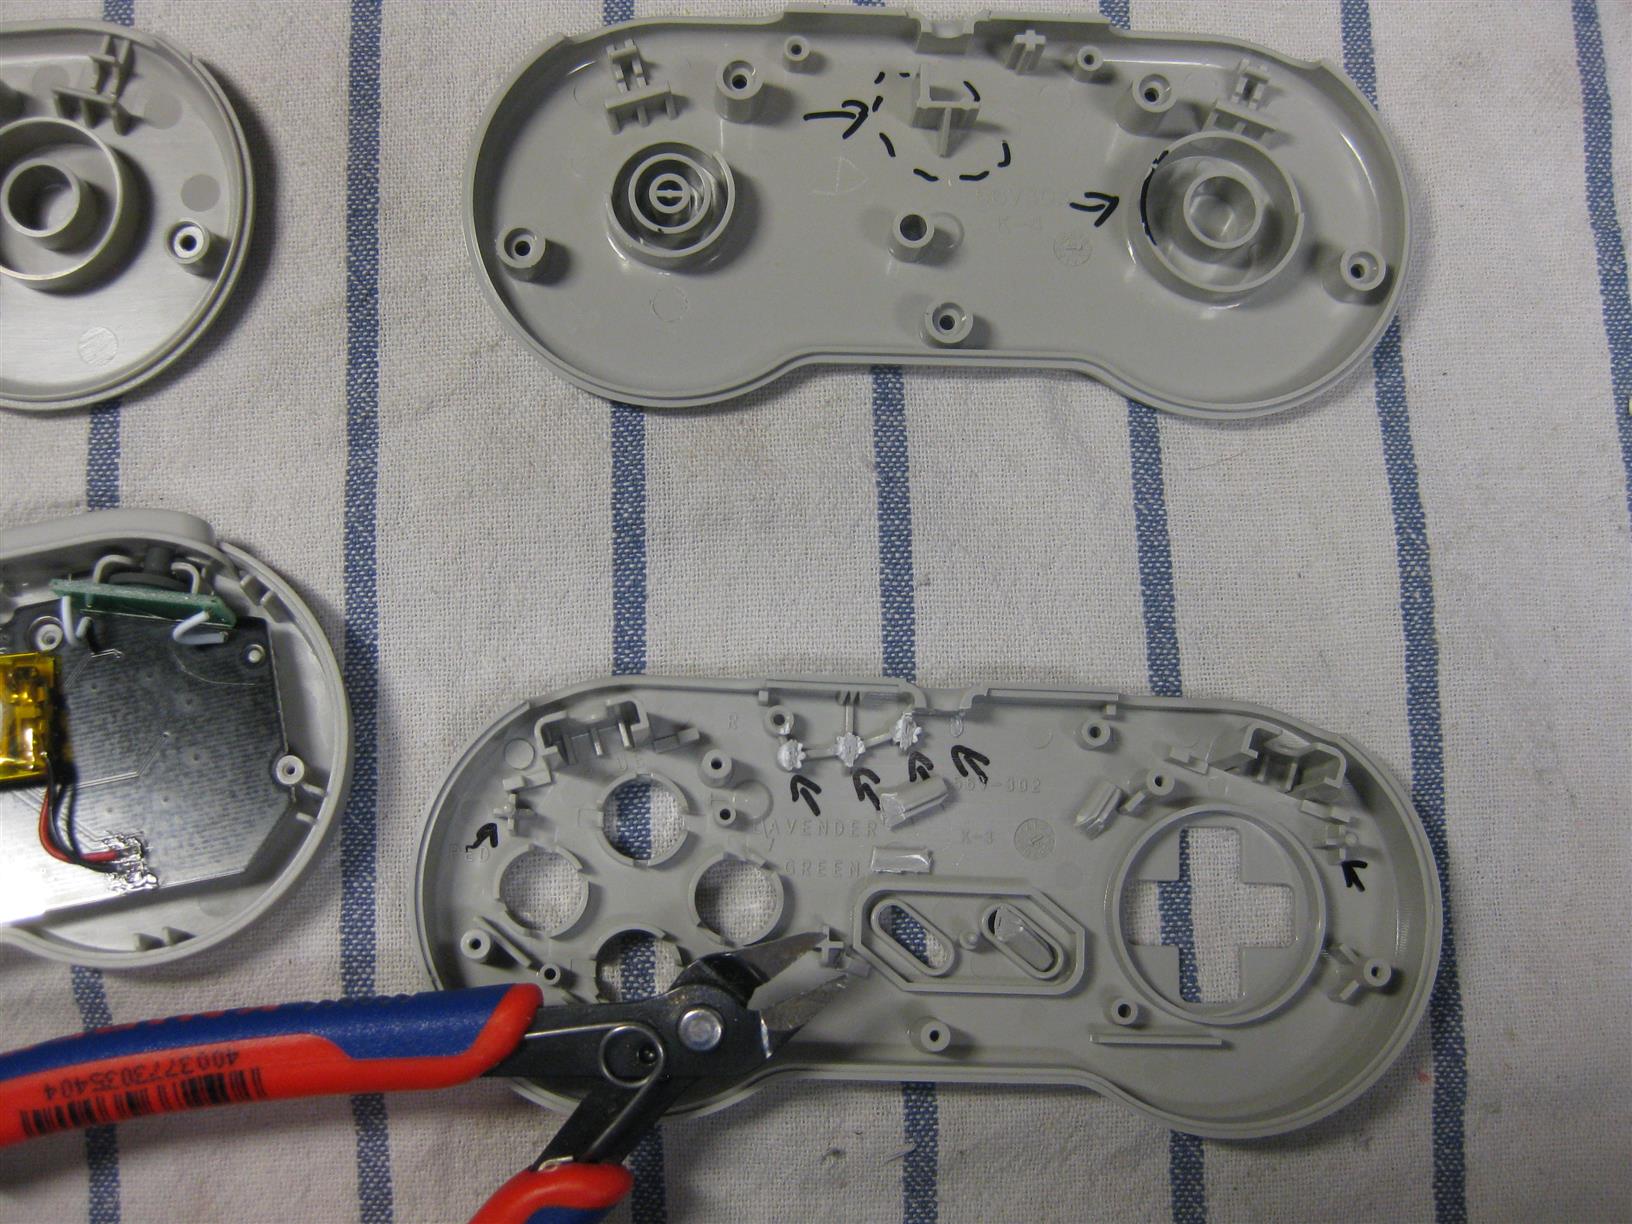
there are two ways to make Super Famicom Pads work on a PAL SNES.
a) You can mod the ControllerPort inside the PAL SNES and shortcut the 4 diodes with some wire.
b) You mod the controller inside
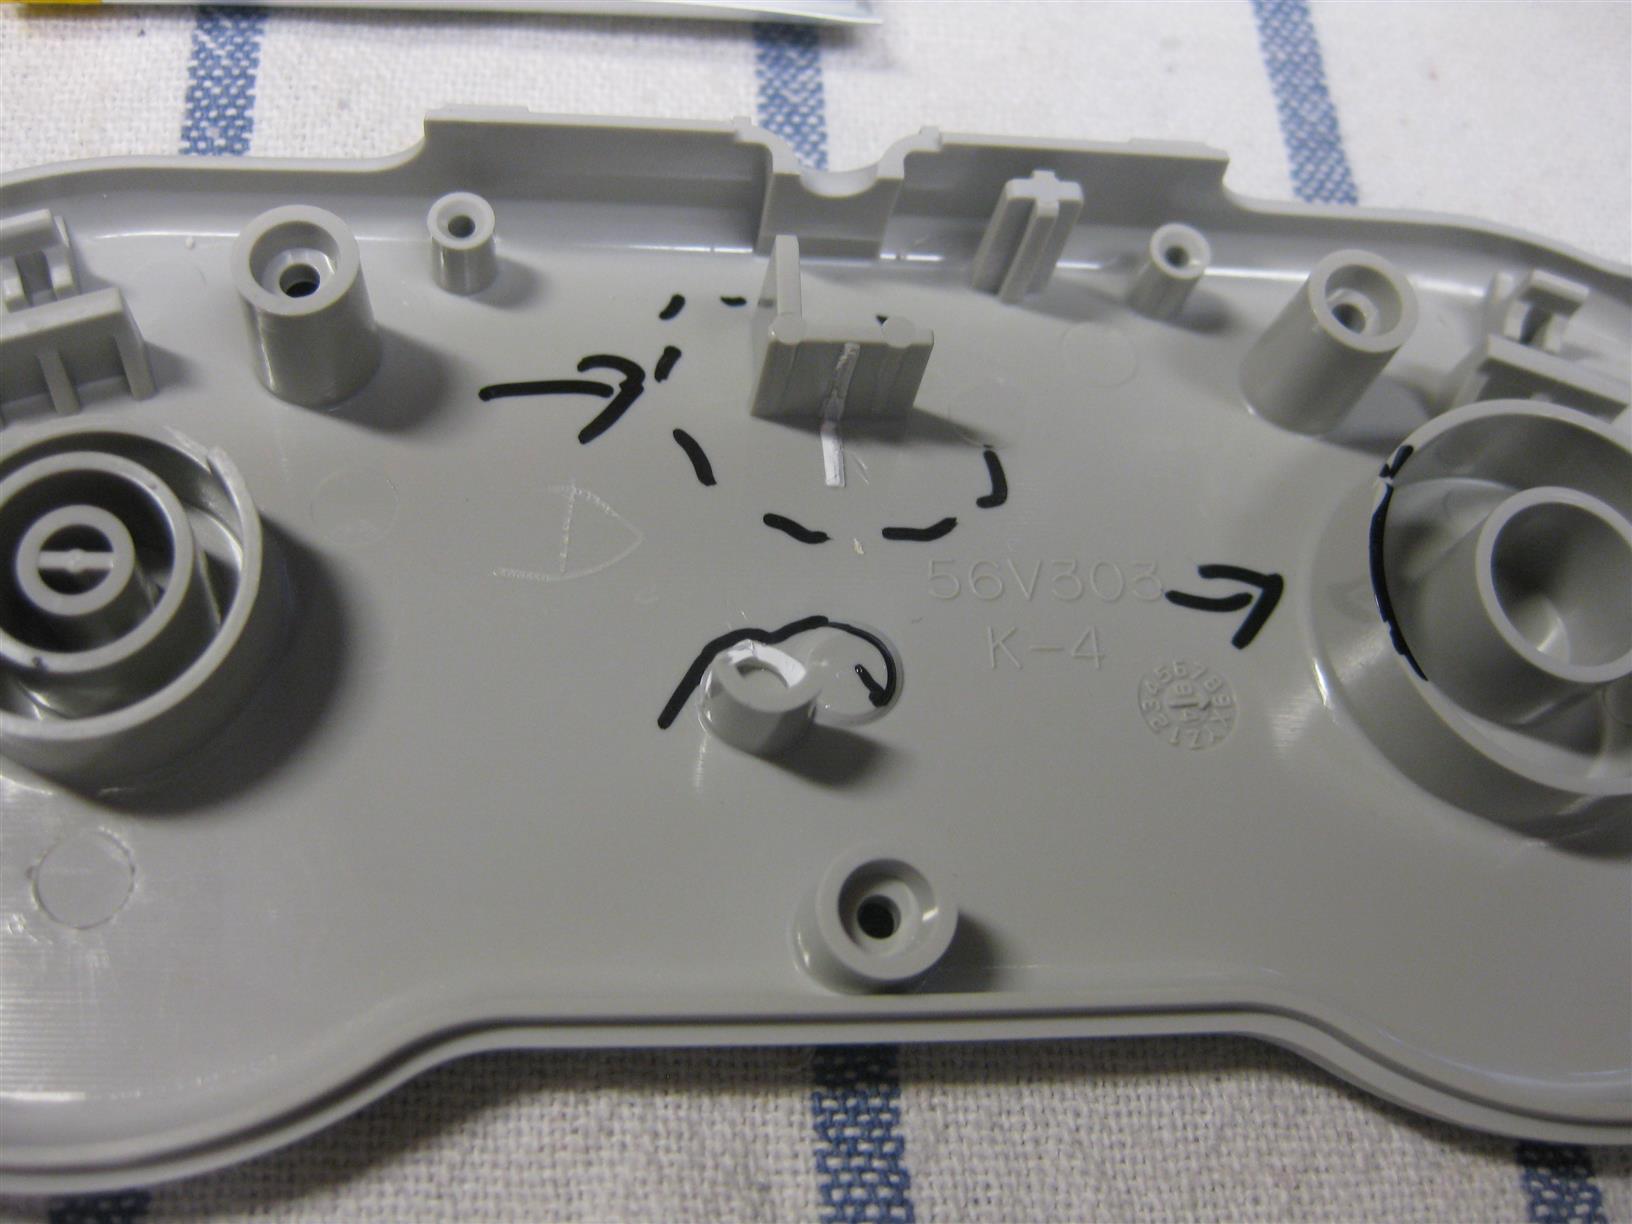
I found different PCB generations inside the SuperFamicom. A PCB copyright 1992 shows with big arrows: Only P
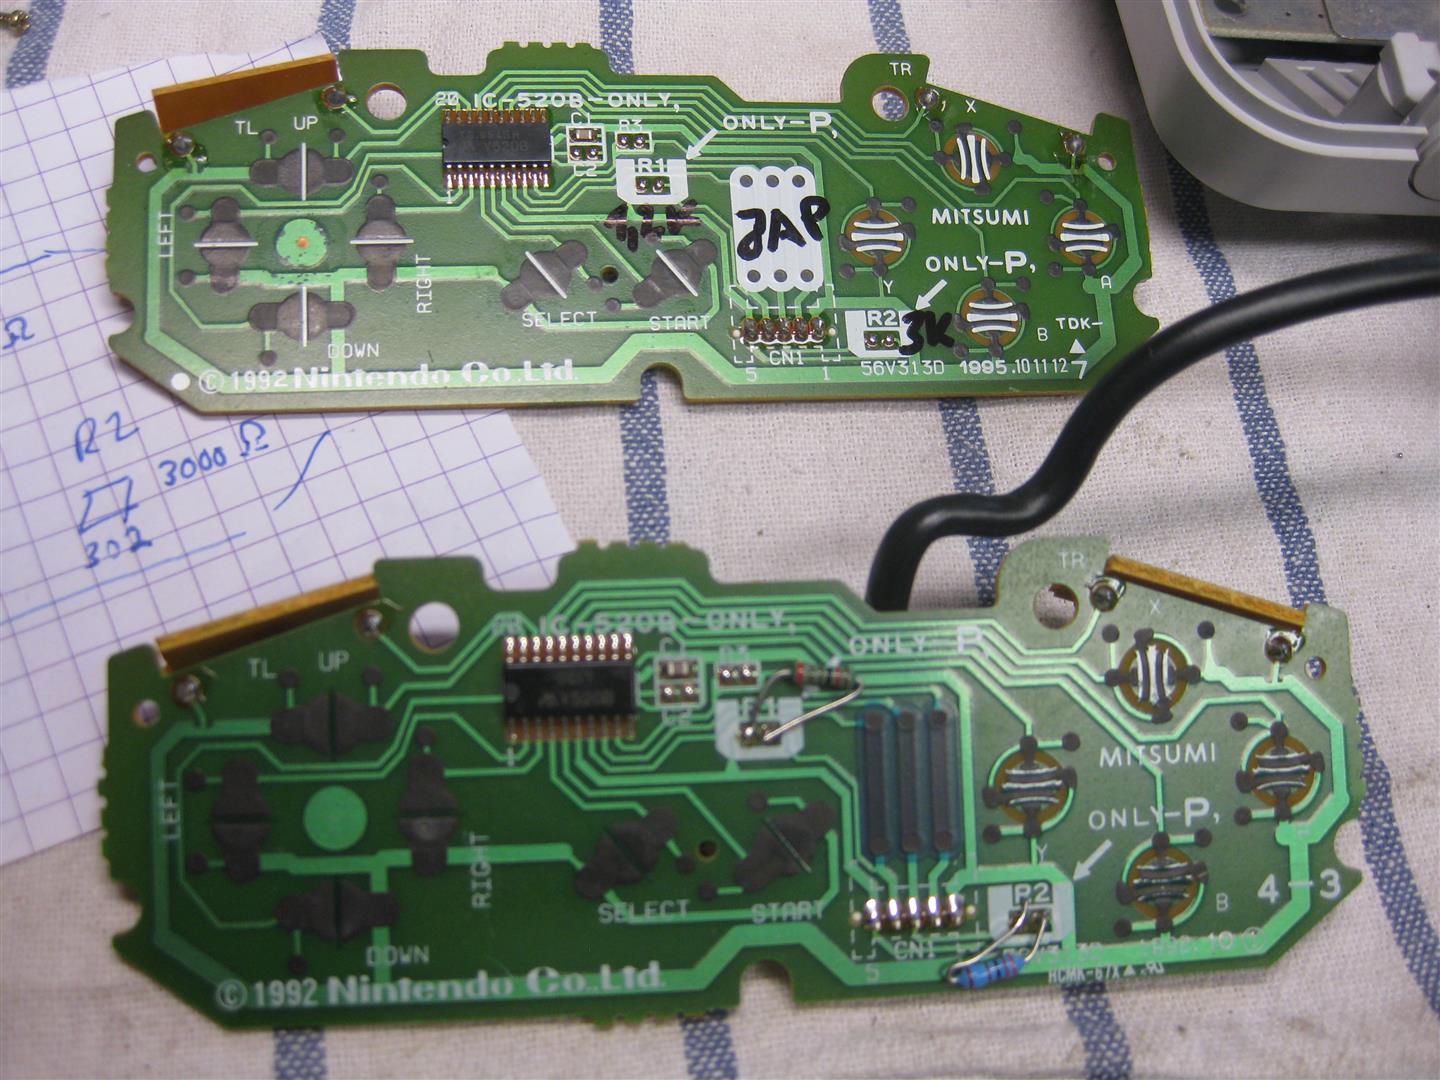
OK I have a look inside a PAL SNES Controller and shows to me: R1=1,2kOhm and R2=3kOhm.
I done a quickshot with standard Resistors and used 1,2k and 3,3k. And ![]() Yeah a japanese Controller is working on my PAL SNES.
Yeah a japanese Controller is working on my PAL SNES.
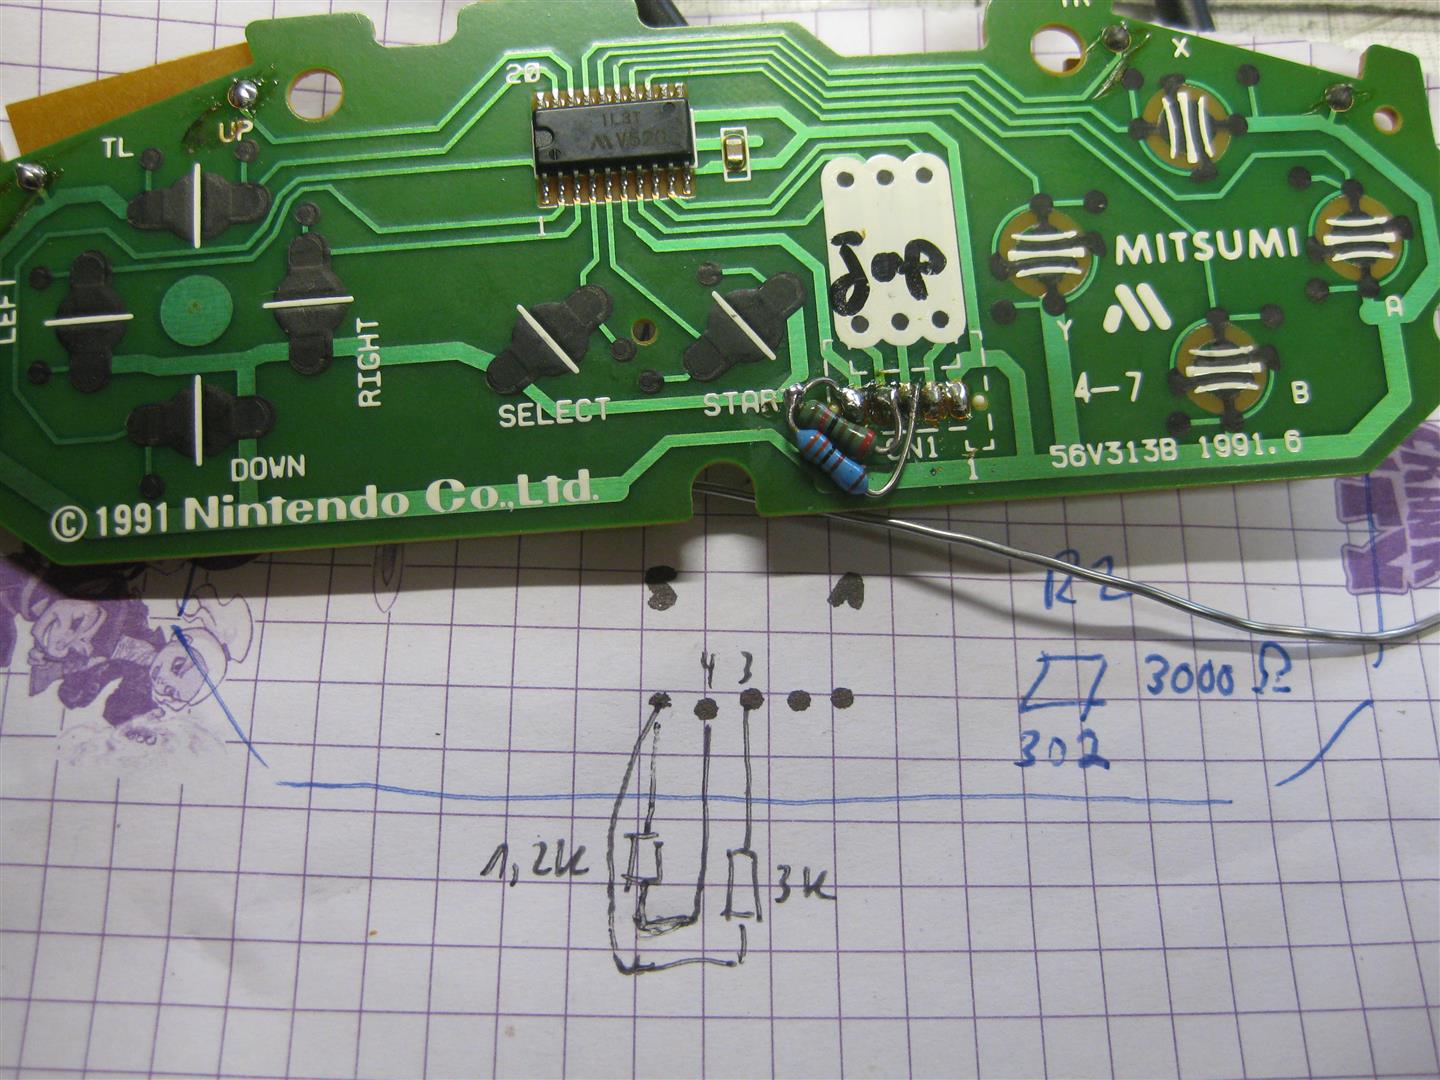
A „older“ japanese PCB from 1991 is missing the two resistor spaces. After checking the cirquits at 1992 Layout, no problem for this layout too.
Put 1,2kOhm between Pin 5 and Pin 4 and
3,3k between Pin 5 and Pin 3
of the ControllerCable Connector and it works too
Have Fun
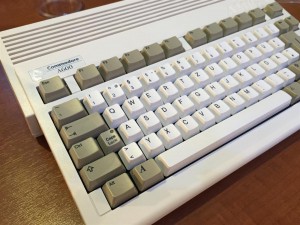
I want a Amiga 600 in a like new state but the common prob is yellowing over the years
With cleaning and some retrobright fluid I done the following:
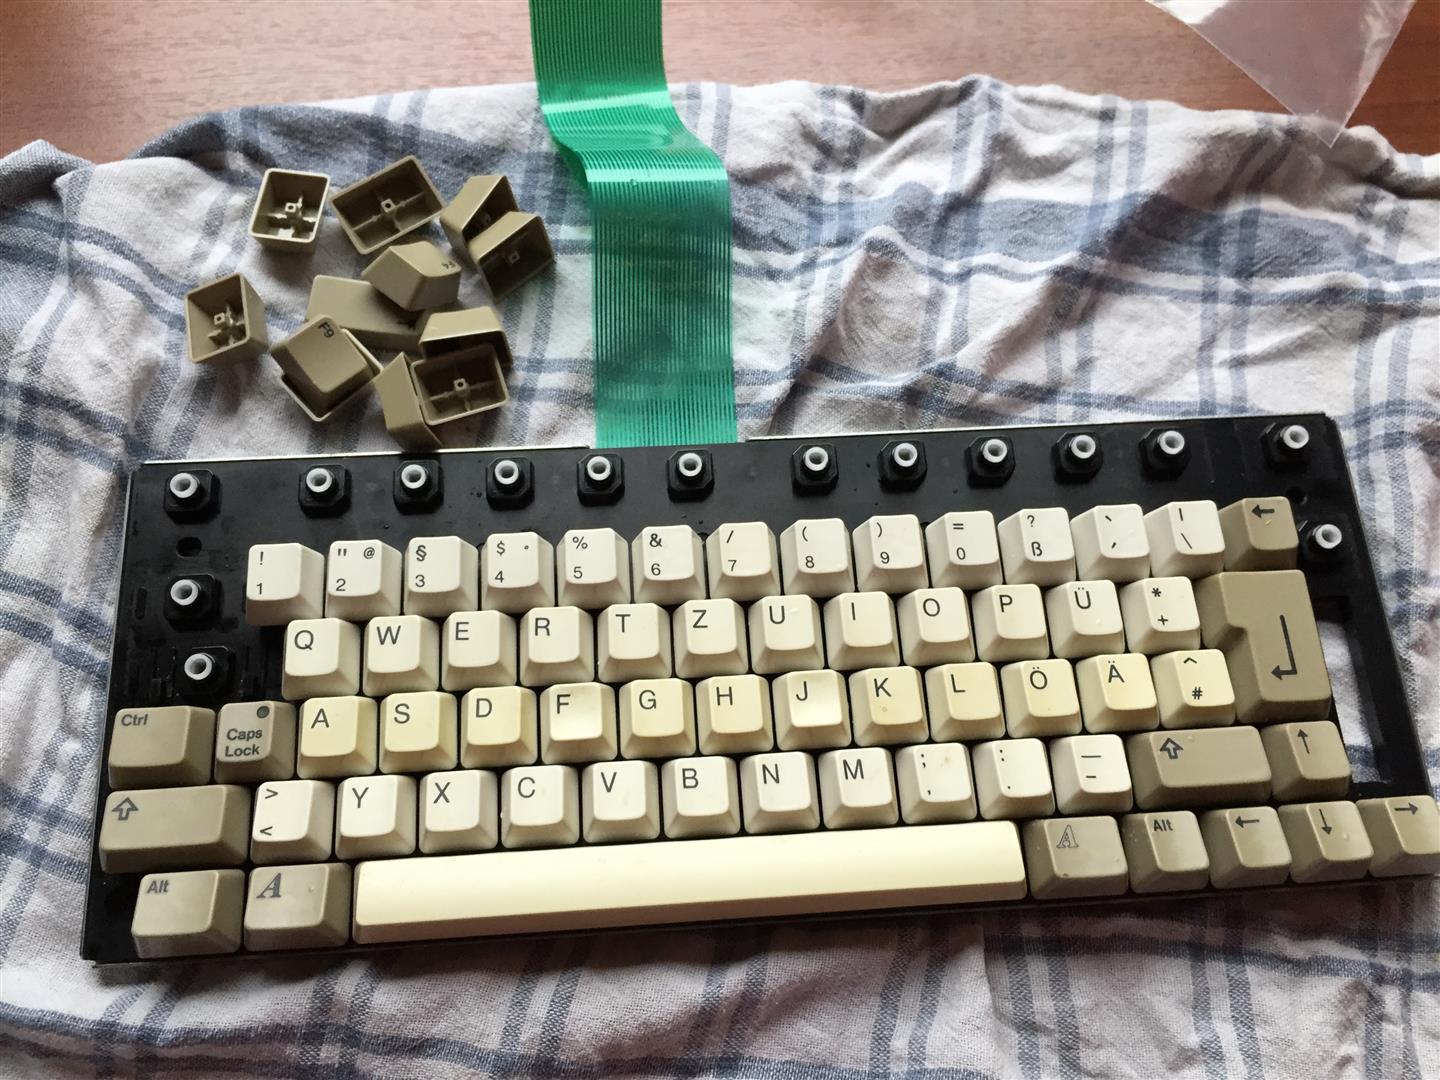
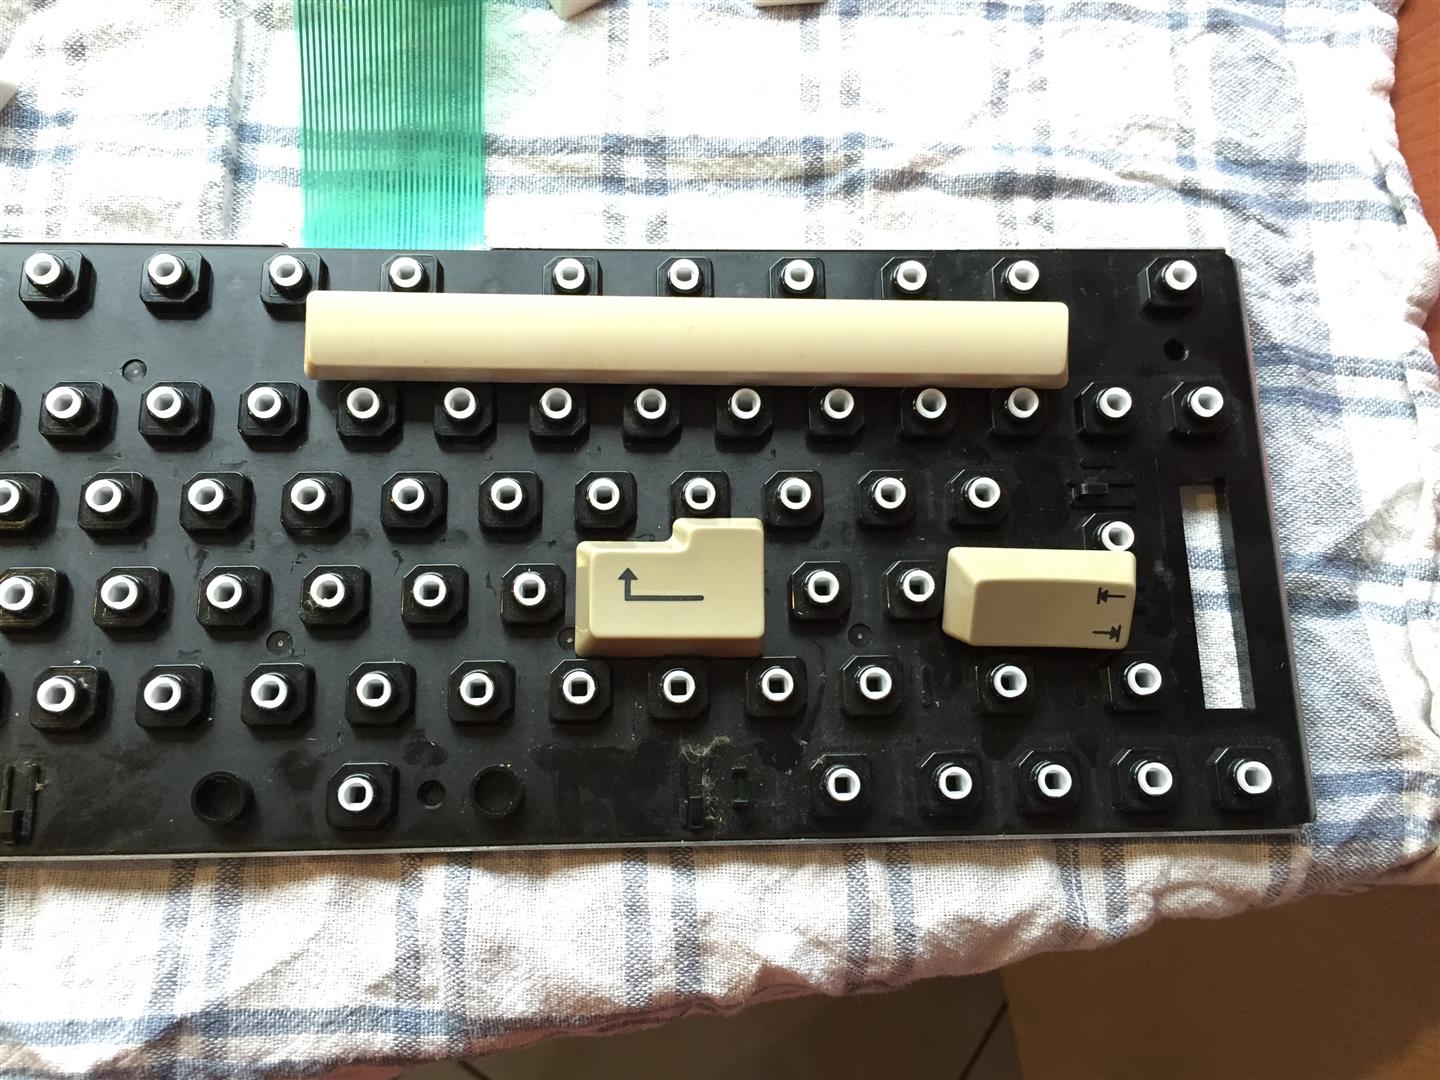
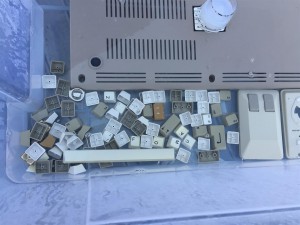
First a lot of work, to dissasemble the amiga and keyboard *puh*
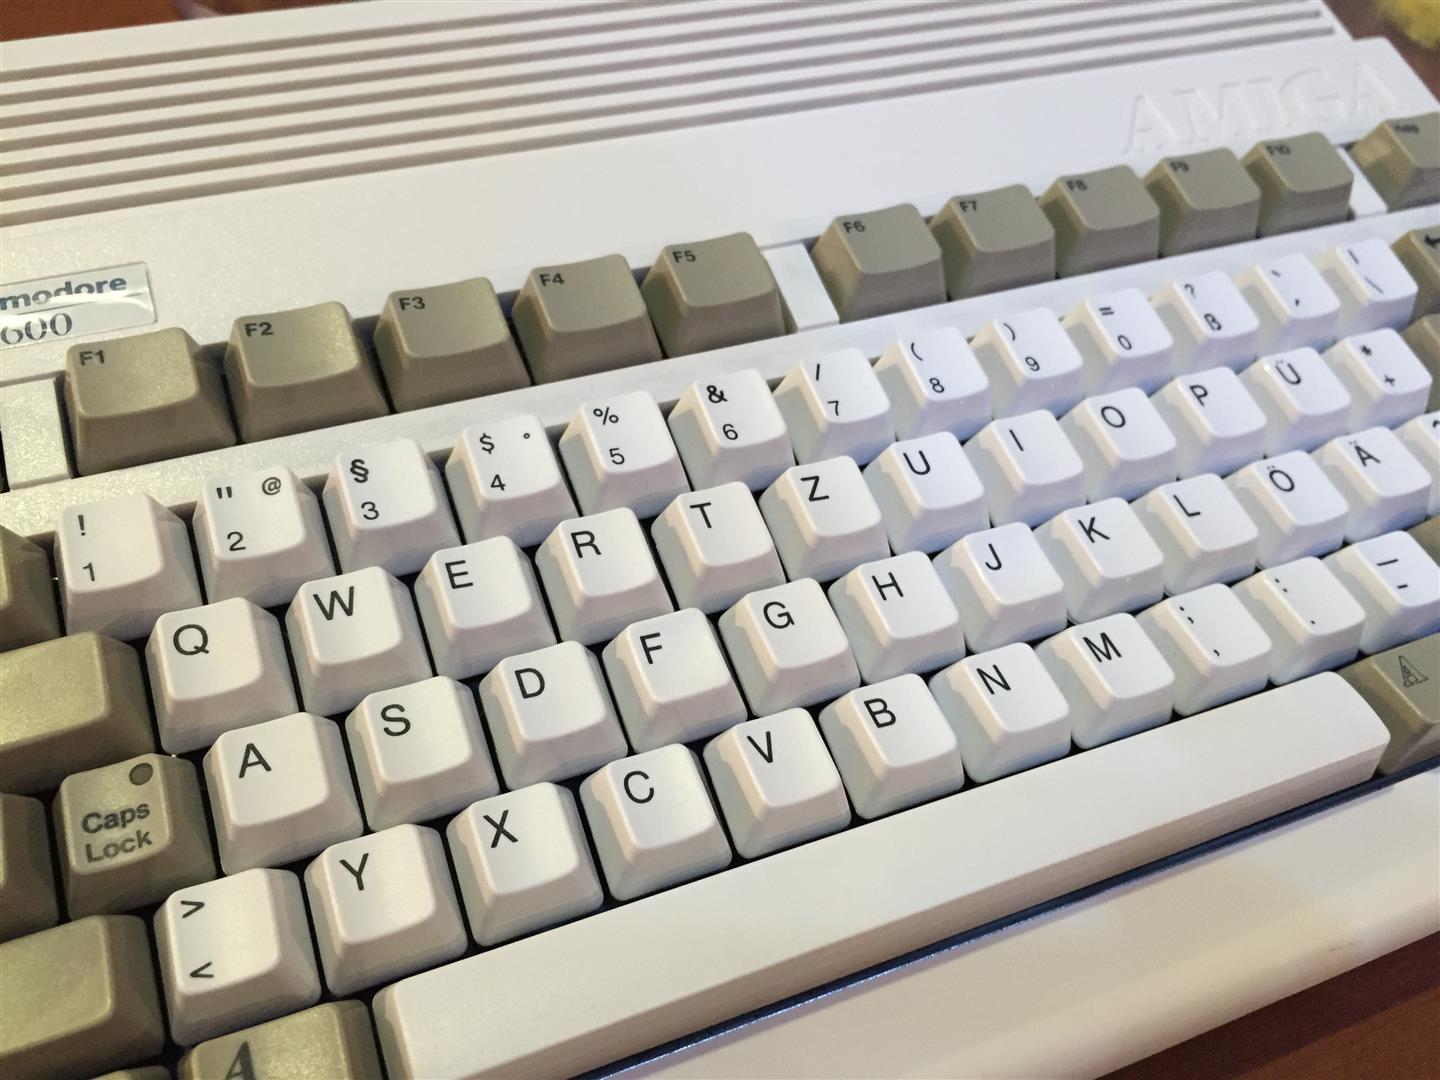
Have a look to the yellowed ASDF Row…
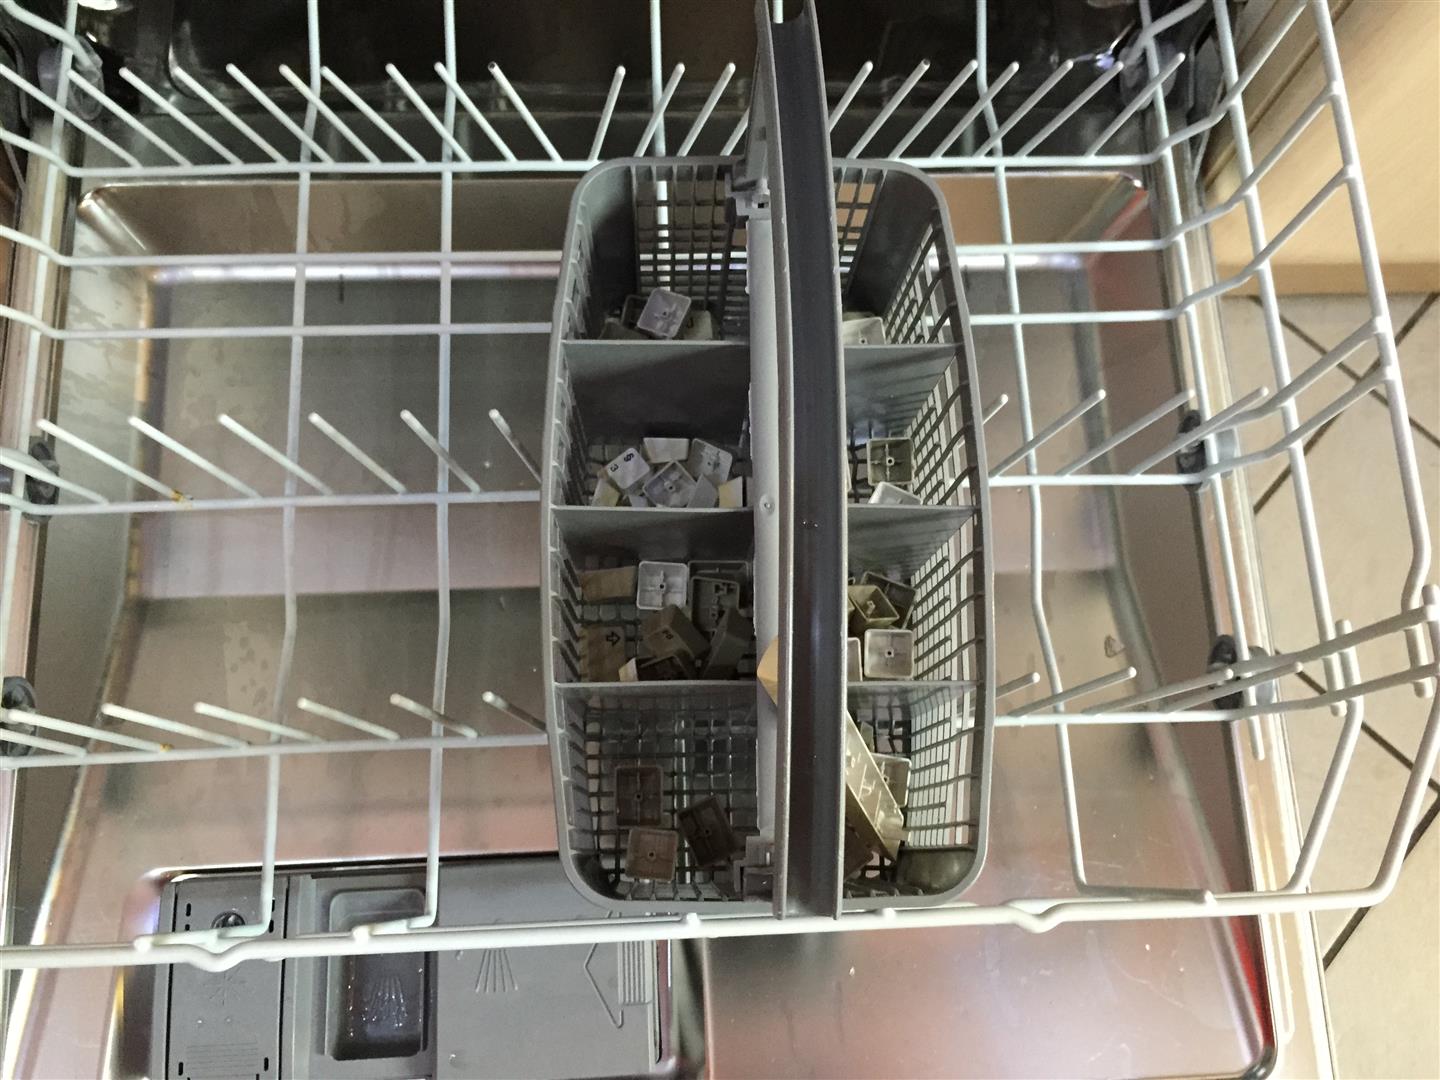
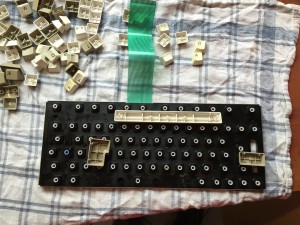
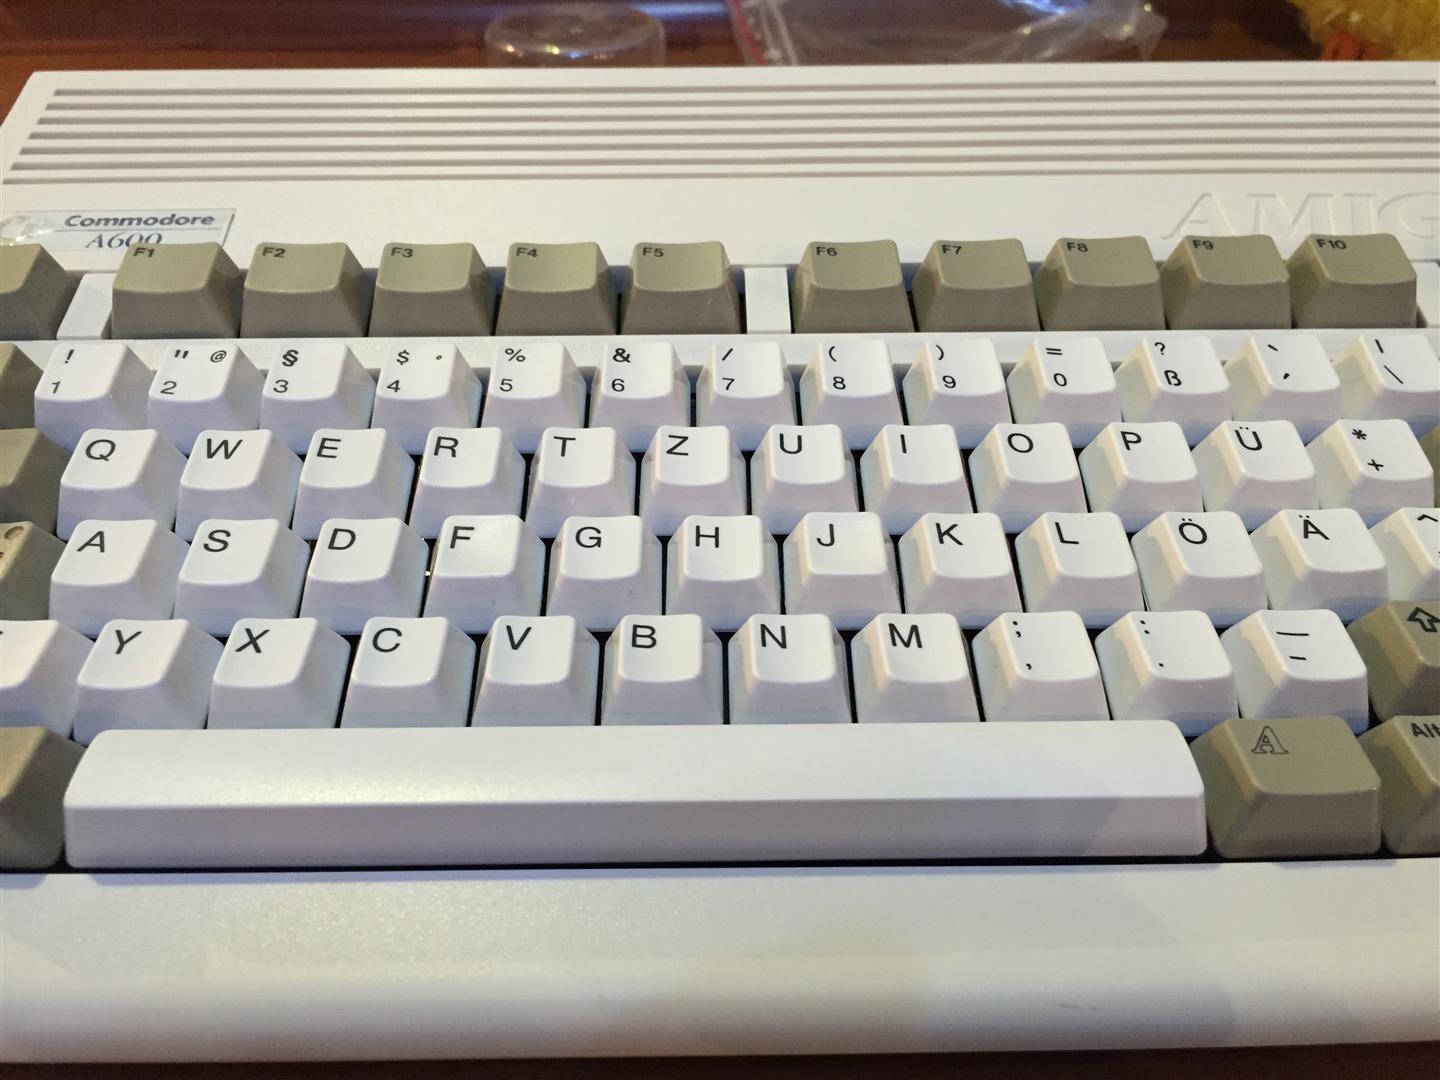
After this cleaning in Dish Washer, Brightener for 9 Days + a lot of SUN.
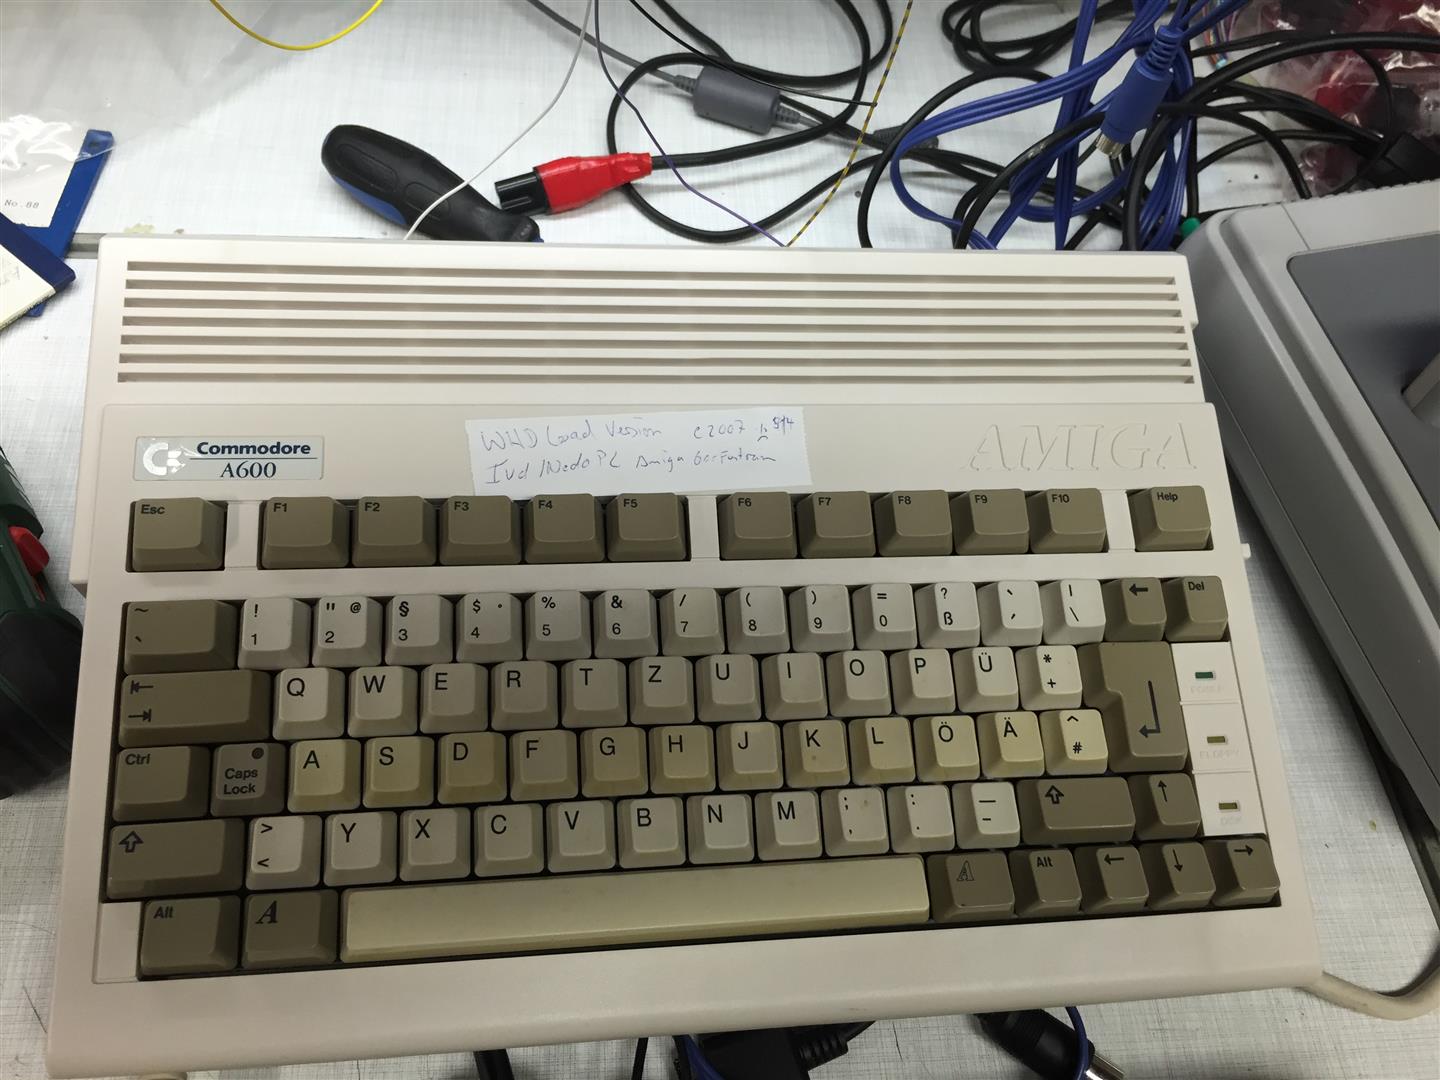
Reassambling, and it looks like new:
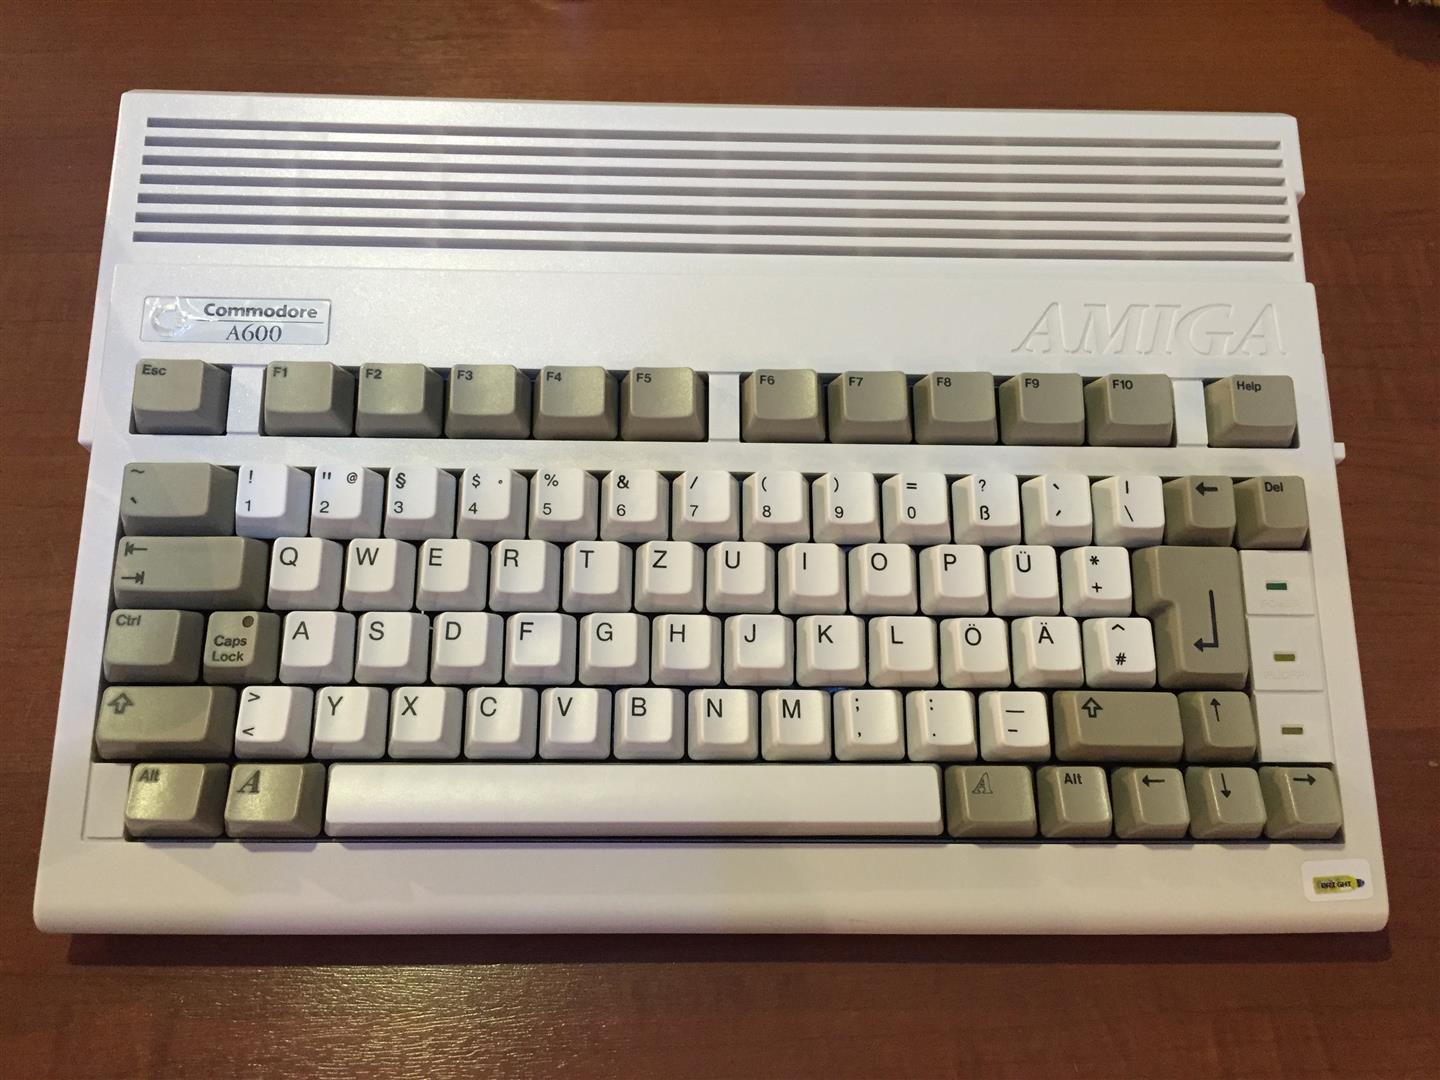
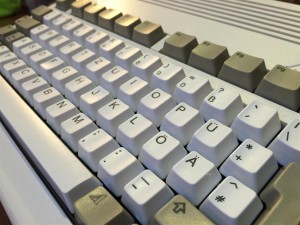
Have fun
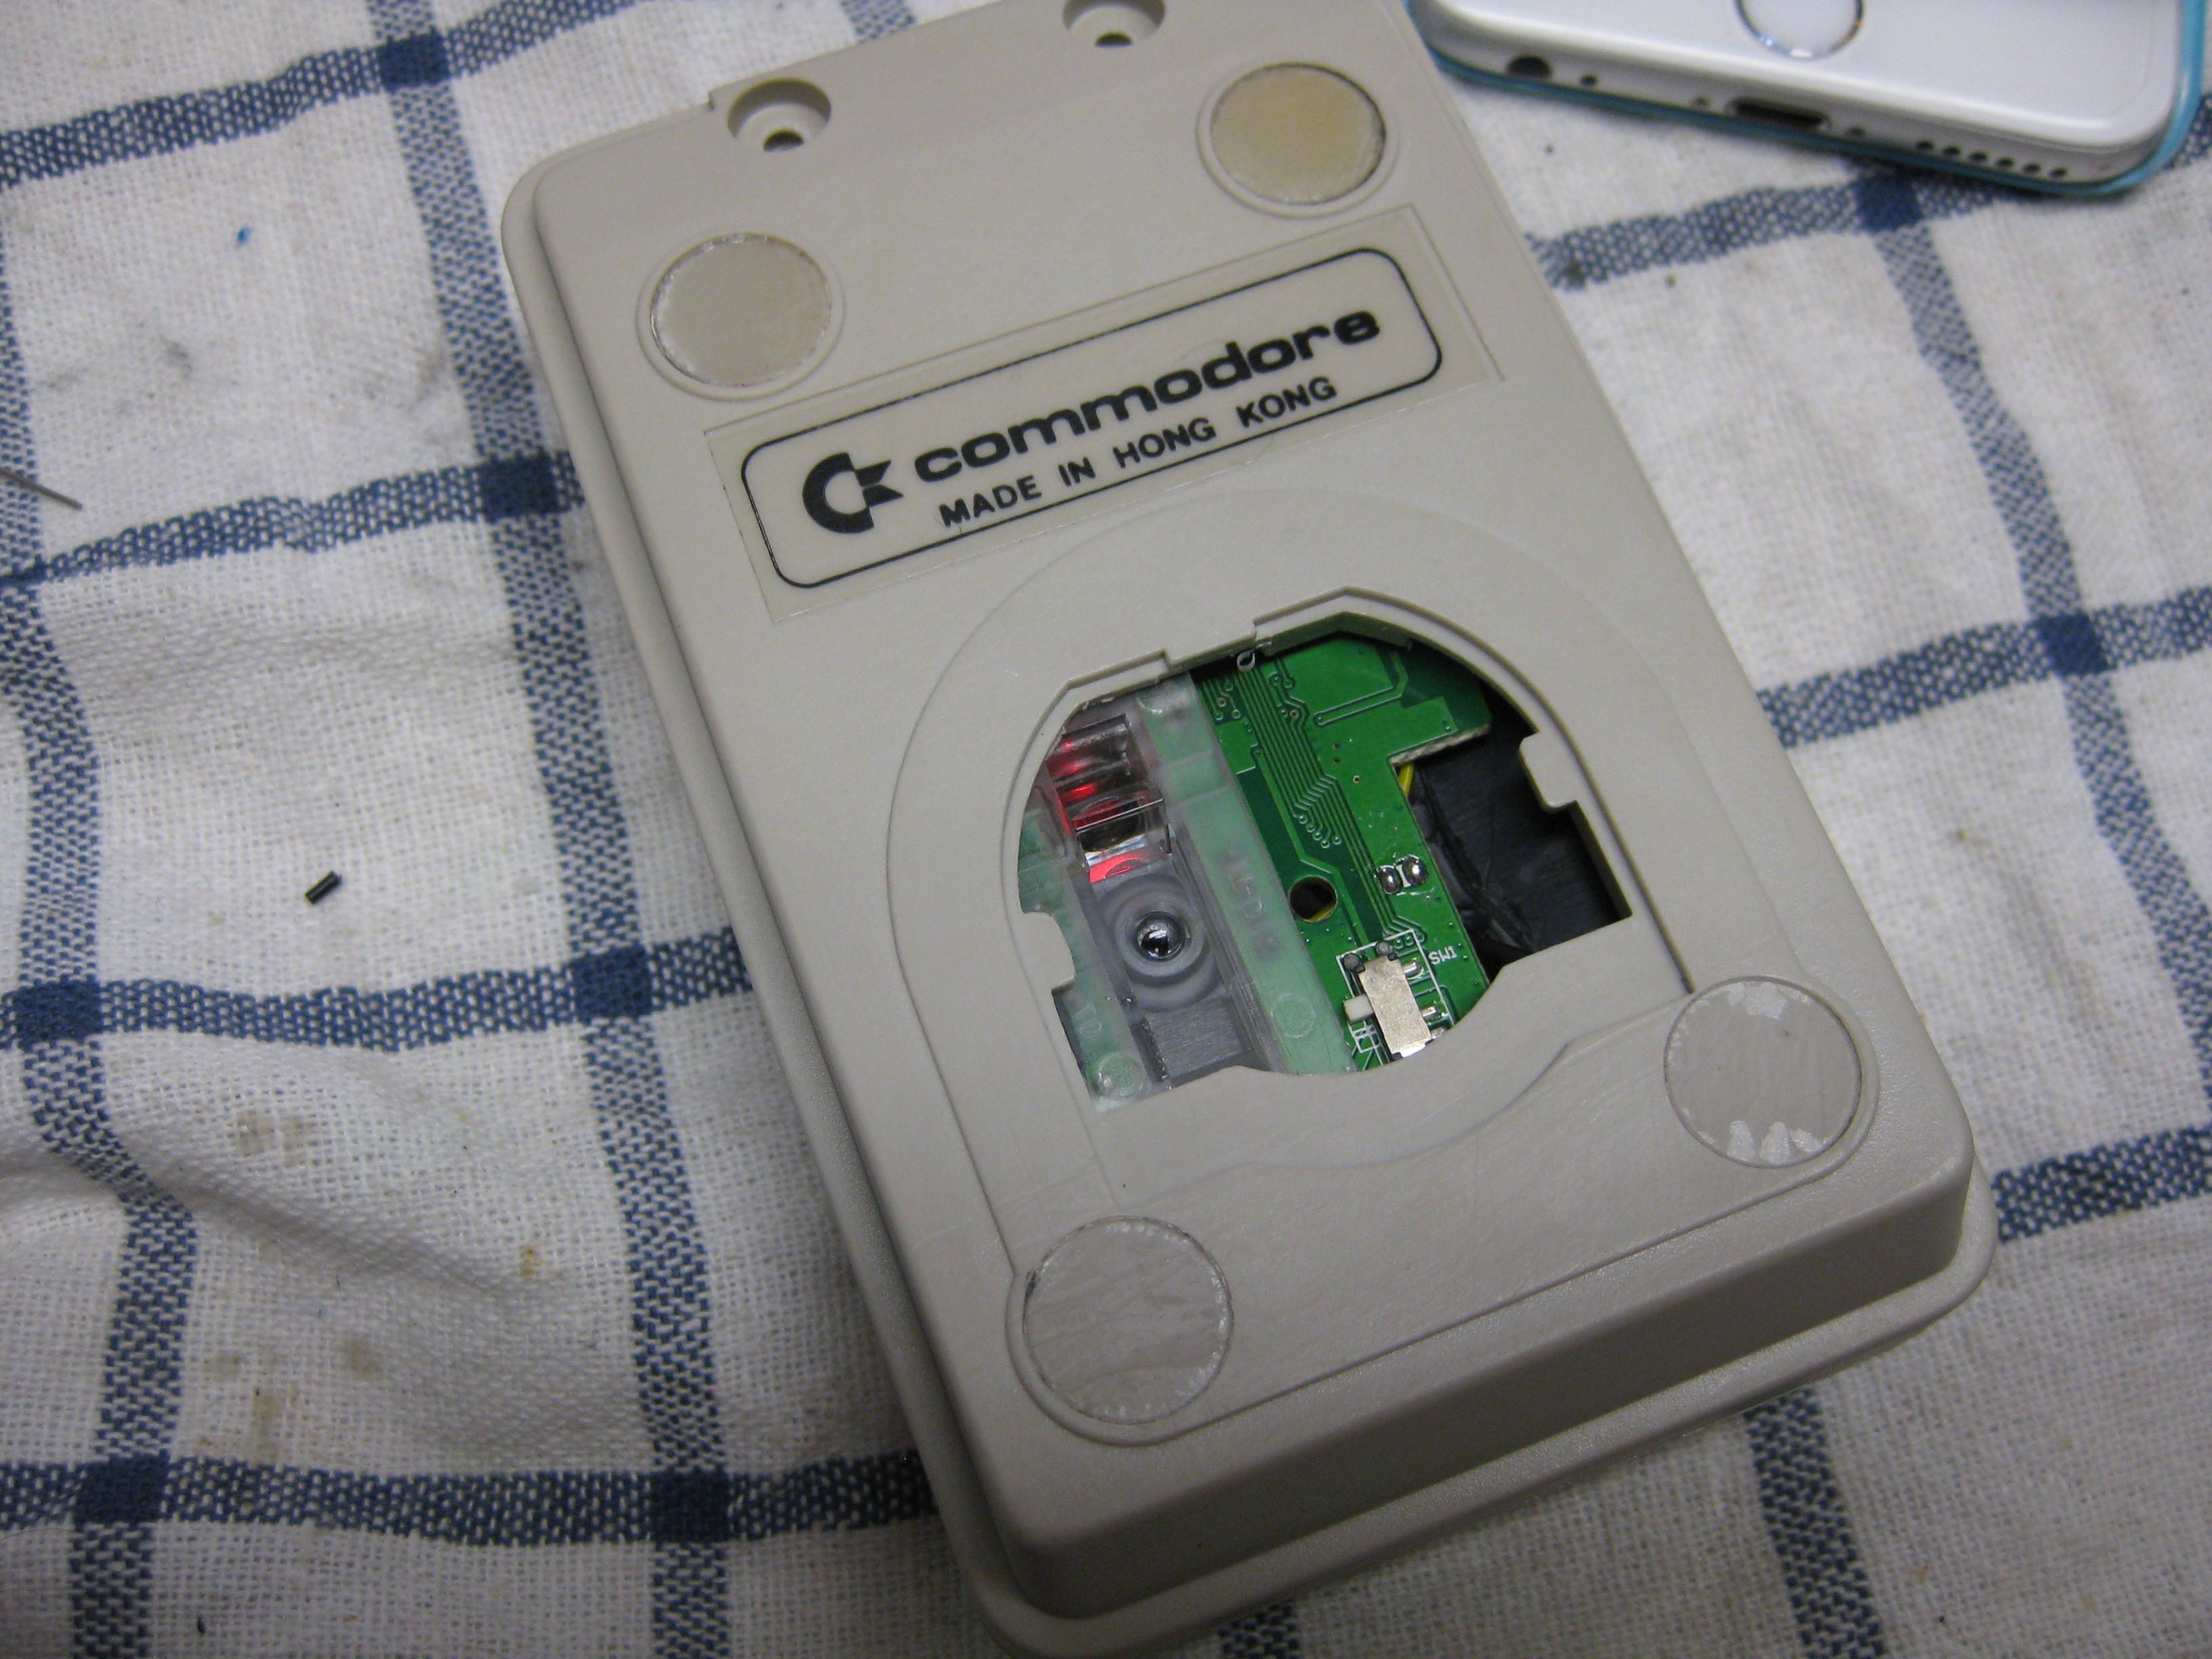
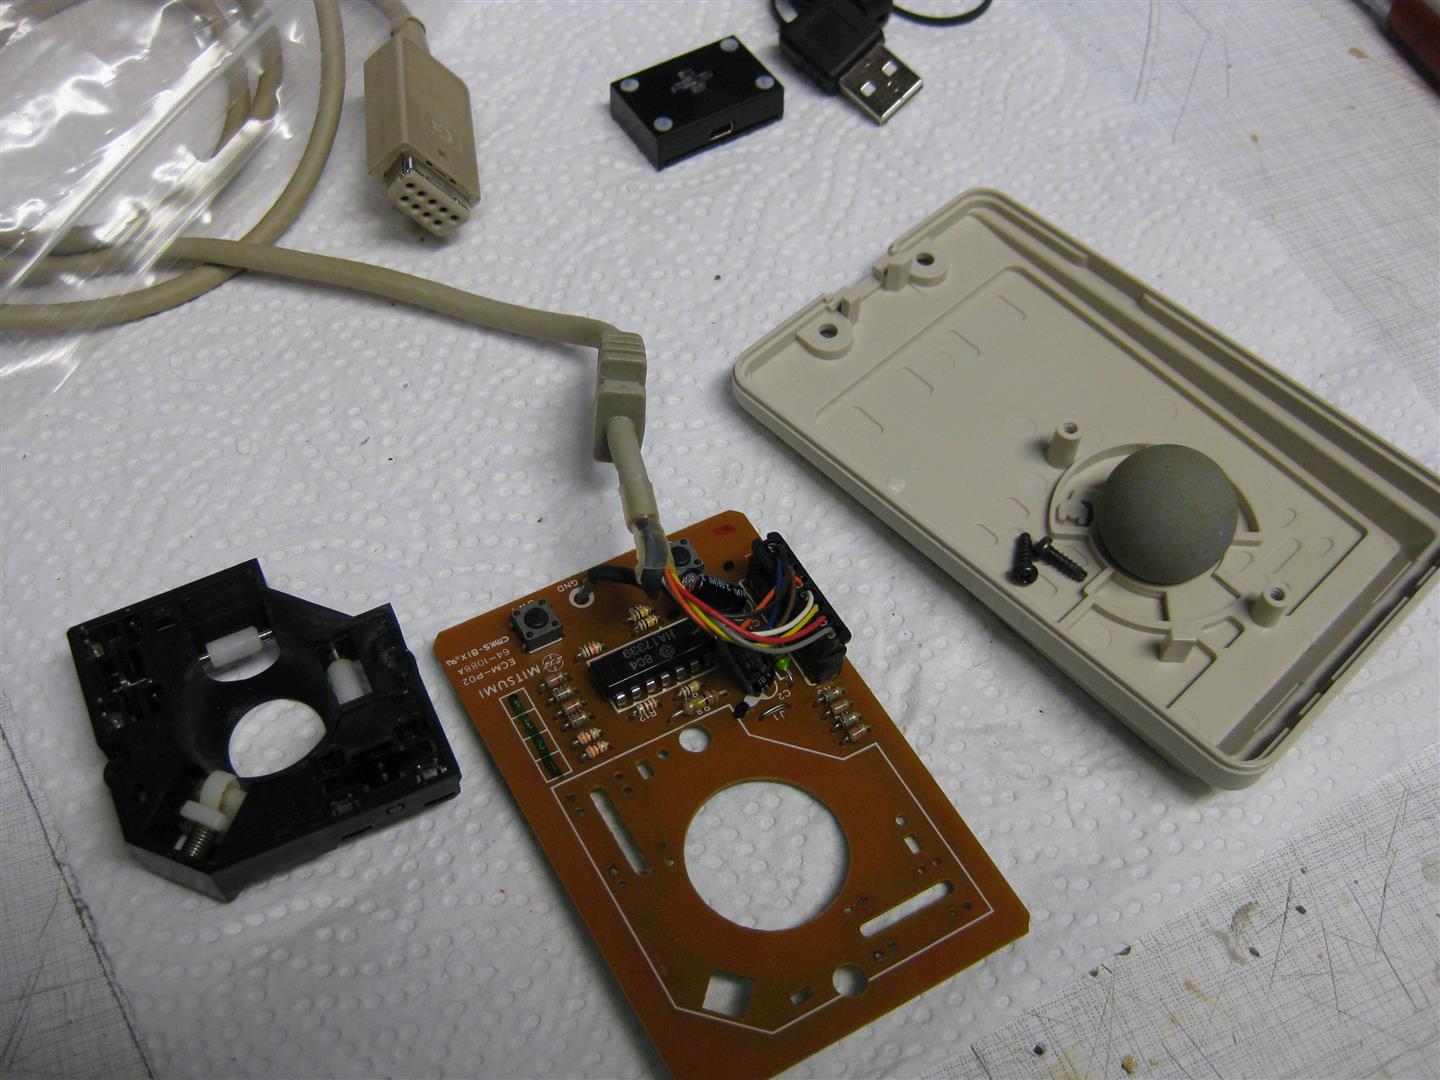
My goal is to have a good Amiga Mouse working on every surface and without needing of a mousepad.
The only solution is to make it optical.
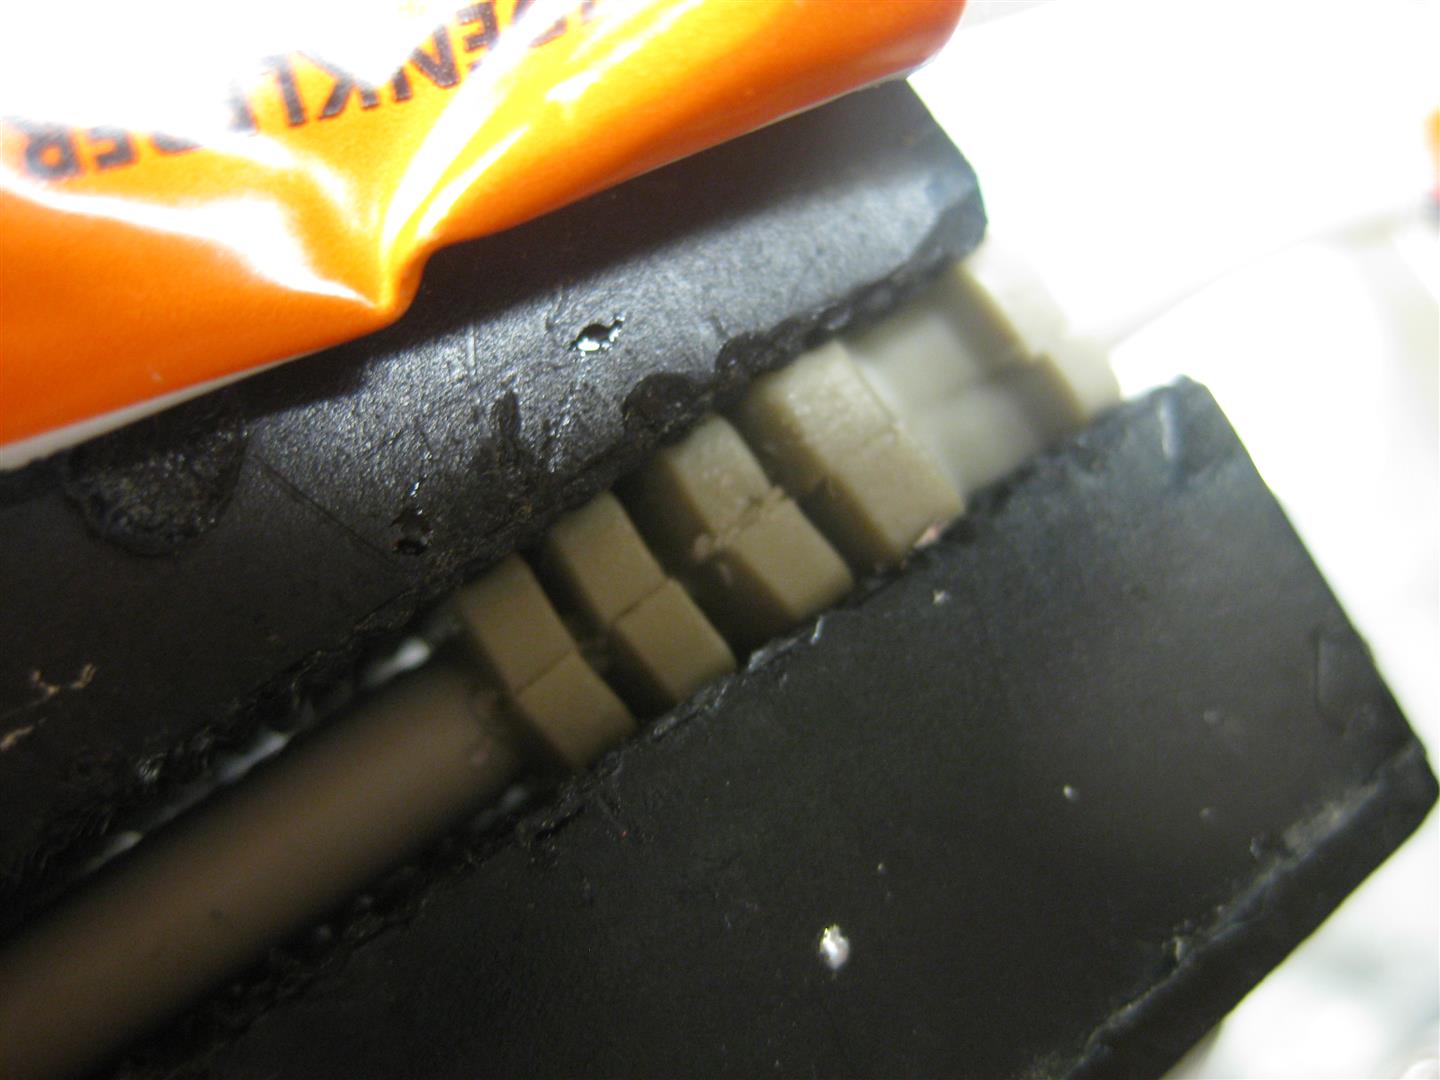
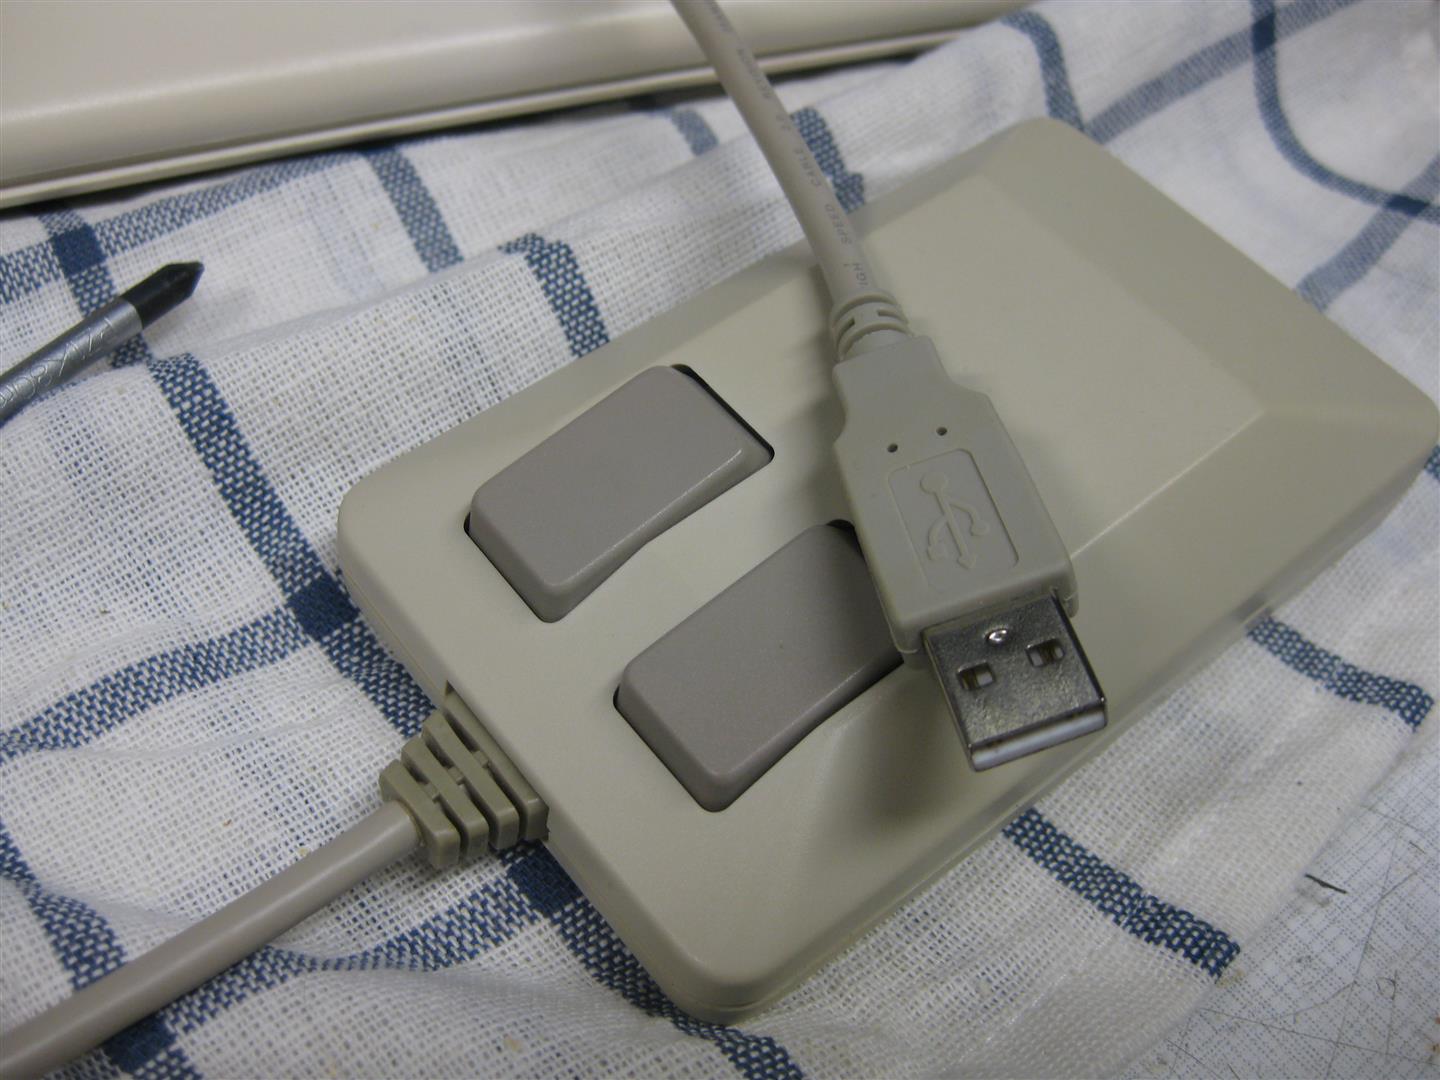
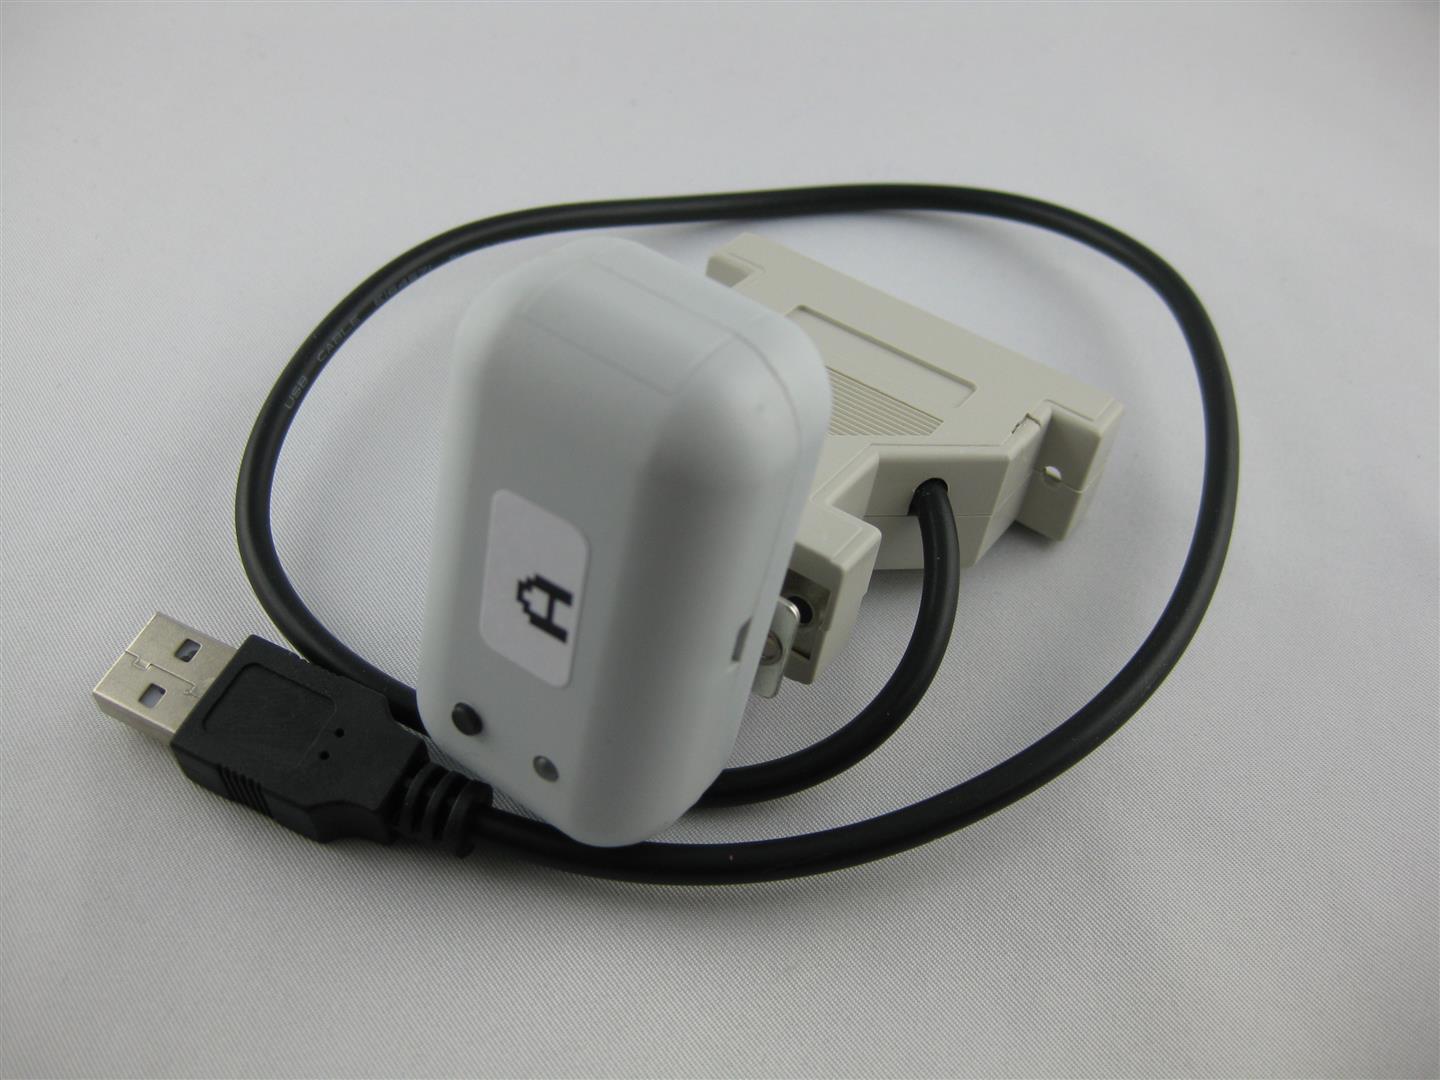
After some research I found a mini optical Notebook USB Mouse and tried to rip of the original amiga mouse:
(The black box is a complete PC USB Mouse)
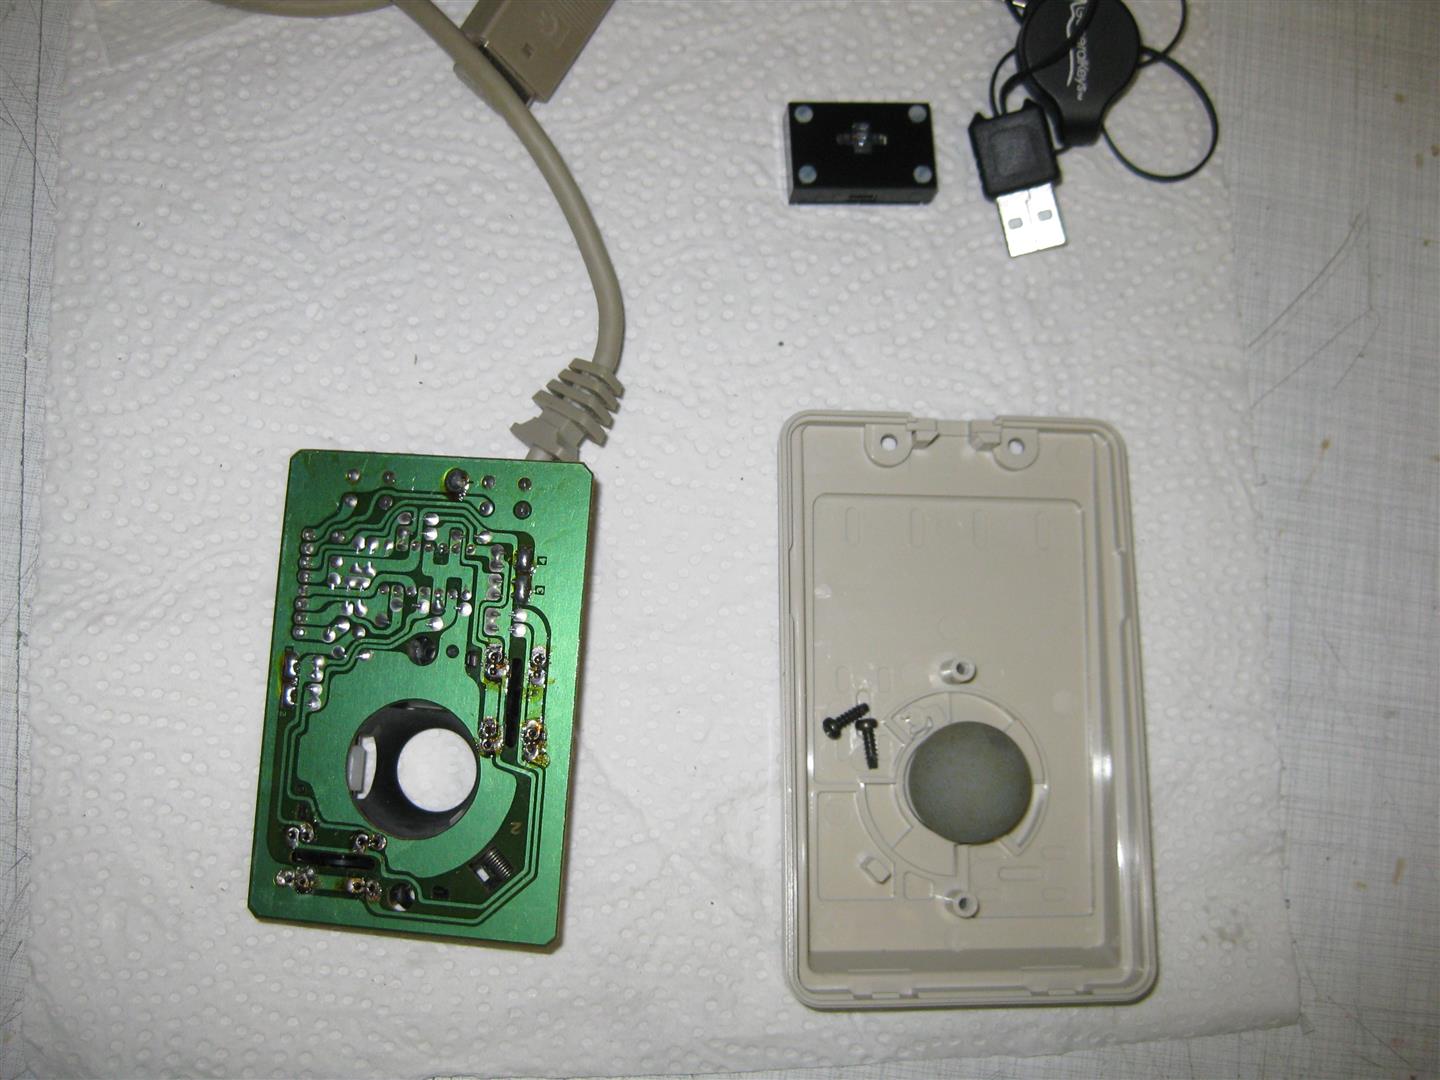
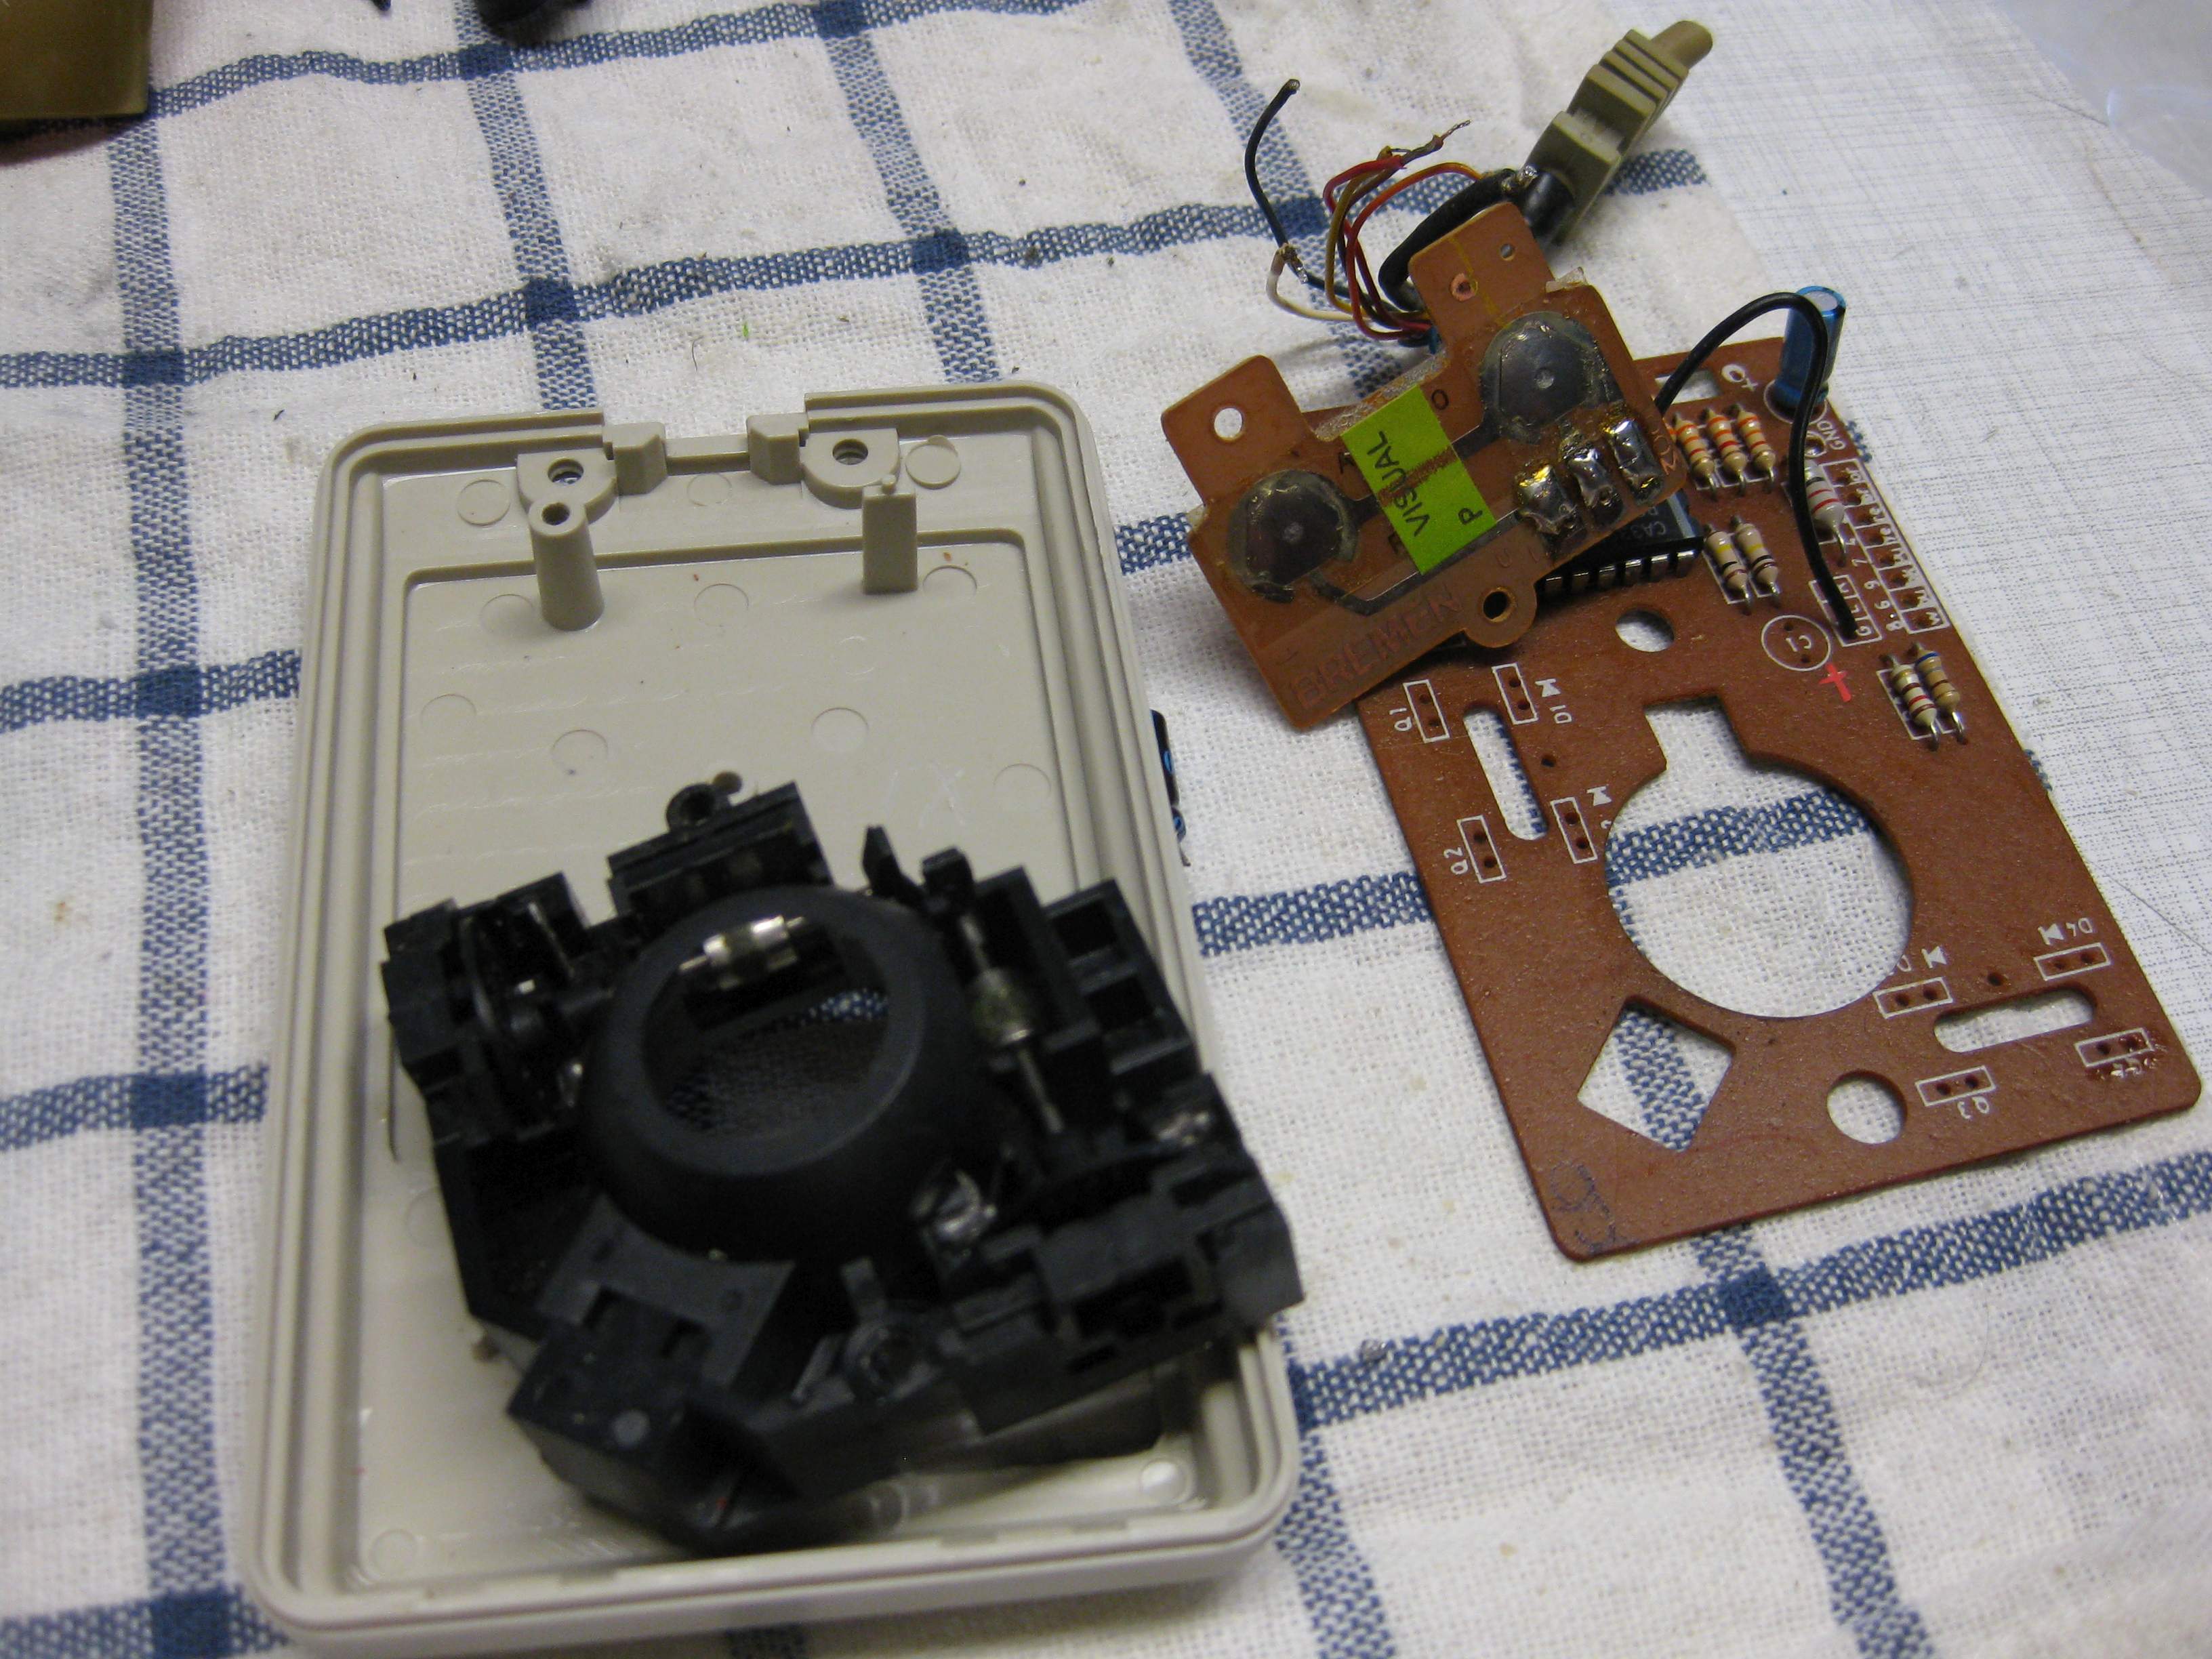
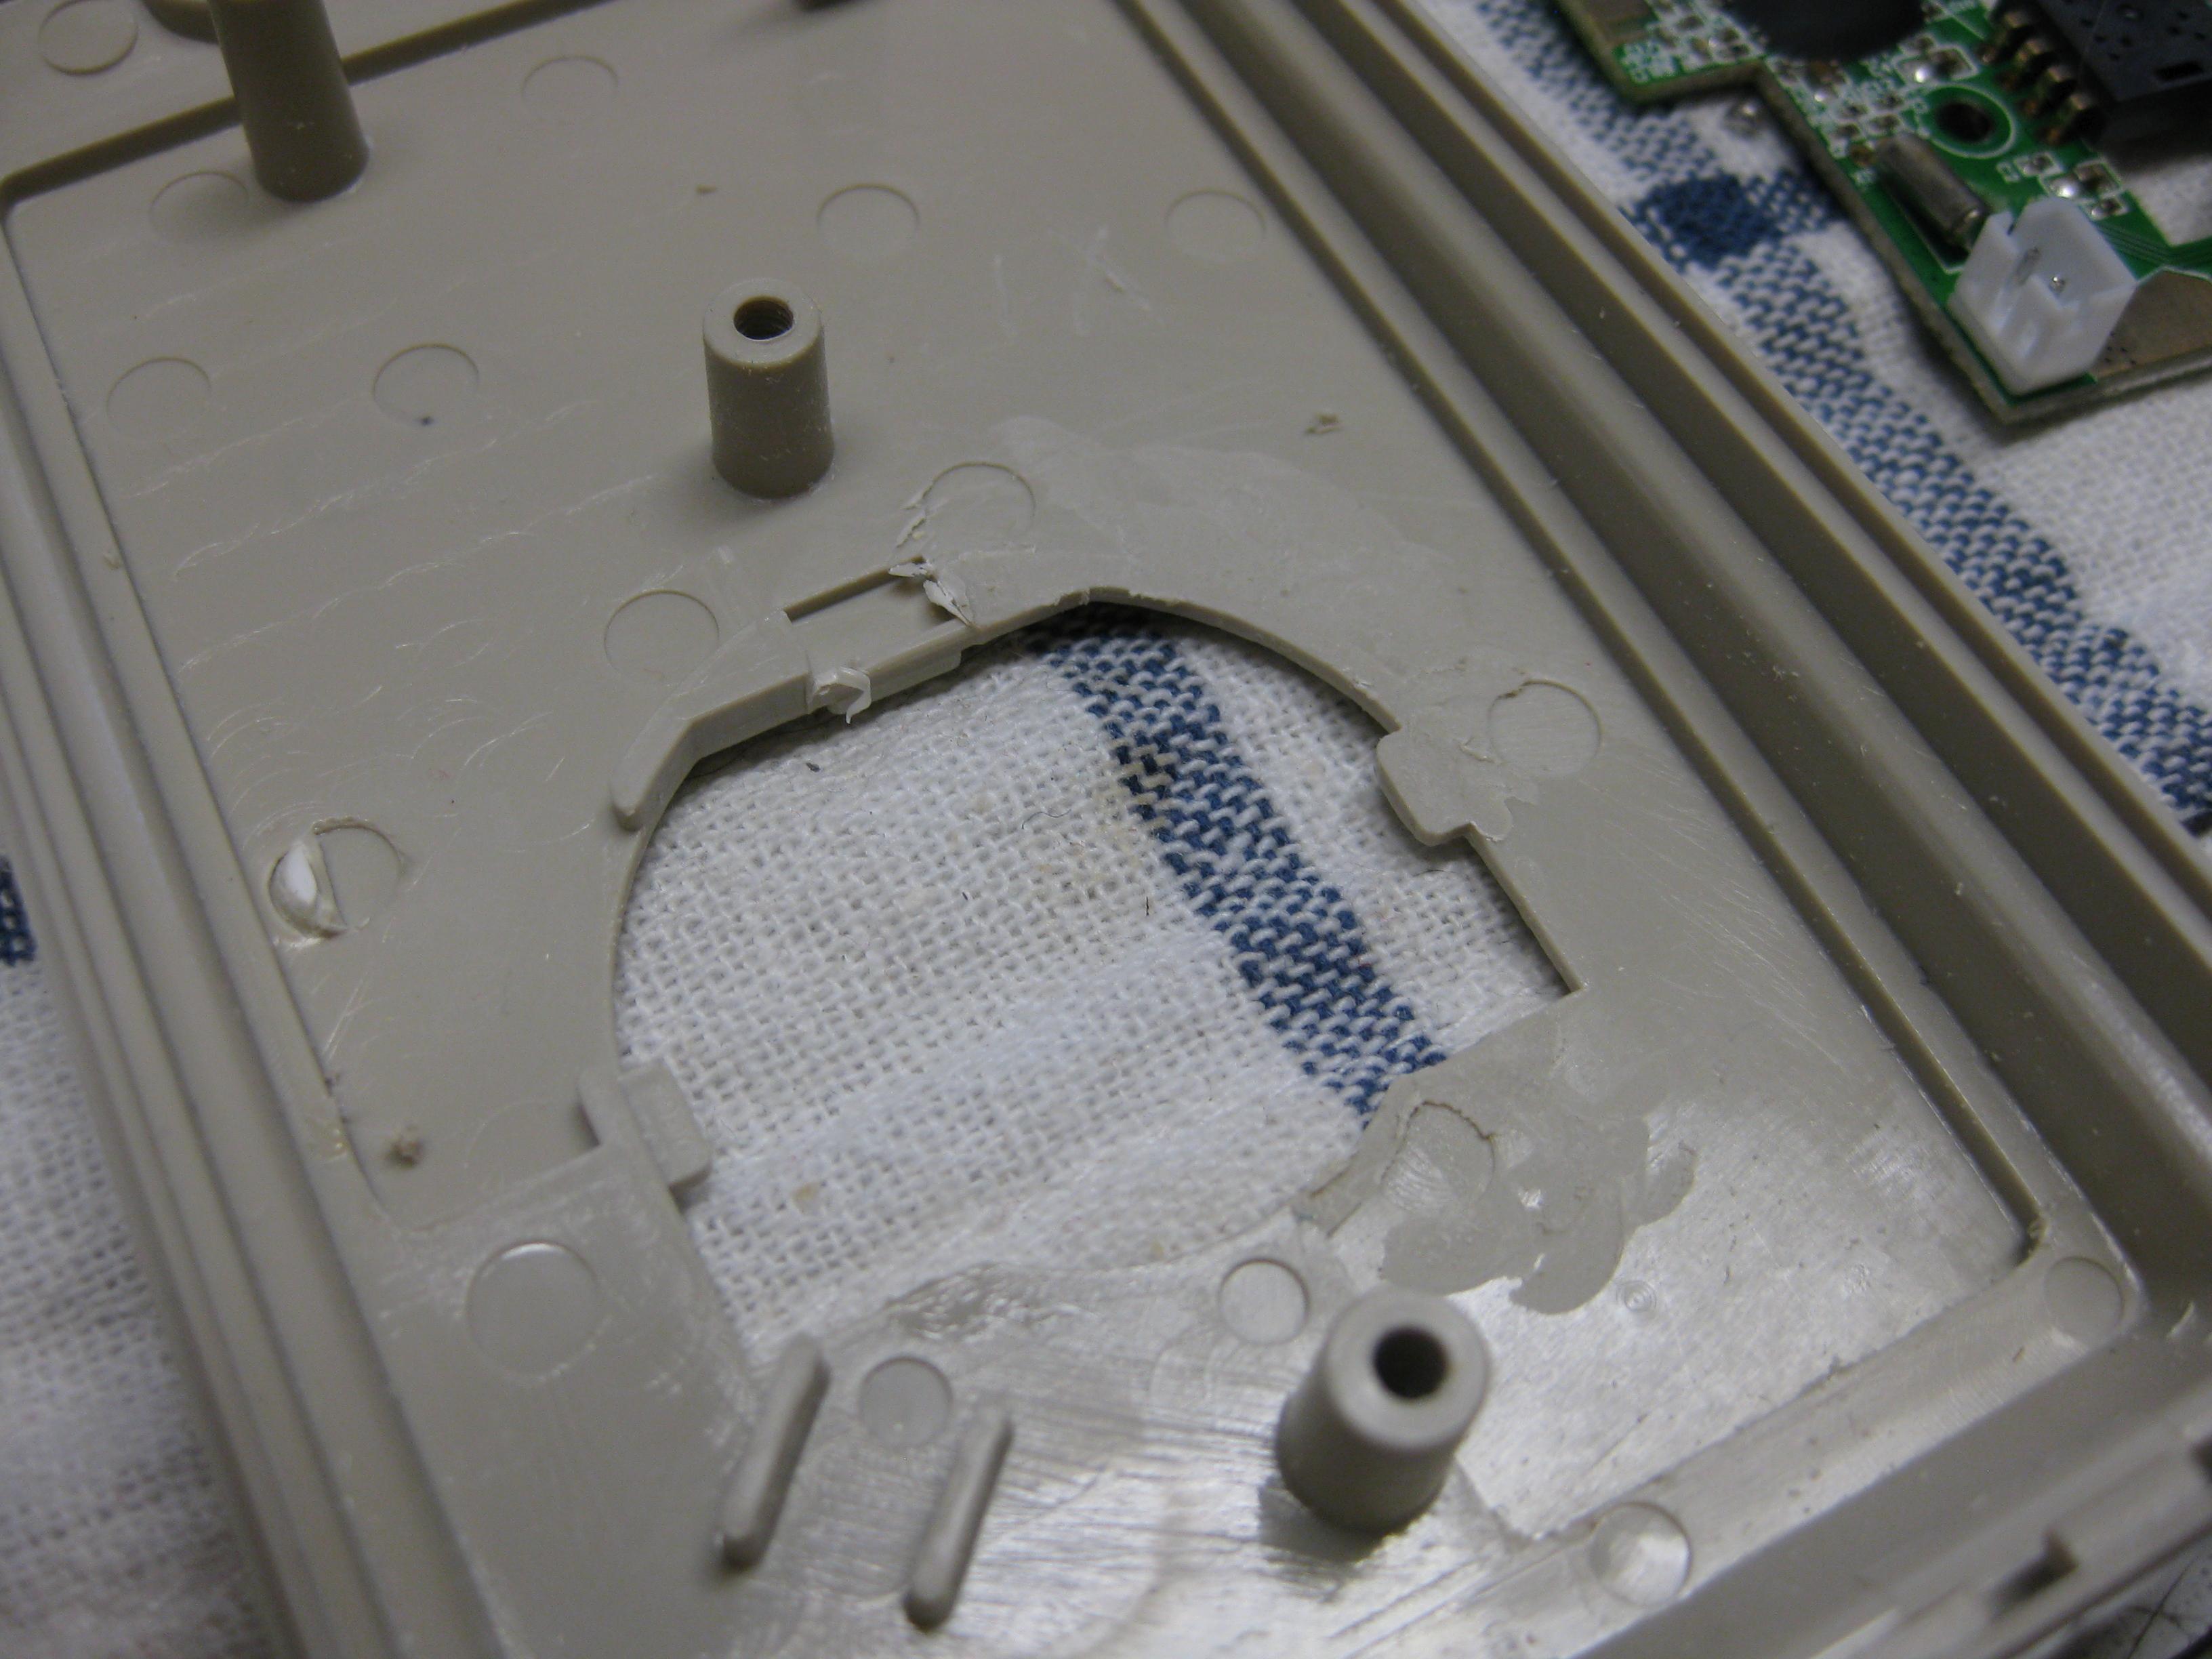
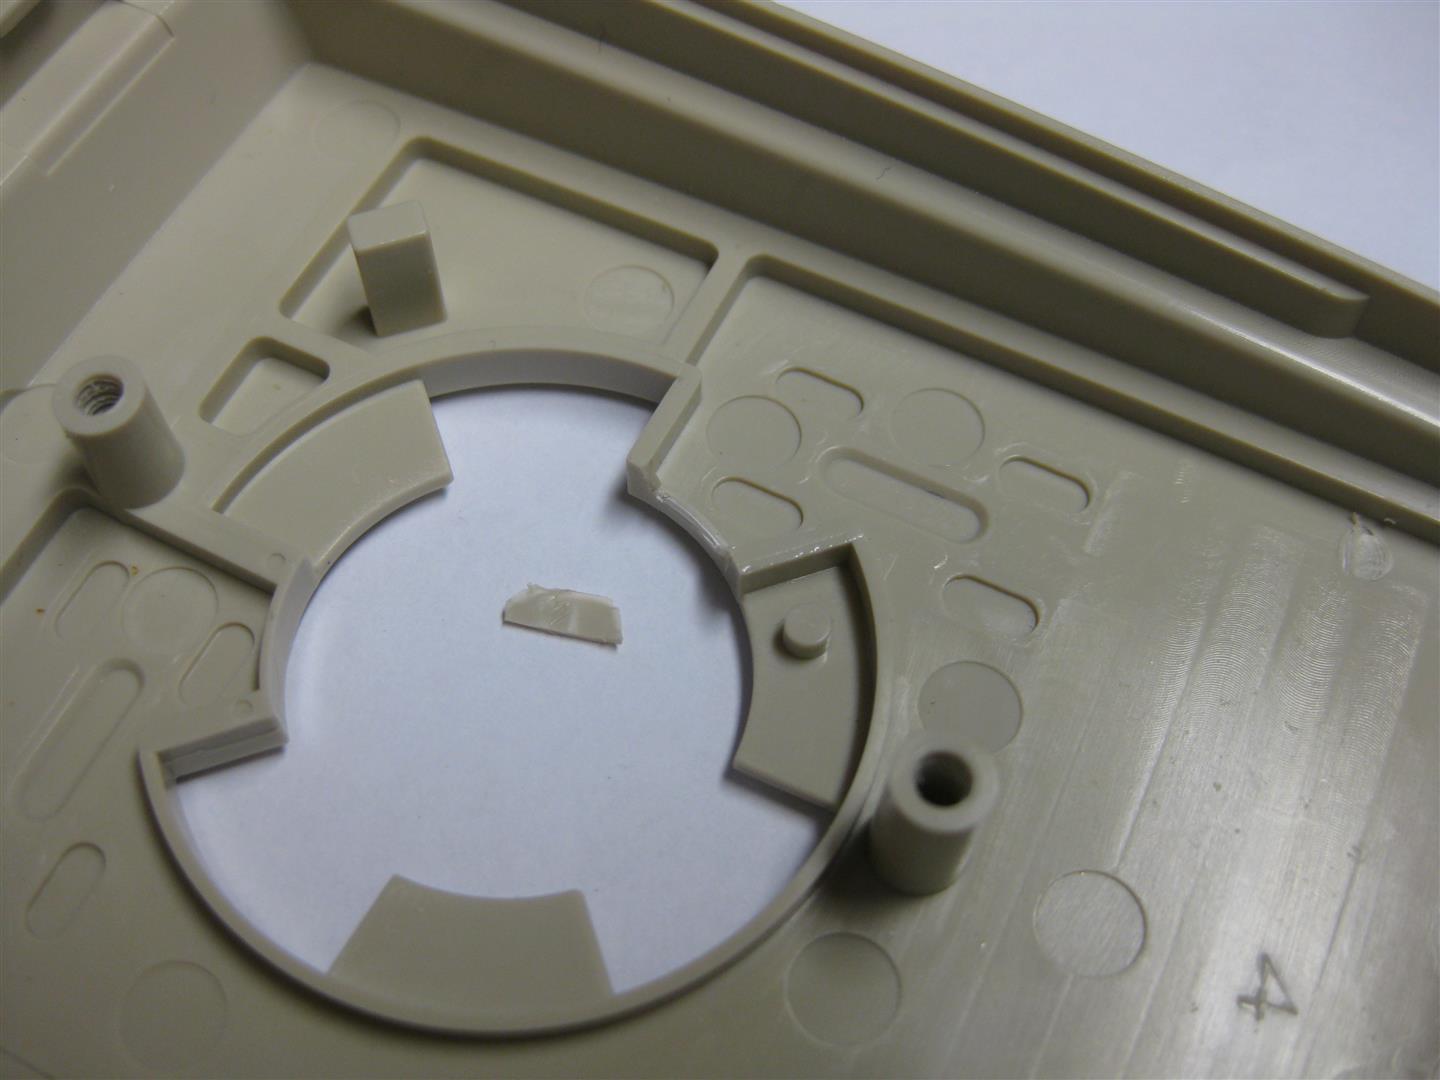
I removed the optical stuff to make room for the optical mouse:
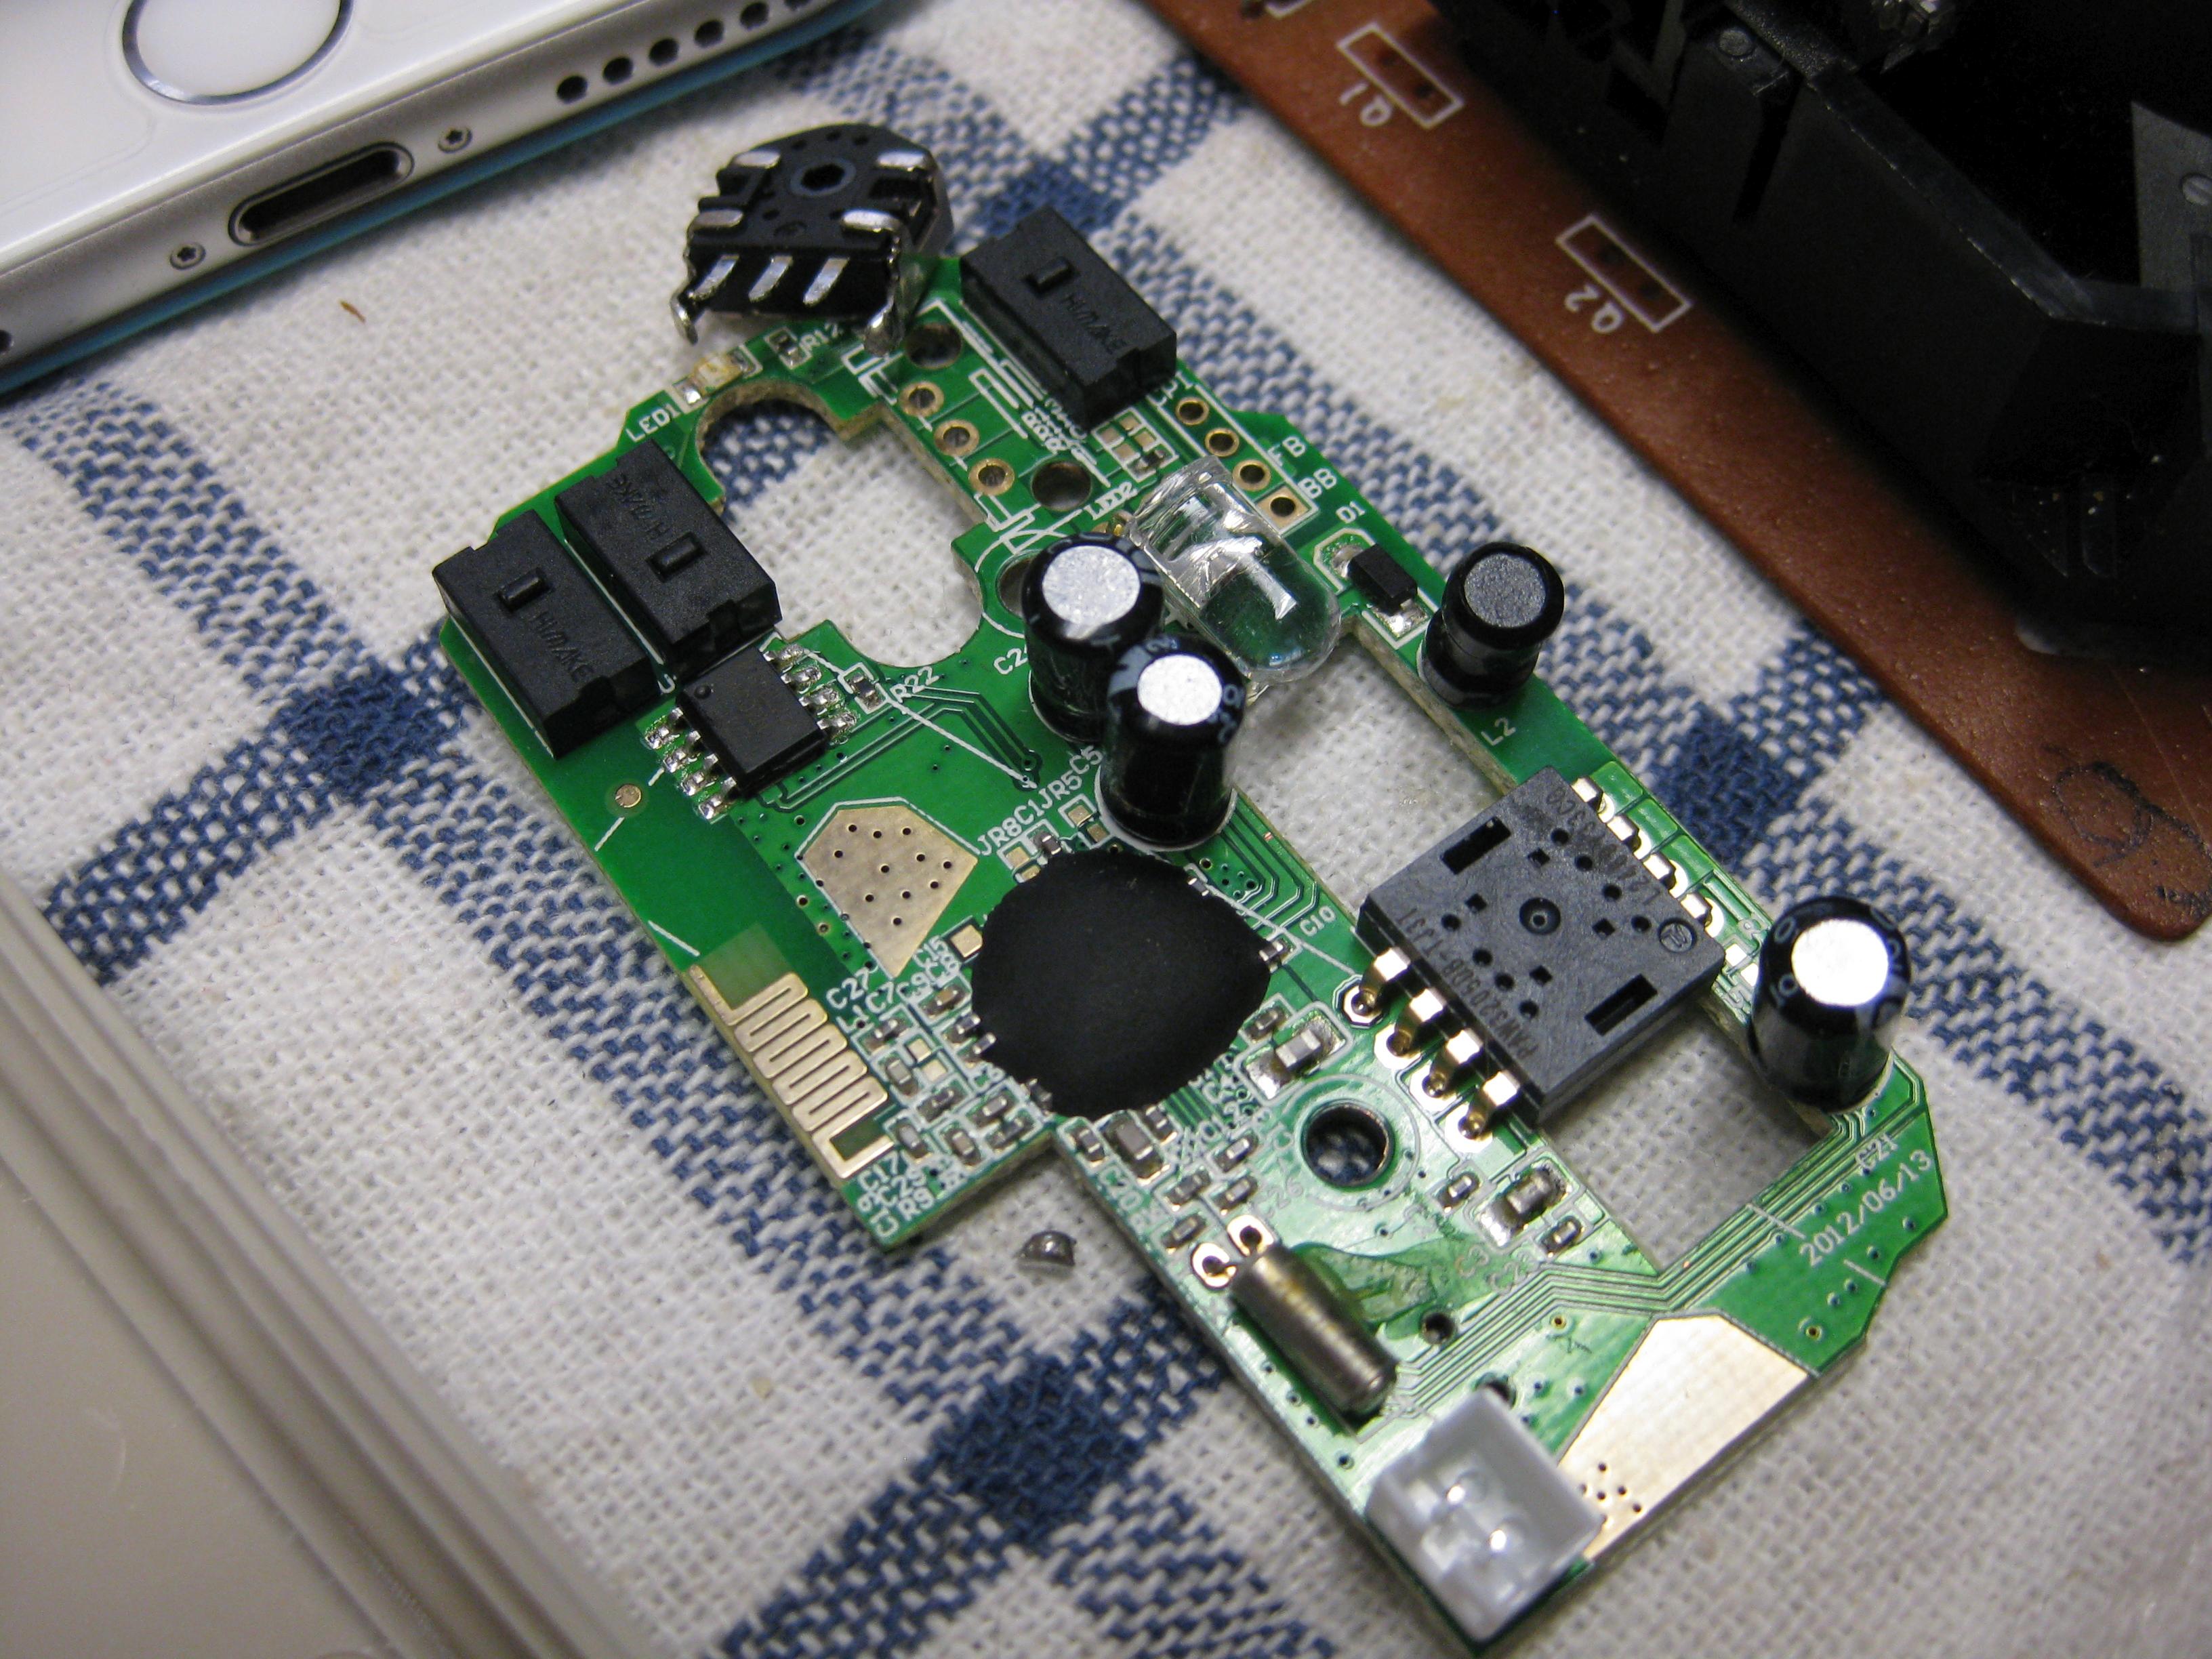
Now its time to open the tiny PC mouse:
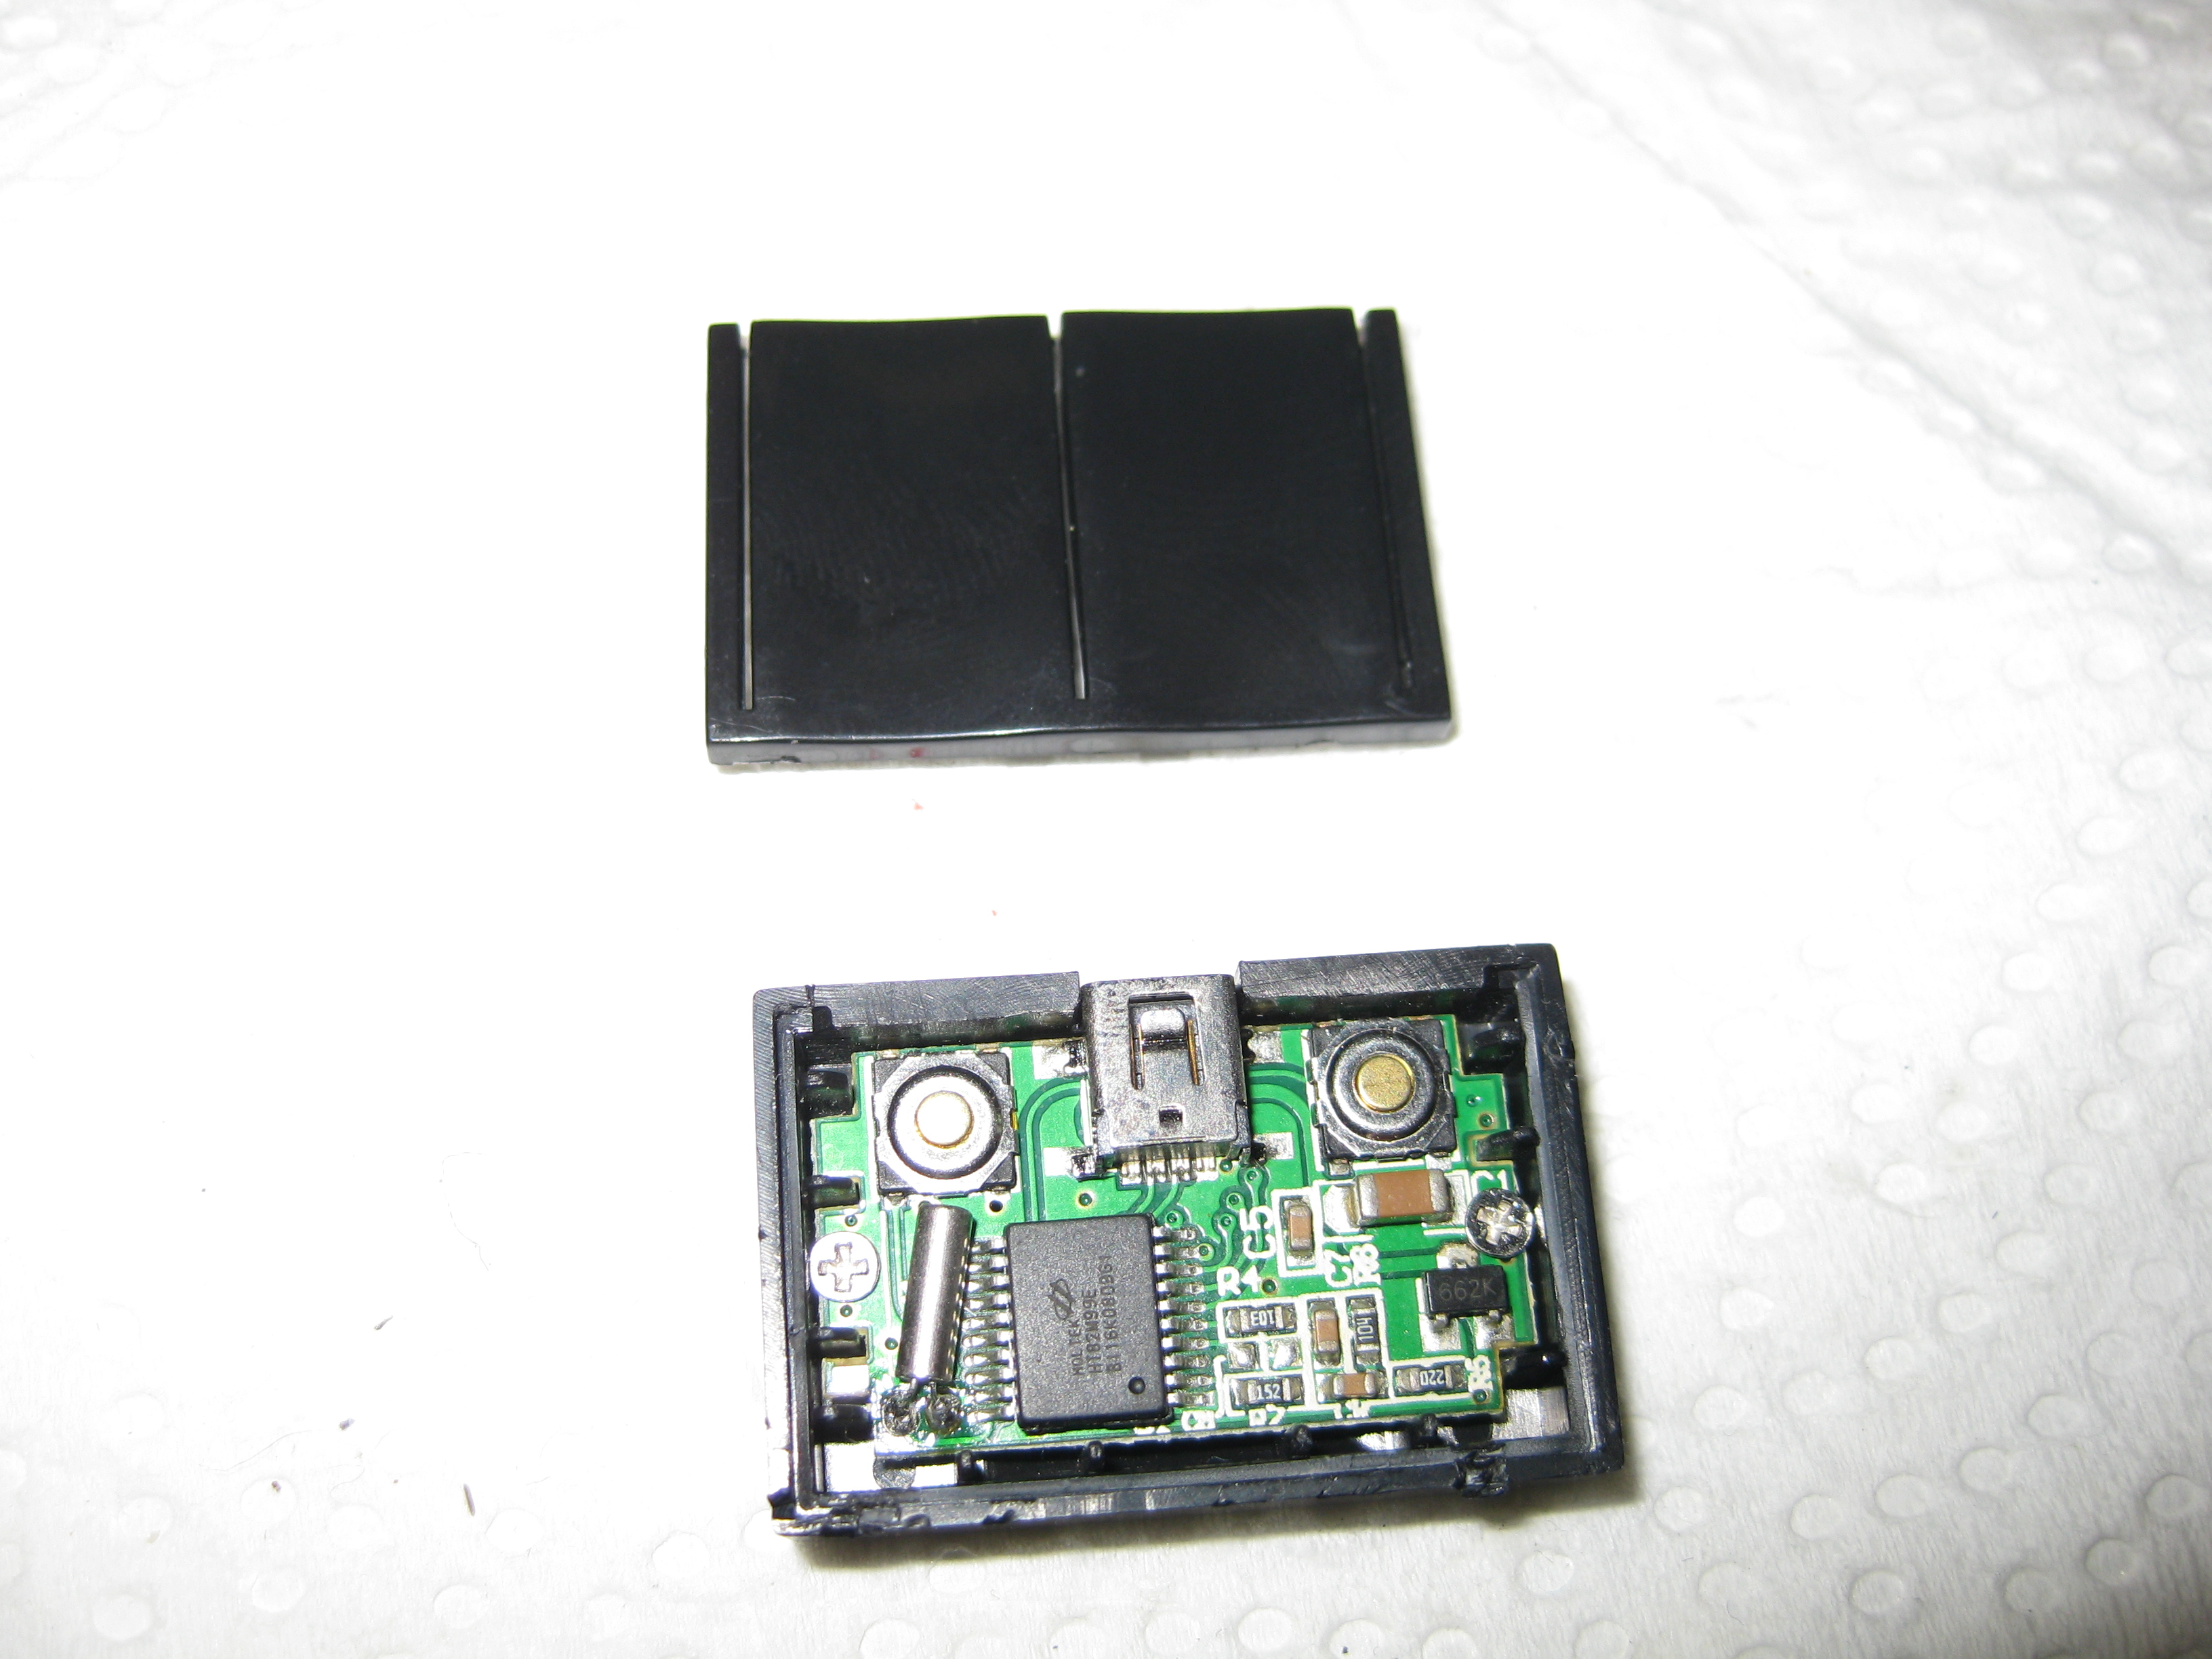
pcb only :

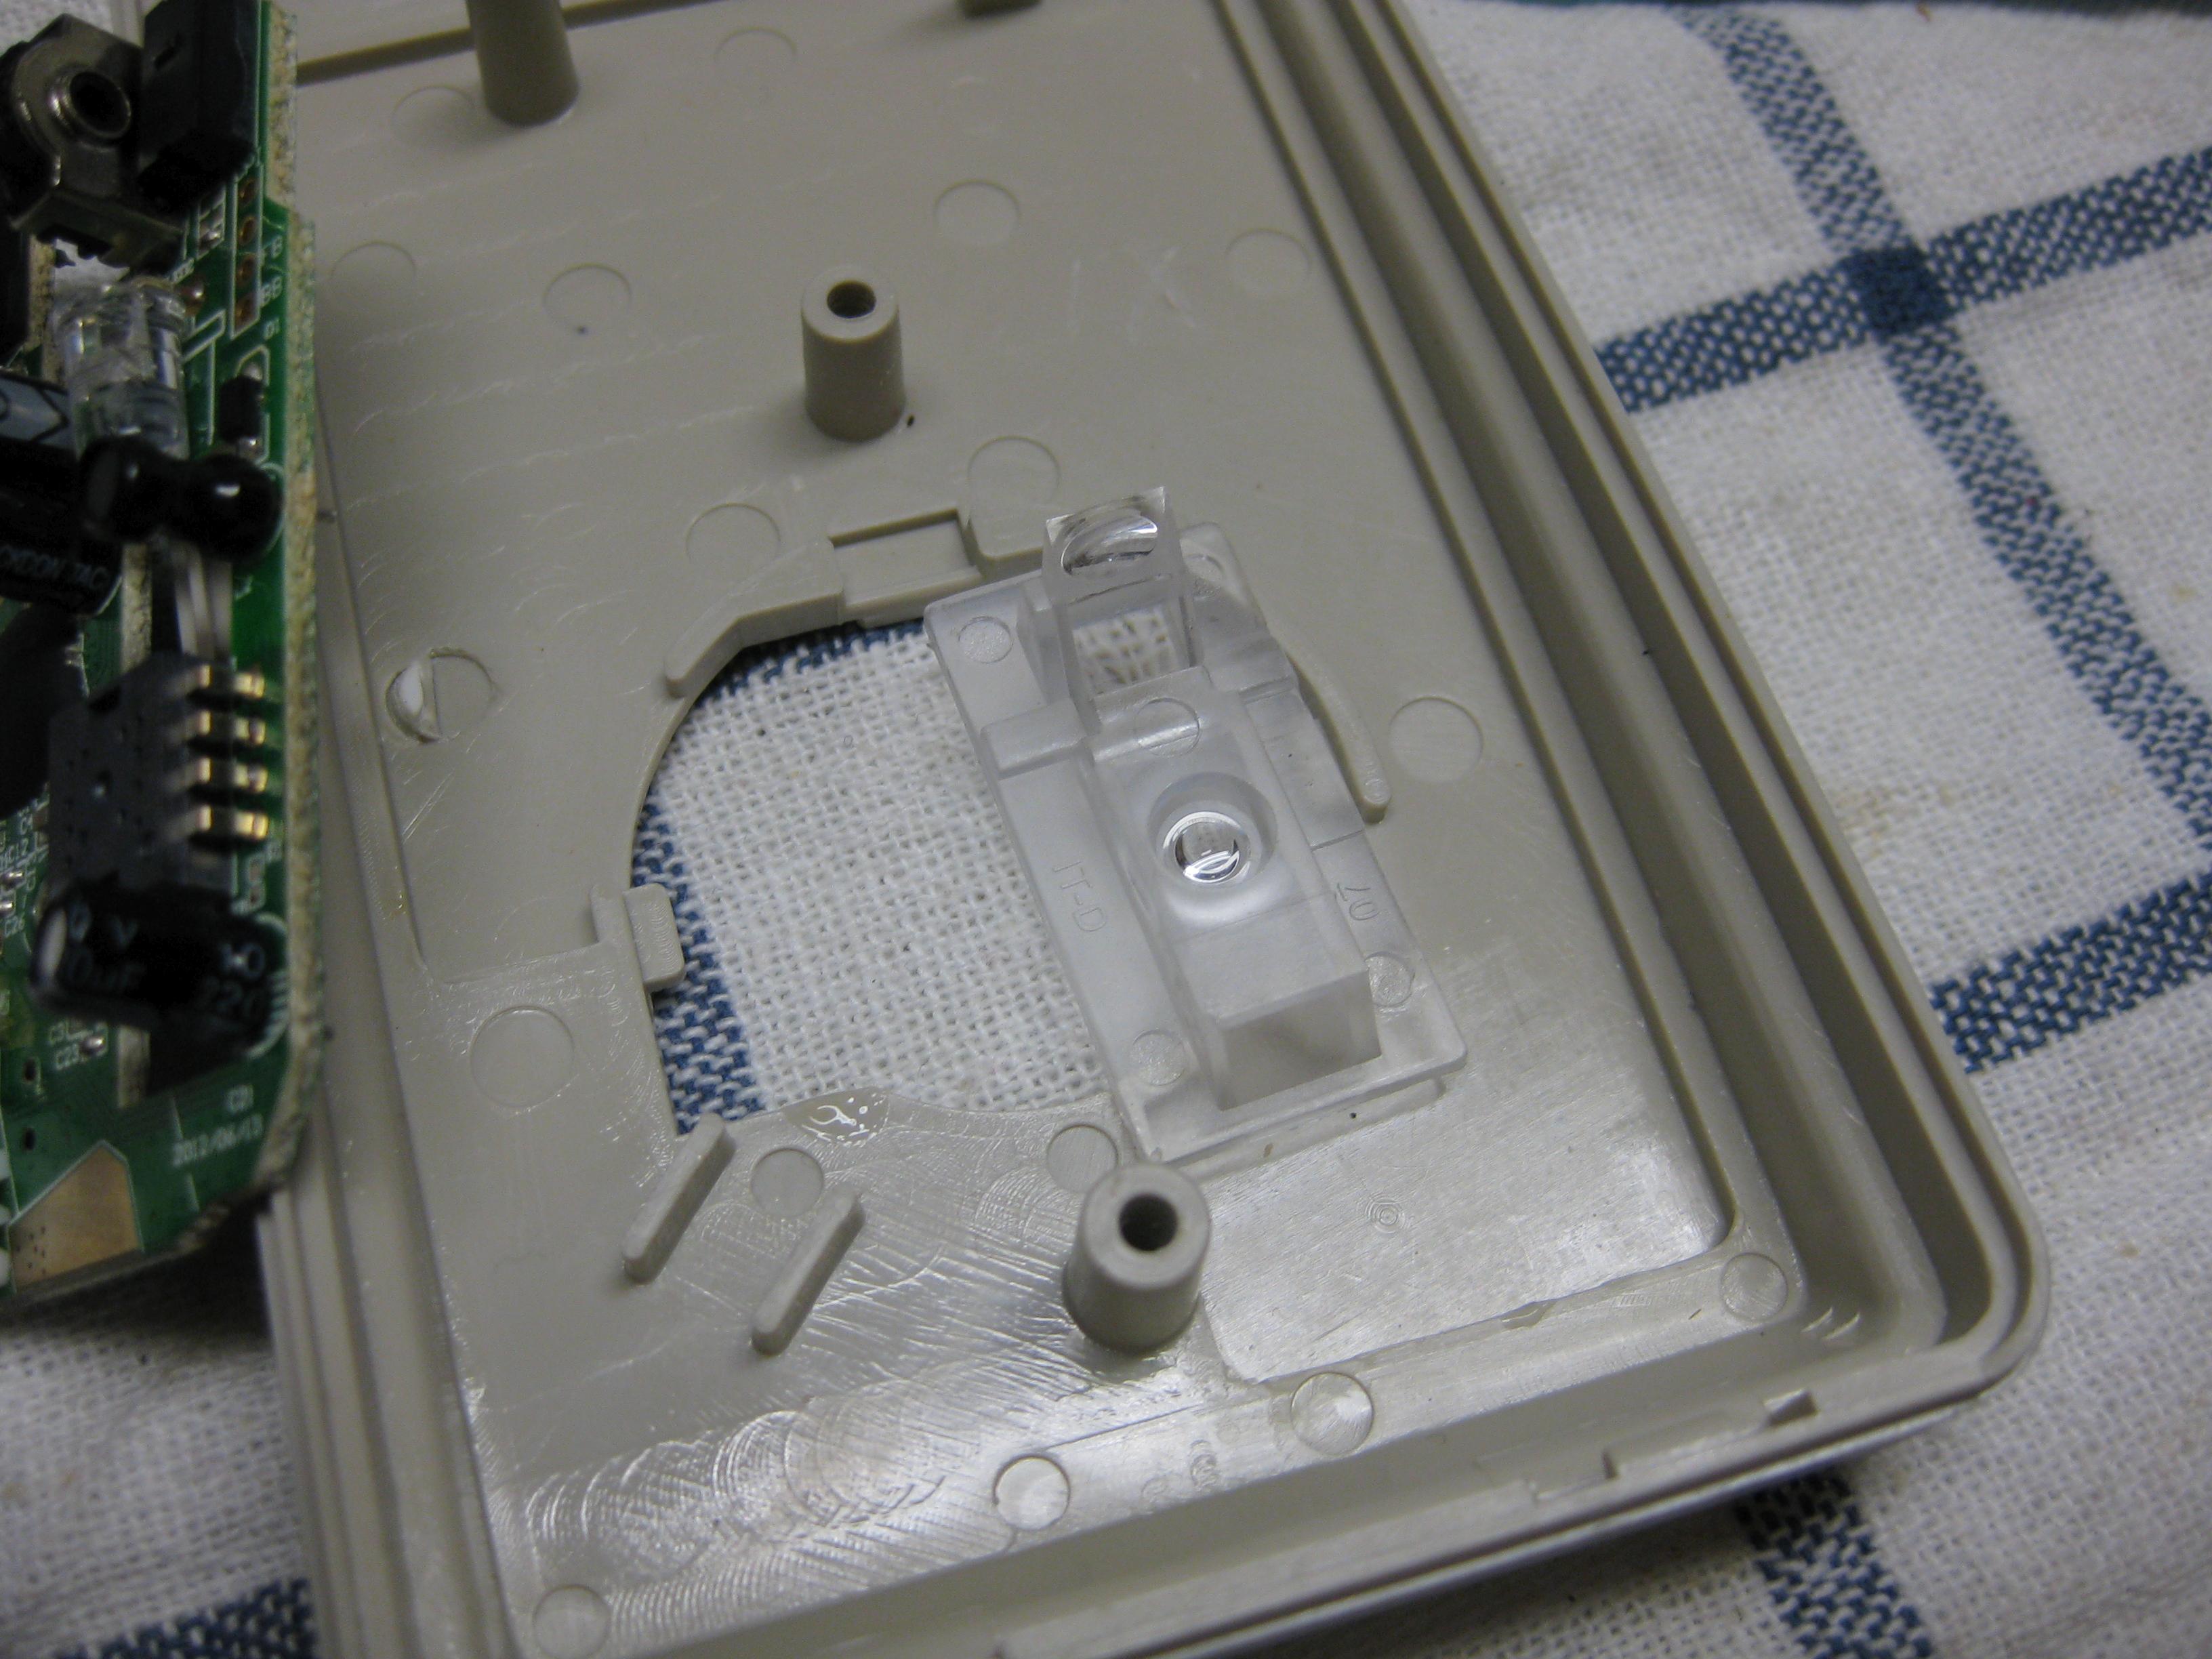
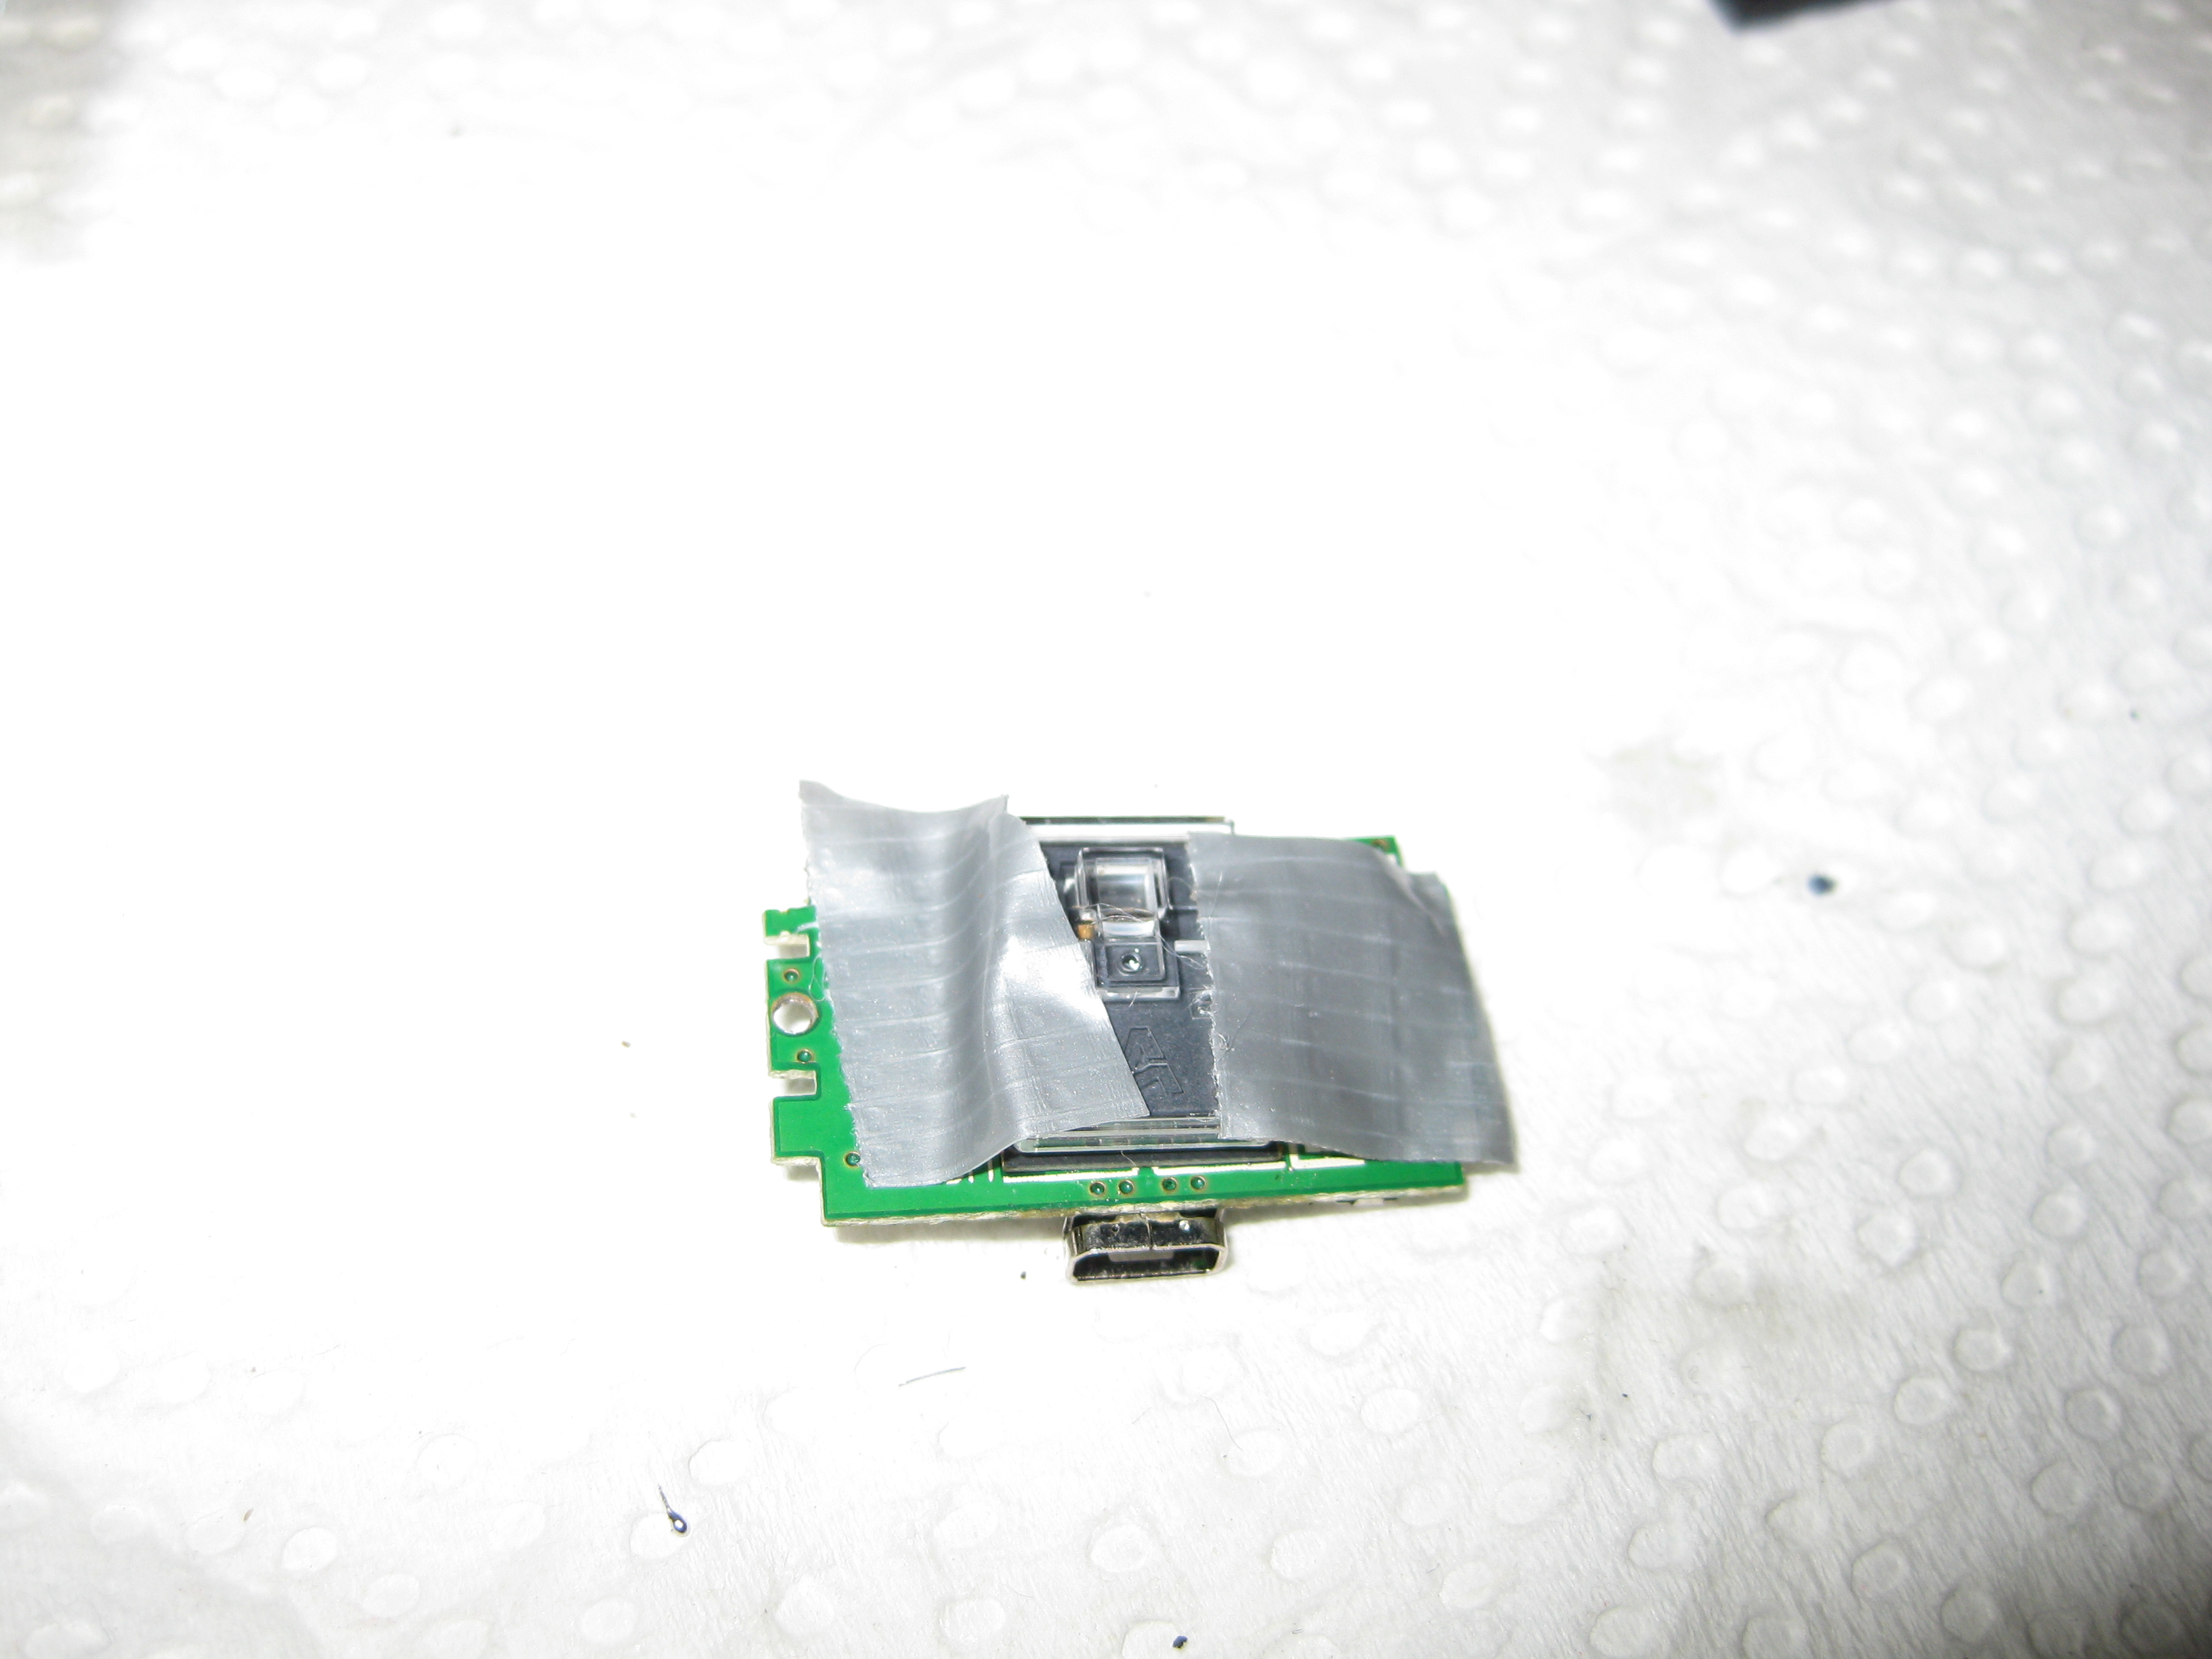
For testing I am using some tape to hold the lens in right position. The final version will hold via clue:
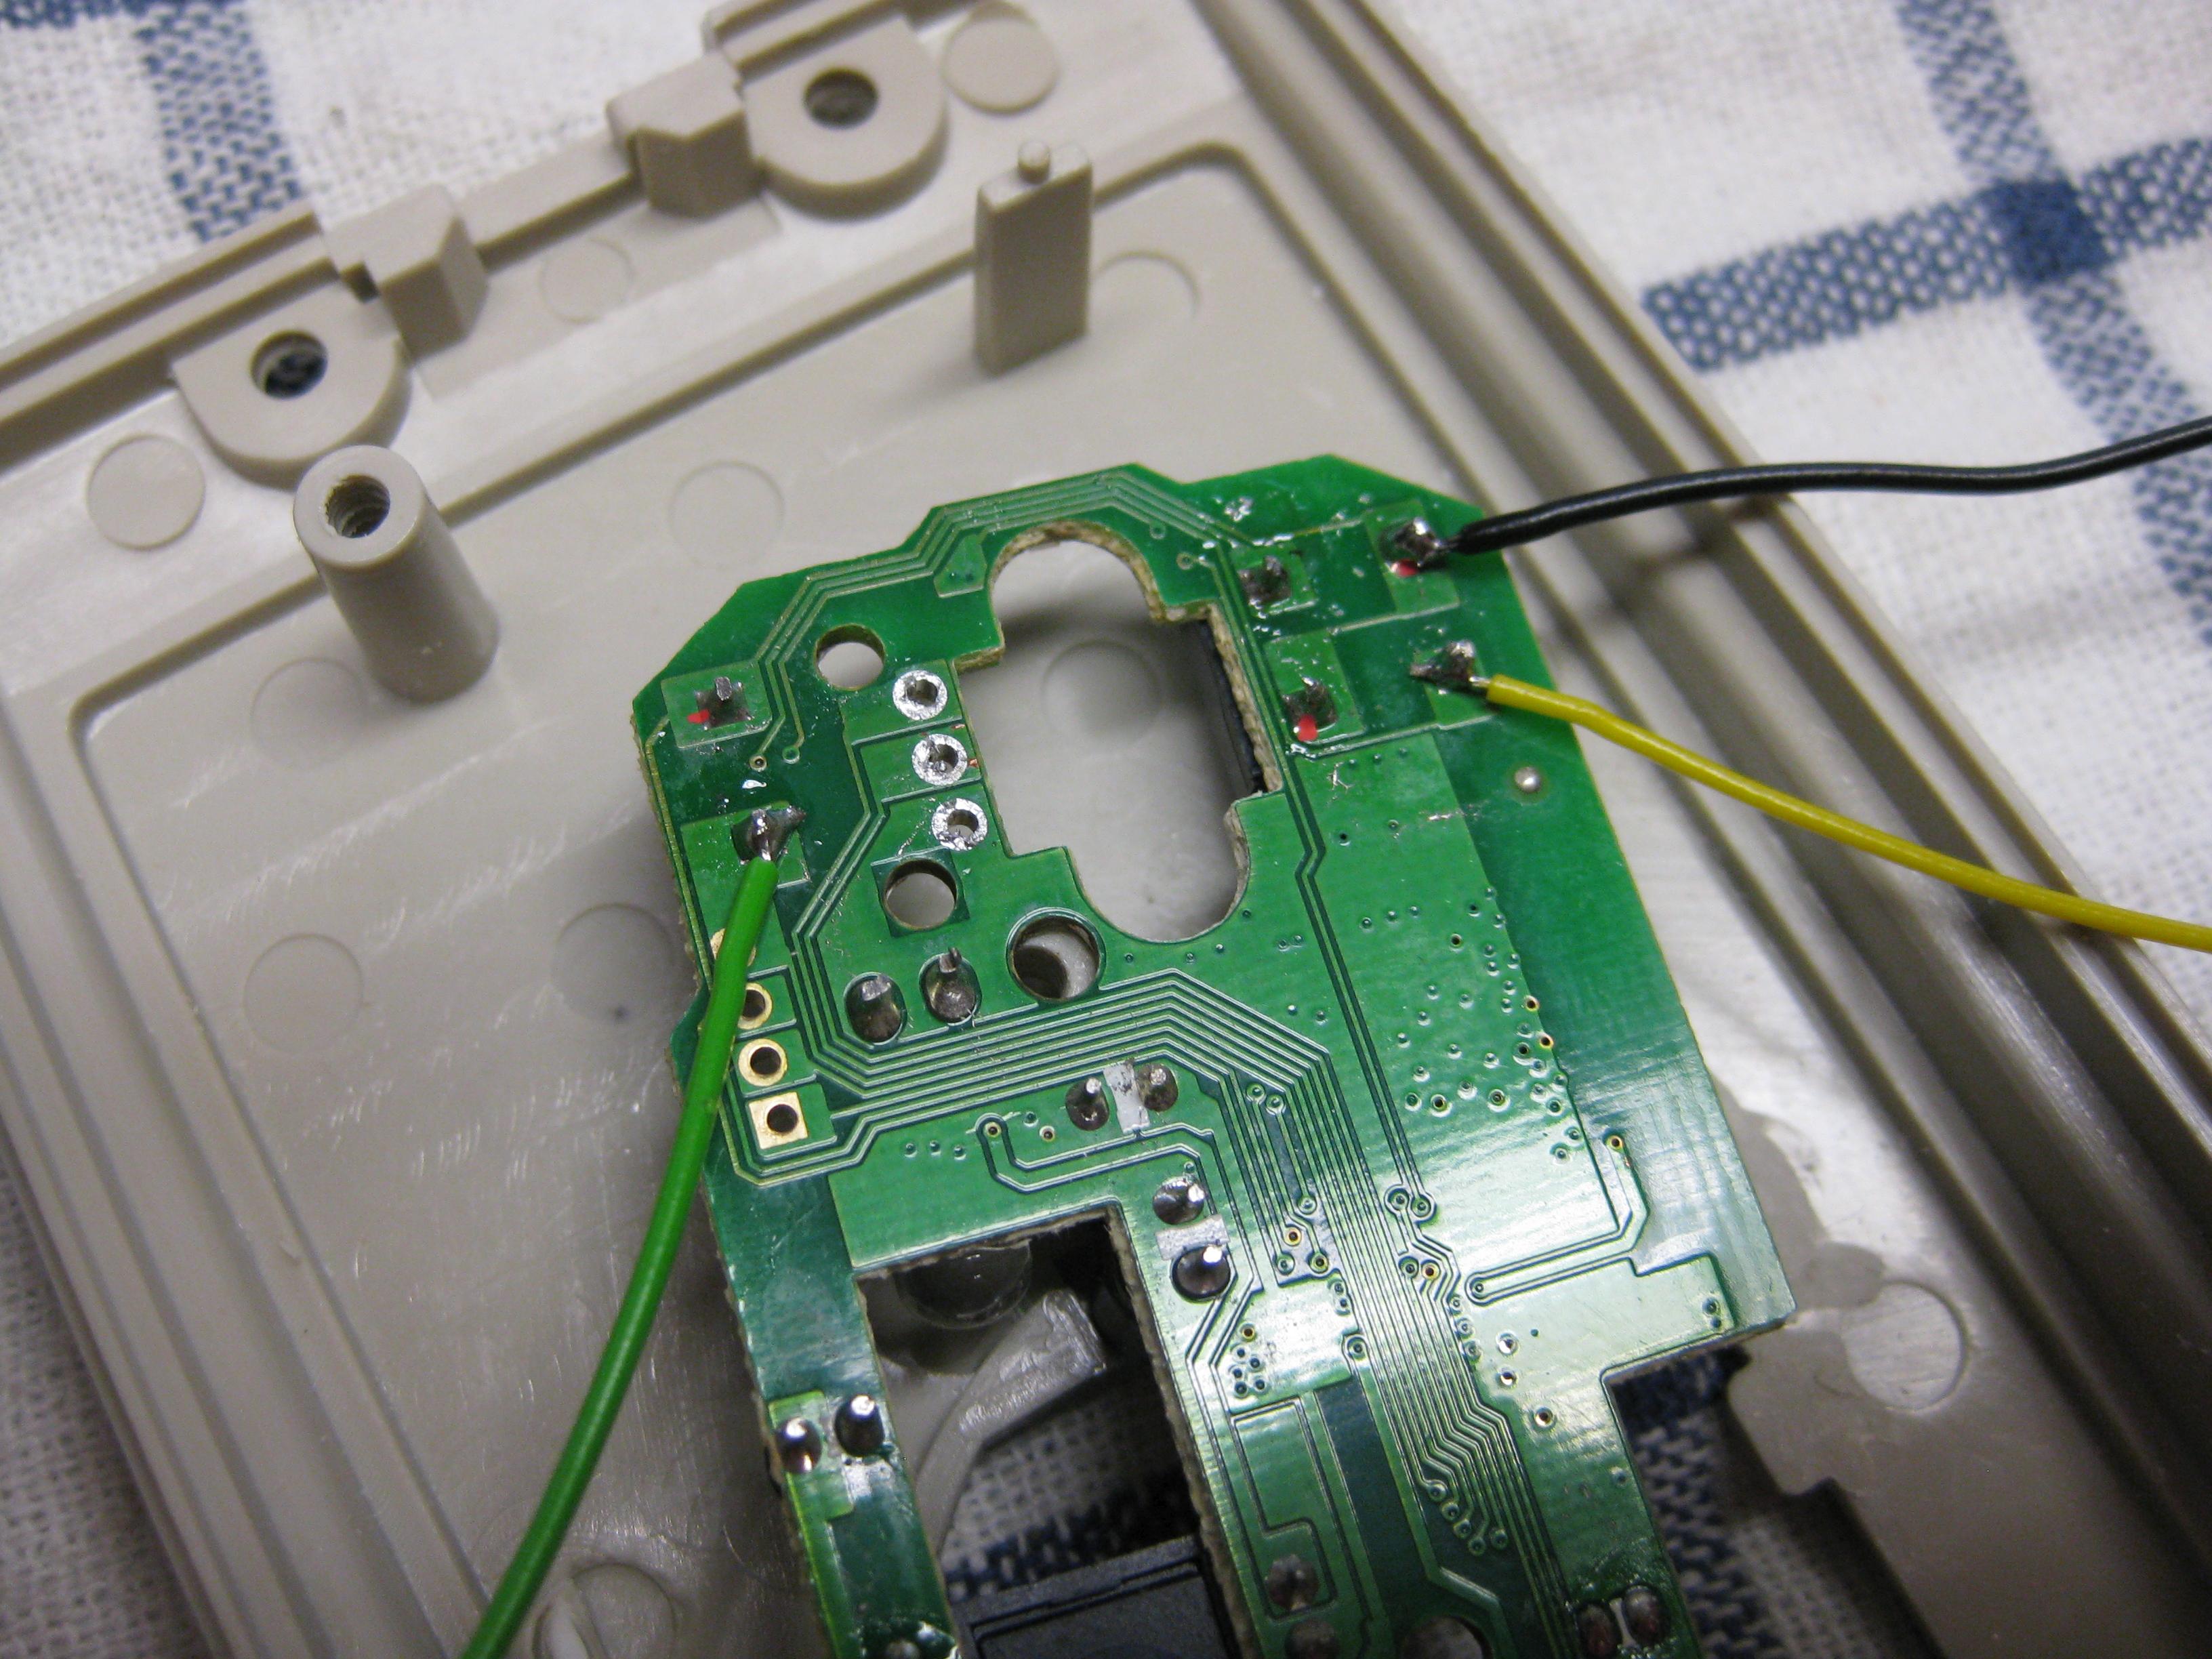
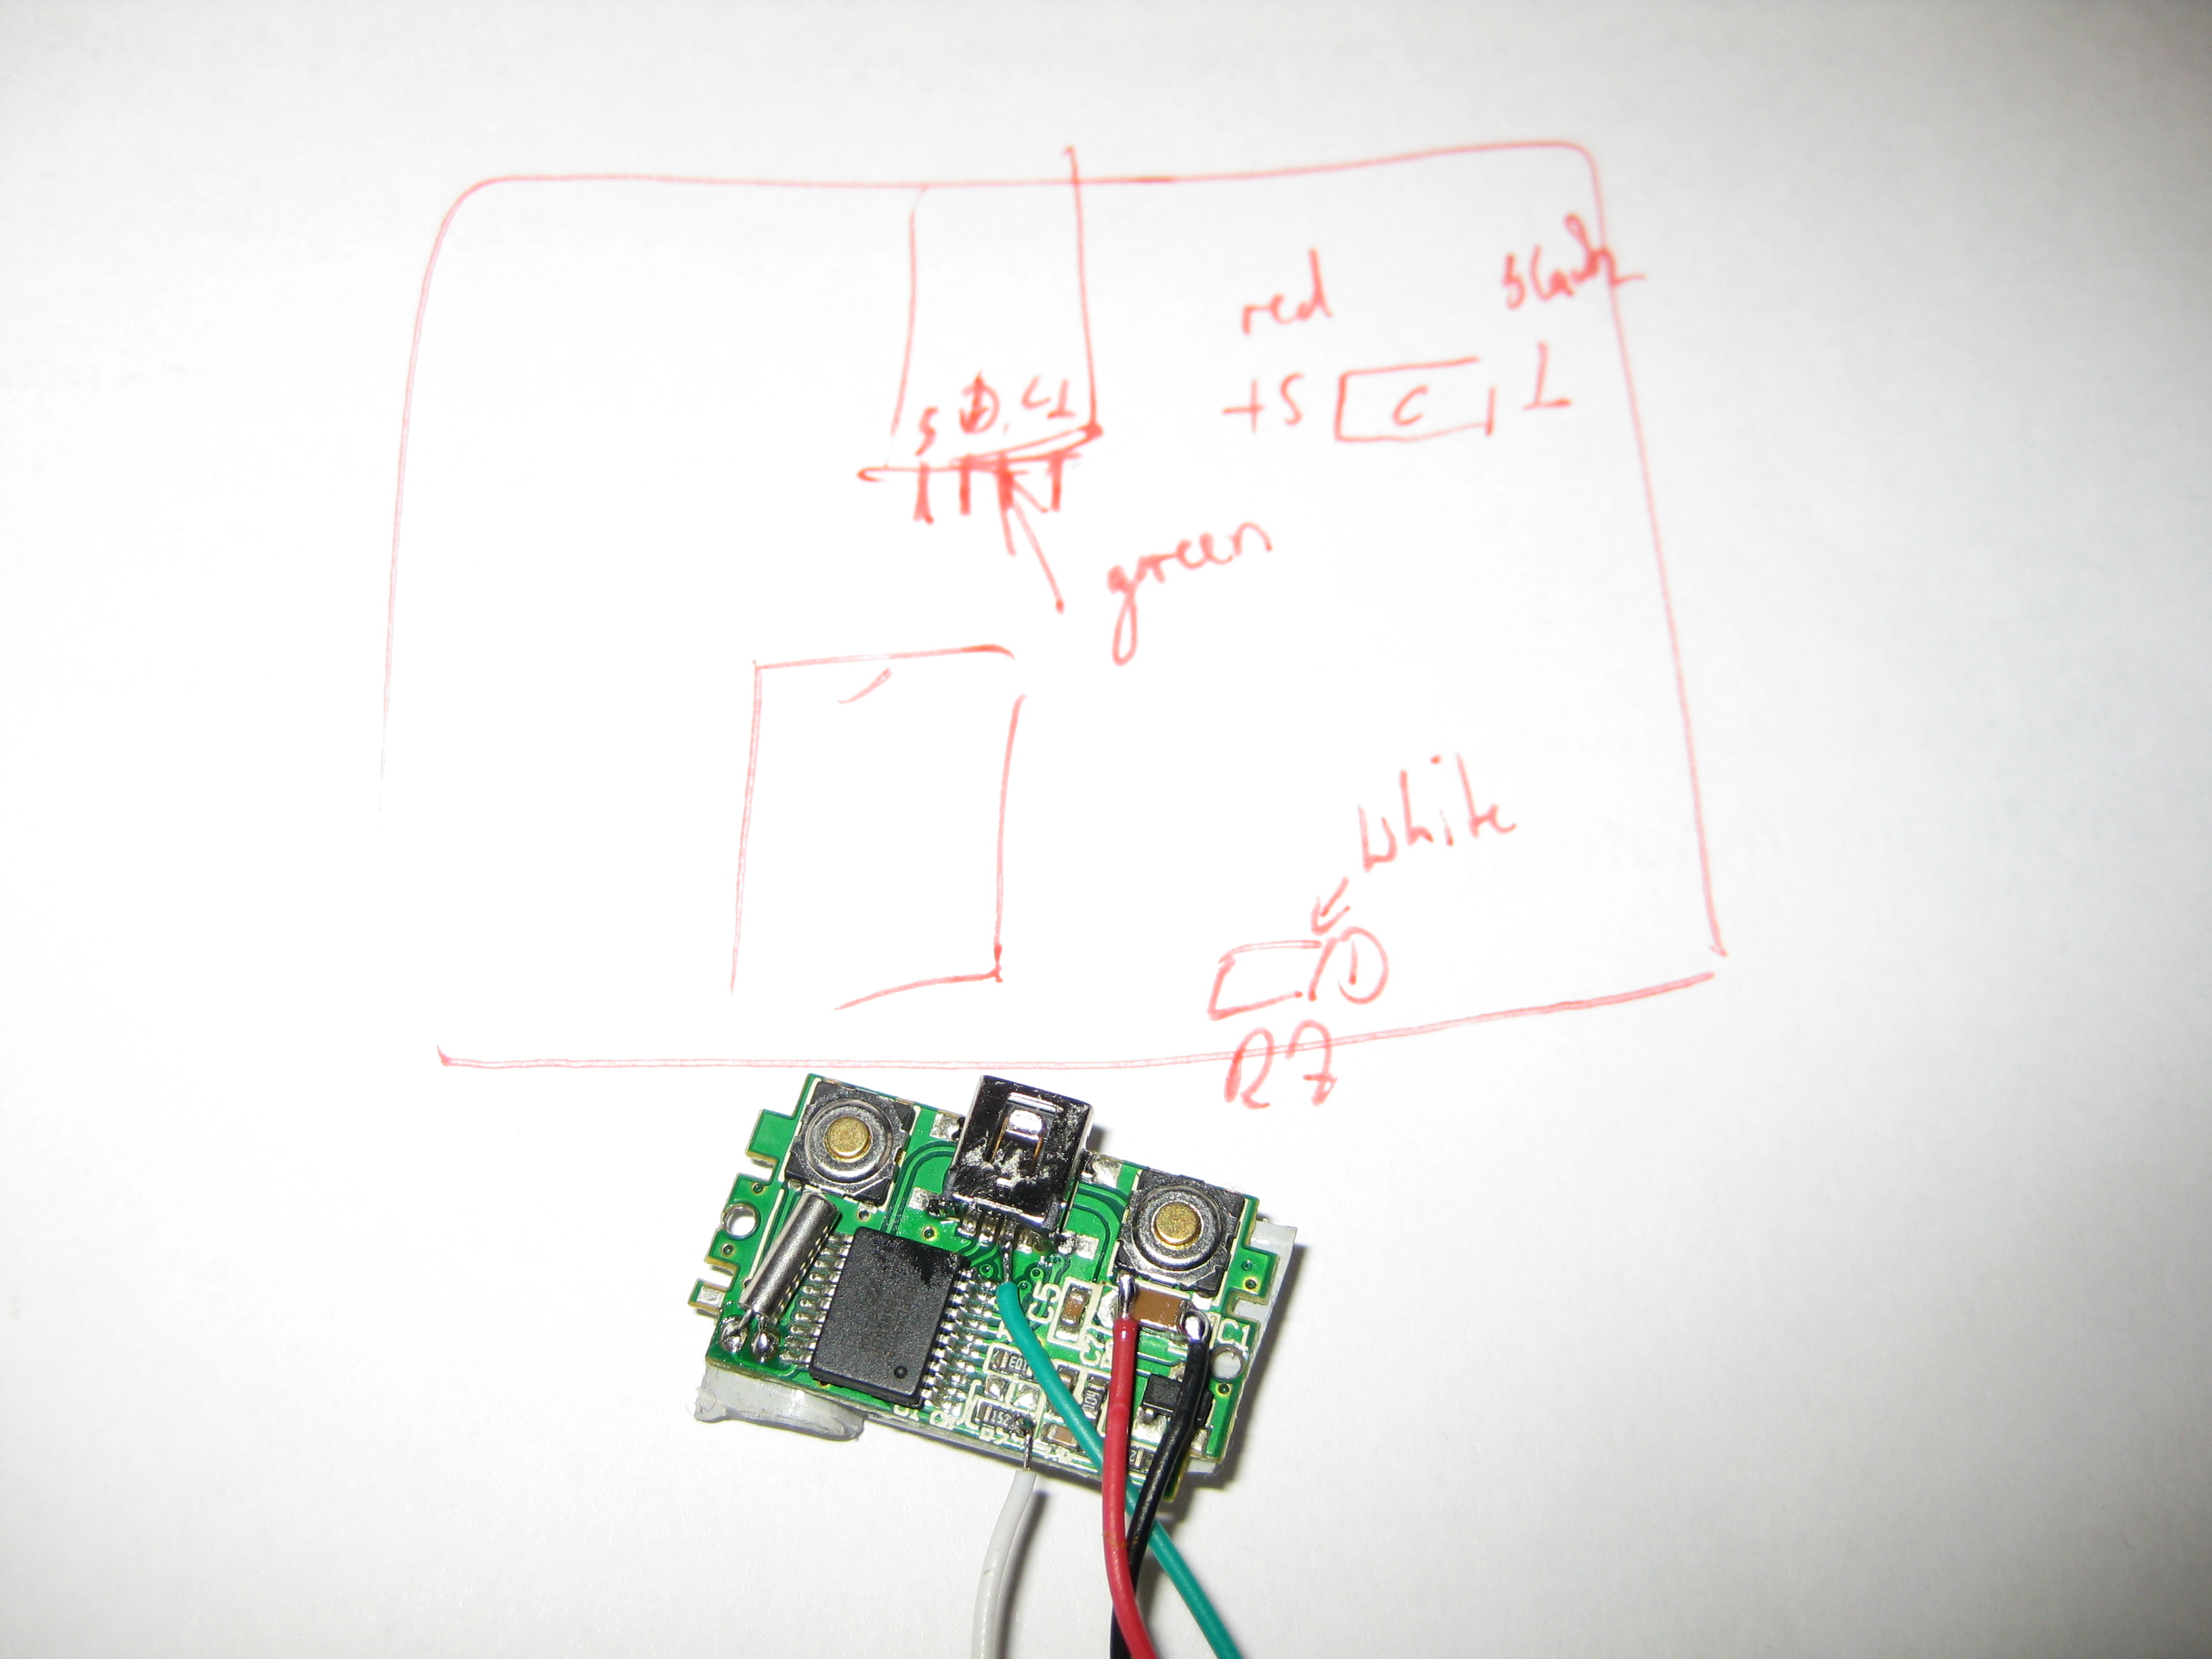
The USB Cable Connector is to big. Instead I found some better solder points for direct connect of a cable:
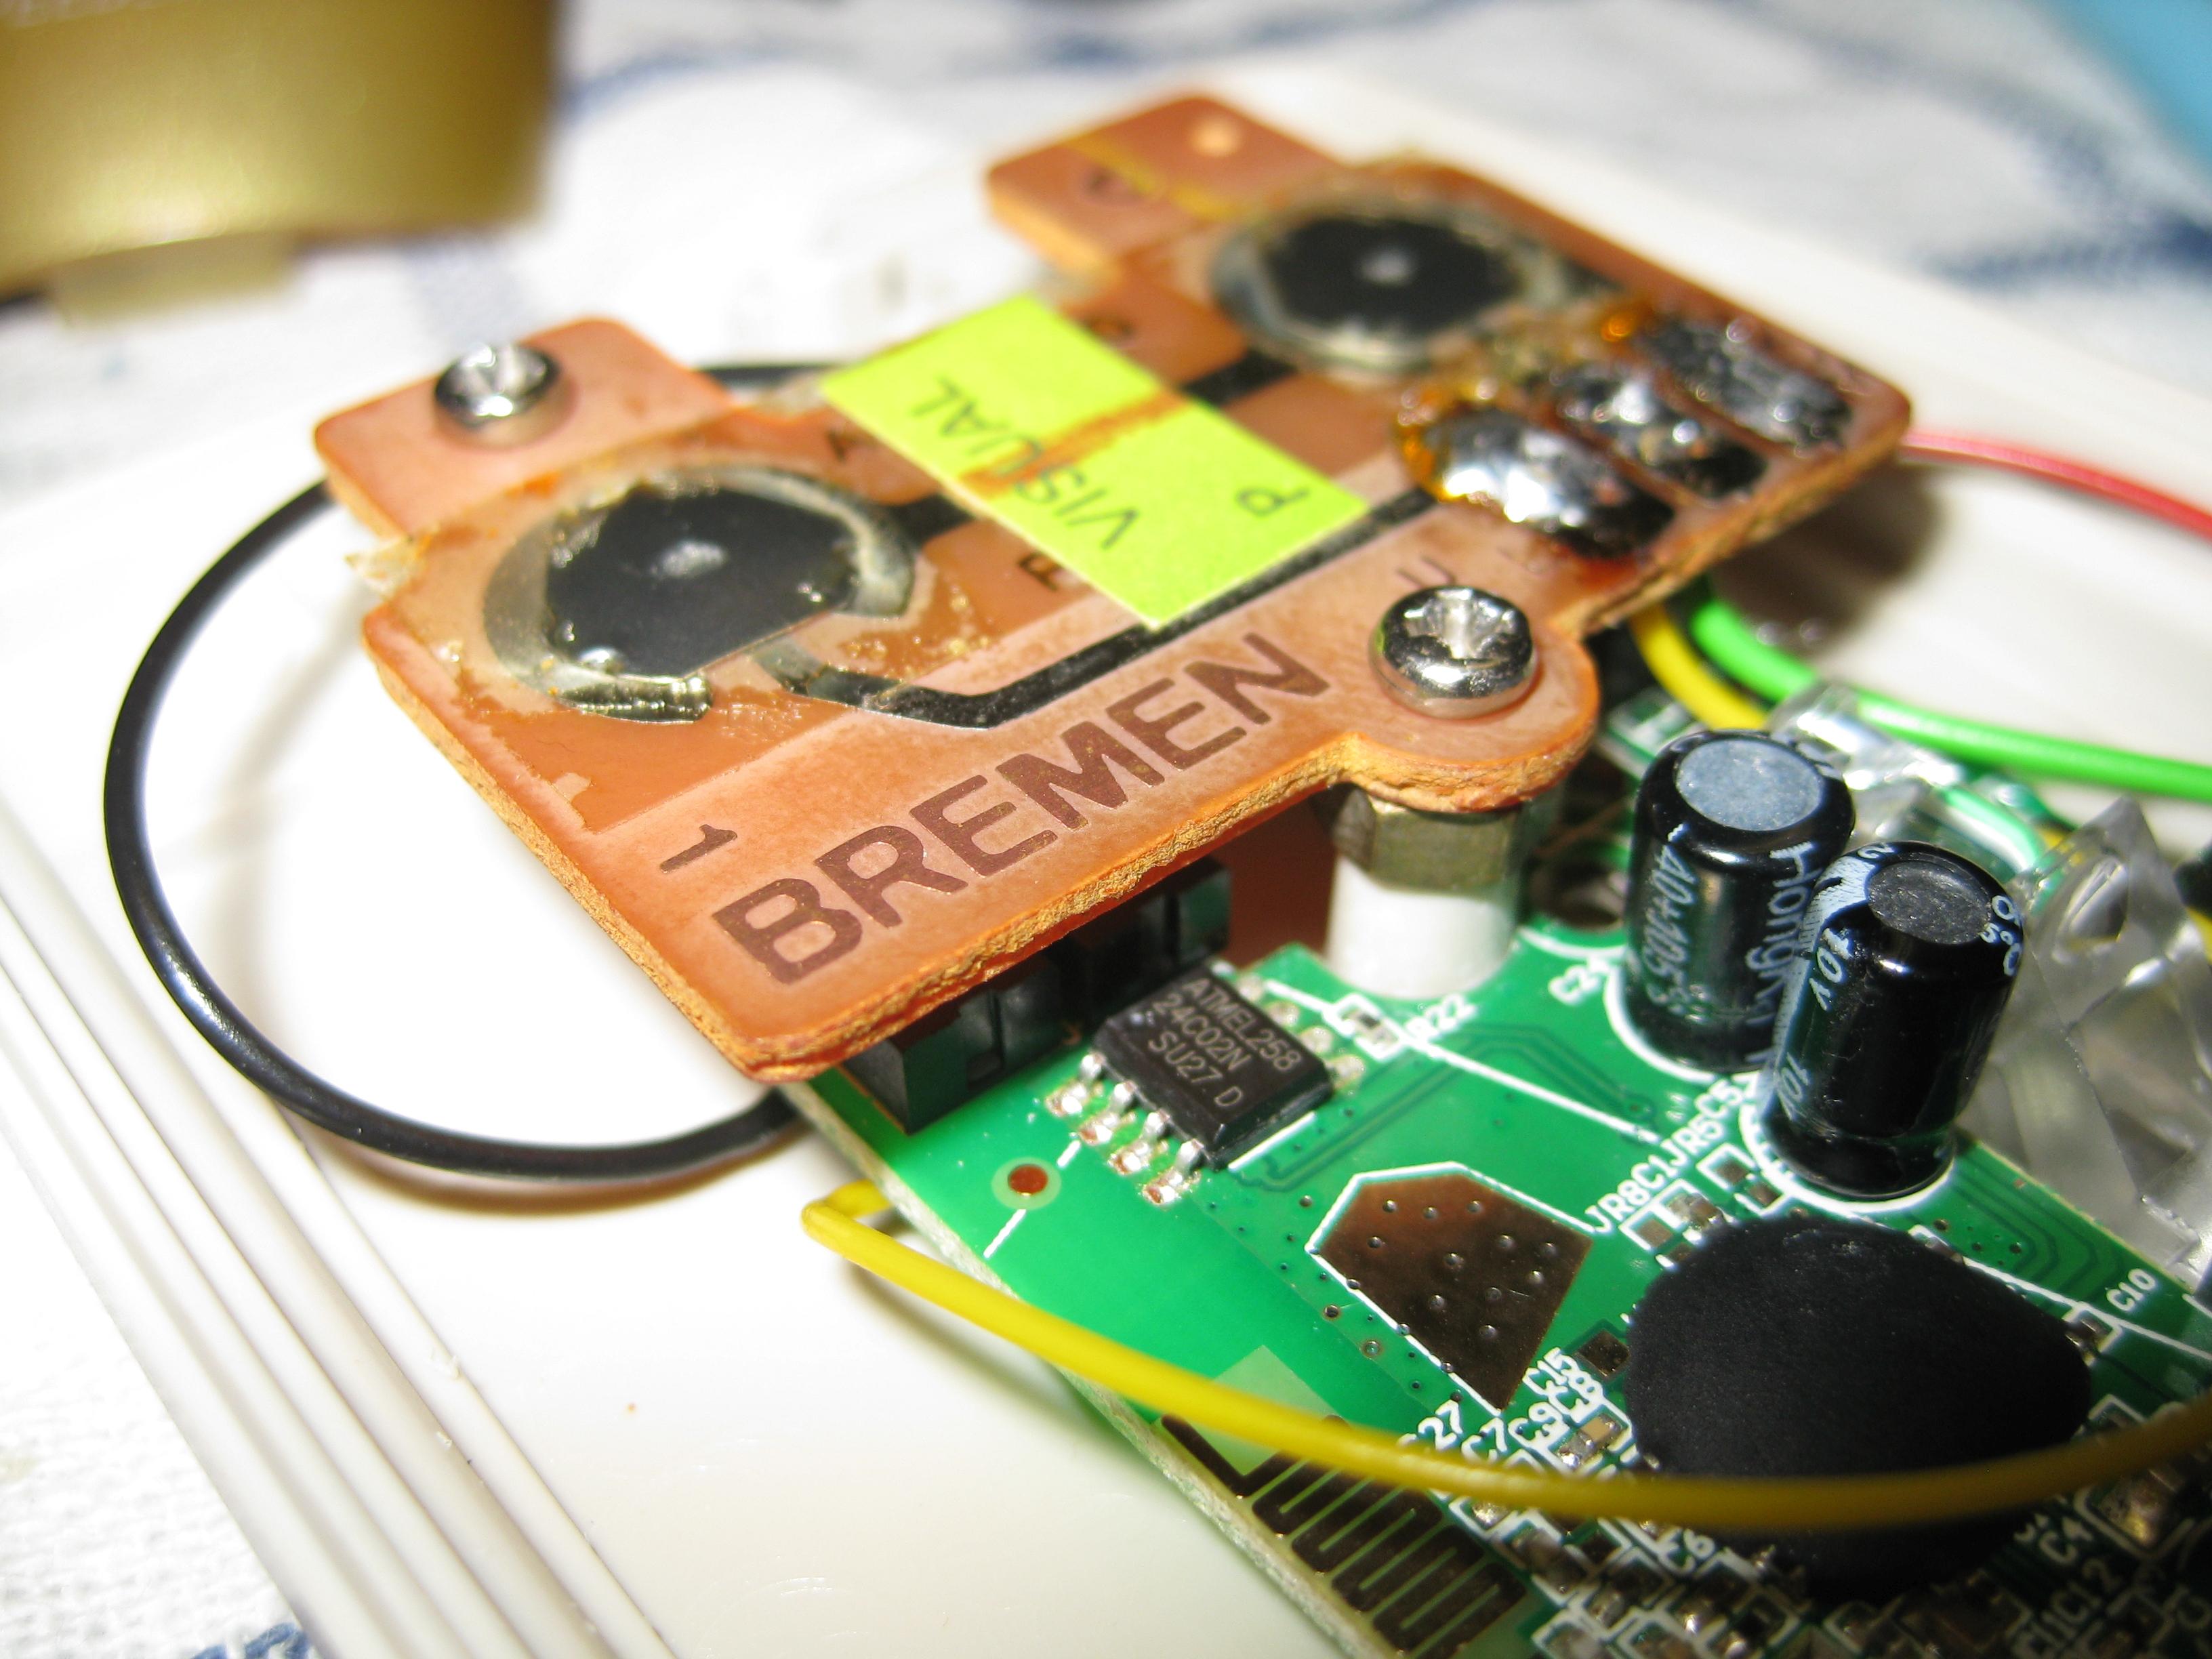
for fitting into original Amiga Mouse you need only to remove this pcb peace:
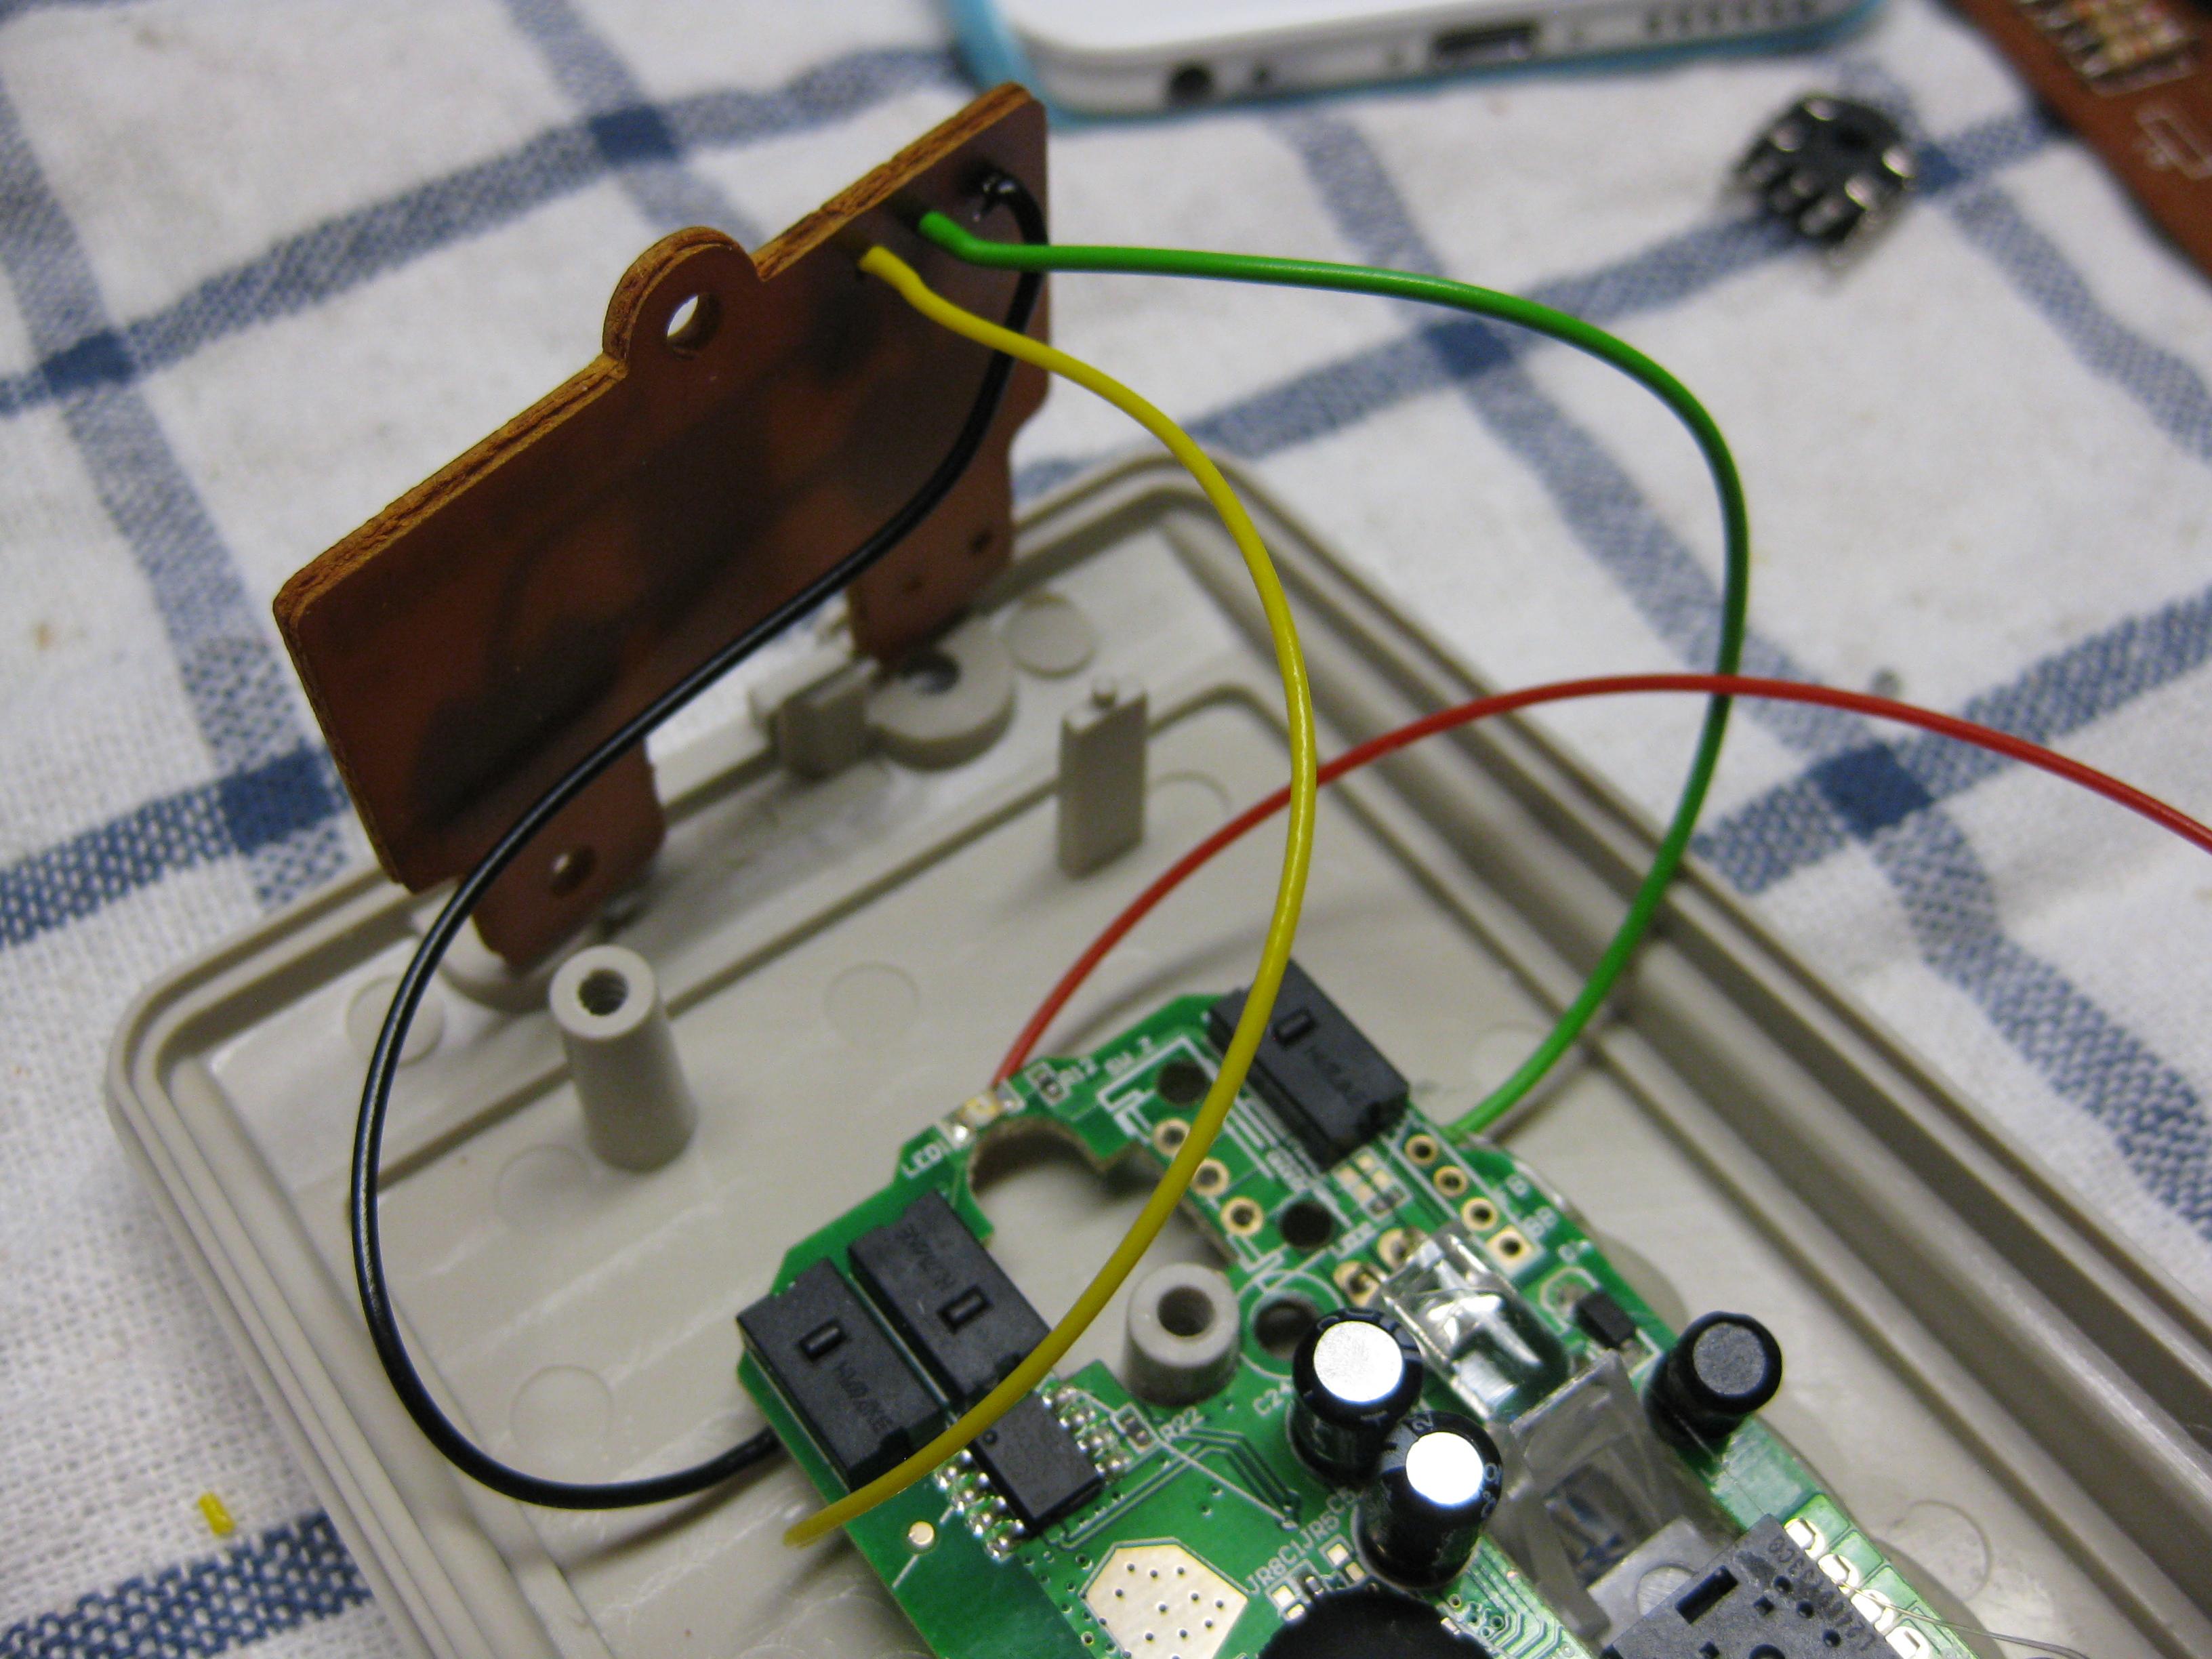
here you see how it fits. brown and red wire are left and right button signal
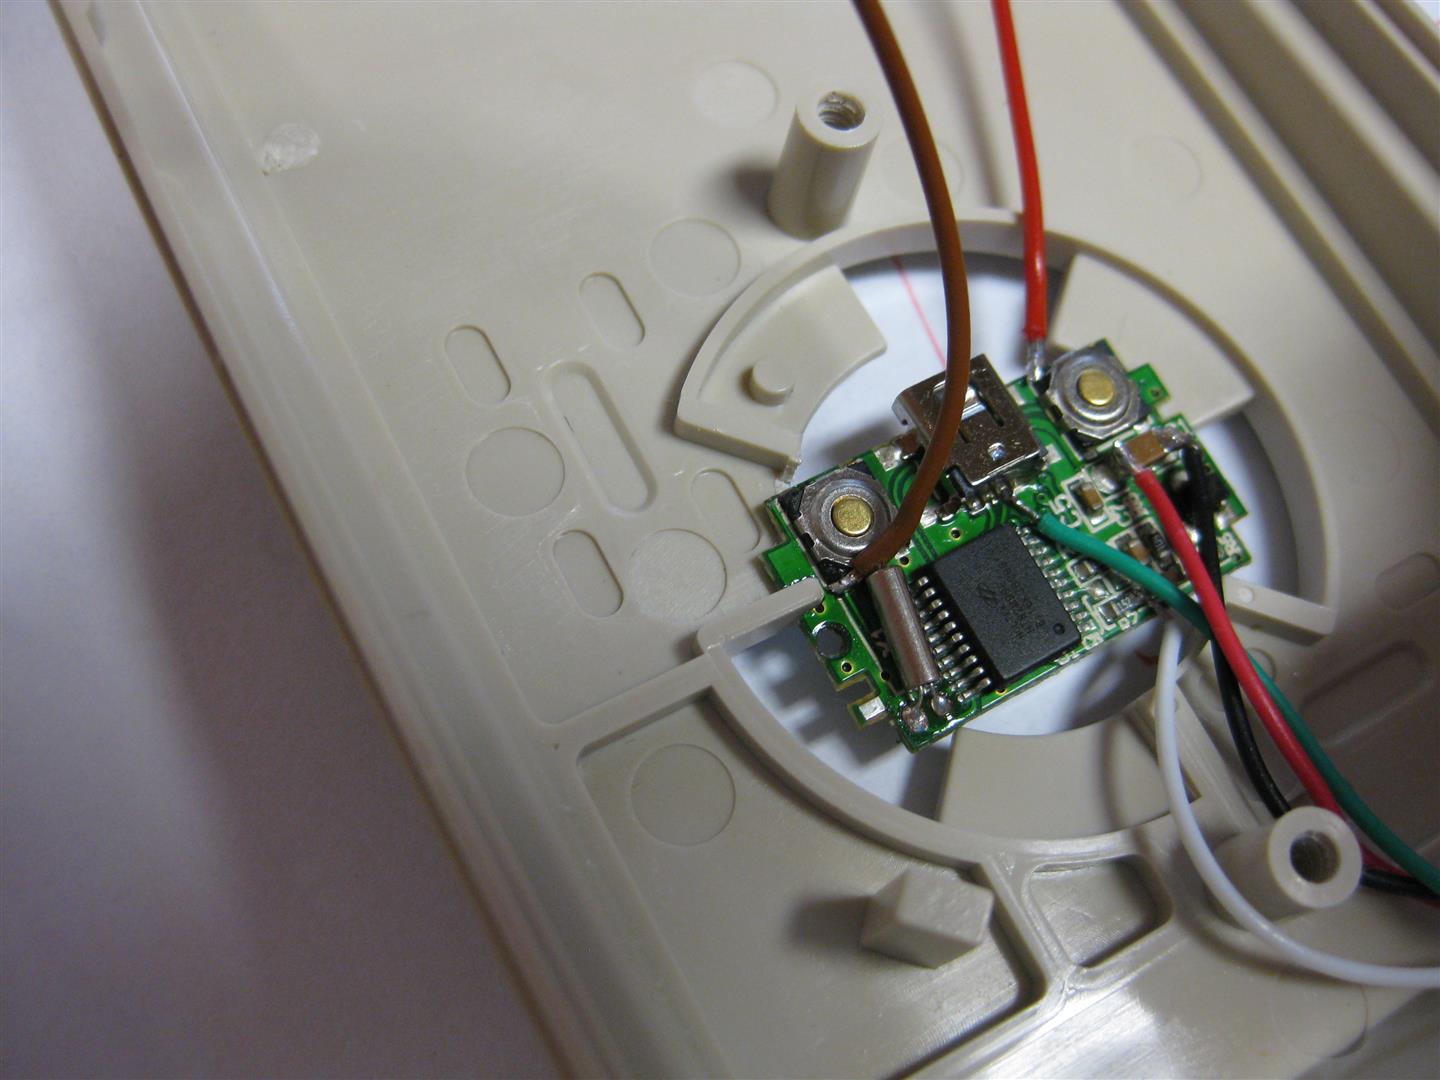
brown and red wire to the buttons and a ground wire and some screws to make it hold:
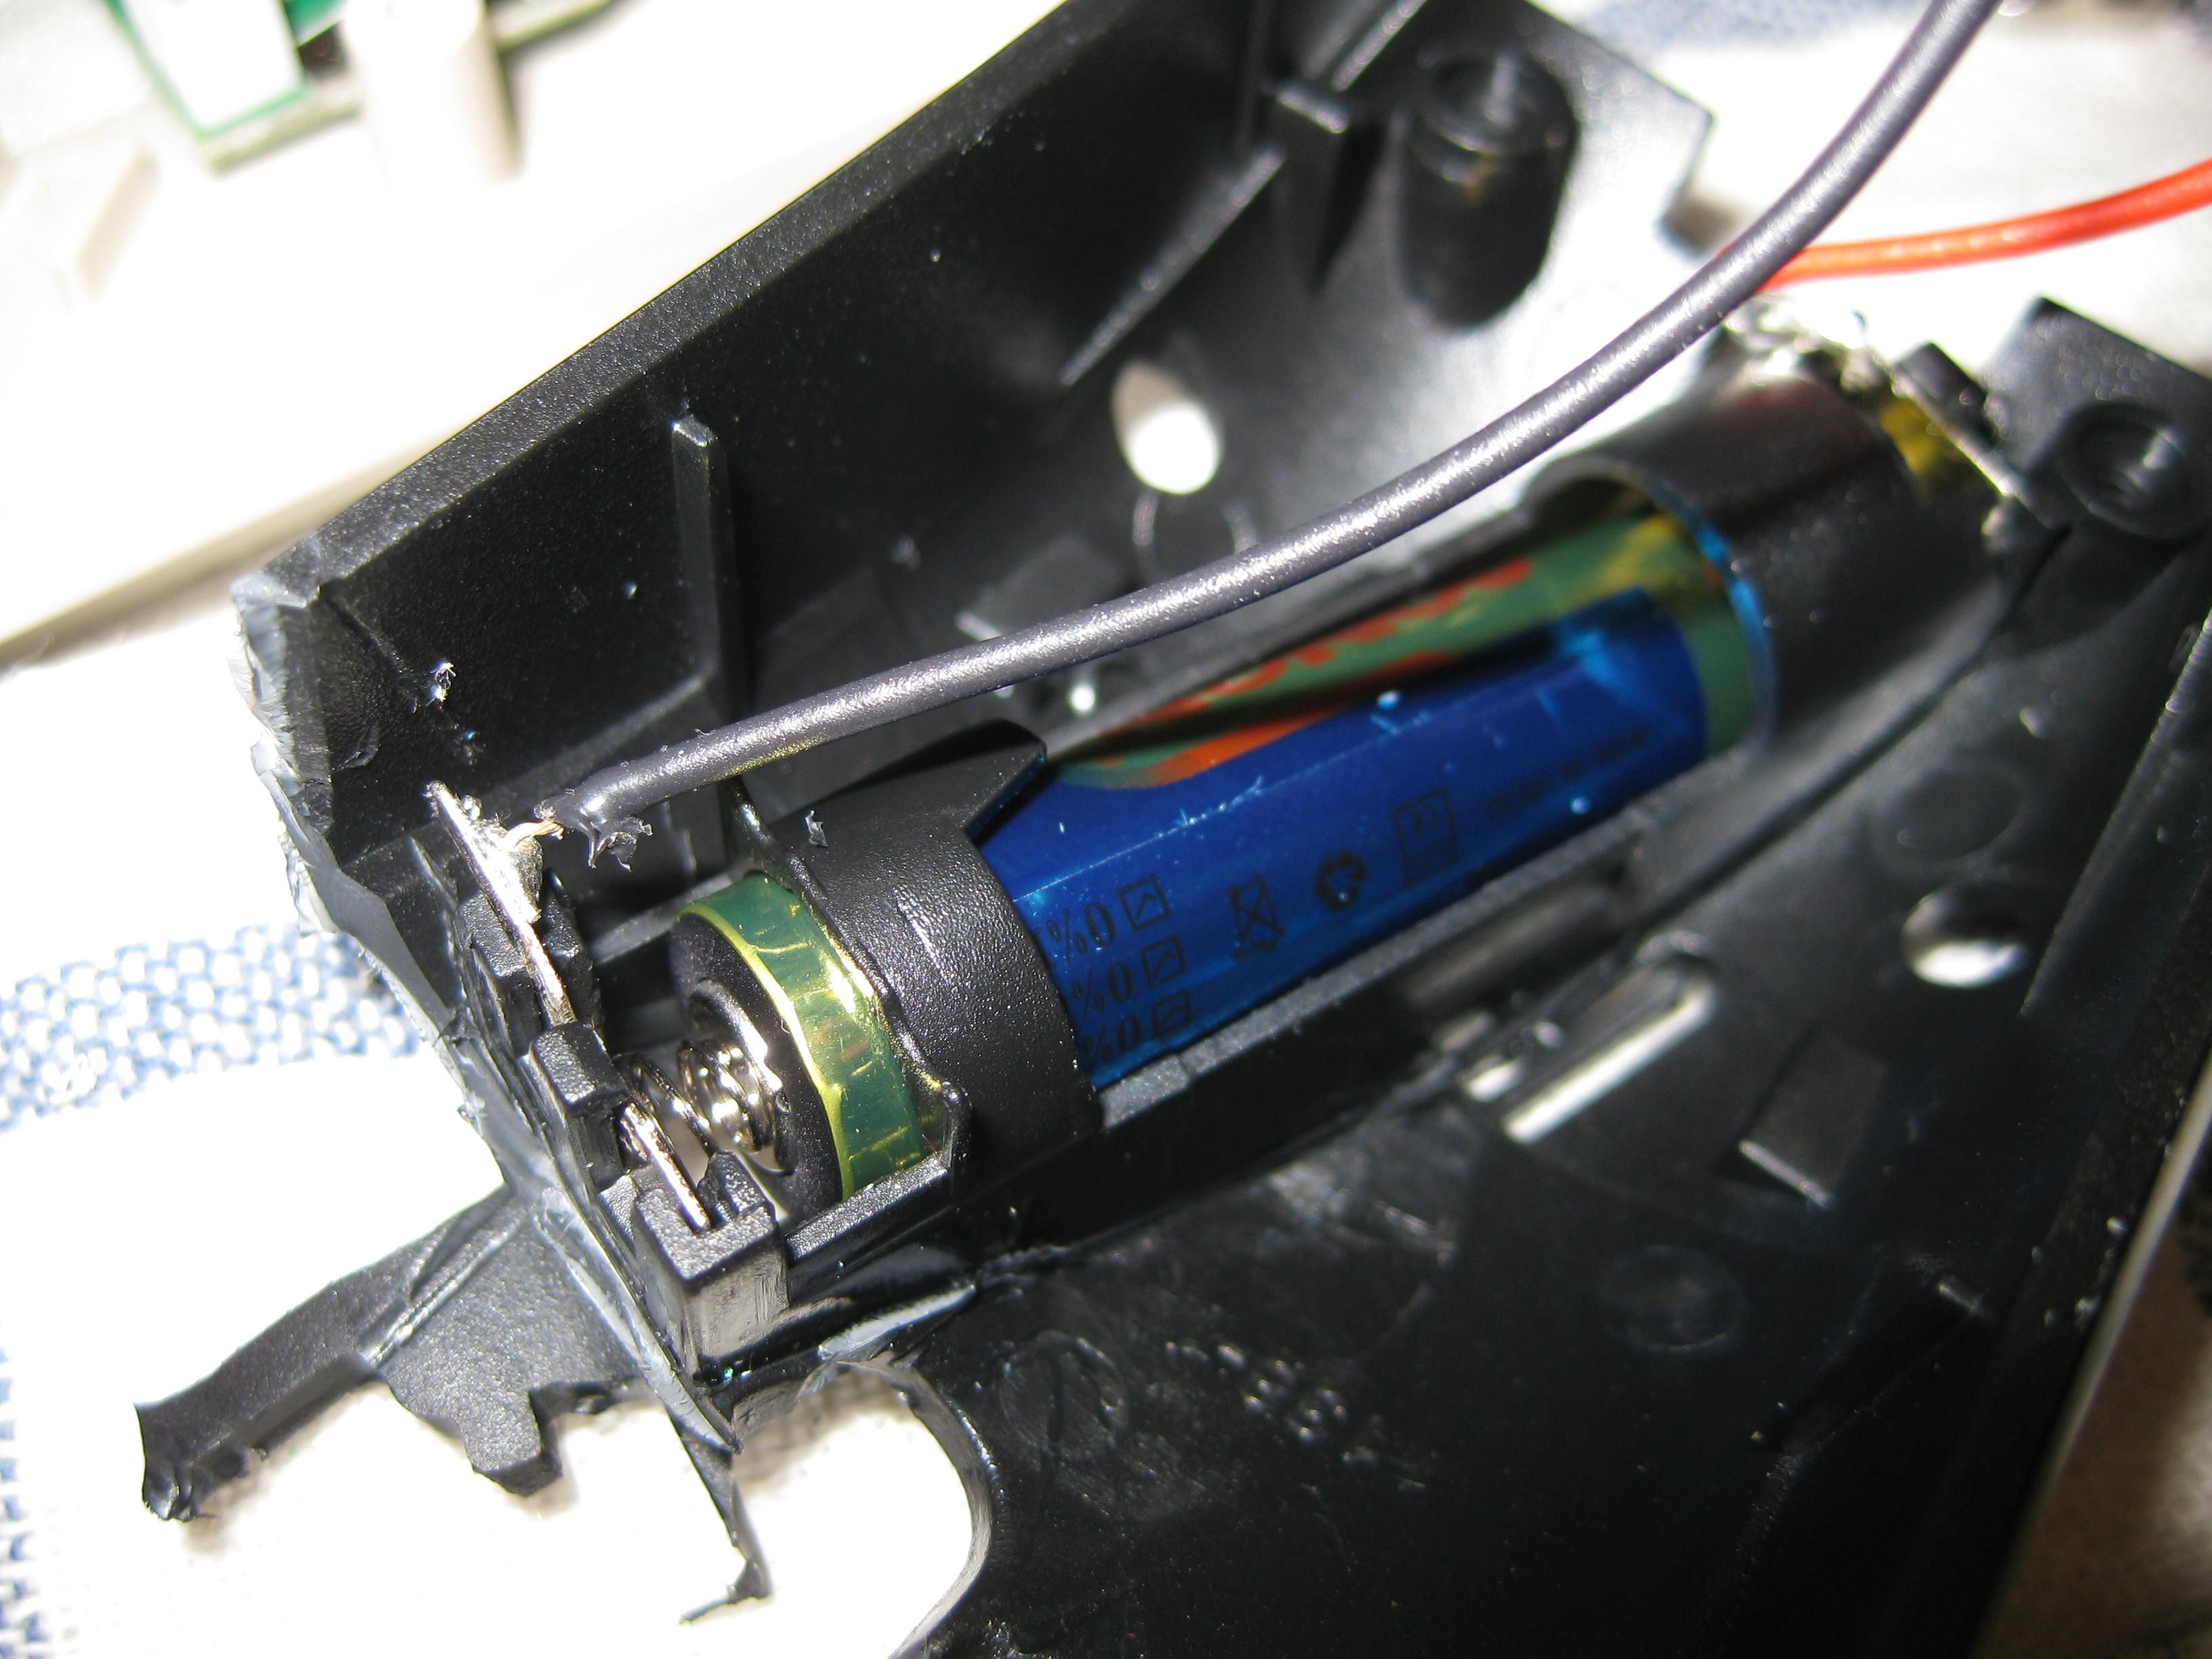
I changed the USB cable to make it look more authentical

openend the original cable holder and placed it to the usb cable

some clue and pressure
and now it looks like a real amiga mouse with cable but its working on PC
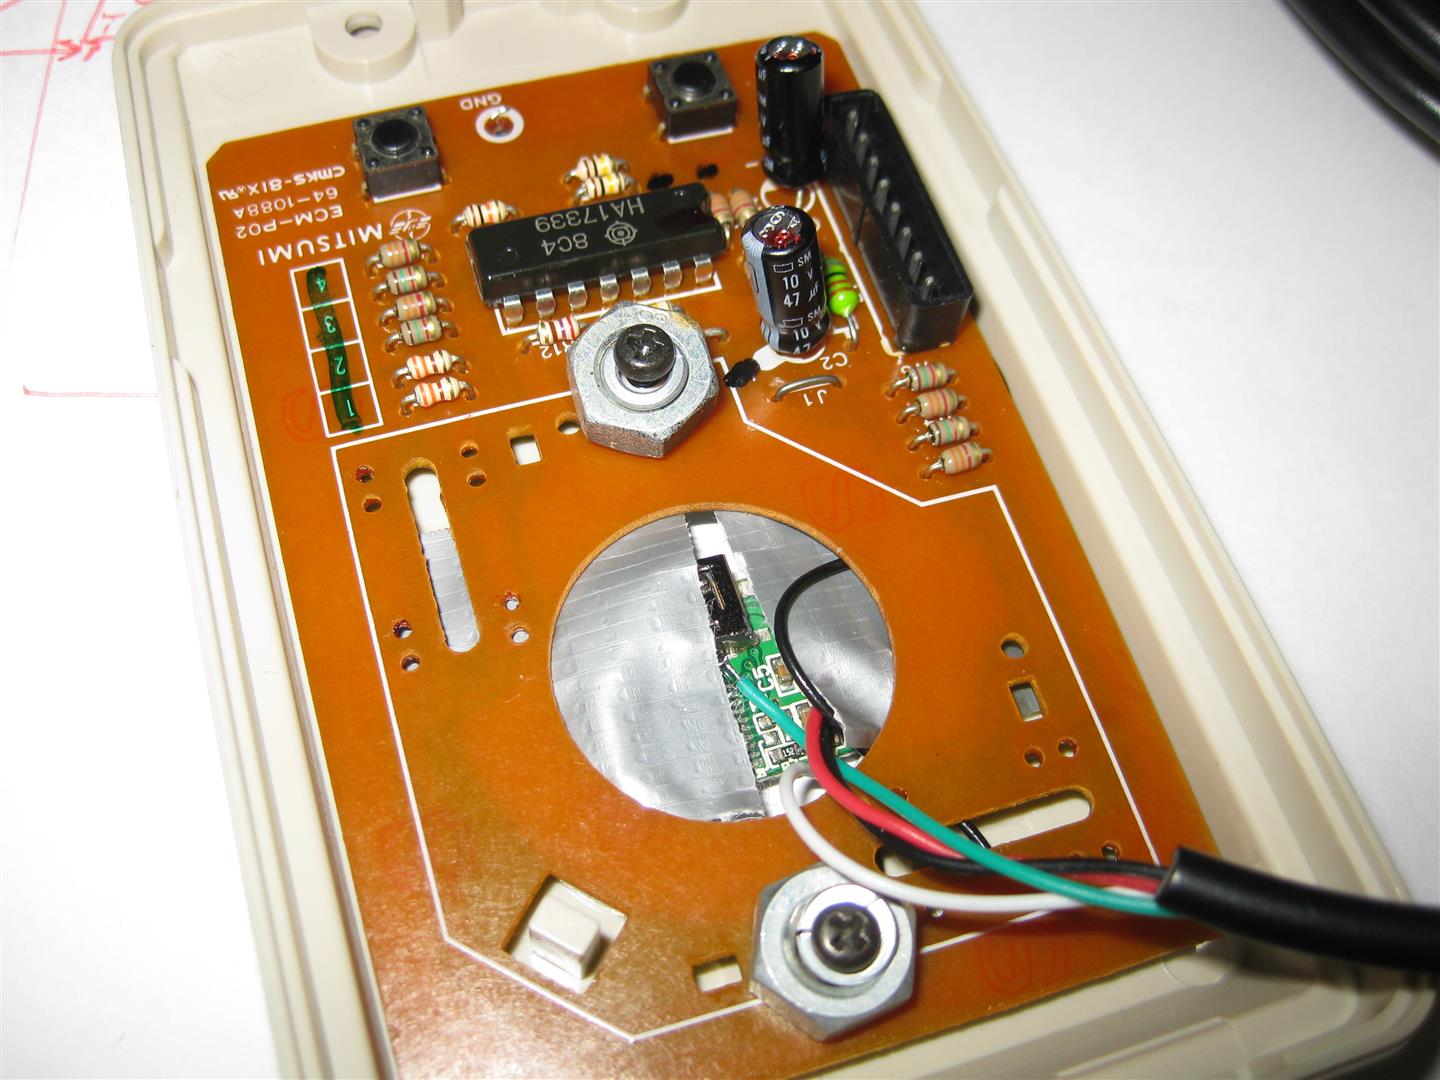
and with the help of this little device from Pawel Burdzy http://www.ebay.de/usr/electronika4you
it is working on amiga too ![]()
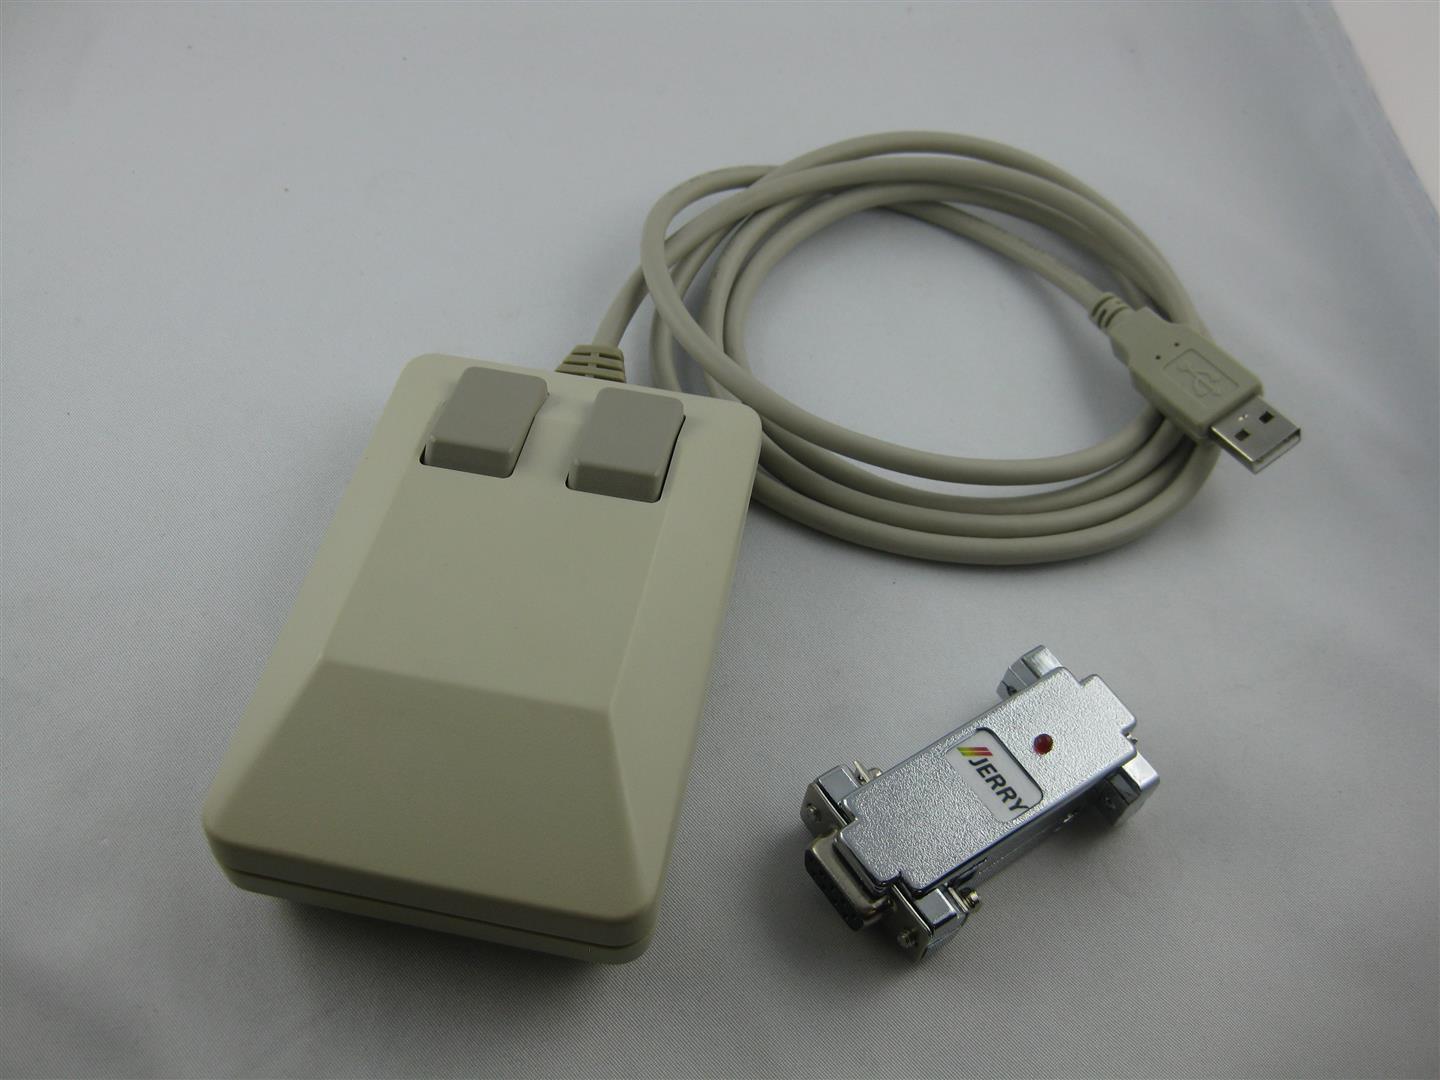

you can order it here
http://www.wolfsoft.de/shop/product_info.php/products_id/15230
Some month ago I got a lot of uwrc from micro look here:
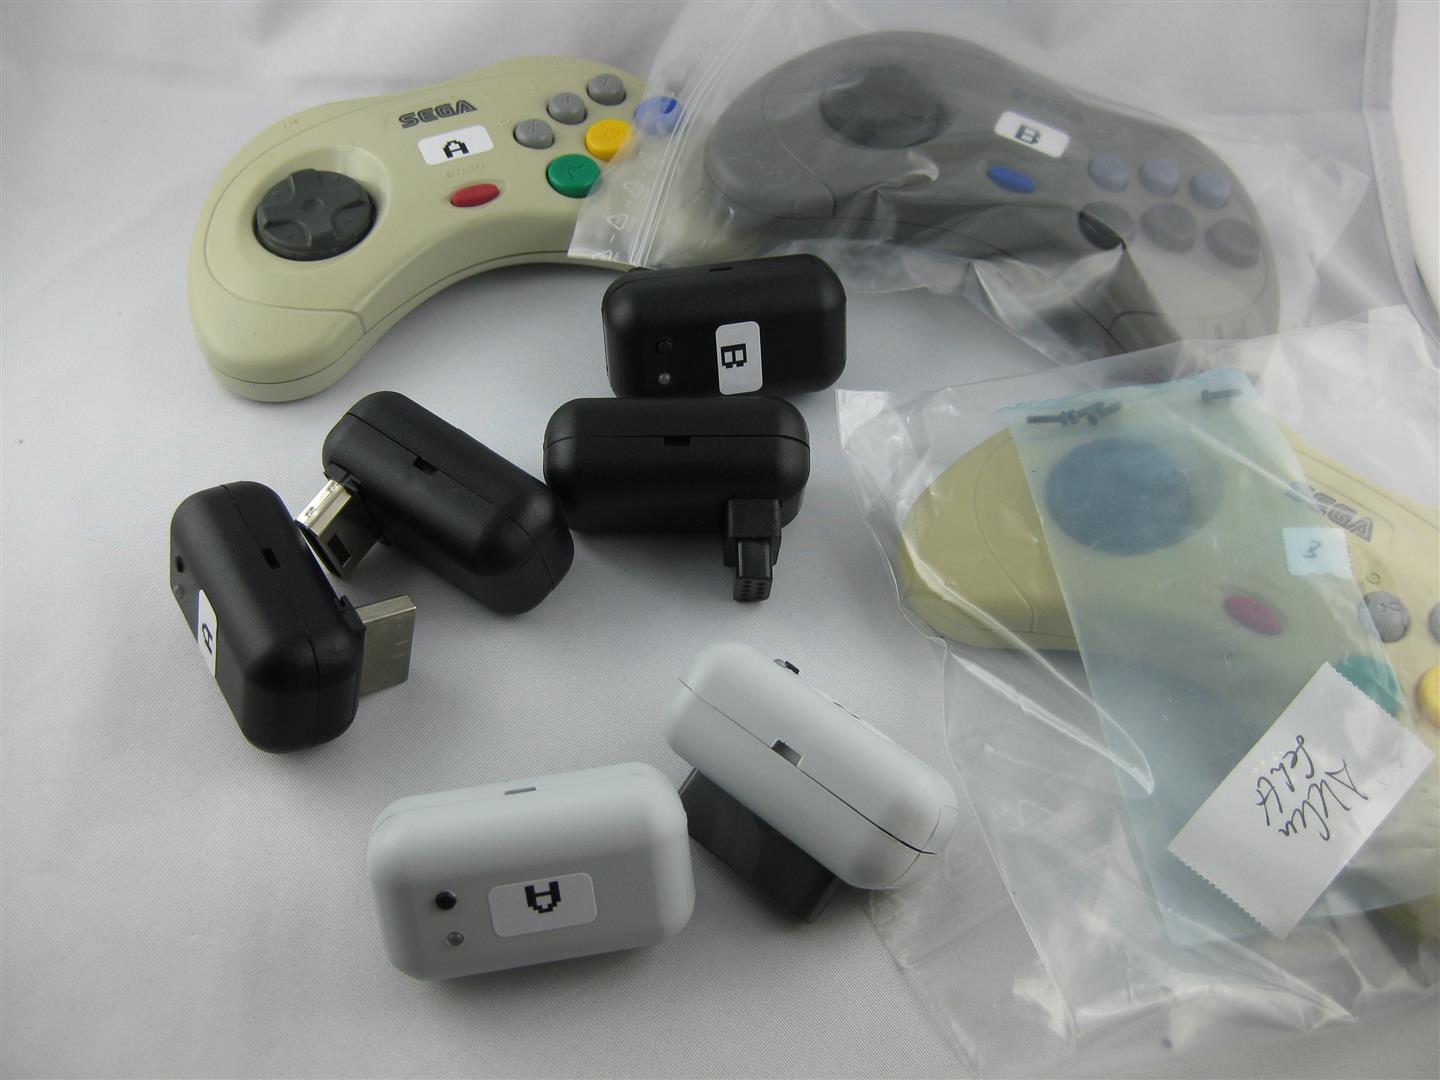
I got some snes, saturn, smd, parts.
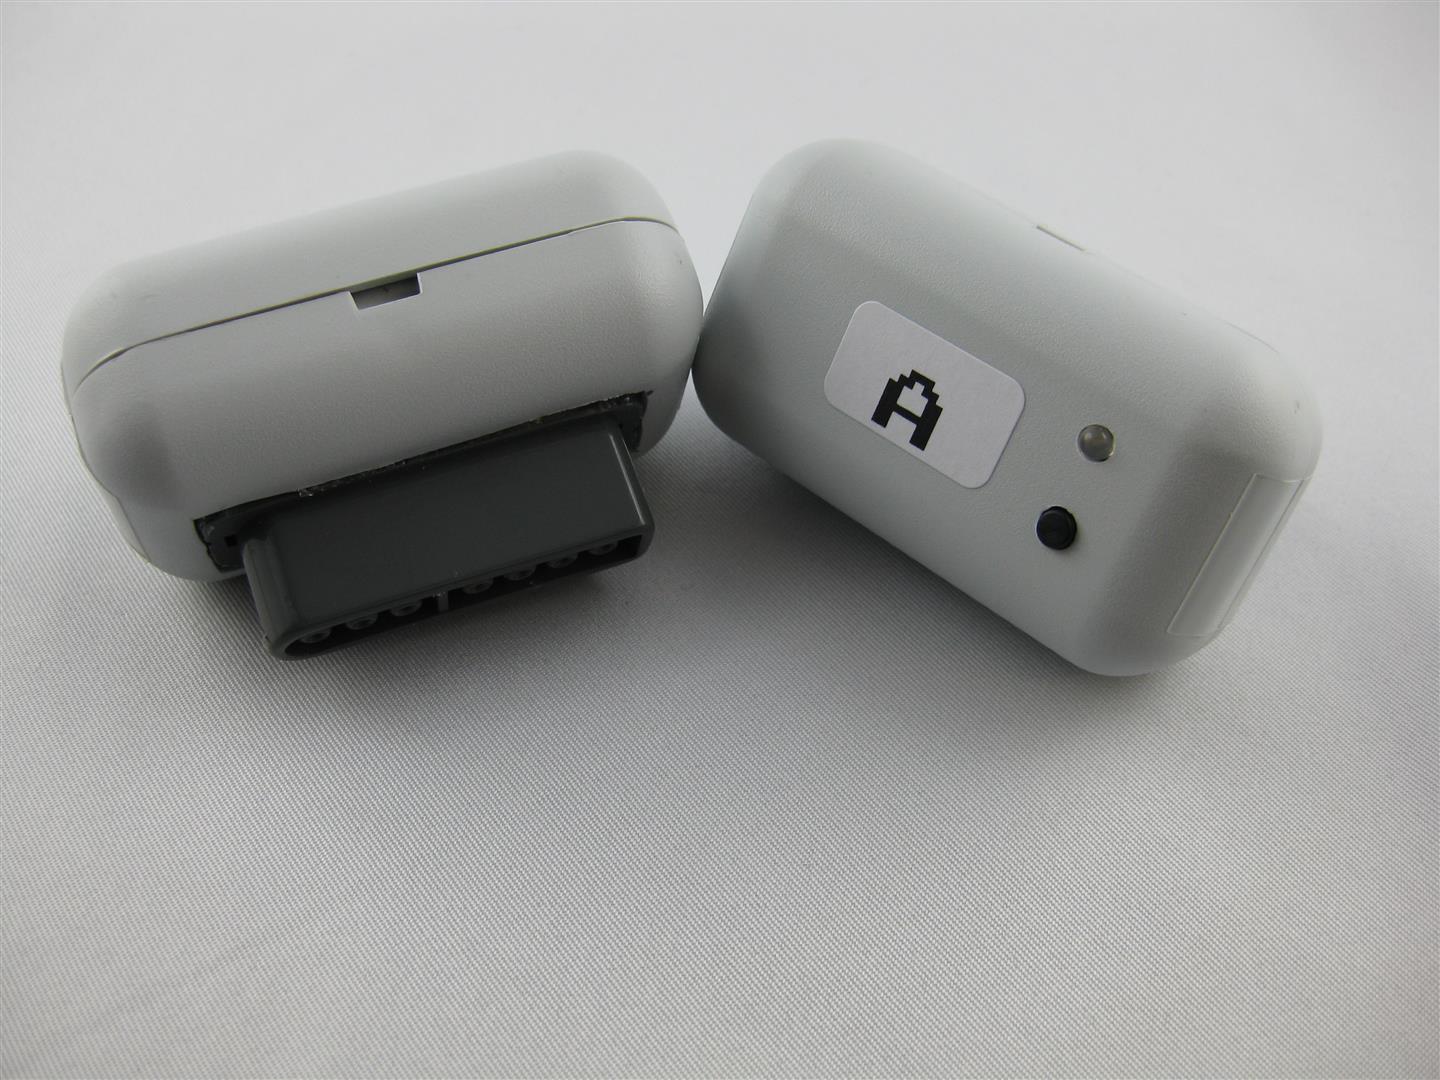
and a broken saturn pcb for hacking an old atari 2600 stick (one of my favorite console)
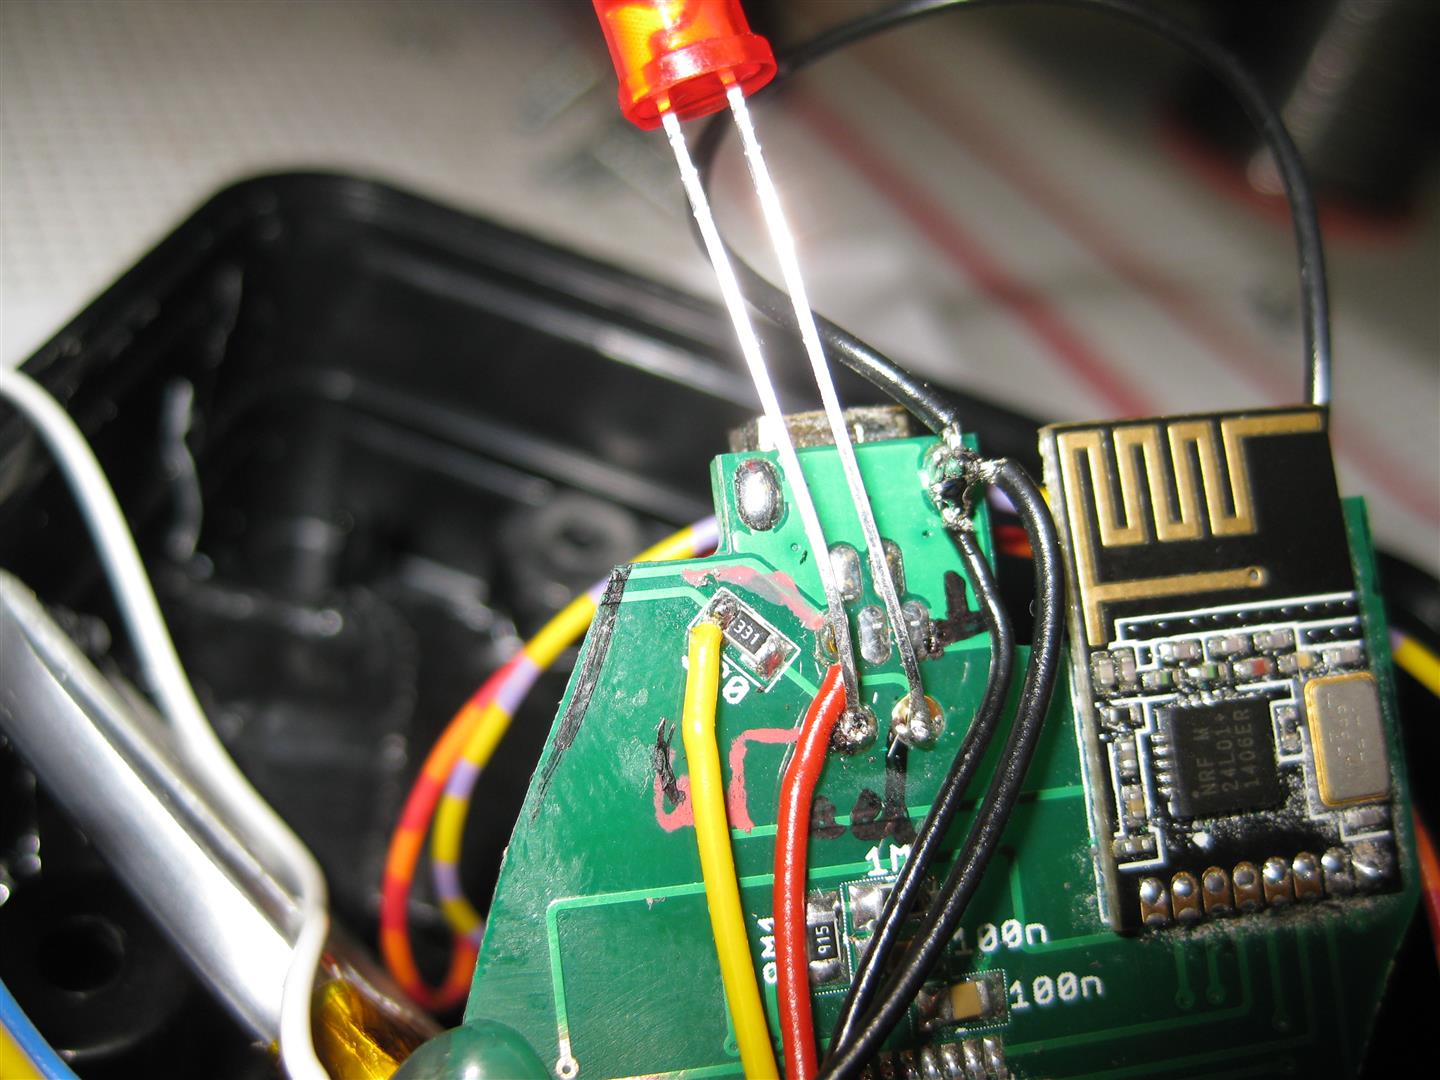
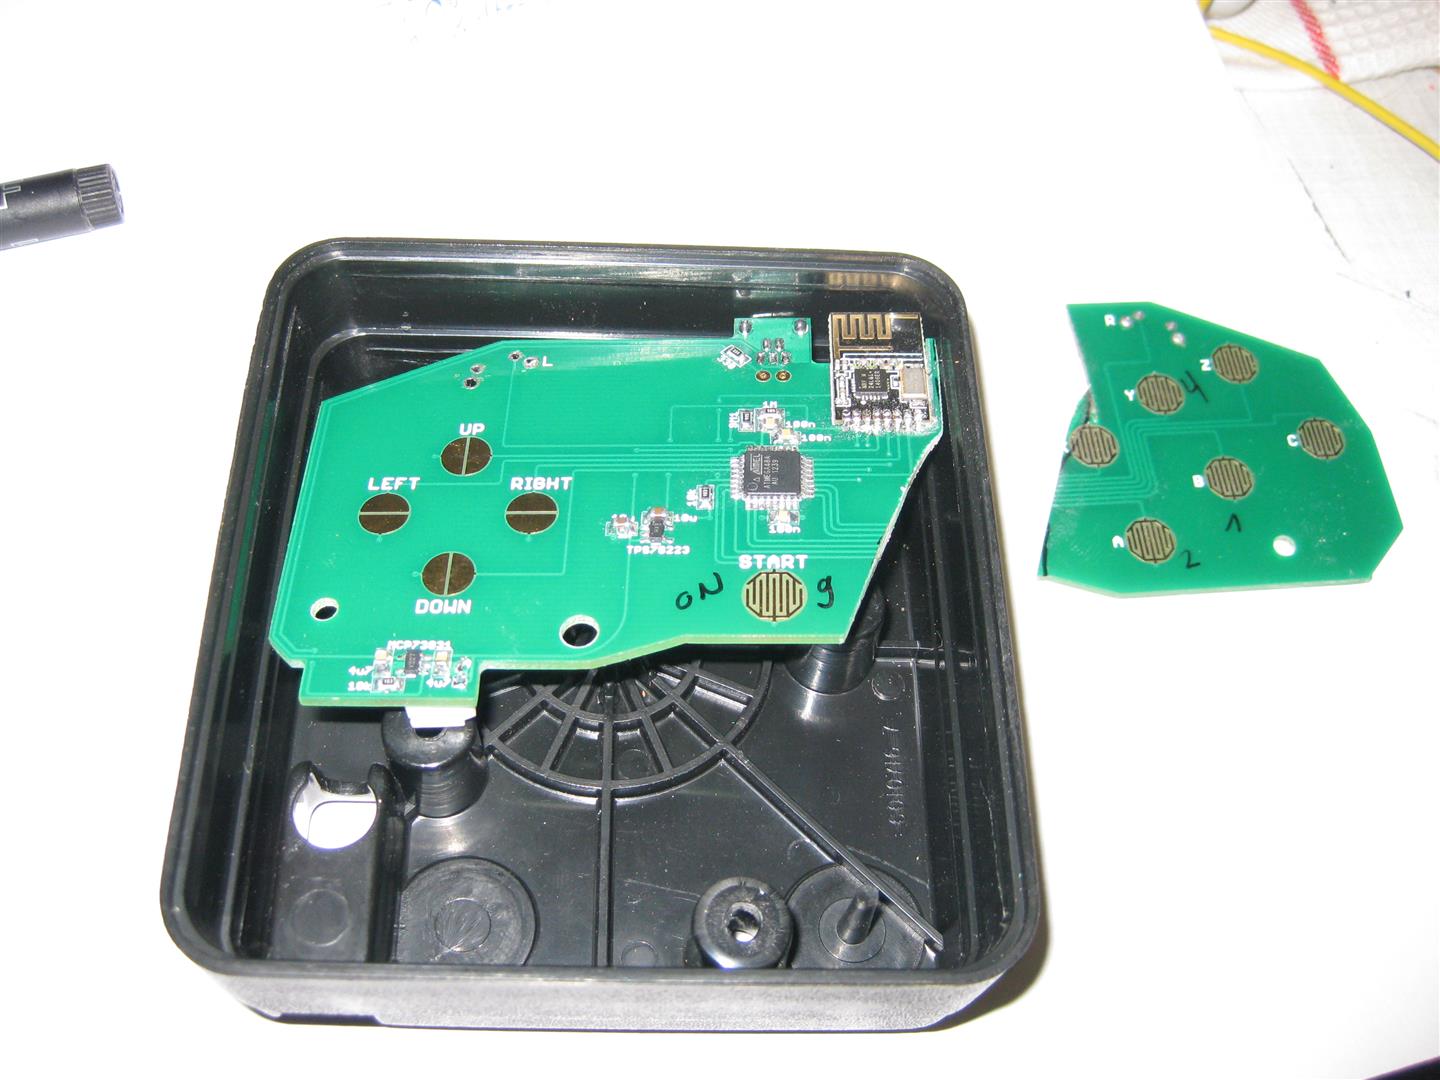
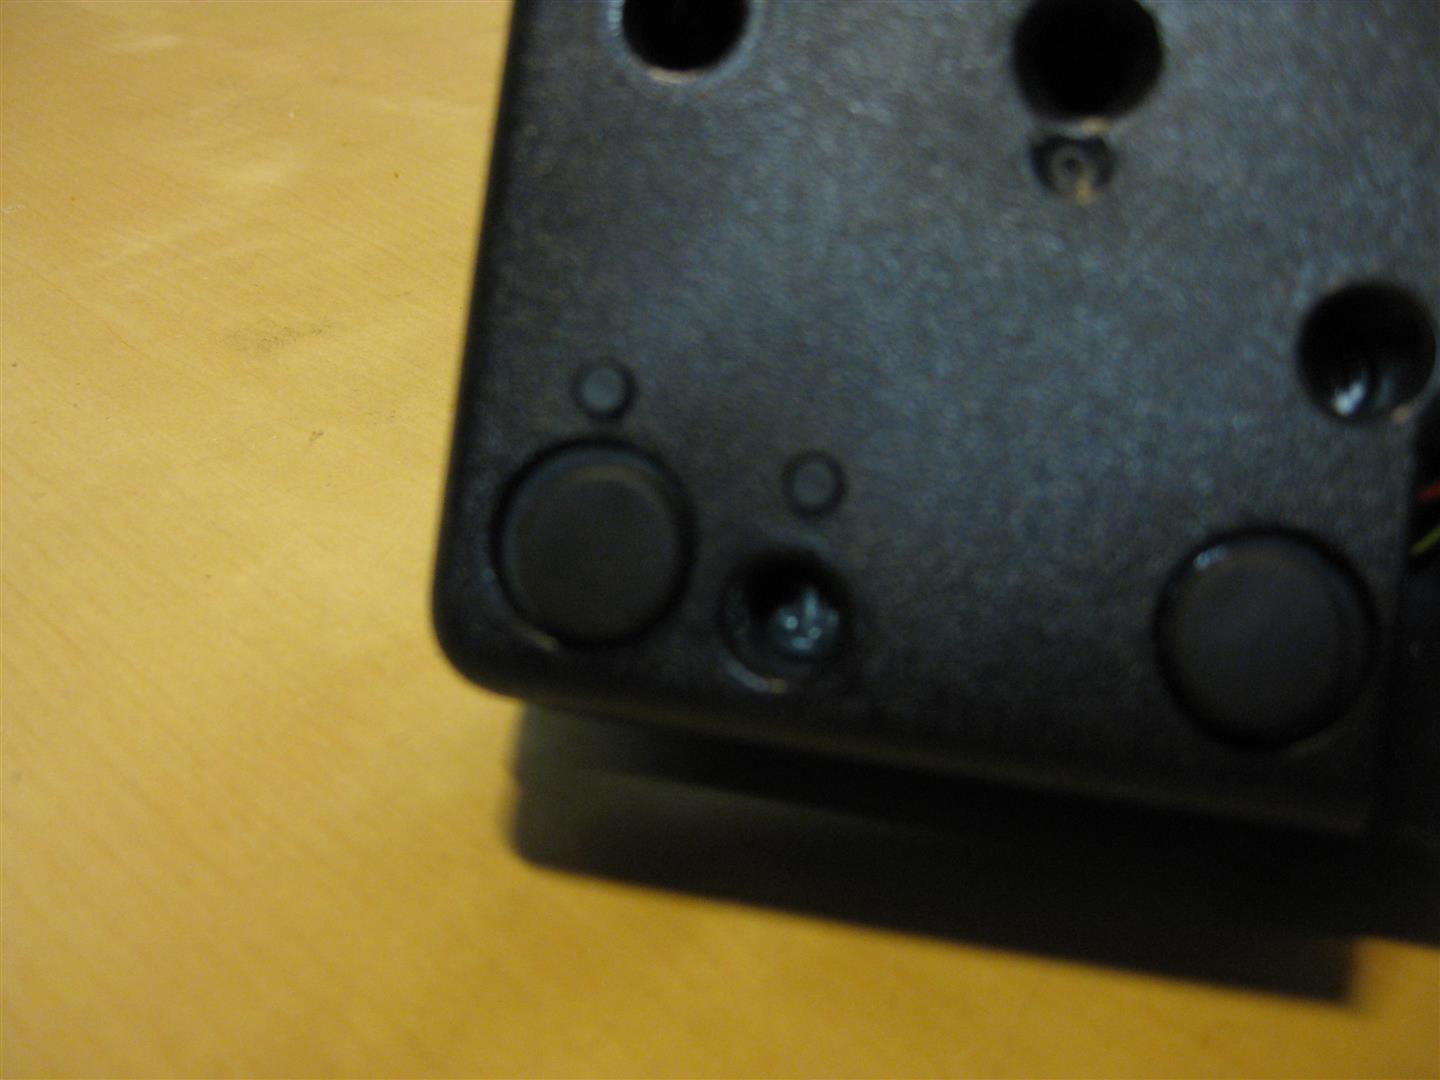
I put some micro switches downunder for start button and 2nd button
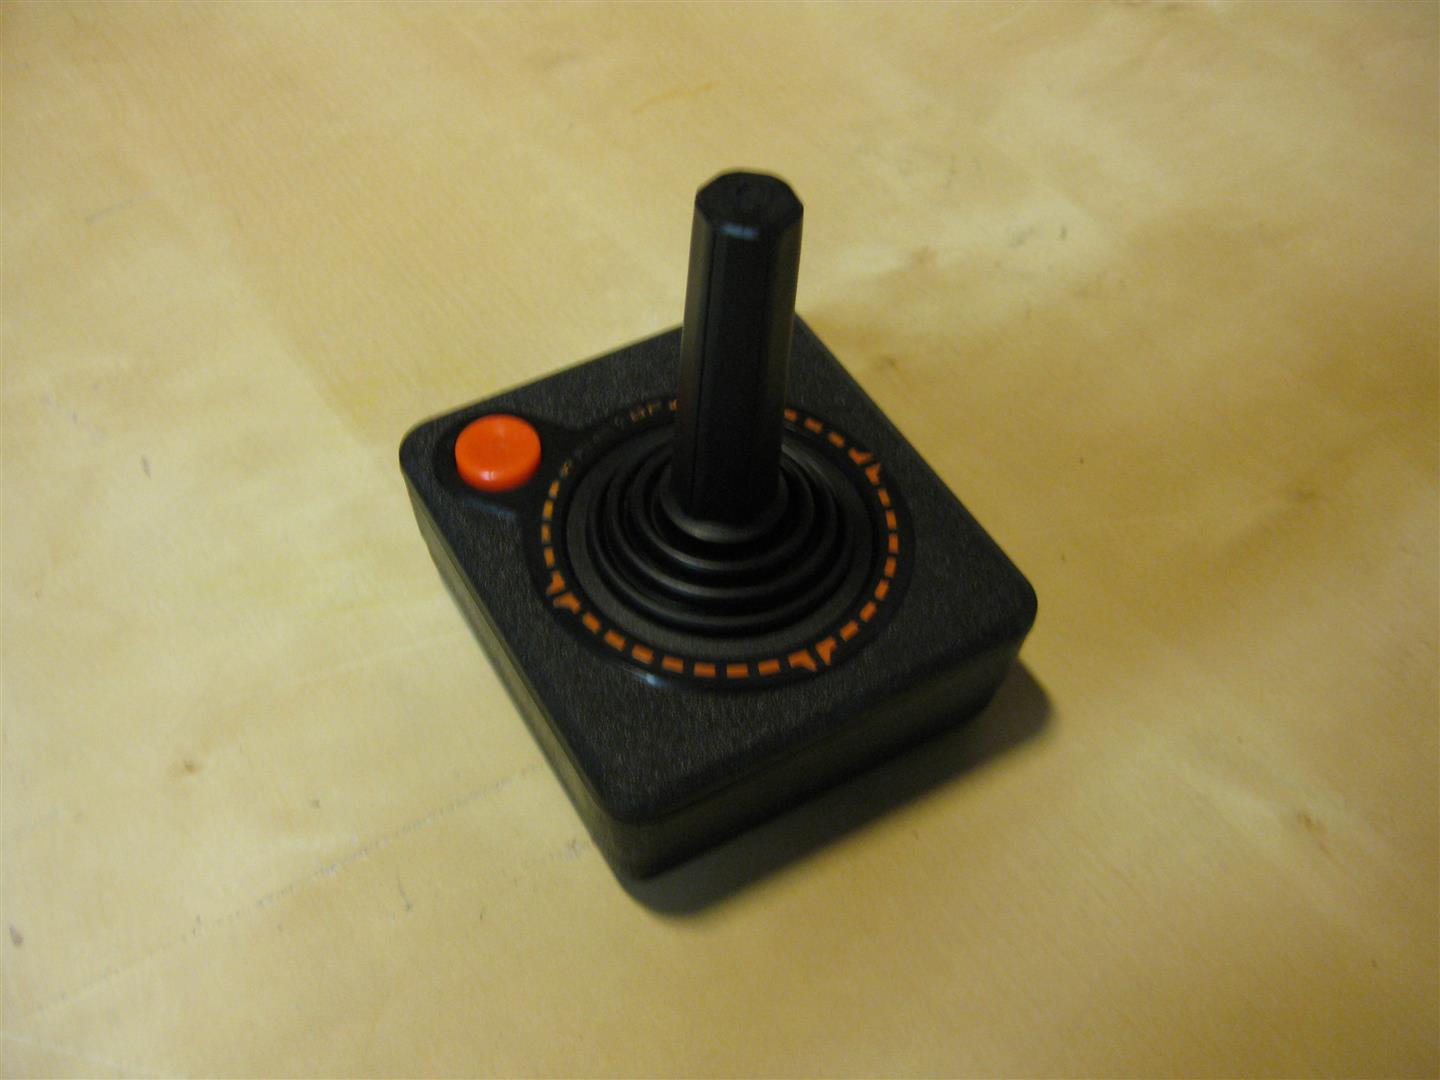
after some time I got my first hacked wirless Atari CX-40 Stick and it looks much better as the atari original
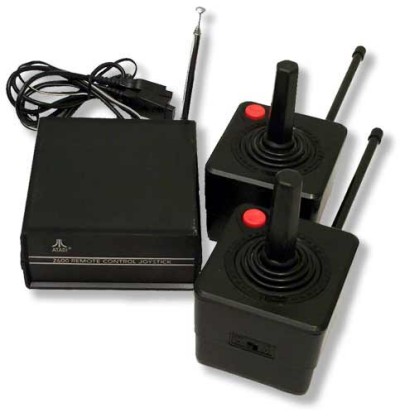
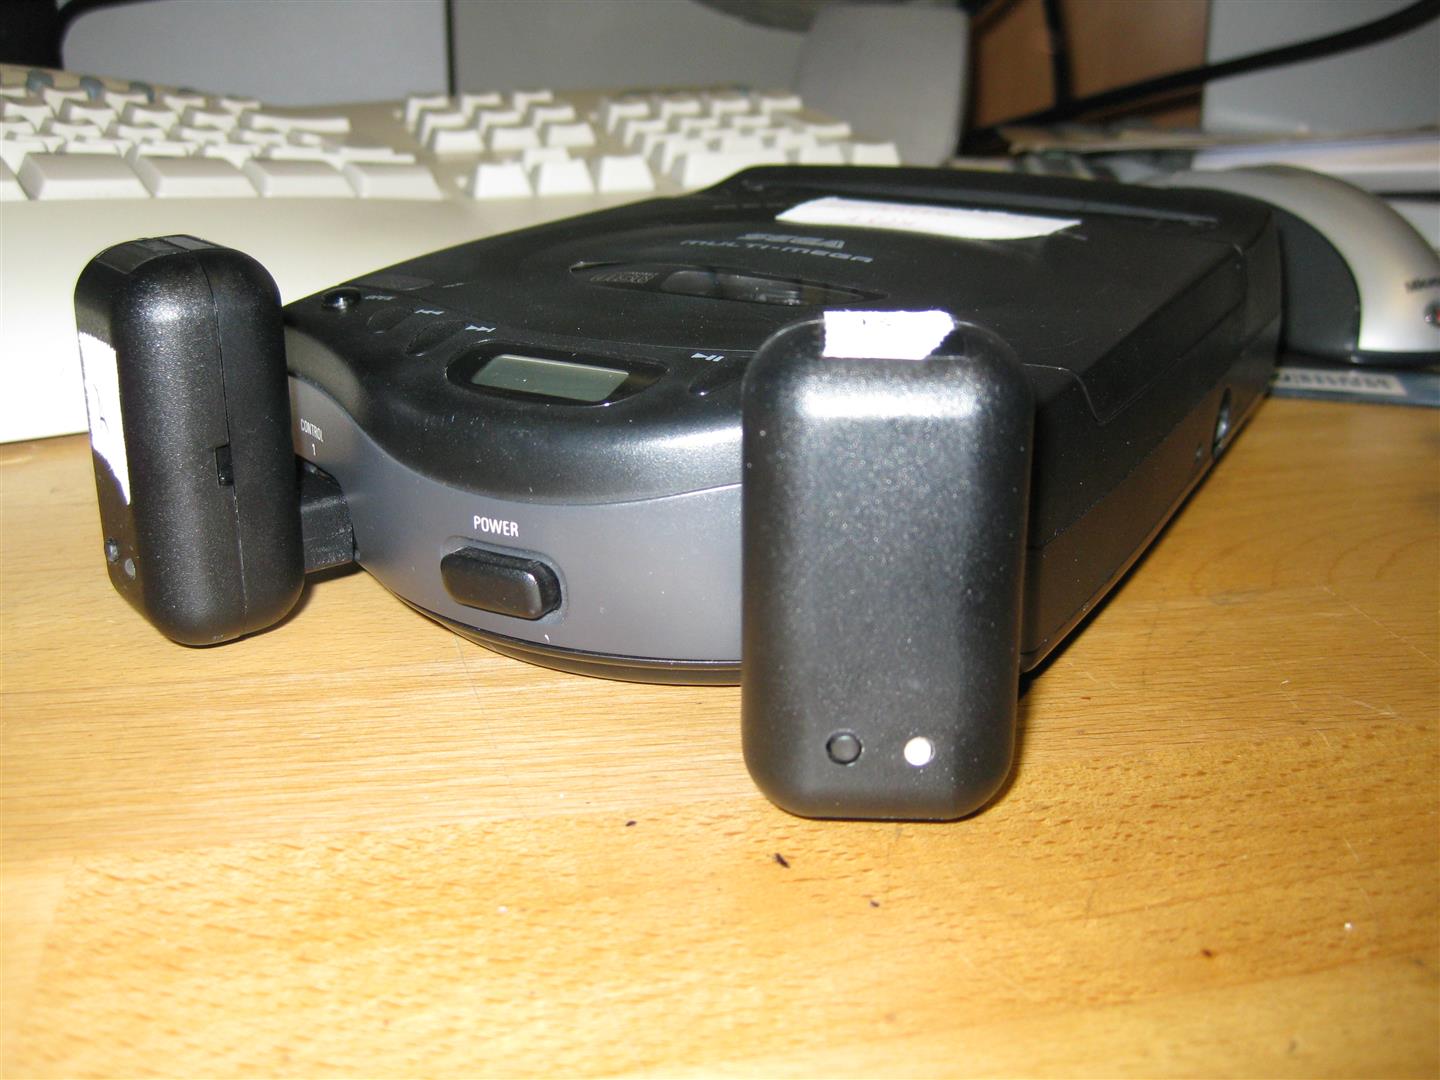
With the help of SegaMegaDrive Receiver all Kind of Controller works with eg:
Sega Master, Sega Mega Drive, Sega MultiMega, Atari 800, Atari 800XE, Atari 800XL Atari 2600, Amiga, Atari ST, Commodore C64 ![]()
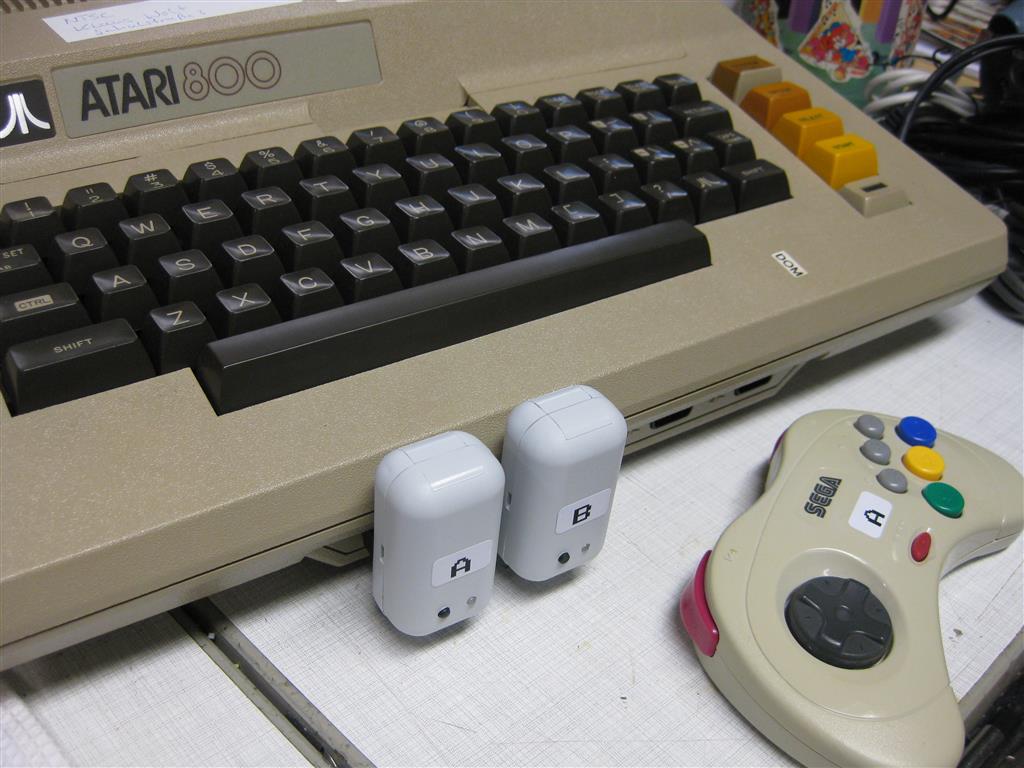
I used a Retro-Adapter and a SNES Receiver from micro, to make the UWRC work with usb for PC Emulator using.
Now I can use all kind of controller at the original Consoles and PC
I am currently have Controllers:
4x UWRC Saturn Controllers
1x UWRC SNES Controller (micro I need more, please make a new batch of pcbs)
1x UWRC Atari CX-40 Controller
Receiver:
some Saturn Receiver
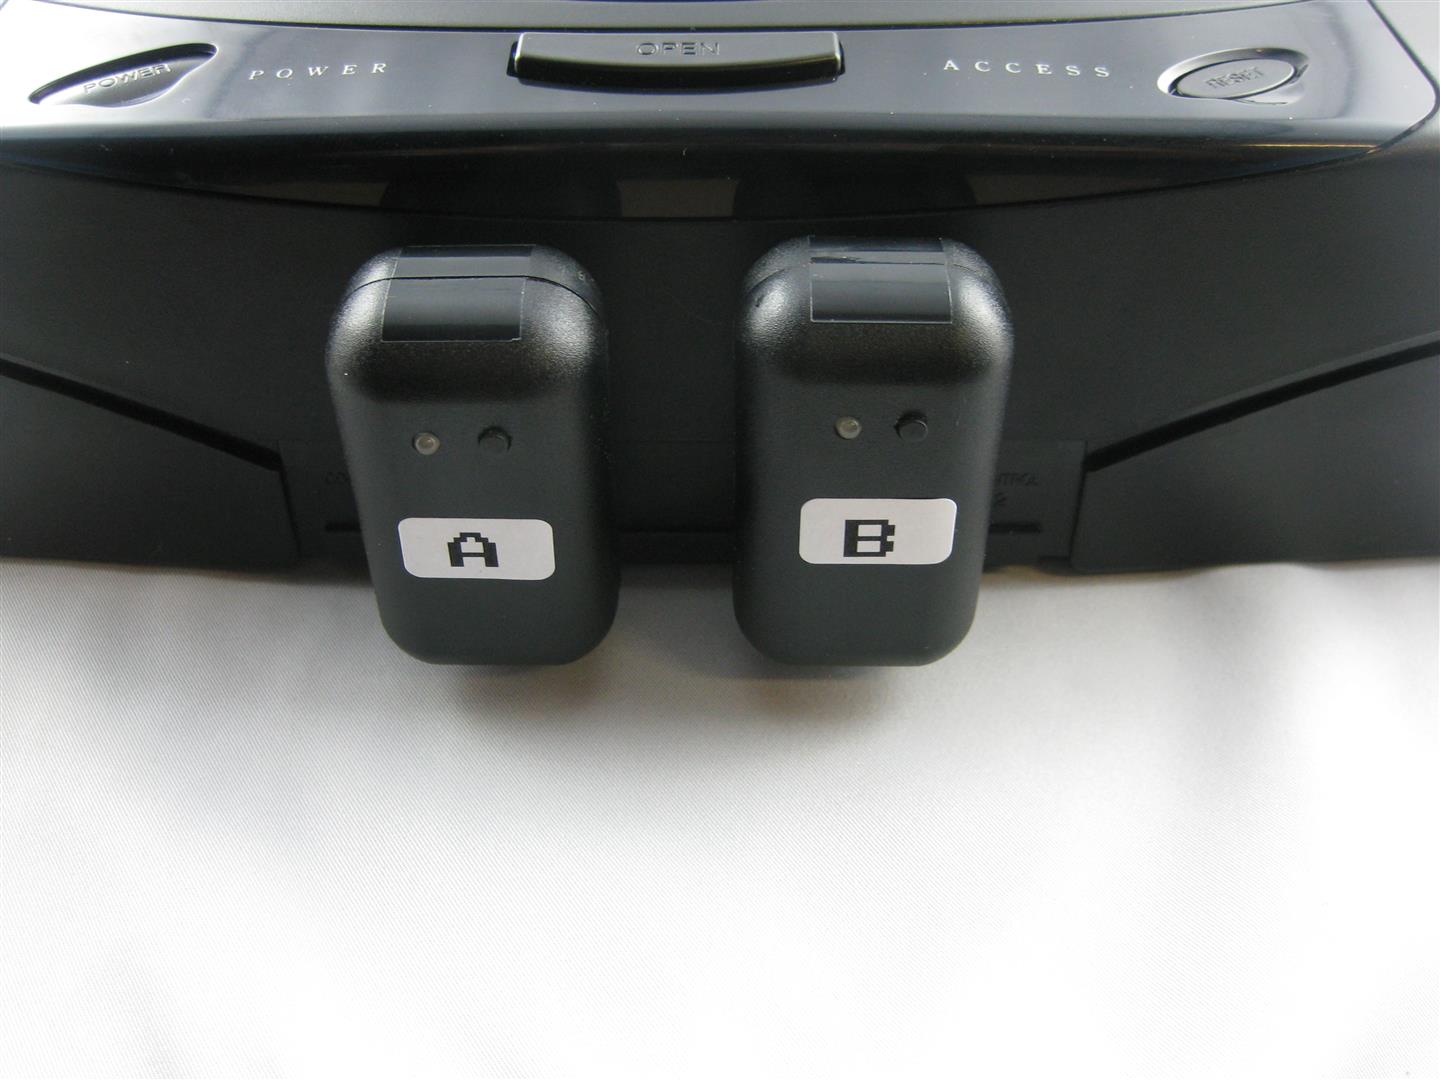
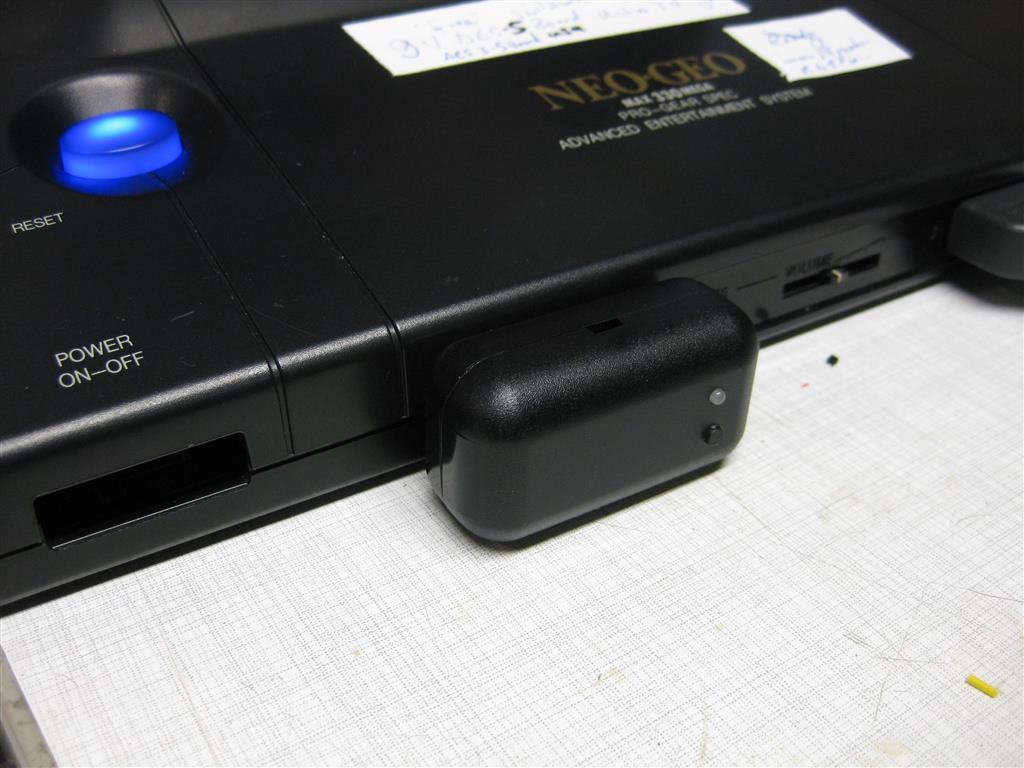
2x Neo Geo Receiver
Snes Receiver
After all, gaming wireless is the best thing happens to my old consoles since years
thanks to micro to make this possible
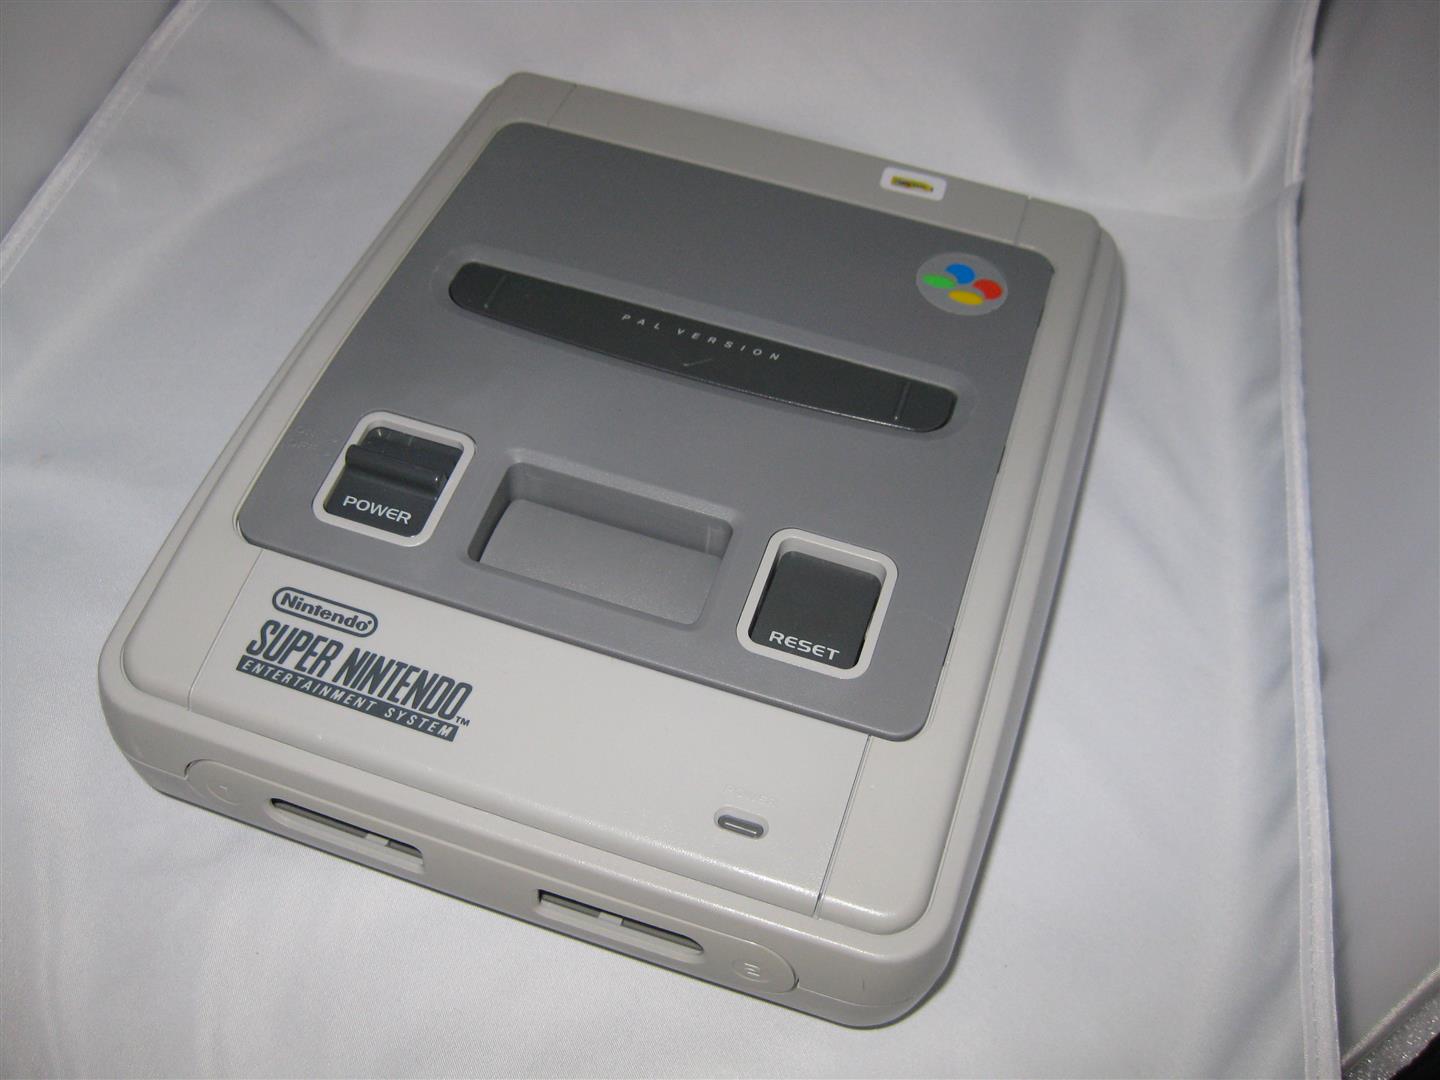
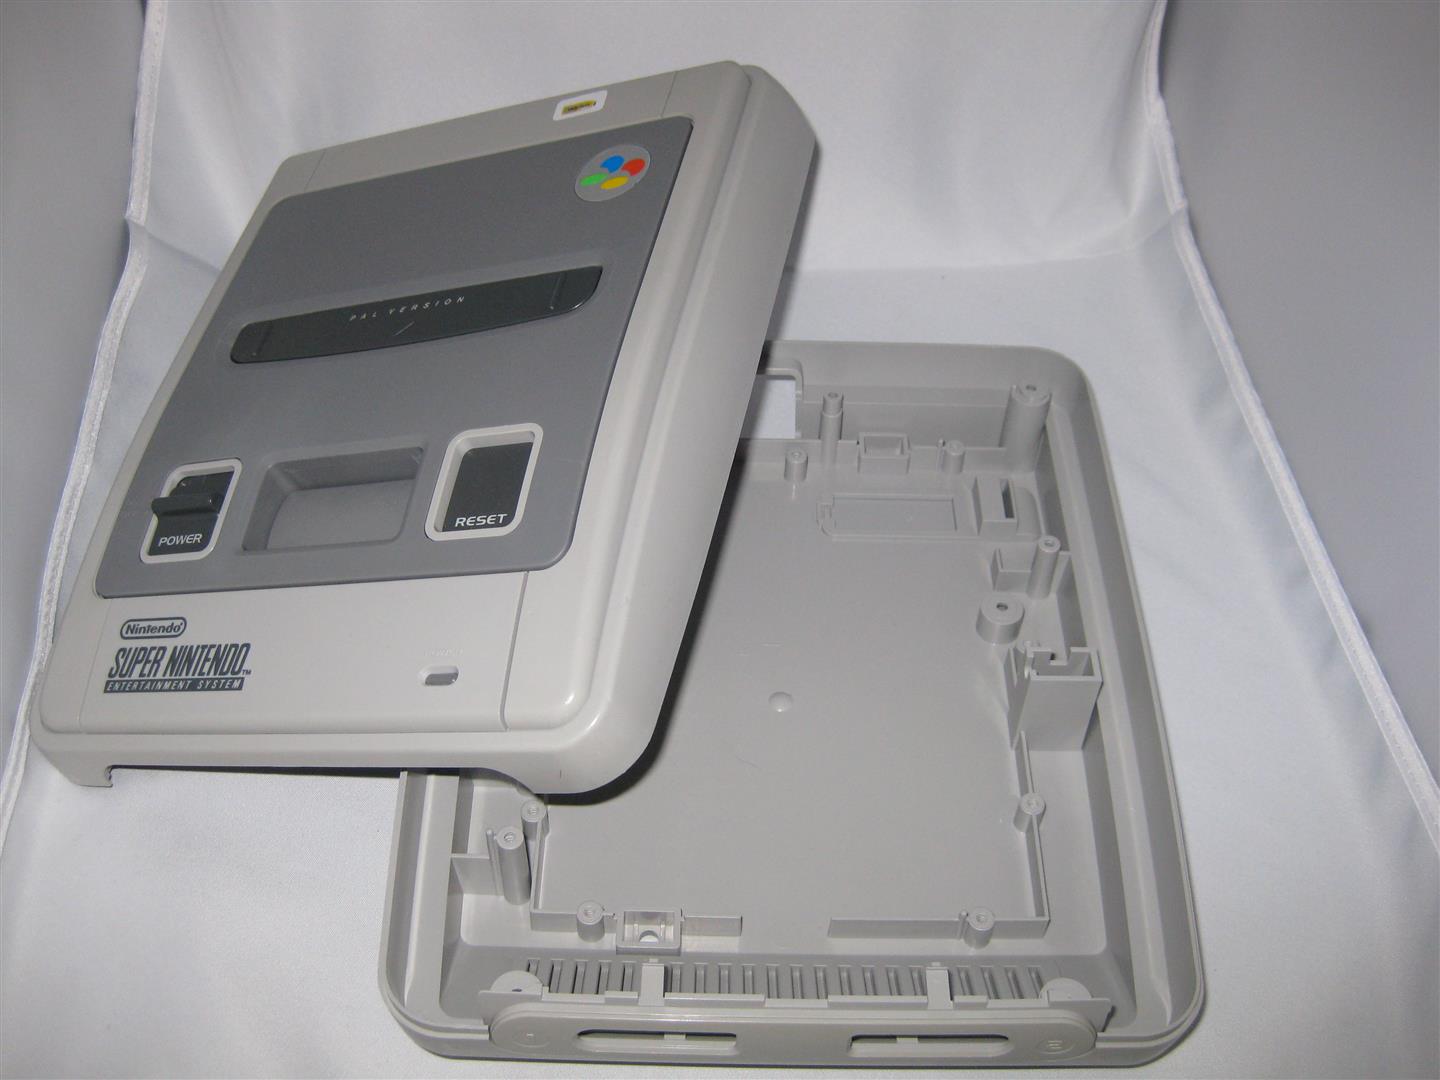
look here for a snes looking not good
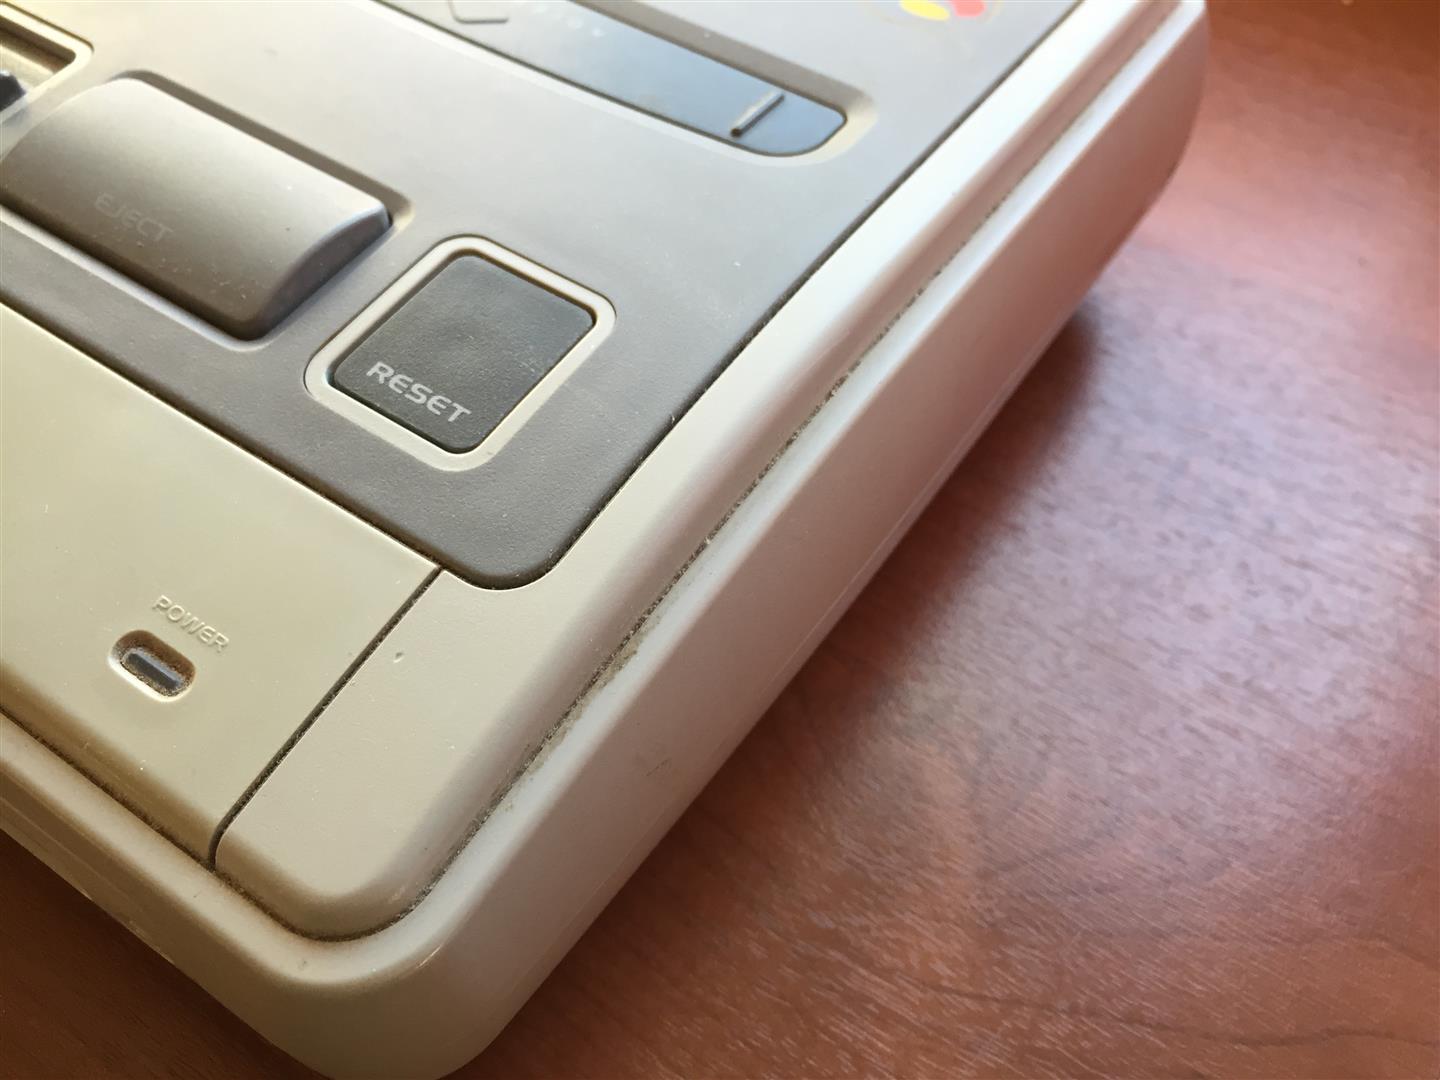
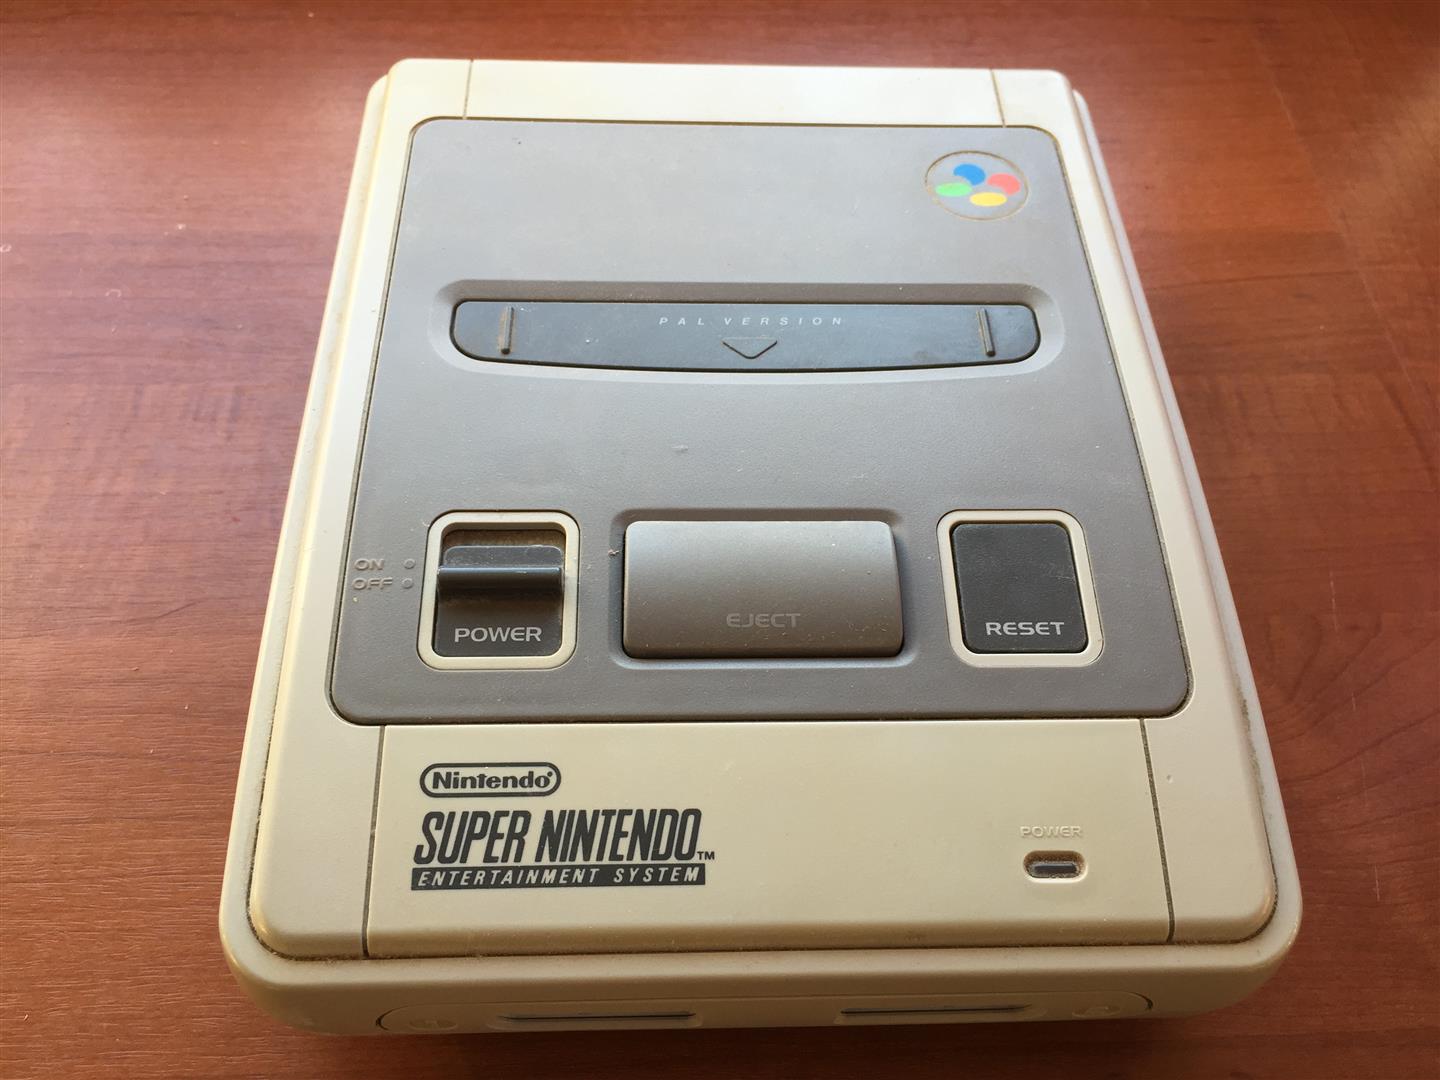
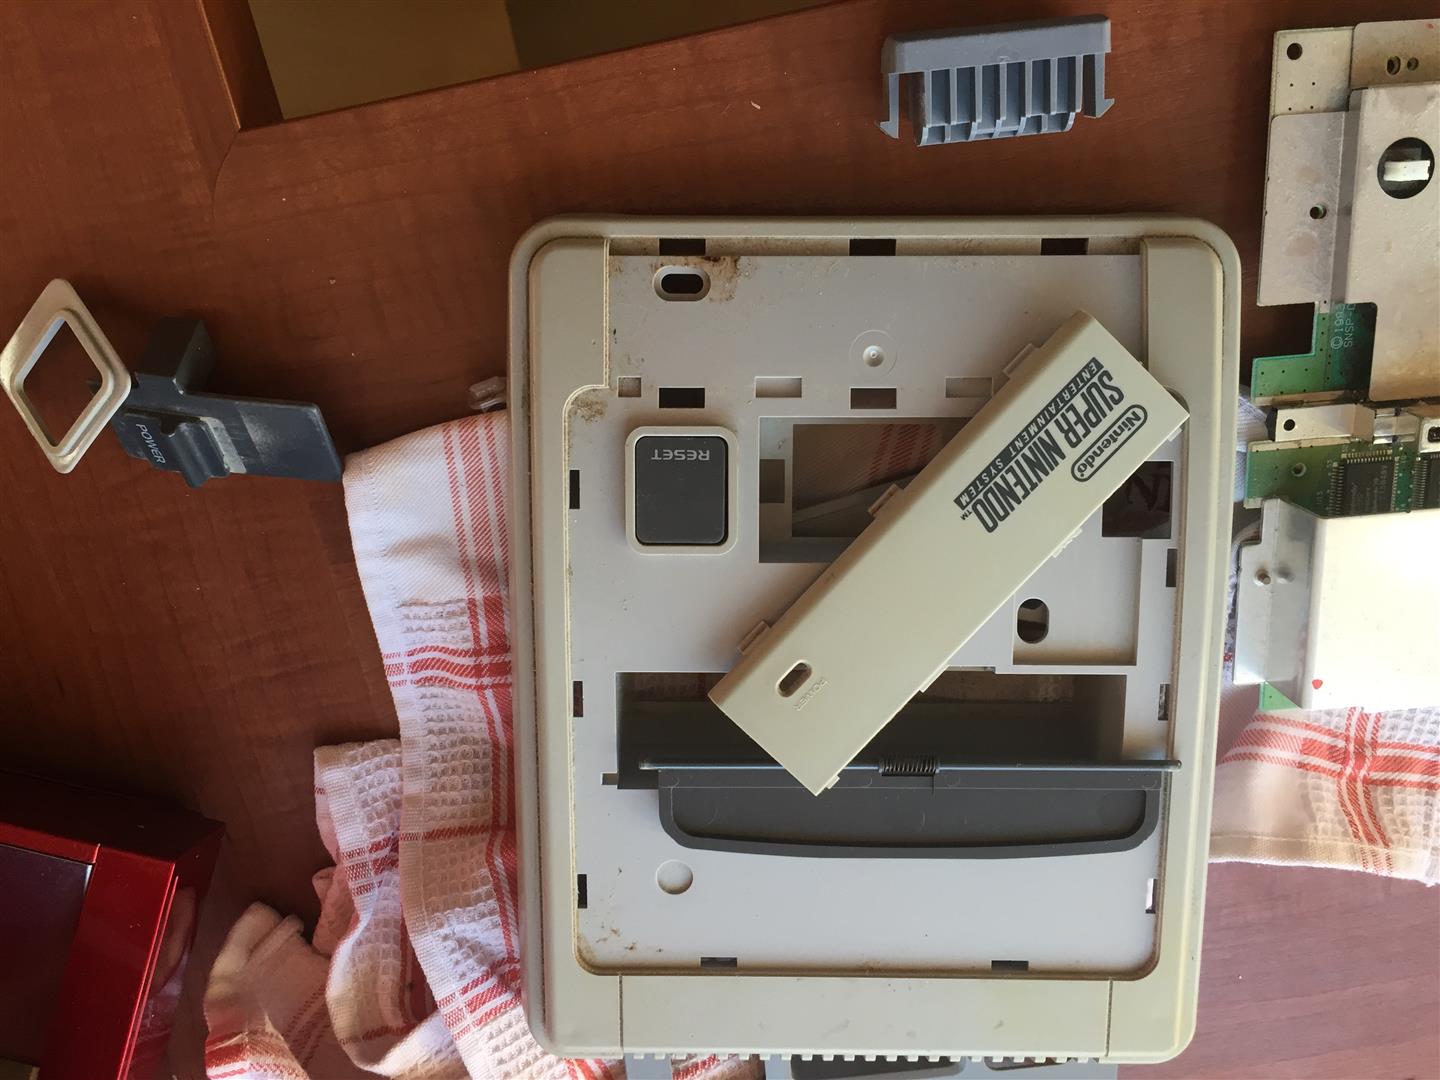
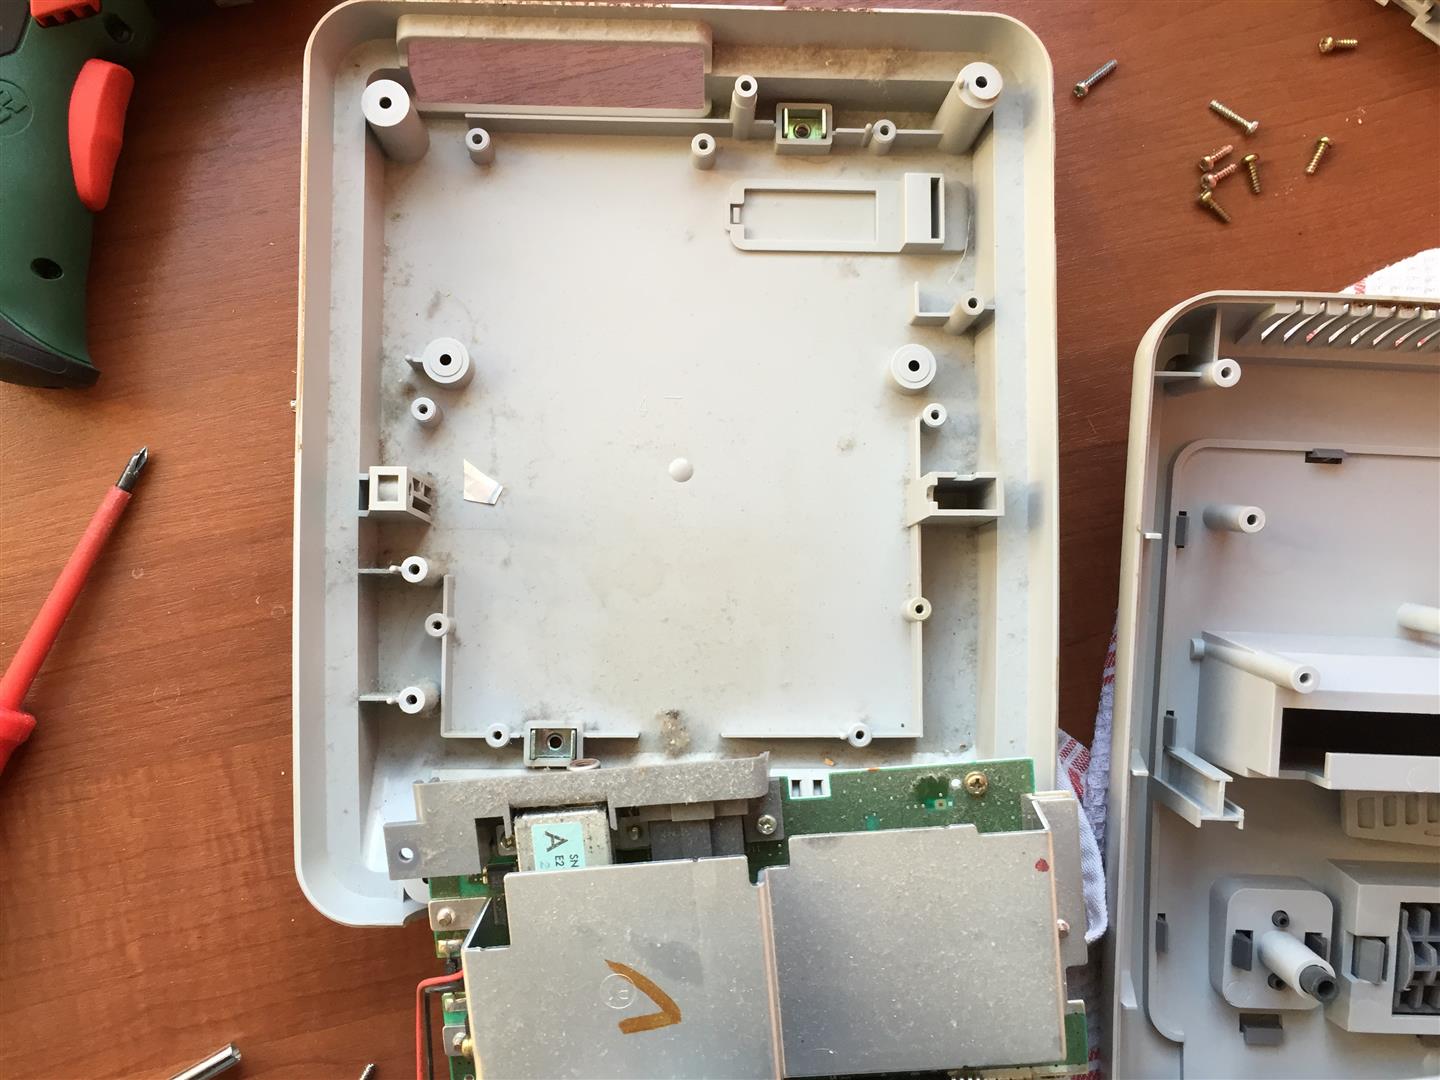
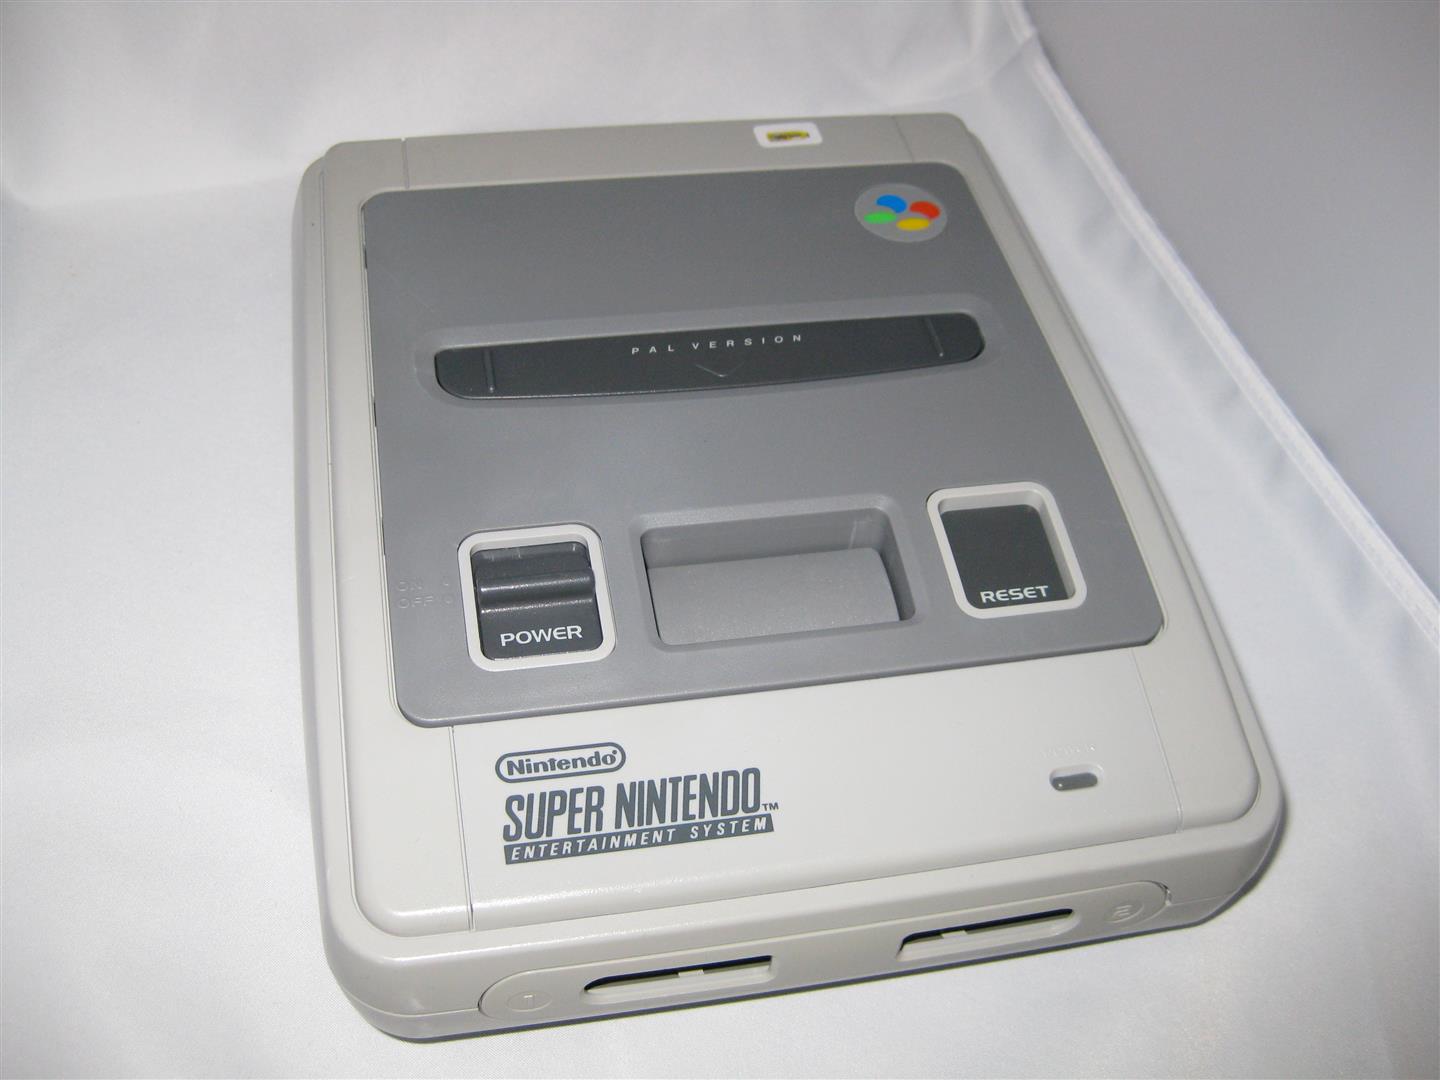
After some cleaning and 1-2 weeks in sun and a retrobright lotion it looks really nice again
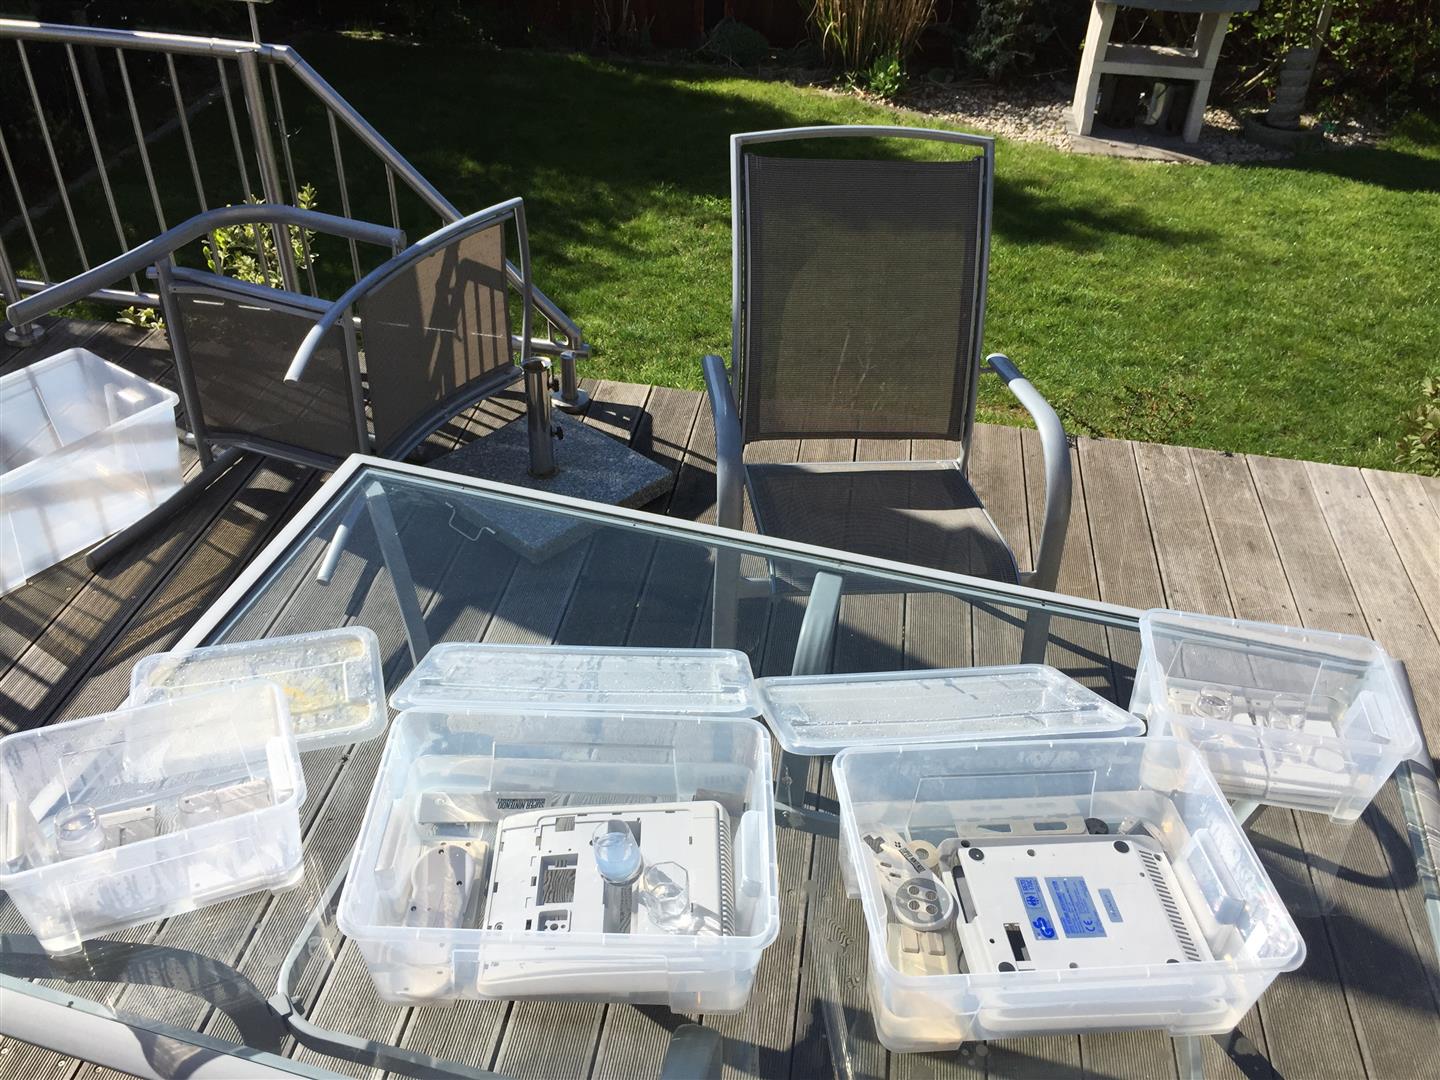
final
Recently I bought a huge package of loose 2600 cartridges. And what appears? One of my favorite Games: A PAL PROTOTYPE of Adventure
